Email element in Automation
With the help of the Email element, you can send an email to a subscriber to notify them about a new purchase, order status change, or new products on the site or invite them to a webinar.
Please note that to send an email to users, their email addresses must be valid (active).
Add the Email element
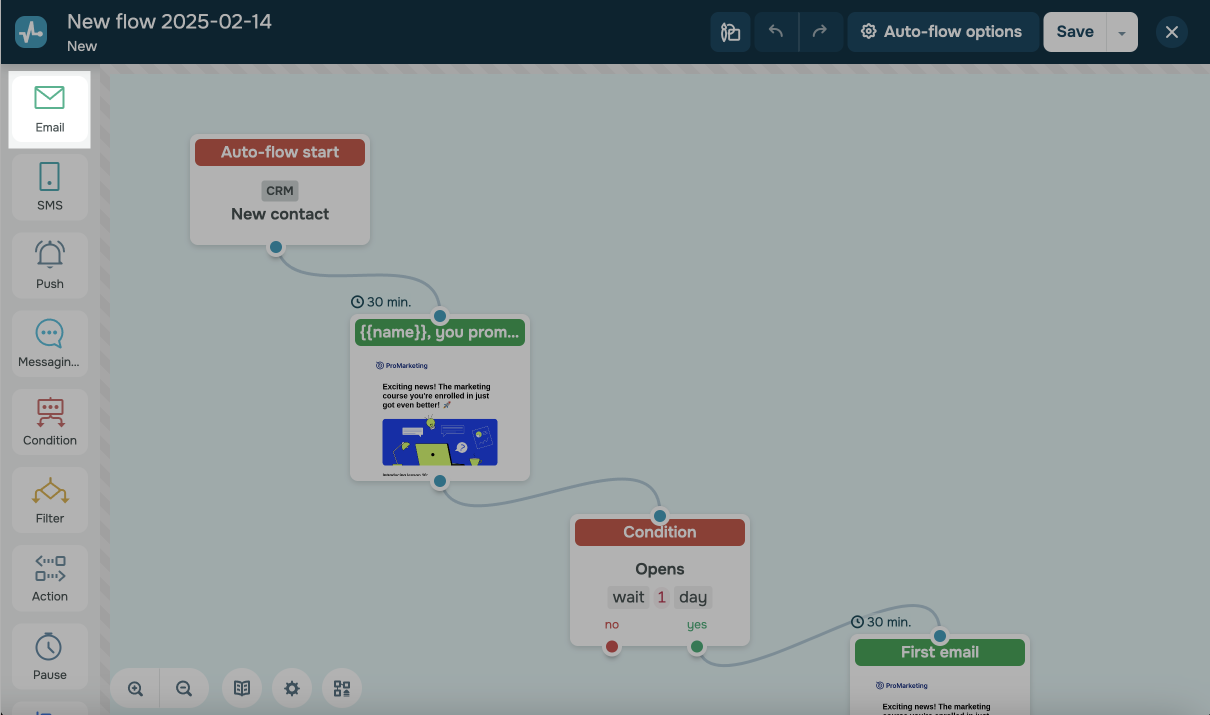
Drag the Email element from the left panel to the working field. Connect it to the element after which you need to send the email.
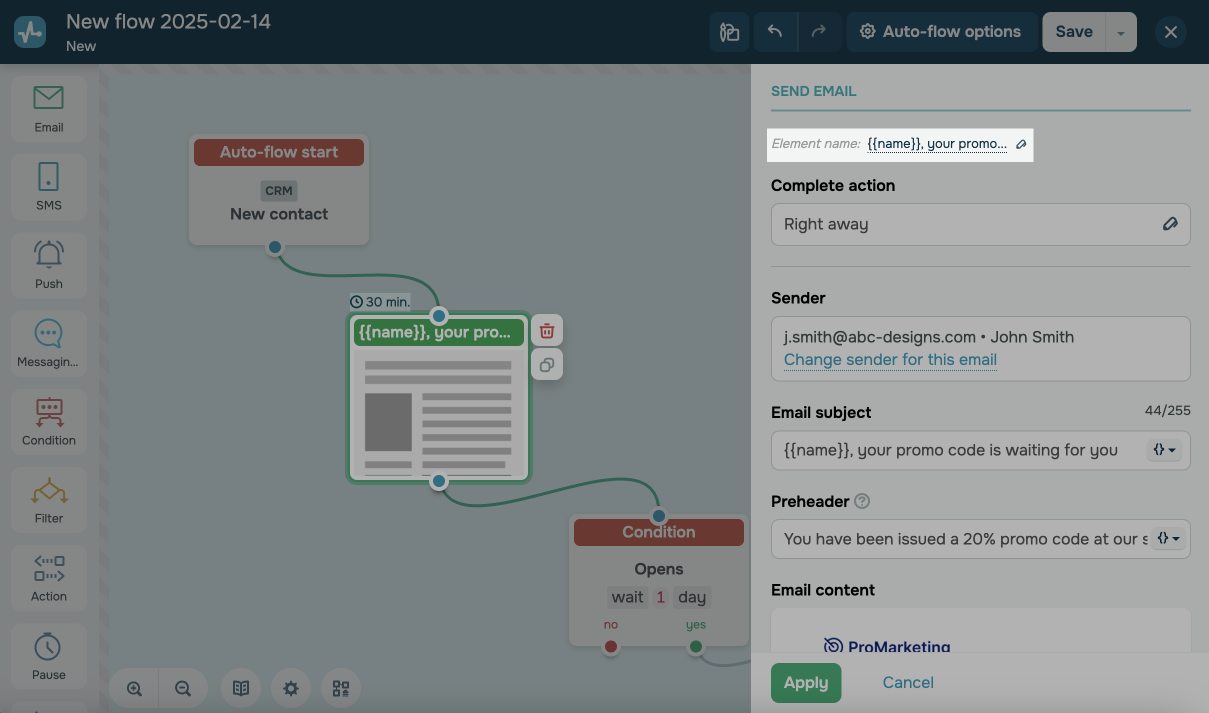
You can also rename your element to distinguish it from others, or add a comment for your team. Click Element name and enter up to 253 characters in the field. Once you save the settings, the new name will appear in a pop-up window when hovering over the element in the builder.
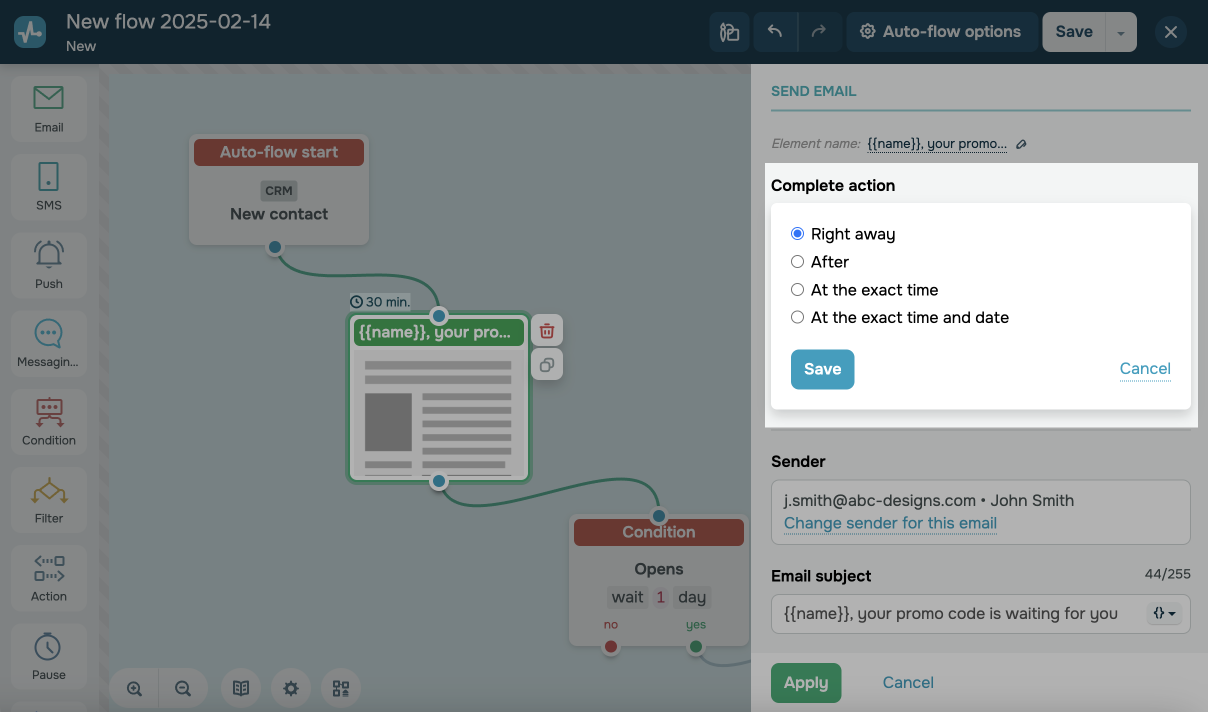
Specify your sending time
Specify when you want to send the email. You can select the Right away option to send the message immediately, After to delay the sendout, or Exact time or Exact time and date to set the time yourself.
Read more: Element (Block) Execution Time.
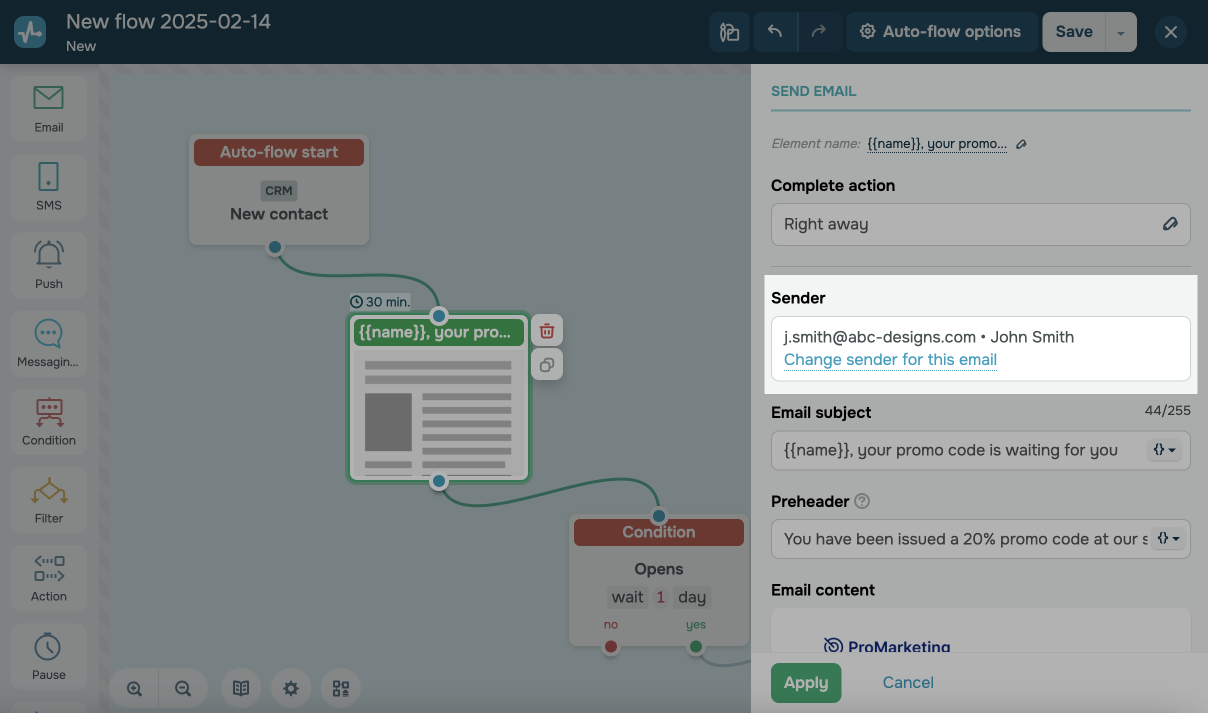
Specify Your Sender
Select an email address, and enter the sender's name.
You can specify different sender names and addresses for each Email element in the flow separately.
See also: How to add a new email sender address.
Please note that if you change the sender's address in the automation options, the address will automatically change in all previously customized elements.
Add your subject
Enter your email subject — the part of the message your subscribers see when they get into their inbox. It will be displayed as a single line right next to the sender's name. Use variables to send a personalized email to a user.
In the Flow start element, you can select a condition that will start your flow. If you have selected:
- Add subscriber, Special date, Contact webhook, or Change variable, then the variables with the
_dealsuffix will be filled in from the specified mailing list. - Create a deal or Change deal stage, then the variables will be filled in from the fields in the selected CRM pipeline.
- Start the flow by event, then the variables will be filled in from the event body or from the body of both the event and the mailing list if the mailing list is selected (if there is a contact in that mailing list).
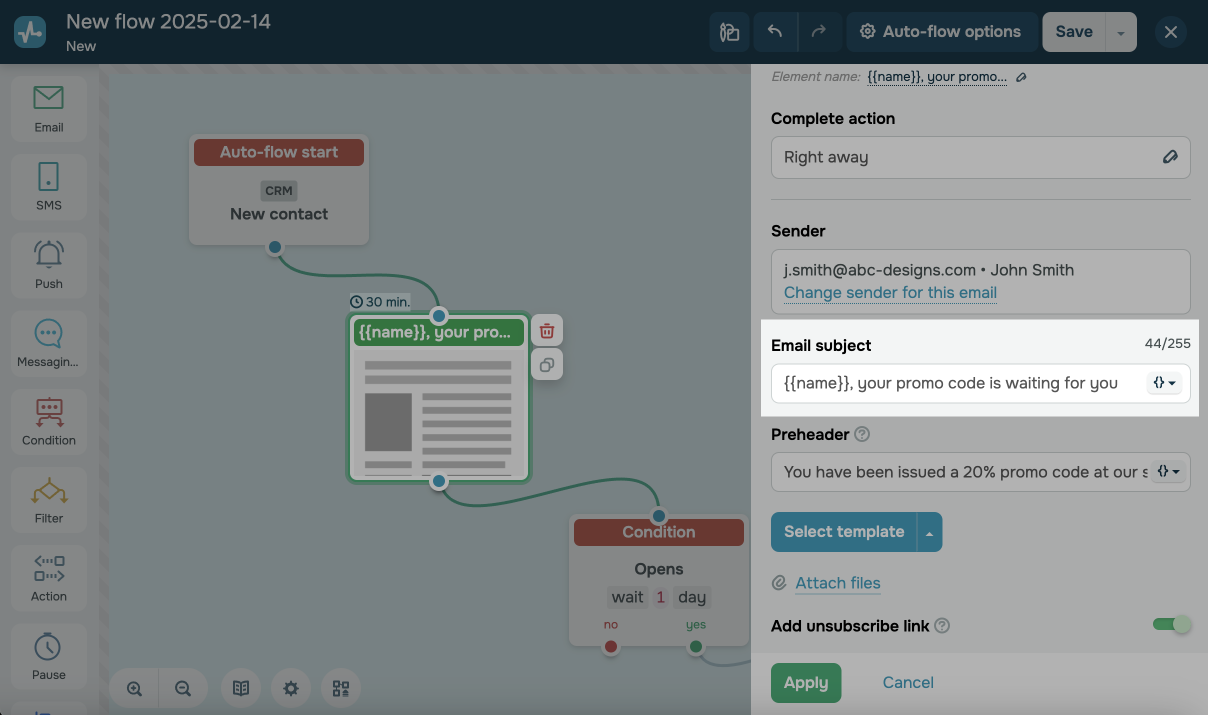
Add your preheader
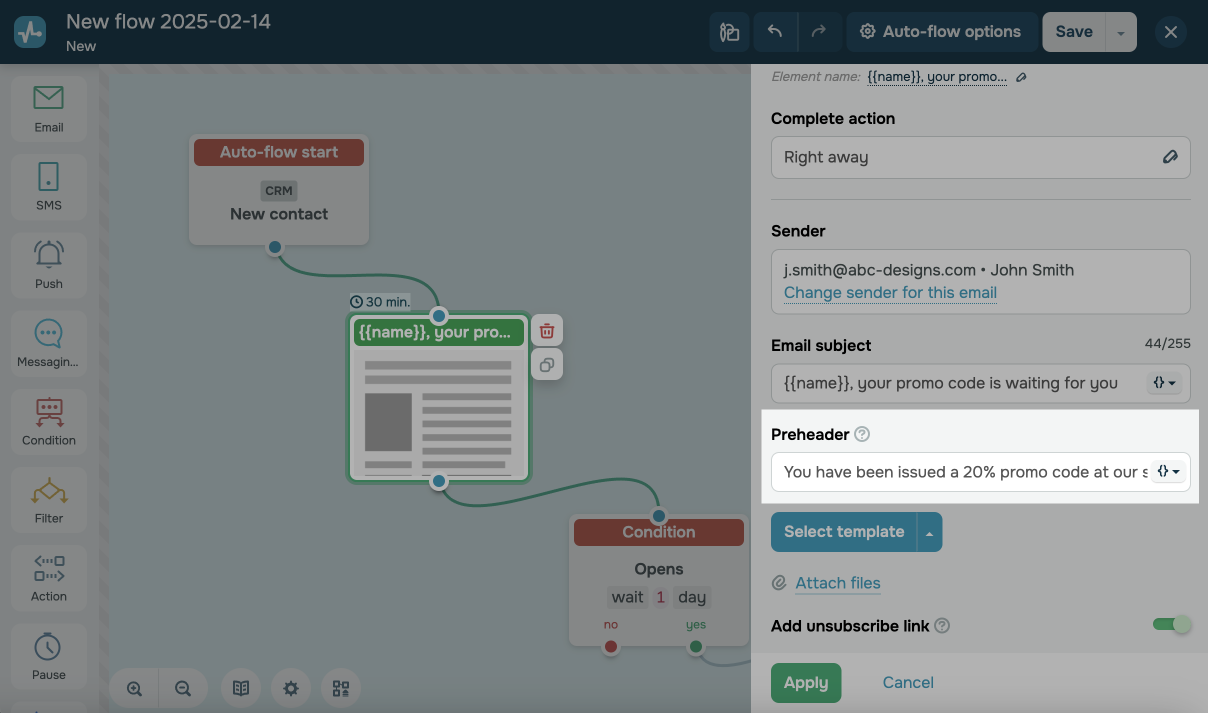
Enter your email preheader that will be displayed next to the email subject. You can also add variables to it. If you leave the input field empty, the preheader will display a part of the template text.
Select your template
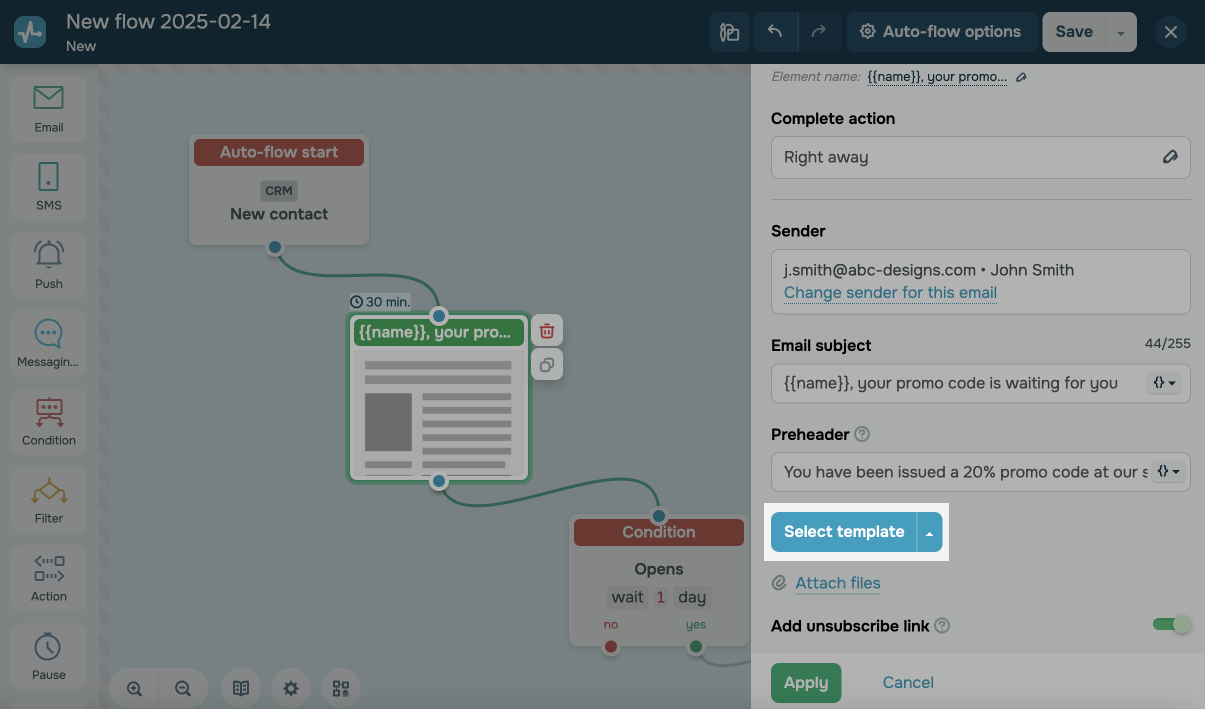
You can choose your own template or one of the ready-made SendPulse templates and insert your text and images into it.
Learn more: How to create your own template and How to use free email templates.
To personalize an email, add contact variables to it.
When editing a template, make sure that template variable names match subscriber variables you pass to the selected flow series start. If the variables do not match, then the subscriber will receive an email without them.
You can also use smart personalization and dynamic content and add subscriber data management variables.
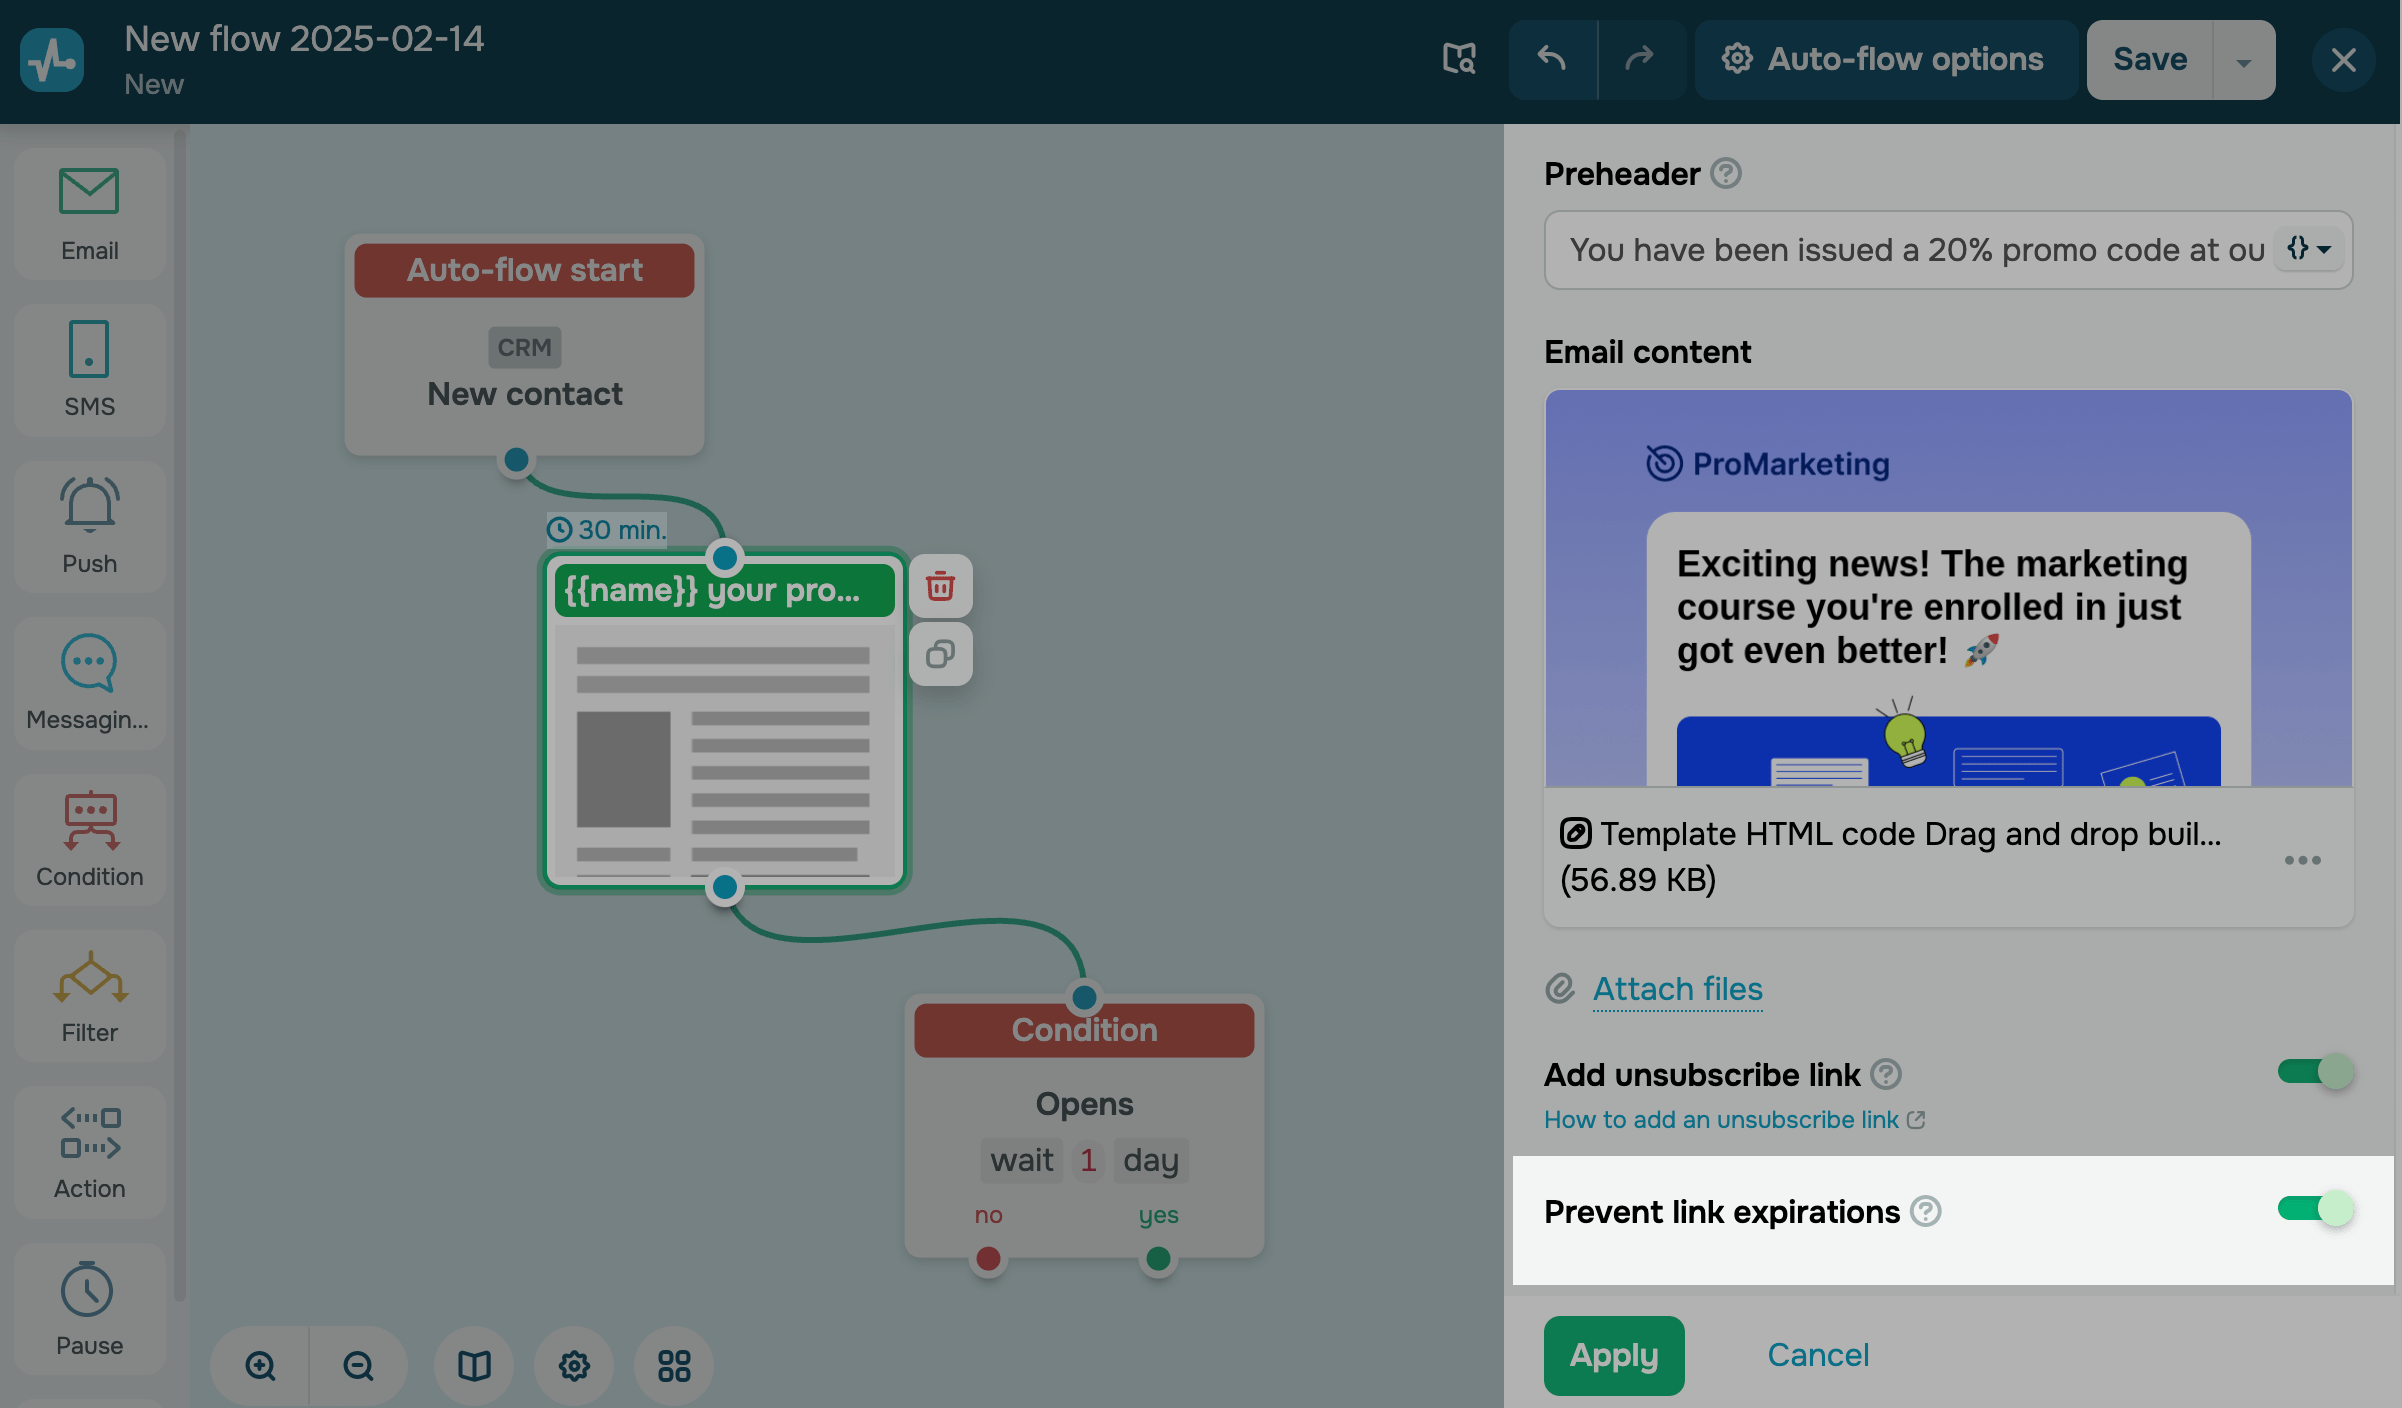
If you add a template with external links, such as digital products, these links will remain valid for 6 months. To make the links always valid, turn on the Prevent link expirations toggle.
If the Prevent link expirations toggle is turned on, links in your email will not be tracked. Clicks will not be counted in element statistics or flow exports, and the Condition — Clicks element will not apply to this email.
Add images from event data
If an image link comes in an event variable, for example, in a product array for an abandoned cart email, you can insert it into your template using the <img> tag and the src attribute. If the variable is part of an array, add the item prefix:
<img src="/{{item.product_img_url}}" alt="Product" width="125" height="125">Set the image size using the width and height attributes. In the drag-and-drop builder, add the Text element. Open its source code (<>) and insert your tag.
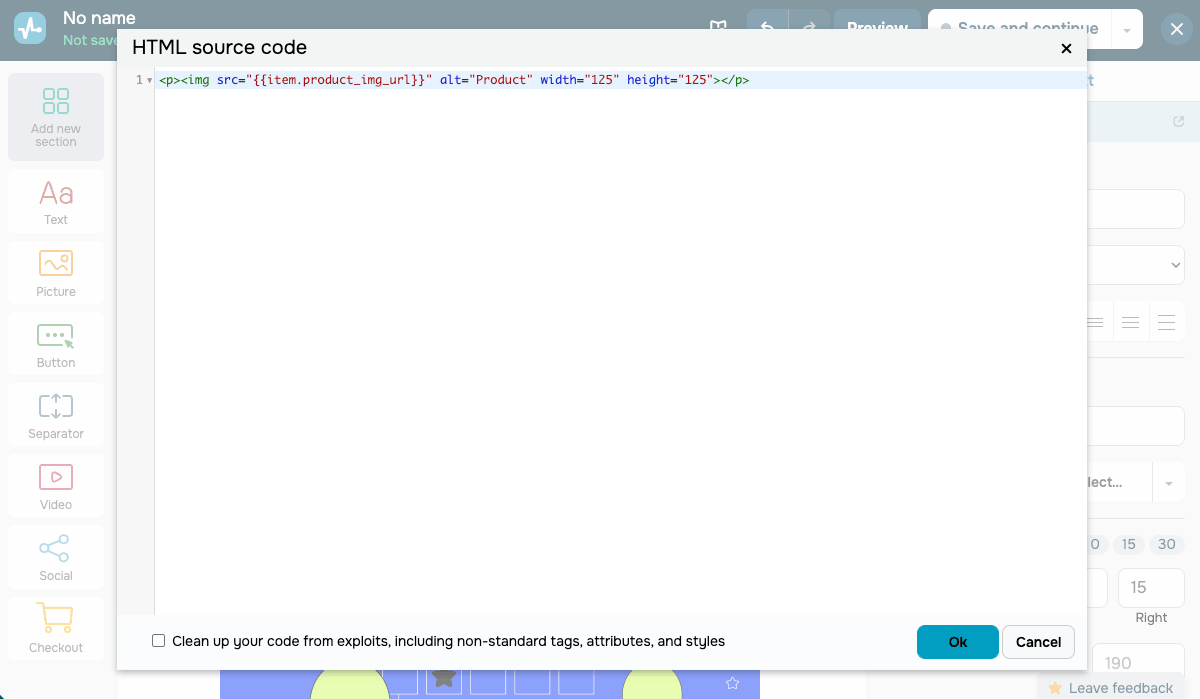
To make sure your image appears as intended, check the data you send:
- Save the link to a
Stringvariable of up to 255 characters. Longer links are truncated and become invalid. - Send the full link with
https://in the variable value. Don’t add the protocol before the variable in your template. - Encode spaces and other special characters in the link. For example, use
%20instead of a space. - Send the array in square brackets
[ ]. Don’t nest one<img>tag inside another. - Place buttons that should appear once after the loop's closing tag
|[ endfor ]|. Otherwise, the button repeats for each product. - Make sure your server or security service, such as Cloudflare, allows SendPulse to access your images.
To see the data the event received, go to Automation > Events Manager > Log and open the event record. Scroll down in the window to see all the fields.
Read more: Send data arrays with Automation.
Attach your files
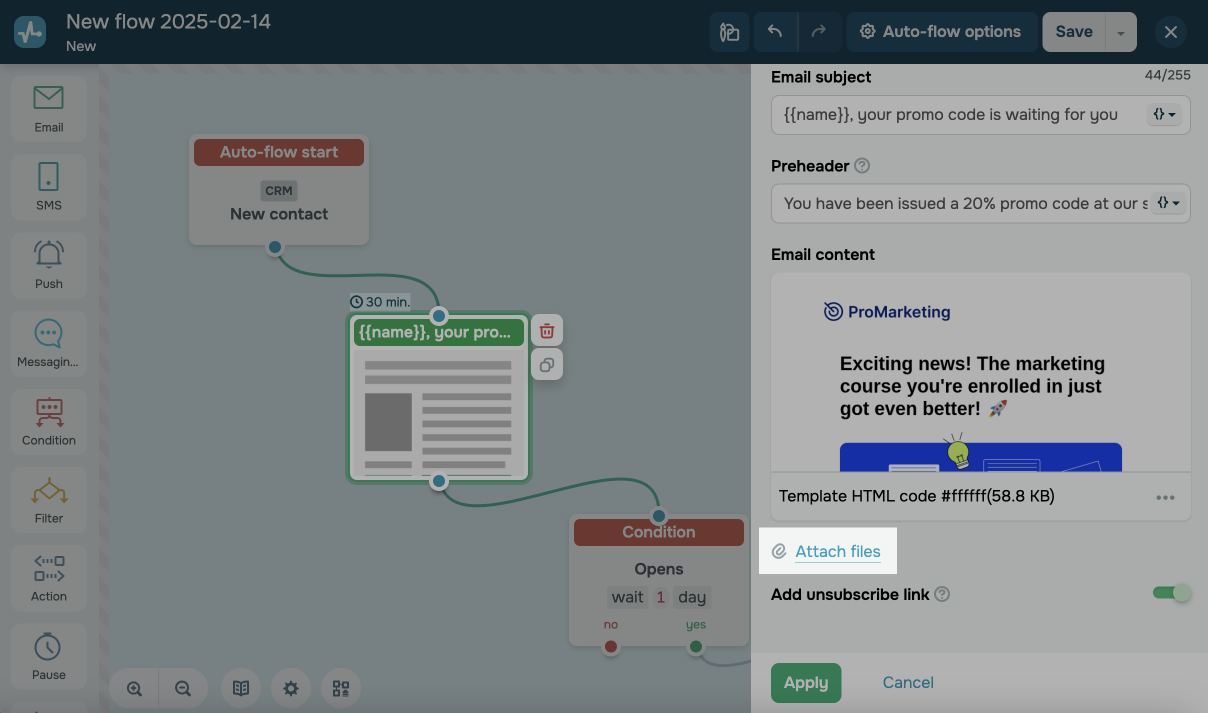
You can attach some files to the email, for example, a document or a photo. Click Attach files, then — Choose files.
Set up an unsubscribe link
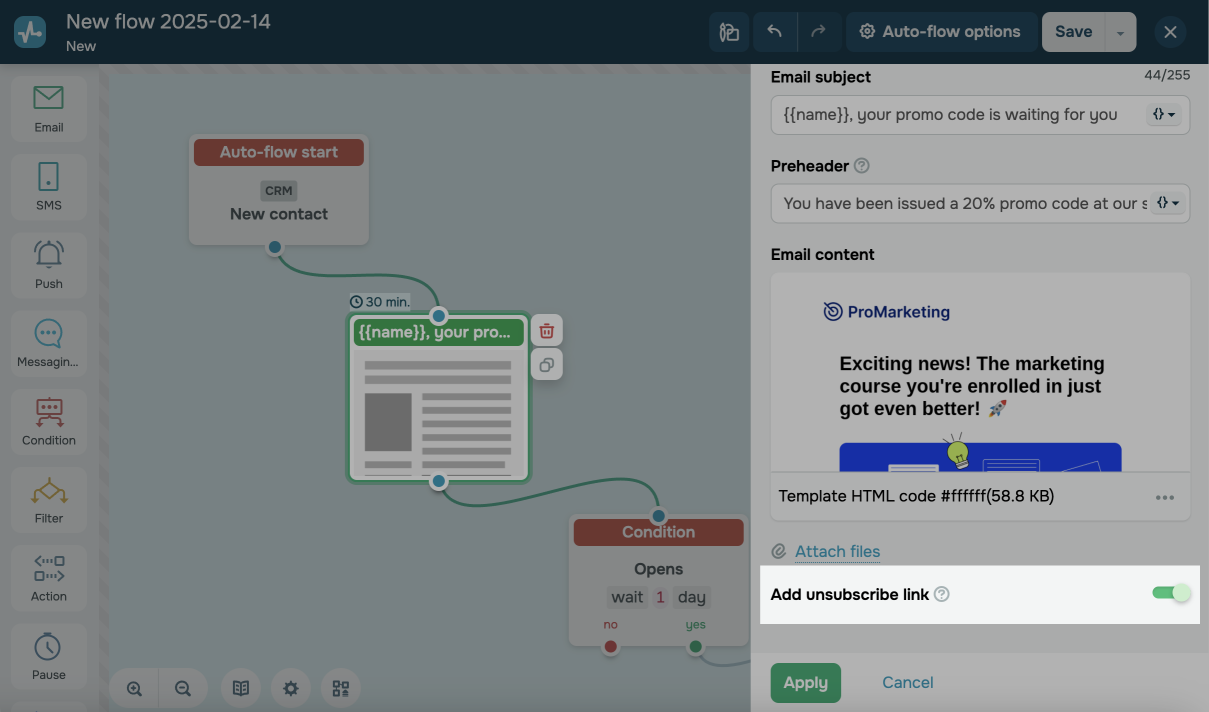
For transactional emails, you can disable the unsubscribe link.
You can only disable the unsubscribe link for three Email elements in one flow.
If your email settings include a specific category, it will be pre-selected on the unsubscribe page. This helps subscribers understand what exactly they’re unsubscribing from.
Category-specific unsubscribe links are also pre-selected if the category language matches the unsubscribe page language. If the category is missing, deleted, or the language doesn’t match, the system will default to the first option: Unsubscribe from this email category.
In dynamic emails, the unsubscribe page always reflects the most current settings and language.
Continue building your flow by adding other elements like Action, Filter, Condition, or Goal to set up an action with subscriber data and other blocks to send a message via other channels, for example, Messenger, SMS, Viber, and Push.
View Element Statistics
To view detailed statistics by email addresses, hover over the desired Email email.
 Last Updated: 09.09.2024




or