Create an automation triggered by a contact webhook
With SendPulse, you can create an automated flow script that will be triggered by a contact webhook, for example, when they open an email or follow a link. Track subscriber interactions with your bulk email campaigns, send messages or manage subscriber data based on their actions.
In this article, we will talk about how to create an automated flow script triggered by a contact webhook and enable the event tracking option in your mailing list.
Create an automated flow
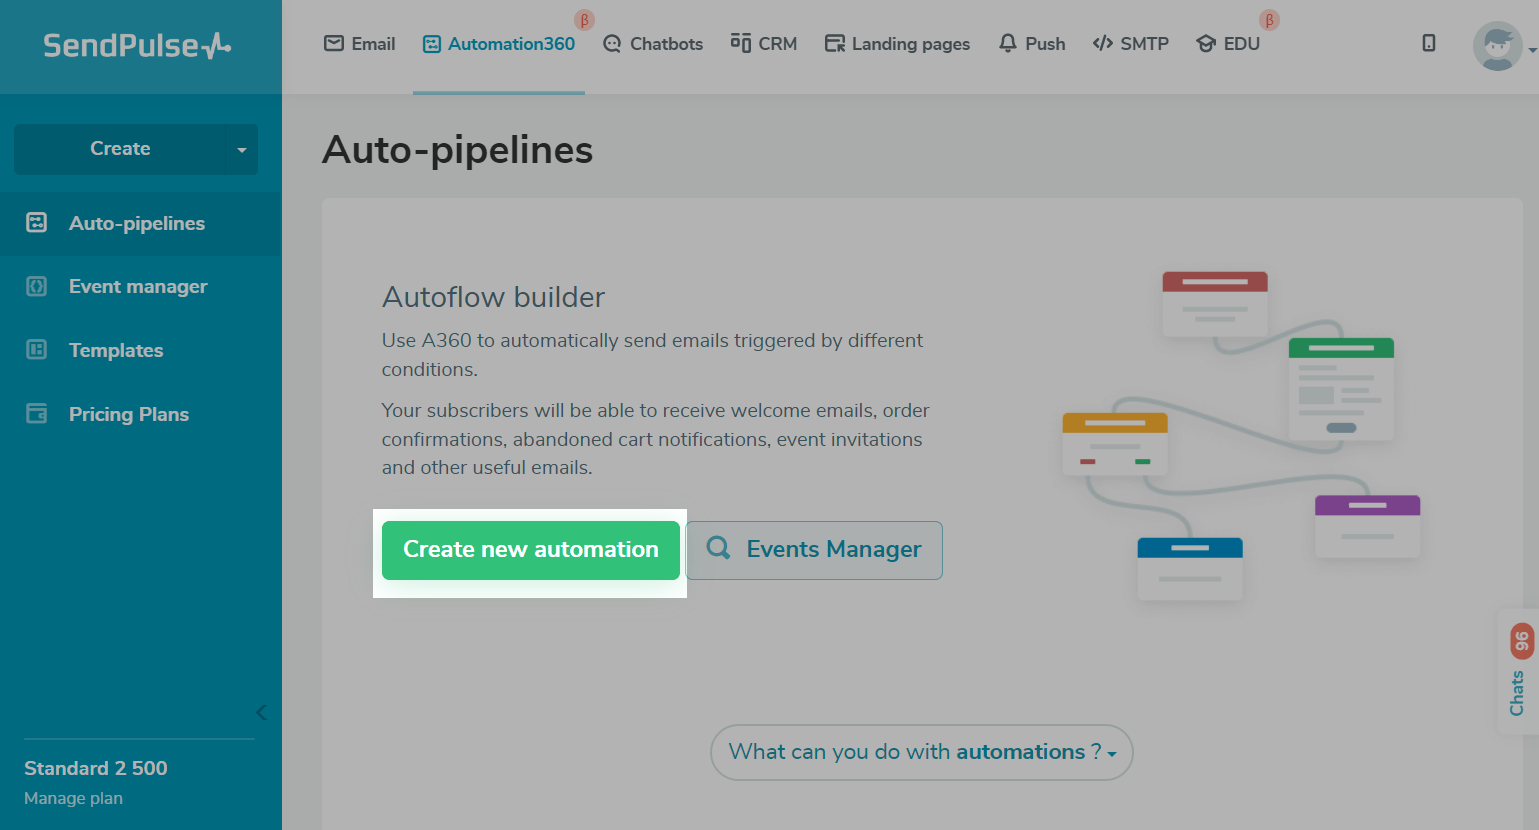
Go to Automation360 section, and click Create Automation.
Enter your flow name, specify the sender, enable analytics, and select the unsubscribe form page and language.
In the Additional options section, you can specify your preferred sending days and time. Your automated flow will be launched based on the conditions you set separately for each element.

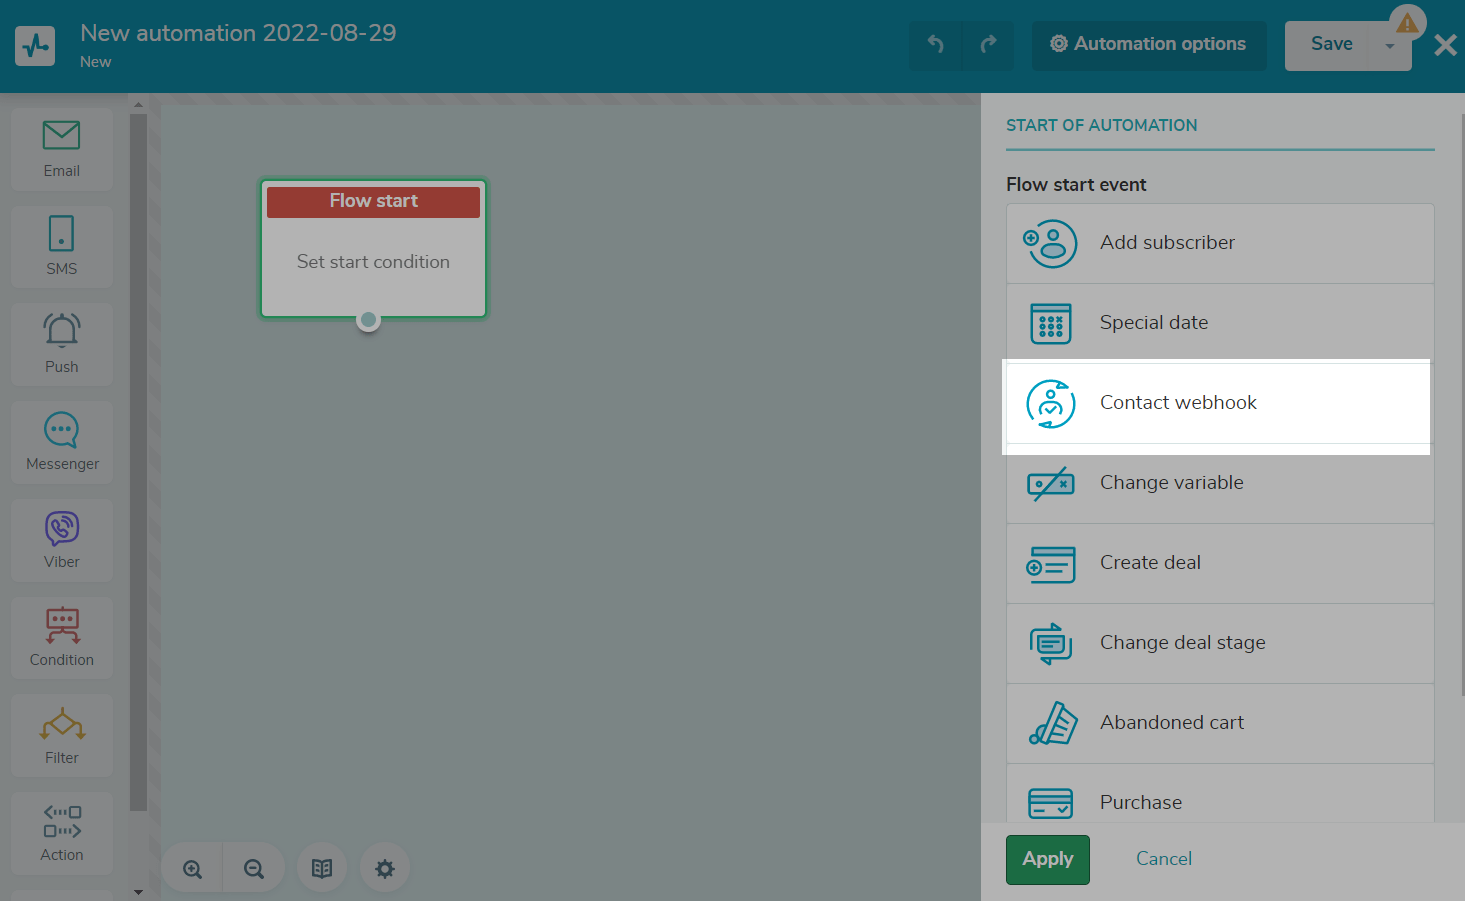
Set the flow start
Select the Contact Webhook trigger to launch your automated flow.
Select a mailing list using which you want to monitor your contact's activities.

You can choose to stop the flow by event and select this event.
As soon as an event with your subscriber's email address is tracked, the flow will stop for this contact.
You can also count your flow stop as a conversion.
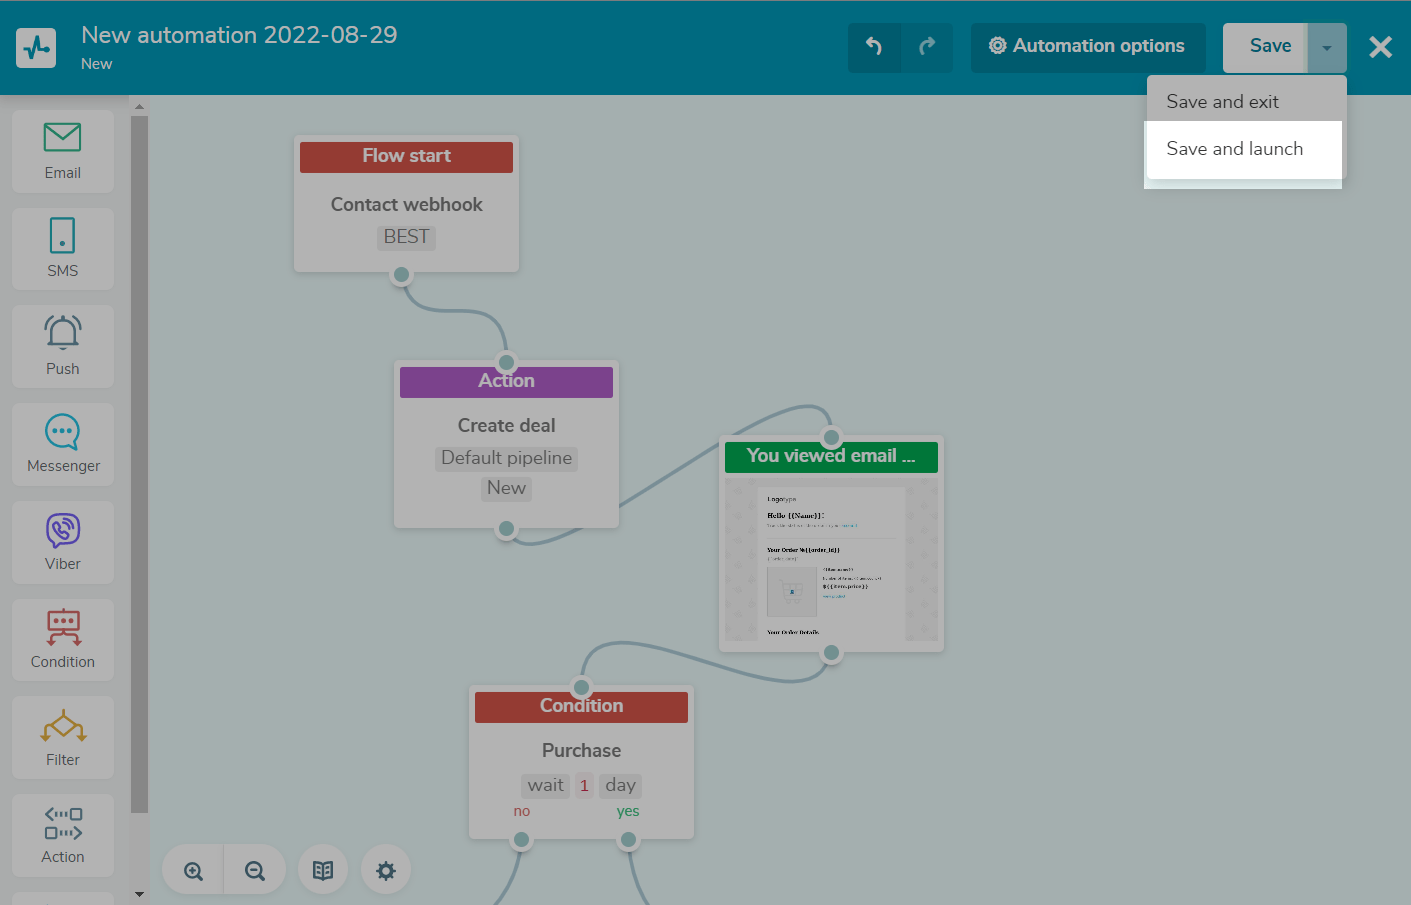
Add flow elements
With Automation 360, you can contact a user via email, SMS, Viber, web push notifications, and chatbots. Drag the necessary elements to the workspace, and connect them to the flow you need.
If you add the Email element, you need to select your email template, subject, and sender's address.
If you add the SMS and Viber elements, you need to select a registered sender and enter your message text.
If you add the Push element, you need to select a site where you want to check the subscriber list and enter your notification text.
If you add the Messenger element, you need to select a chatbot to send a message to its subscribers and enter your message text or select a flow you want to start.
Additionally, you can add other elements and diversify the functionality of your flow. For example, you can add the Condition element to track your email opens and deliverability, include the Filter element to branch the flow based on variable values, or choose the Action element to create a new deal in CRM, move your subscriber to another mailing list, or receive a message in your CRM system.
Read more: Elements (elements) Automation 360.
Run the flow
Once you have finished configuring the flow, save and run it.
Create a Campaign
Go to the Email section, and click Create campaign.
First, select your recipients, sender address, and subject in the Information about campaign section.
You need to choose the same mailing list you selected when creating a flow triggered by a contact webhook.
Second, select or create an email template in the Message Content section.
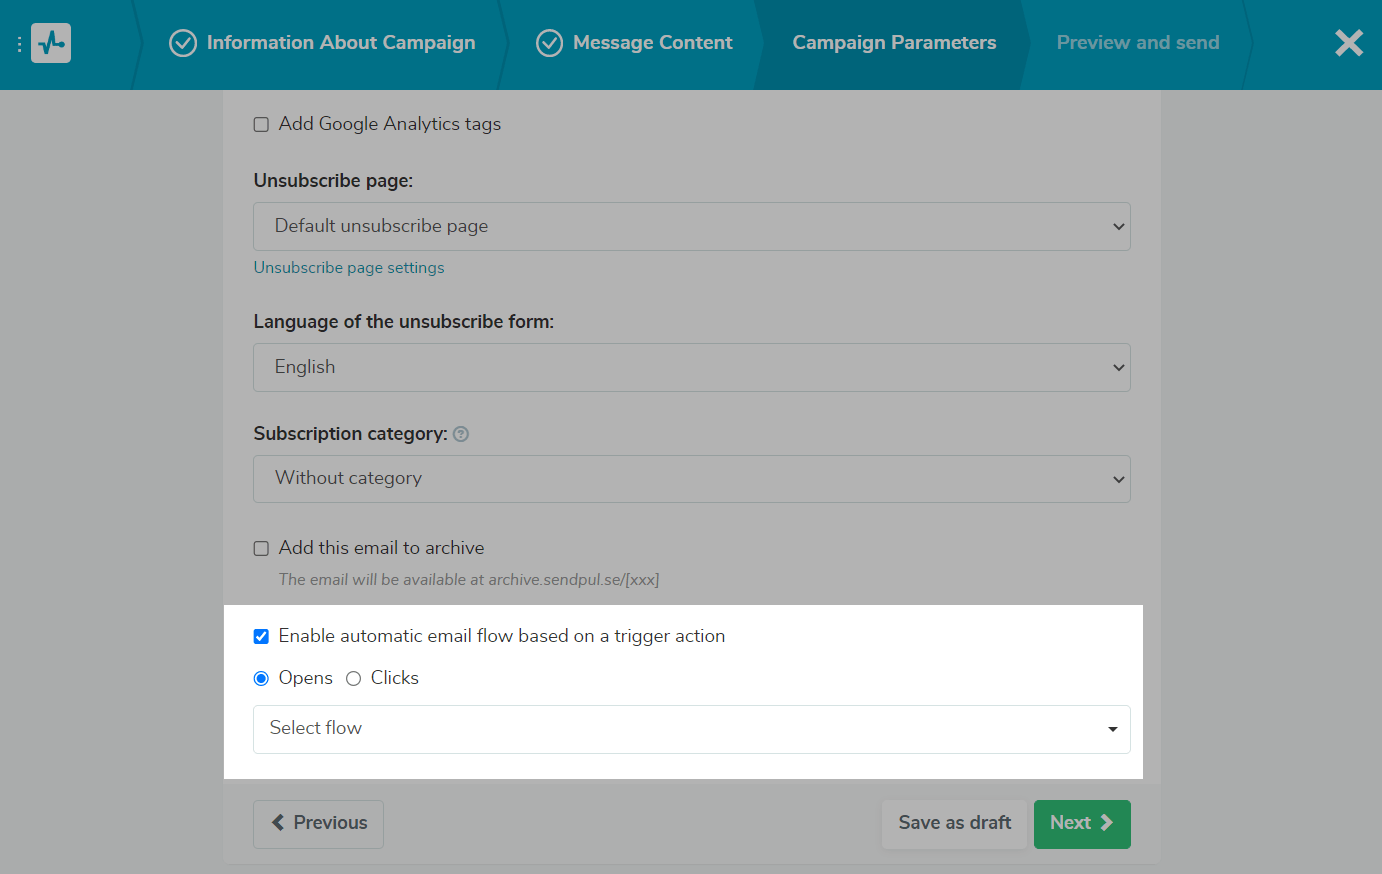
Third, mark the Enable automatic email flow based on a trigger action checkbox in the Campaign parameters section. Choose if you want to track clicks or opens. Select the automated flow you want to run when the trigger fires.
Read more: How to send an email campaign.
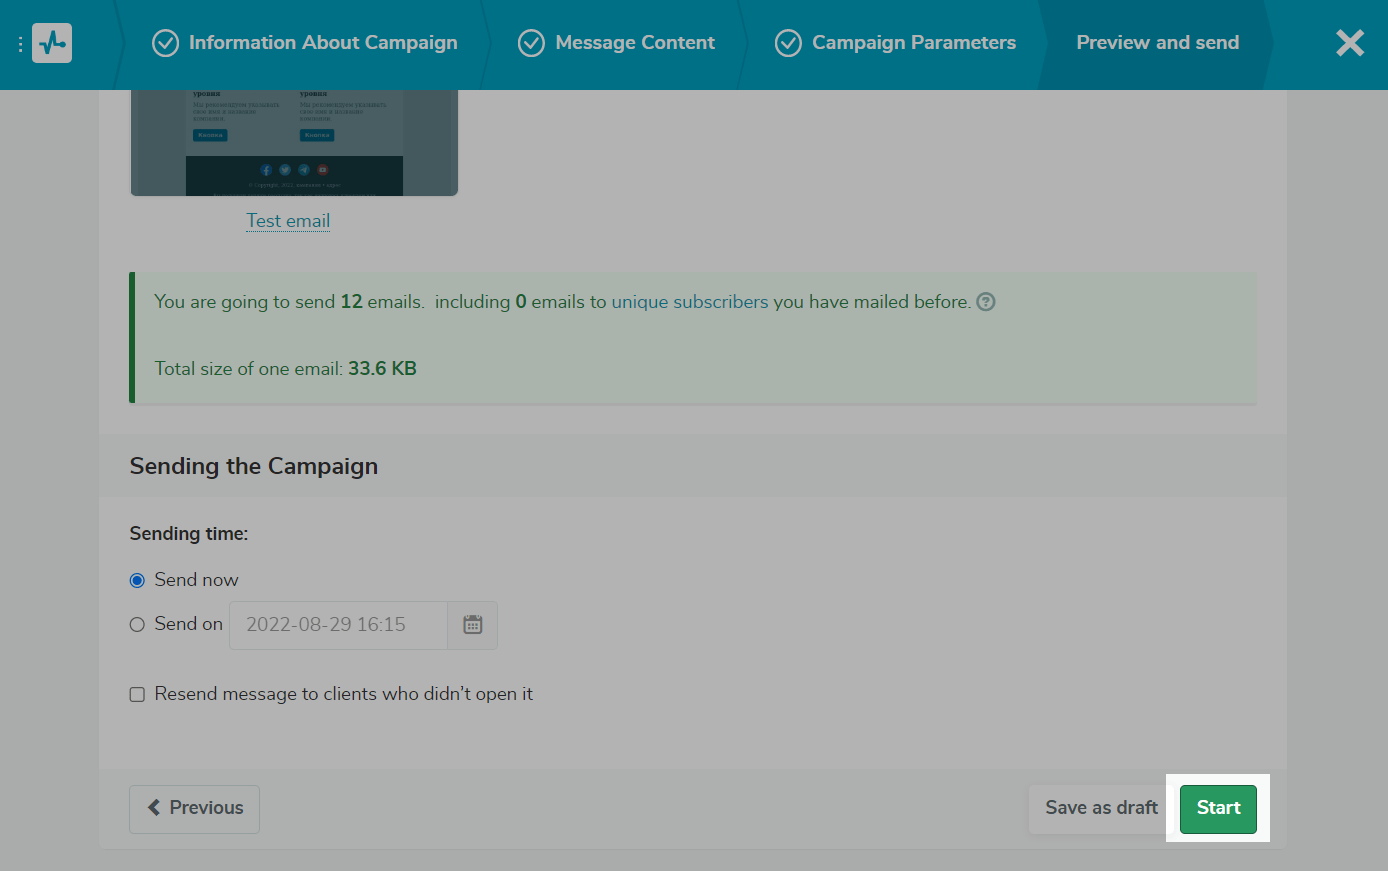
In the Preview and send section, check the data you entered and set your sending time, i.e., now or at the scheduled time. Click Start.
When subscribers from the specified mailing list receive your email, open it, or follow a link, your automated flow will be launched.
Last Updated: 26.12.2023
or