Use open blocks
Open blocks help you arrange elements anywhere you like, without the grid limitations of standard blocks. Create banners, interactive sections, promo content, or any custom layout that needs flexible placement.
For example, you can overlap an image with a shape or build a promotional banner with a button positioned exactly where you need it.
Let’s talk about how to add an open block and arrange elements in it.
Add a block
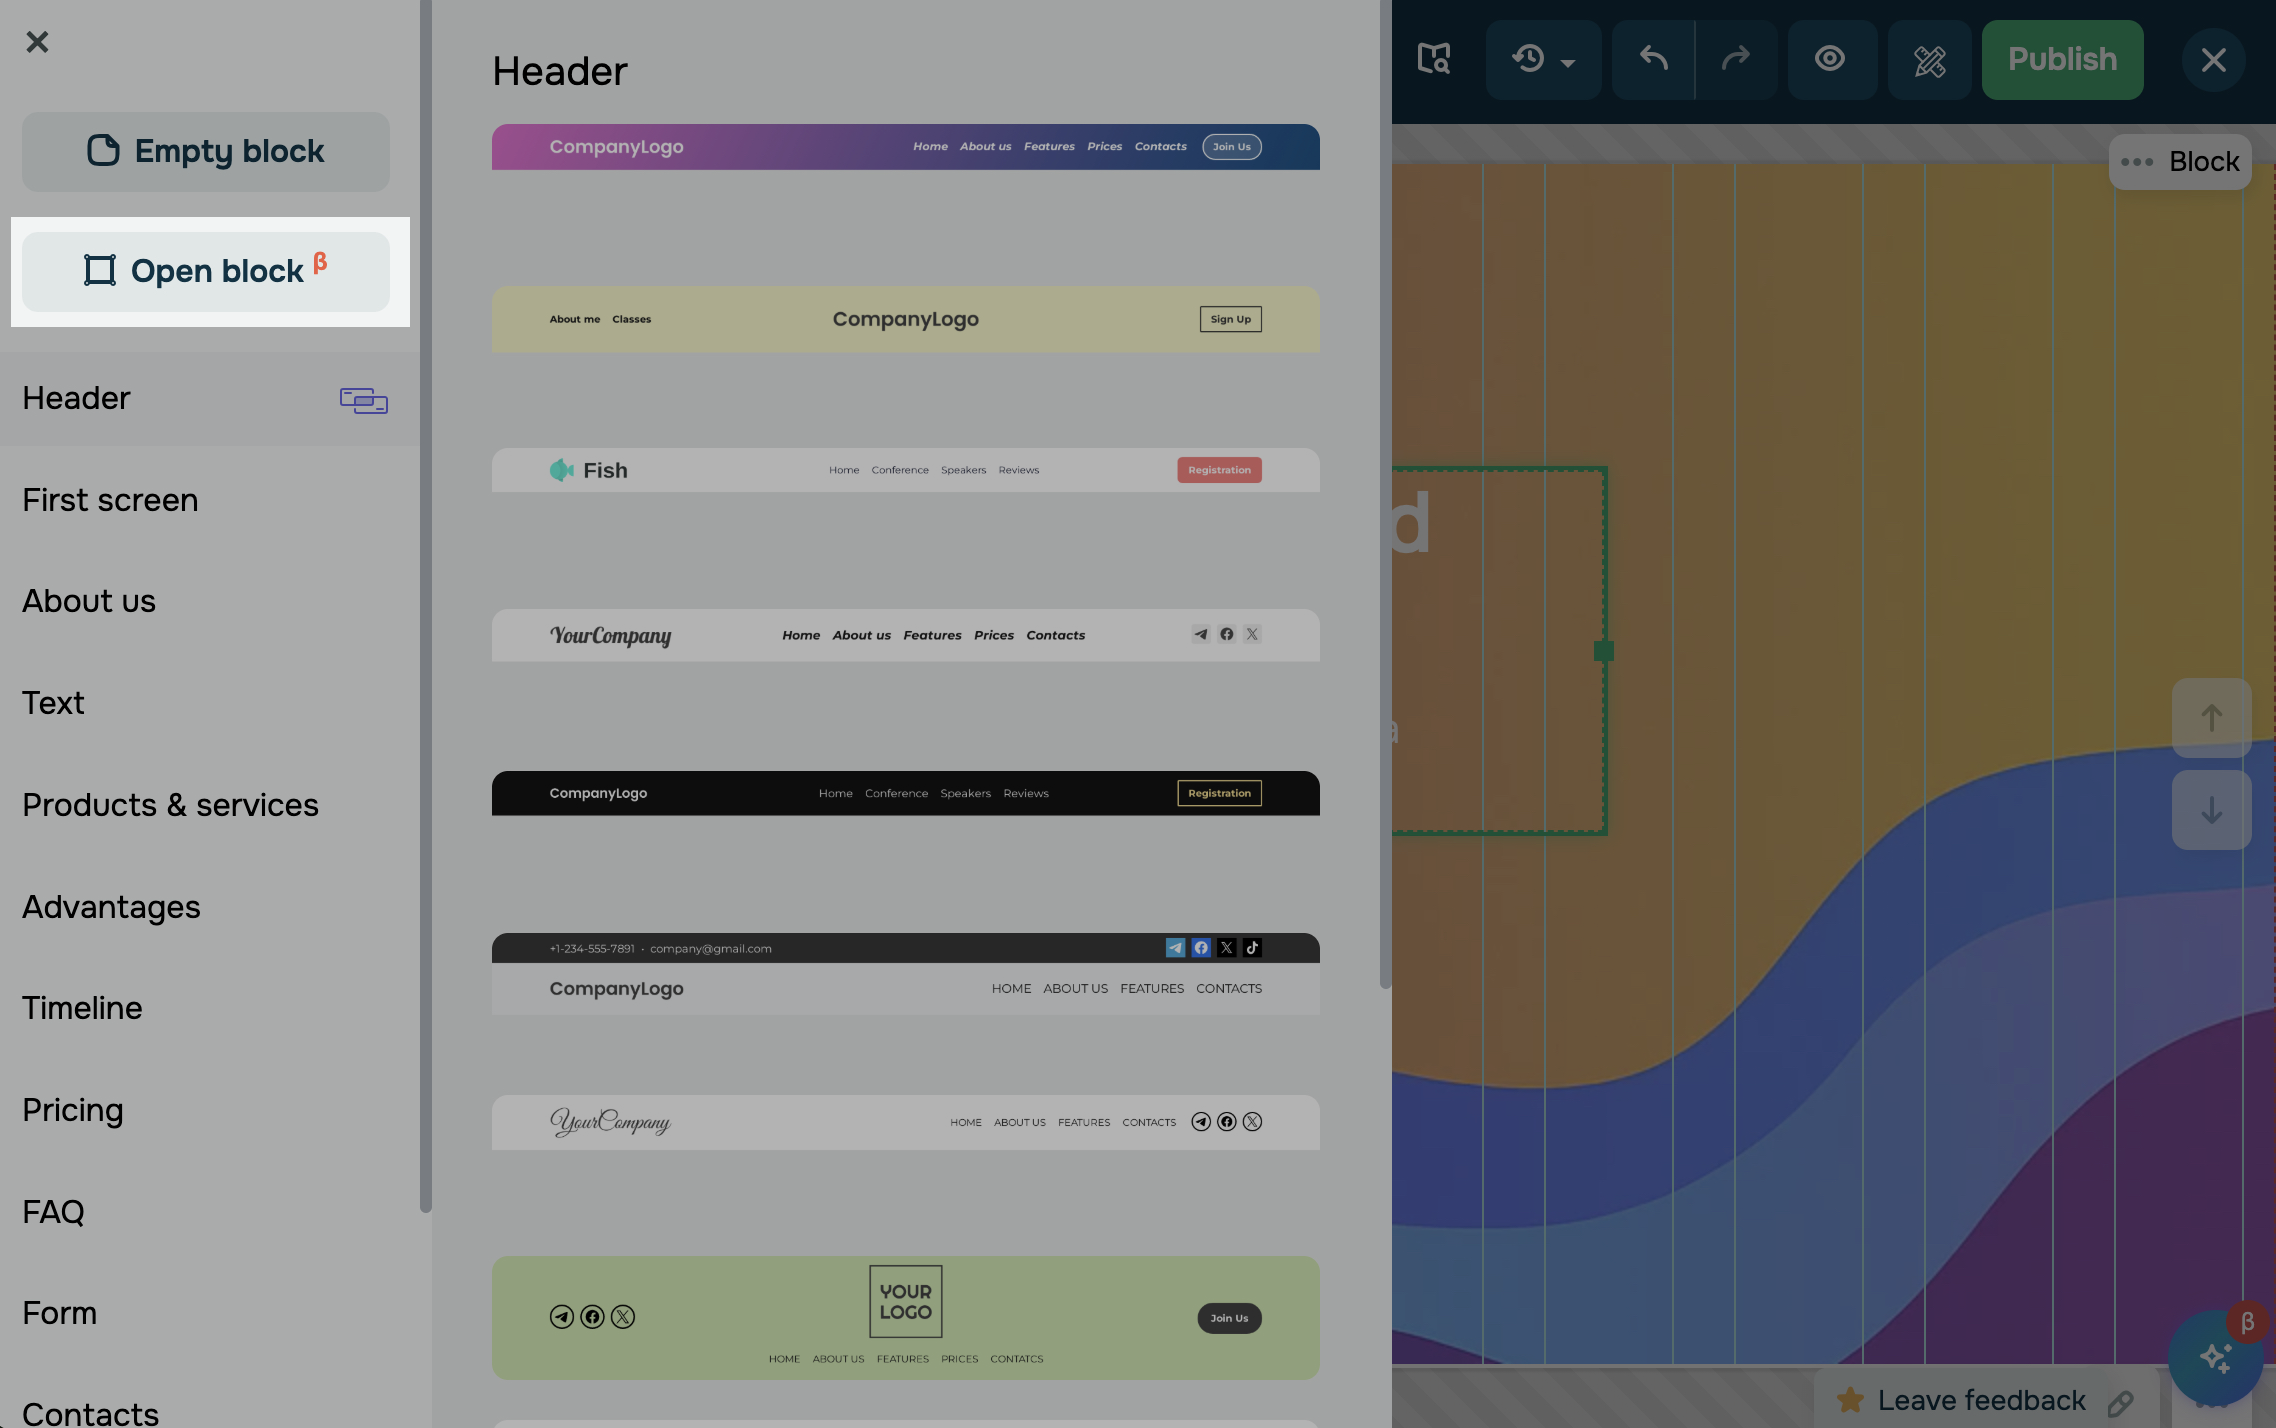
In the website builder, click + Add block, then select Open block in the sidebar.
Place elements
To place widgets in this block, click + and select a widget.
By default, new elements appear in the upper left corner of the block. To rearrange them, click and drag an element in the workspace.
To position elements more precisely along vertical and horizontal axes, use alignment guides. As you drag an element on the workspace, guides appear to show alignment with other elements or block edges.
To move elements with precision, use the arrow keys. Press an arrow key to move the selected element by 1 pixel. To move faster, hold Shift and press an arrow key.
To resize an element, drag its corresponding edge. While moving it, you’ll see the number of pixels to the block’s edge.
To change the rotation angle, click the green dot and, without releasing it, drag it left or right. While rotating, you’ll see the rotation angle in degrees.
Customize element display
By default, styles are synced across all device versions. To customize each version separately, turn off Styles are synced.
You can align and arrange elements within an open block using controls. Click the pencil icon on the selected element to access options:
| Anchor point | Pins the widget to a specific edge or corner of its open block.
Choose Left or Right for horizontal positioning, and Top or Bottom for vertical positioning. |
| Alignment | Positions the widget relative to the open block edges or center.
Set X and Y offset from the anchor point in pixels. |
| Arrangement | Sets the widget’s layer order when several elements overlap.
You can bring the widget to the front, send it to the back, move it forward, or move it backward. |
| Z-index | Sets the widget’s custom layer value.
Widgets with higher values appear on top. |
| Rotation | Sets the widget’s rotation angle in degrees. |
| Width | Sets the widget width in pixels. |
| Height | Sets the widget height in pixels. |
| Hide widget on | Hides the widget on selected device types.
Options include: Desktop, Tablet, Mobile. You can select each device option independently. |
| Animation | Adds an entrance animation as the widget comes into view while scrolling.
Turn on the toggle to configure Animation type, Animation position, and Animation speed. |
You can also use your widget’s unique ID to create anchor links or apply styles and scripts. Make sure each ID is unique across the page.

Last Updated: 08.11.2025
or