The Image widget in website builder
In the SendPulse website builder, you can add the Image widget, edit it, and apply various effects to it.
In this article, you will learn how to customize your website images.
Upload an image
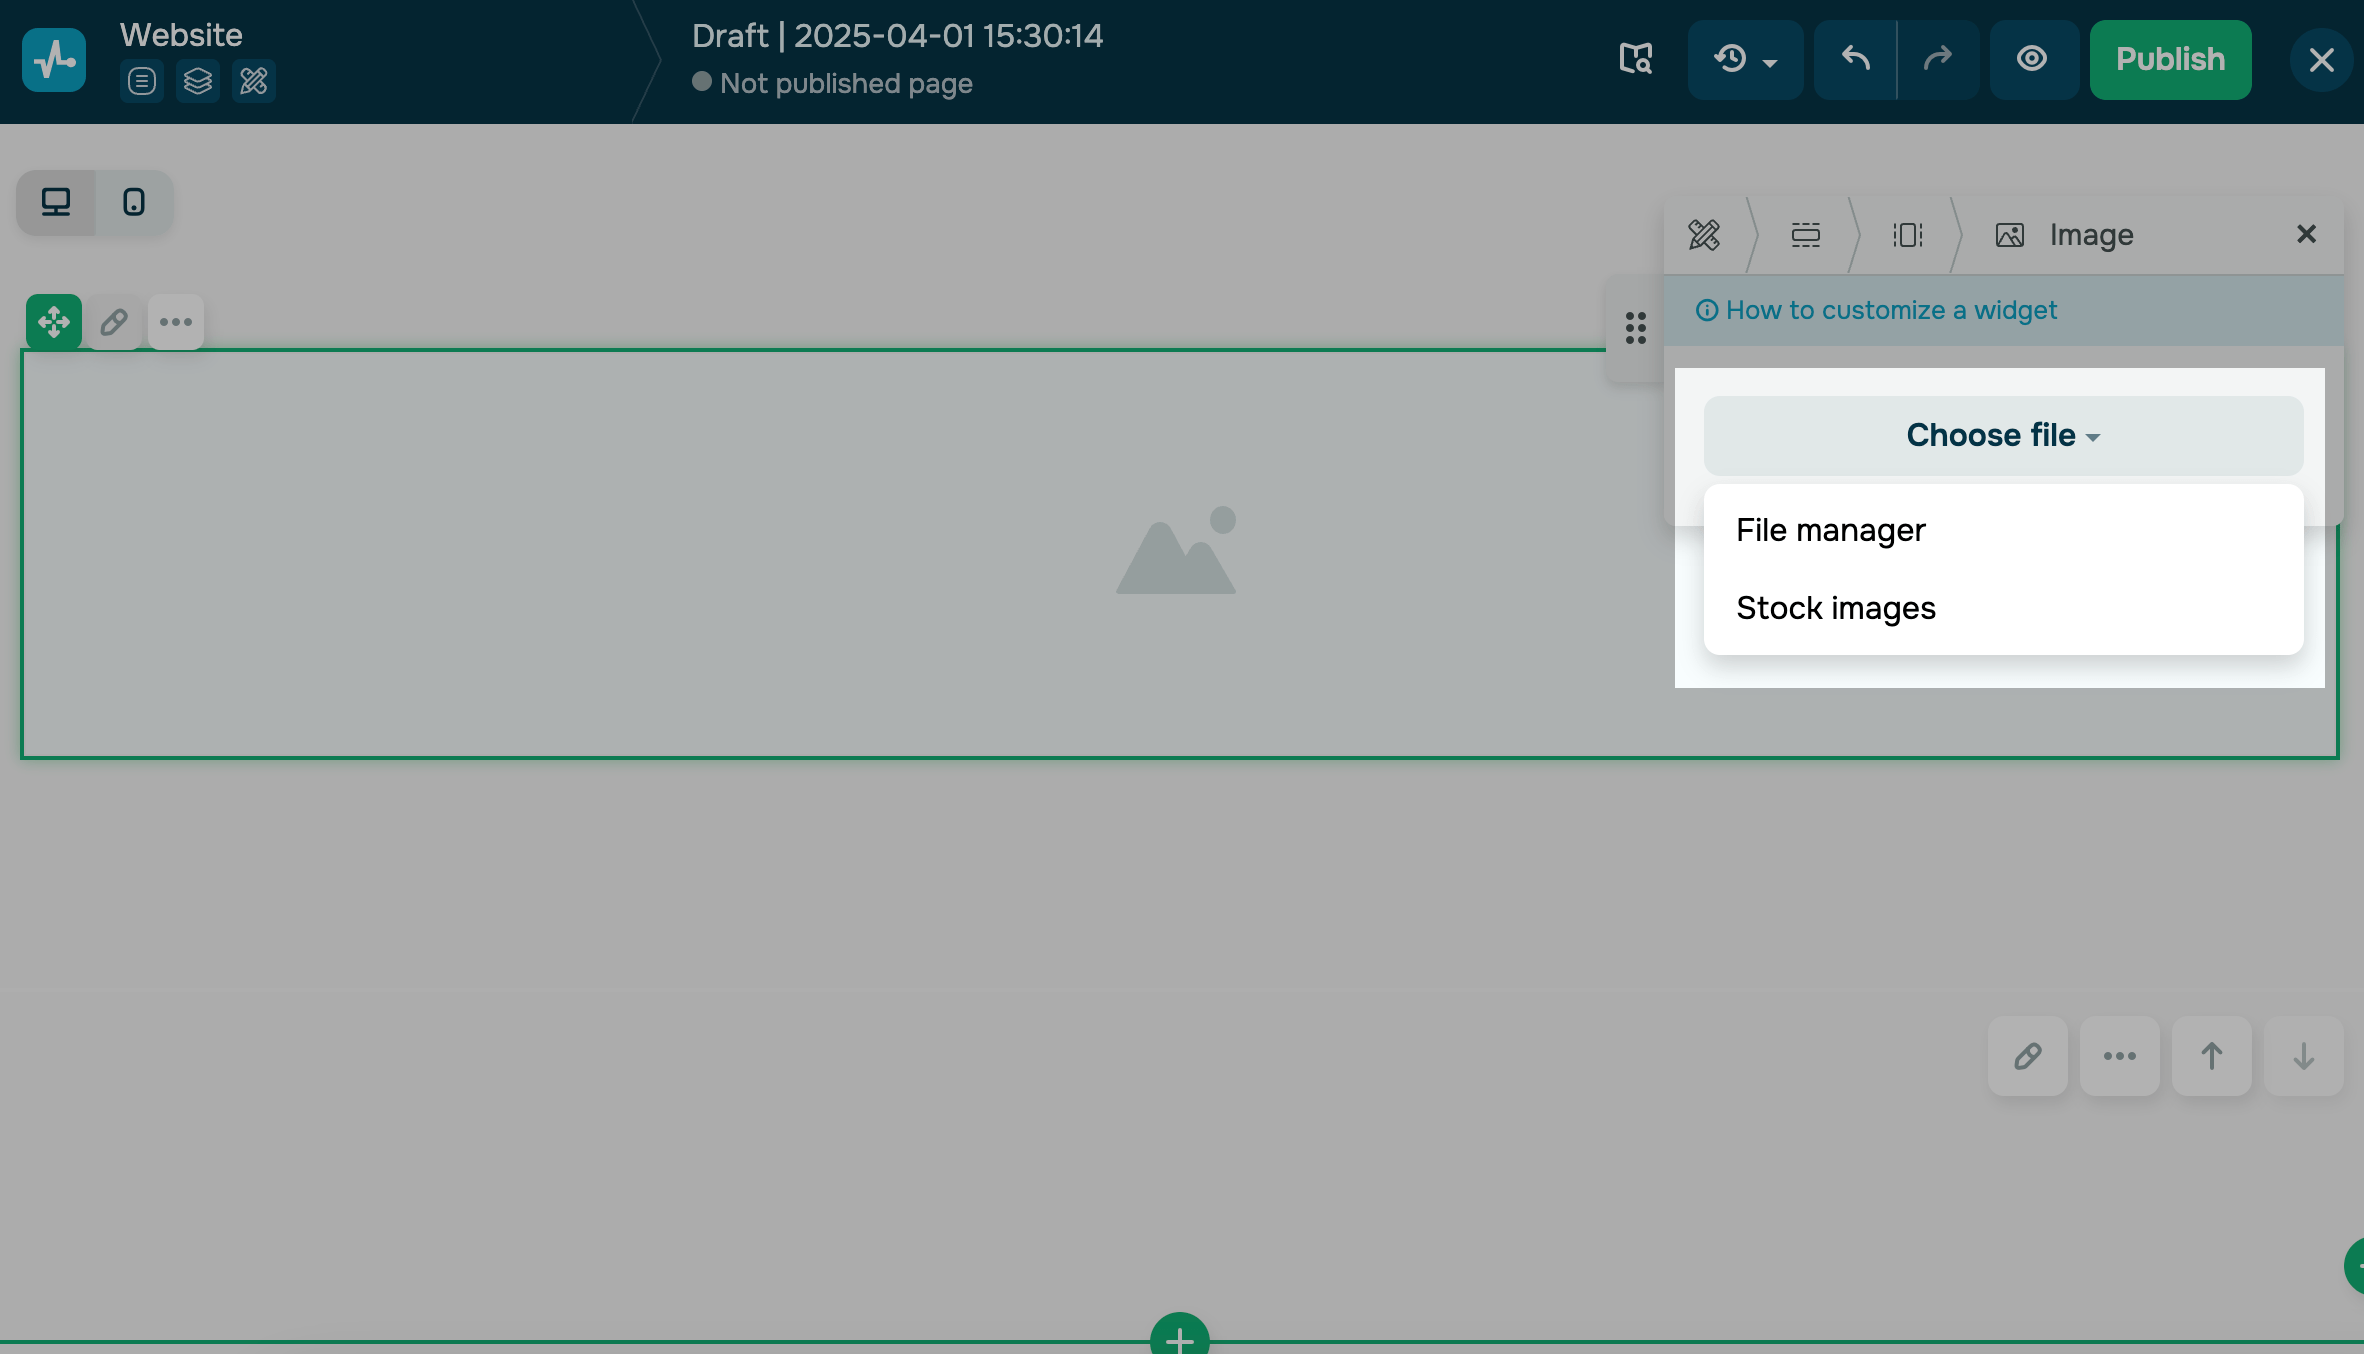
In the website builder, click Add a new widget, and select the Image element.

Click Choose file and select an option to add your image:
| File manager | Opens the file manager where you can select an existing image or upload a new one. |
| Stock manager |
Opens a modal window where you can choose an image from Unsplash’s free stock photos. You can search by image name, select an image from the list, and click Select at the bottom to add it to your page. |

Here is what you can do with your image:
| Edit | Click the image icon.
Read more: How to edit images using the website builder. |
| Upload new | Click the upload icon. |
| Settings | Click the pencil icon. You can add text, links, and effects to your image. |
| Delete | Click the trash can icon. |

Adjust the image appearance
You can adjust your image width and height:
| Scale | Resizes the image based on the specified width in pixels while preserving the original image proportions. |
| Fill | Resizes the image, filling the entire space of the block according to the specified height in pixels. The image proportions may change. |
You can also add a border, shadow, rounding, and alignment to your image.
To apply rounding to every corner of an image individually, go to the Rounding section, click the corner icon, and set a rounding value in pixels.
Styles for the mobile version are synchronized and configured automatically. If you need to make specific adjustments for the mobile version, synchronization should be turned off.

To enable scroll animation, turn on the corresponding toggle.
Select your animation type, direction, and speed.
Read more: How to customize your site elements: animation.

Add image effects and attributes
Click the pencil icon to the right of your image to add attributes, text, links, or effects. You can include alternative text shown when your image fails to load and add links to other pages or resources so that users can get more information by clicking your image.
Add attributes
You can add alternative text that will be displayed instead of the image in cases when it fails to load. You can also add links so that clicking on the image will redirect to another resource and provide more information.

Add effects
To apply an effect to your image, turn on the Content over image toggle. Select a display condition:
| Always | Static effect display. |
| On hover | Dynamic display upon hover. |

Static effects
In the Overlay field, select an option:
| Show text | Adds overlay text to your image. You can also adjust your text size, capitalization, emphasis (bold or italic), text and background color, internal padding, and position.
Your text can be no longer than 100 characters. |
| Apply shape | Crops your image into a shape. |
Click Save.
Hover effects
In the Action field, select a dynamic on-hover display option:
| Show on text | Shows overlay text. You can also adjust your text size, capitalization, emphasis (bold or italic), text and background color, internal padding, and position. |
| Change image | Replaces your image with the selected one. |
| Scale up | Enlarges your image on hover. |
| Scale down | Shrinks your image on hover. |
Click Save.
Copy your element ID
Every image has an ID that distinguishes it on the page. With it, you can add styles and scripts, show pop-ups, and track events for this element.
To copy an ID, click it. To edit an ID, click the pencil icon.
Read more: Block and widget ID.

Last Updated: 01.04.2025
or