The Map widget in website builder
With the SendPulse website builder, you can add a map widget so that users can find the address of your office, showroom, sports club, or any other location using Google Maps.
Let’s talk about what you need to add and customize a Google Maps widget on your page.
Obtain a google maps API key
First, ensure that you've set up your linked project on the Google Cloud platform and obtained your private key for accessing the Google Maps API.
Before you start
Log in to a Google Account (your personal account or a linked work account). Go to the Google Cloud console, create a new project, and add its name and parent organization (if necessary).
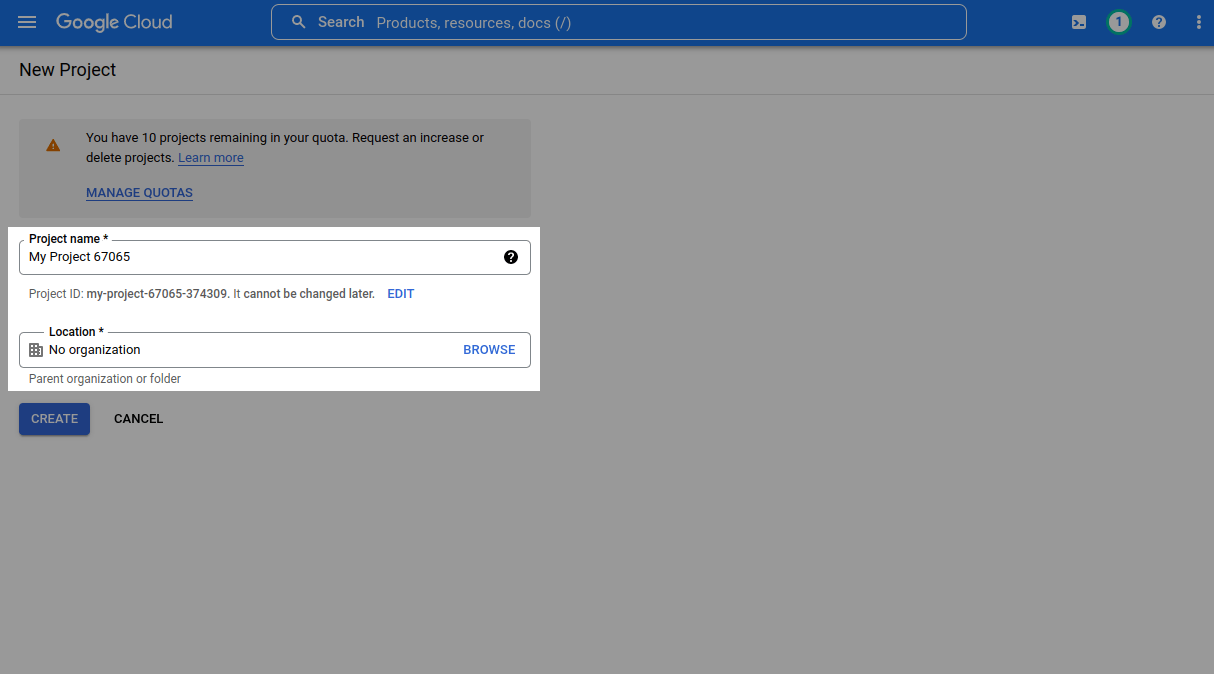
Click Create.
Enable the maps JavaScript API
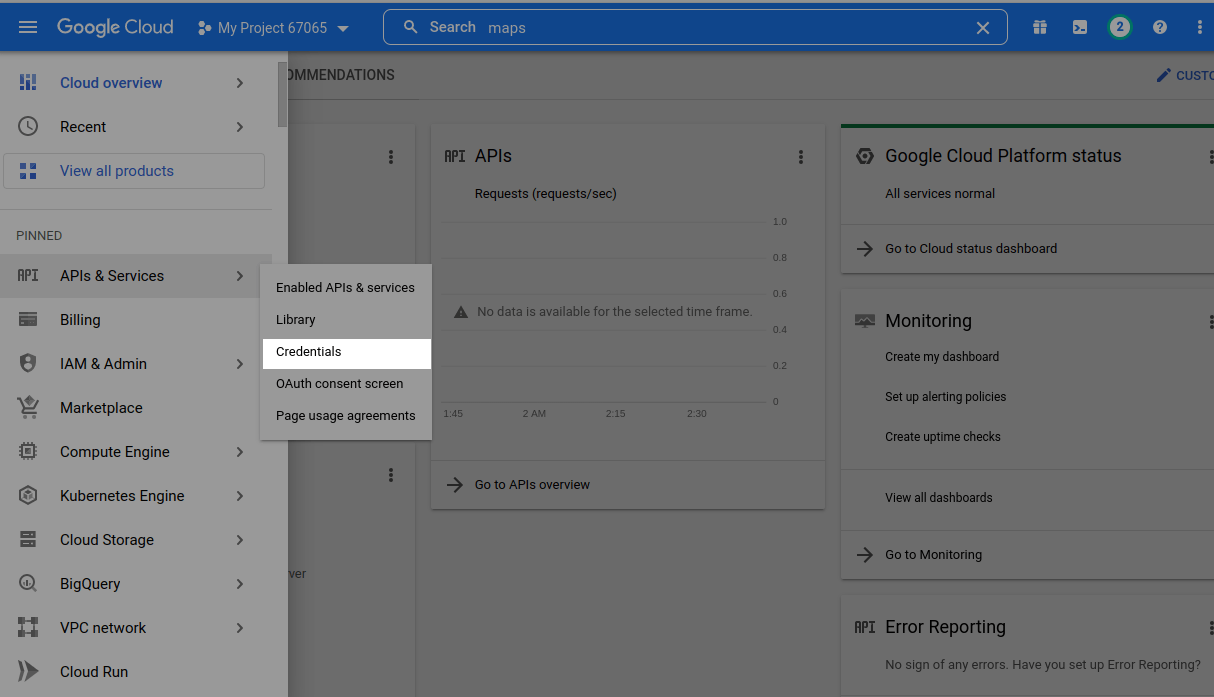
Go to APIs & services > Enabled APIs & services.
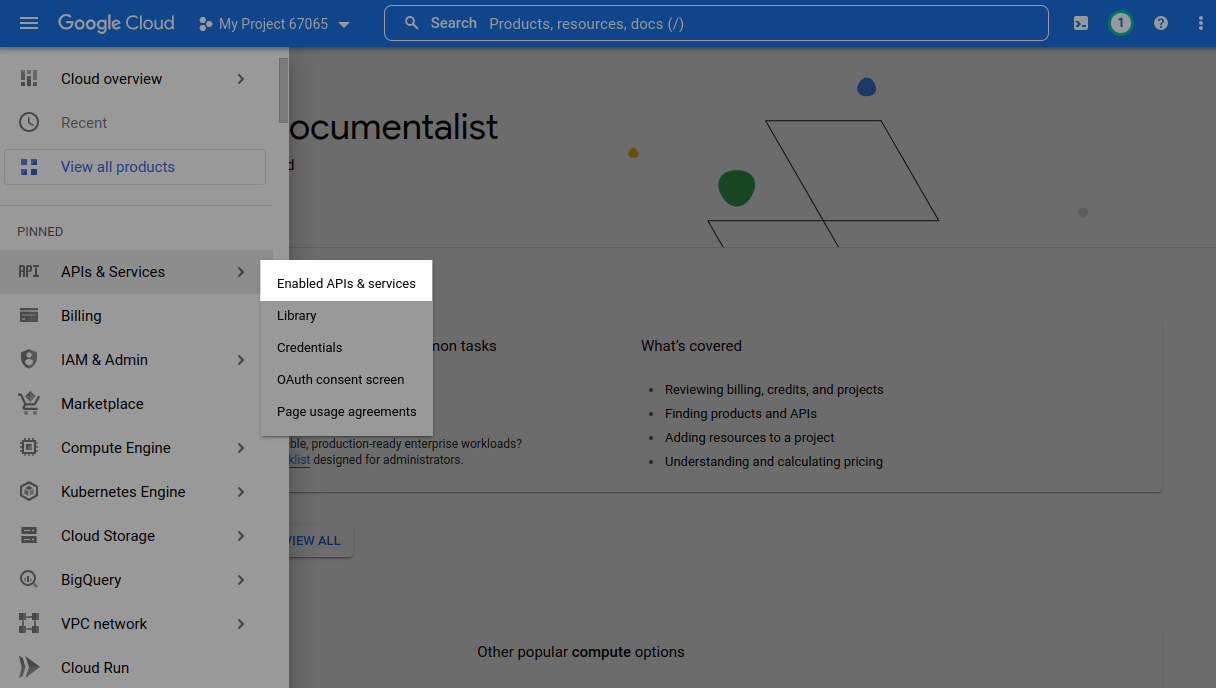
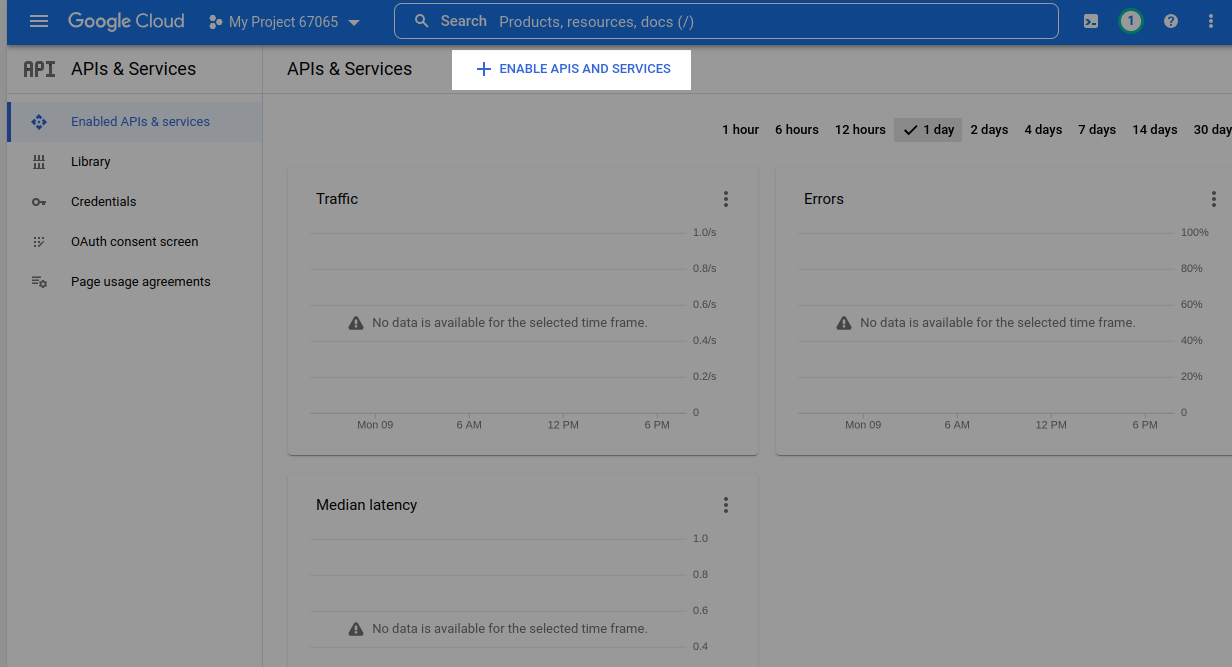
Click Enable APIs & services to access the API library.
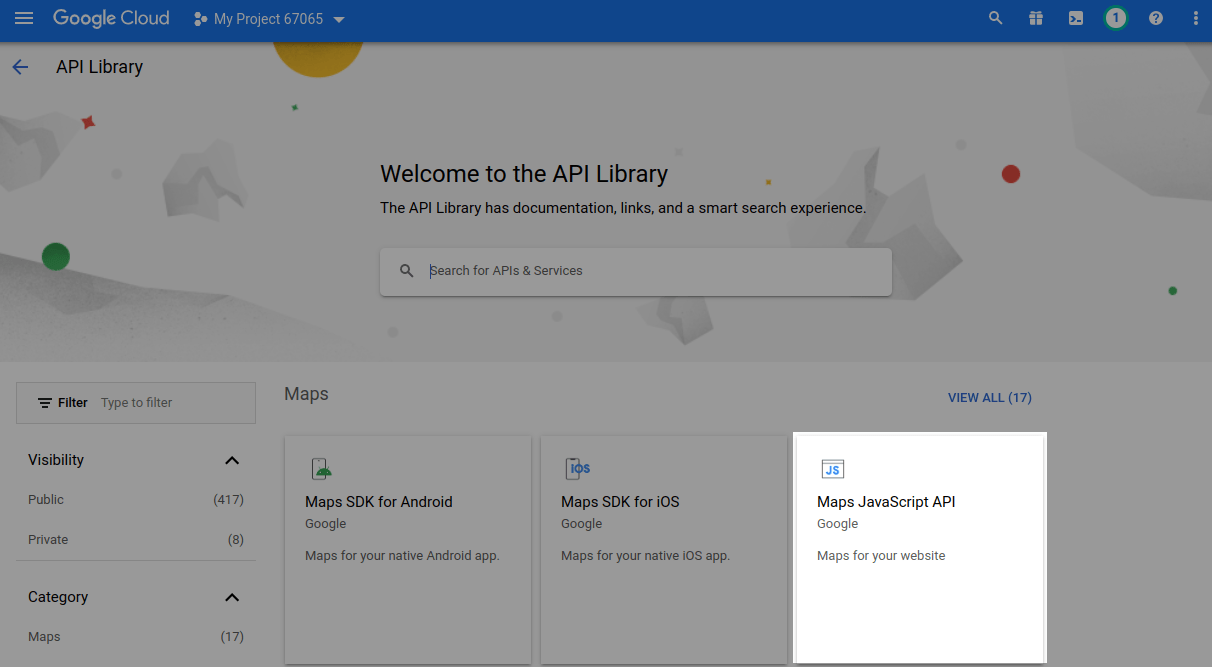
In the library, look for the integration with the Maps JavaScript API, and enable it.
Connect a Payment Account
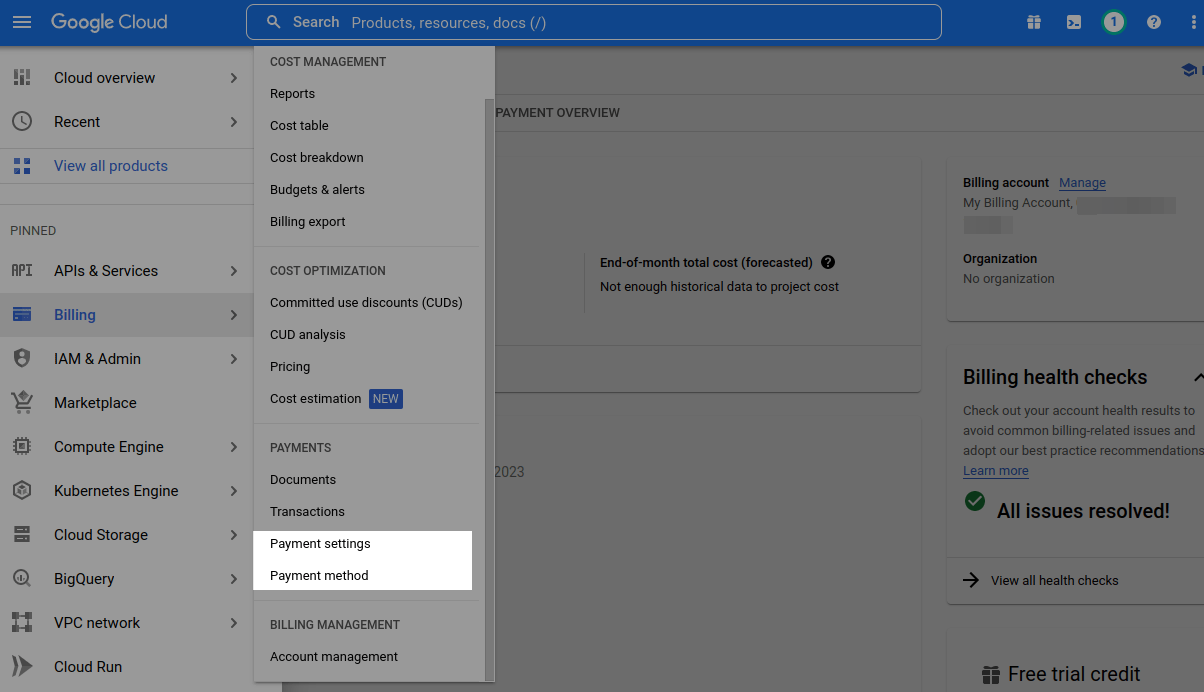
A payment account setup is a prerequisite for integrating the Google Maps API.
Go to Billing > Payment settings to add the required details and then to Billing > Payment method to link your payment card.
Initially, the Google Cloud platform gives you starter funds to pay for services and allows you to use the API for free for a trial period that lasts 3 months. When the trial period expires, or you use up all your starter funds, you need to upgrade your account type.
With the paid account, you also get free monthly traffic for user interactions with maps. You receive enough traffic for about 28,000 user sessions with map loads per month, and anything above that is charged from your payment account at the rates listed on Platform Pricing & API Costs.
Get a Key
After enabling the Maps API, you will receive a unique key for access. You can copy it immediately or later in Credentials.
Here, you can also update an existing key, delete it, or generate a new one if needed, but in this case, make sure you replace the keys in the settings of your already connected maps.
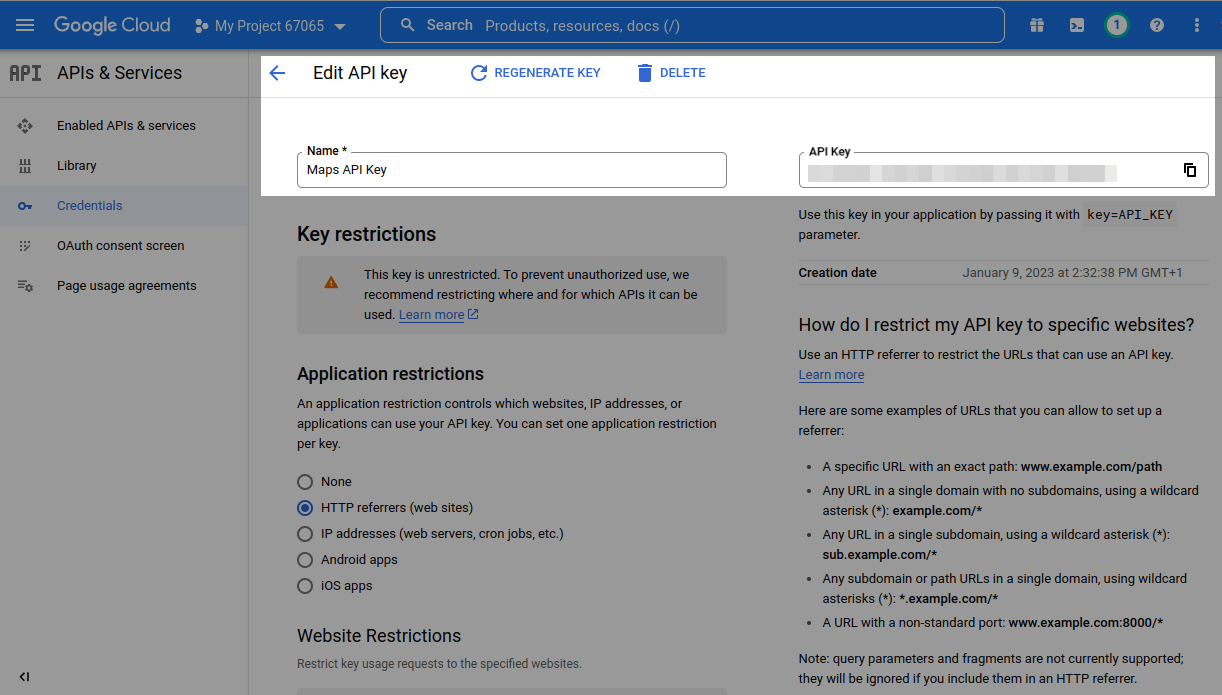
We also recommend you take care of the security of your API key and limit the requests received only from your sites. For that, select "HTTP referrers (web sites)," and specify the URLs of the pages where you plan to place your map widget.
Add a widget to your page
Select a widget in the website builder
Open your page in the website builder, and go to the required section, for example, Contacts. Click Add Widget, and select the Map element.
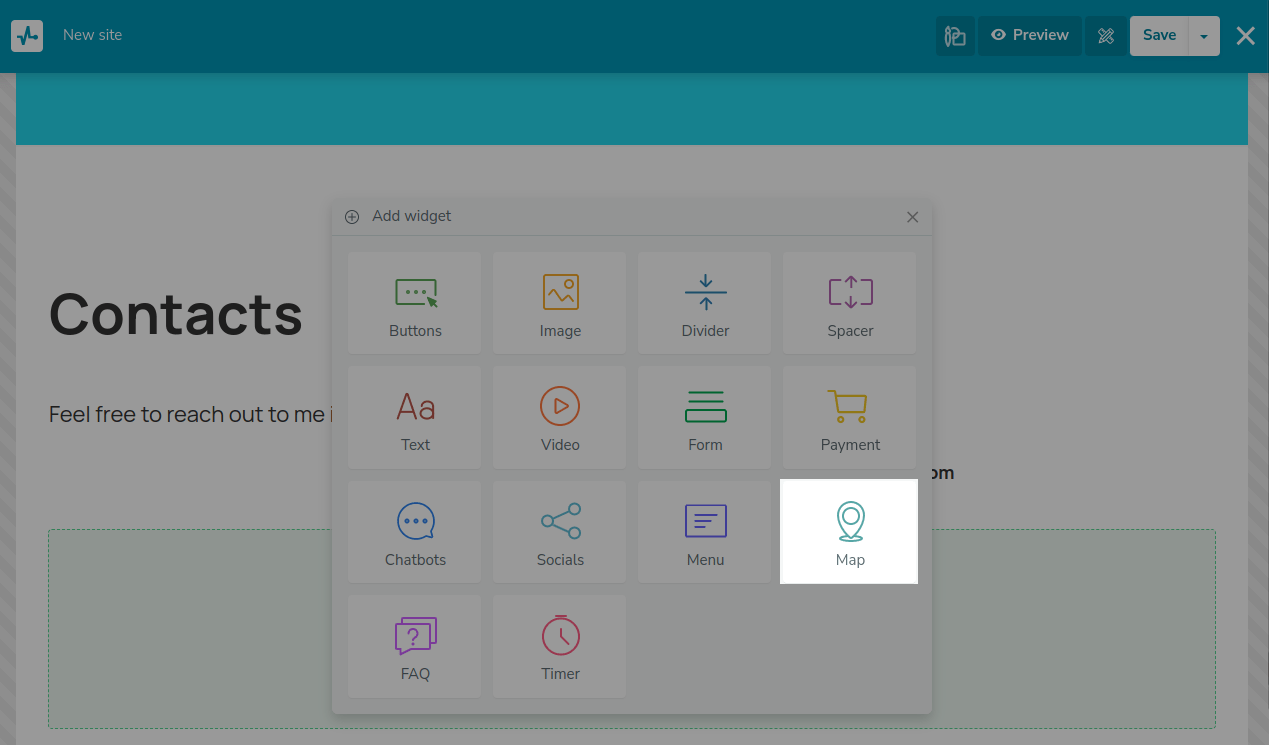
Specify your API key in the widget settings, and click Save.
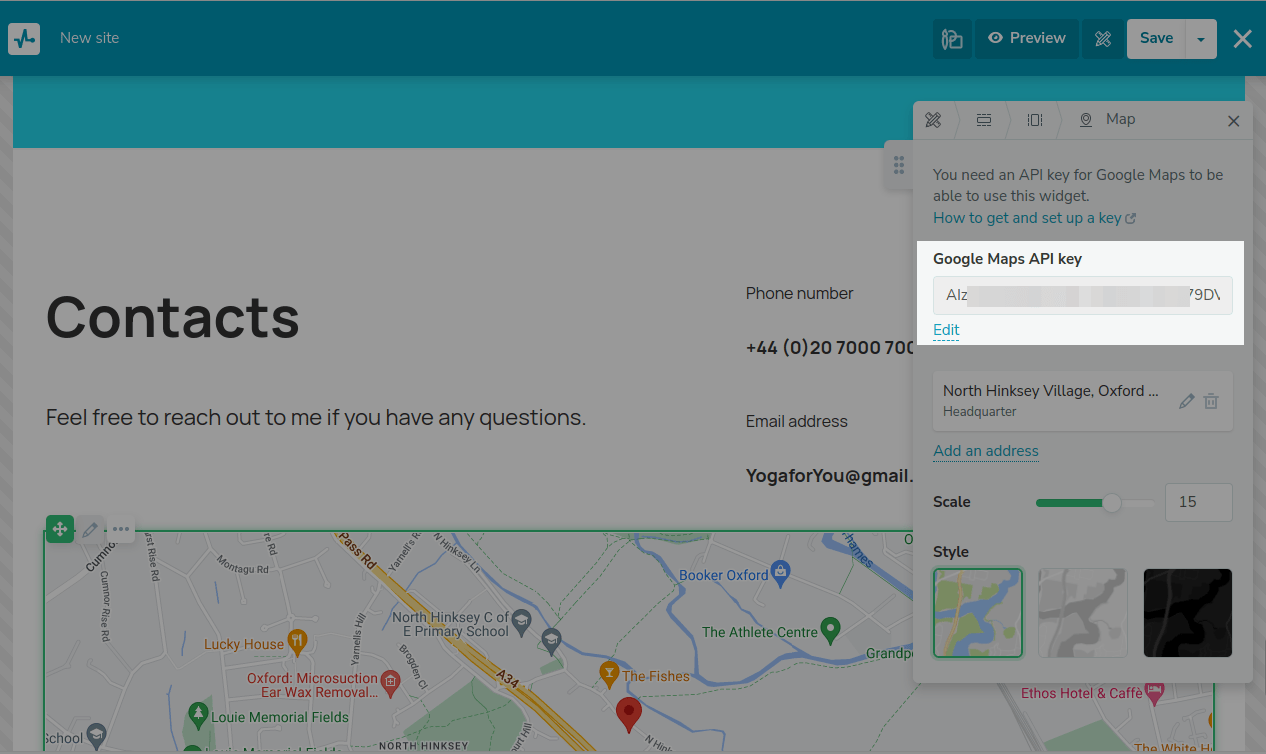
Later, if necessary, you can replace the key by clicking Edit.
Add placemarks to a map
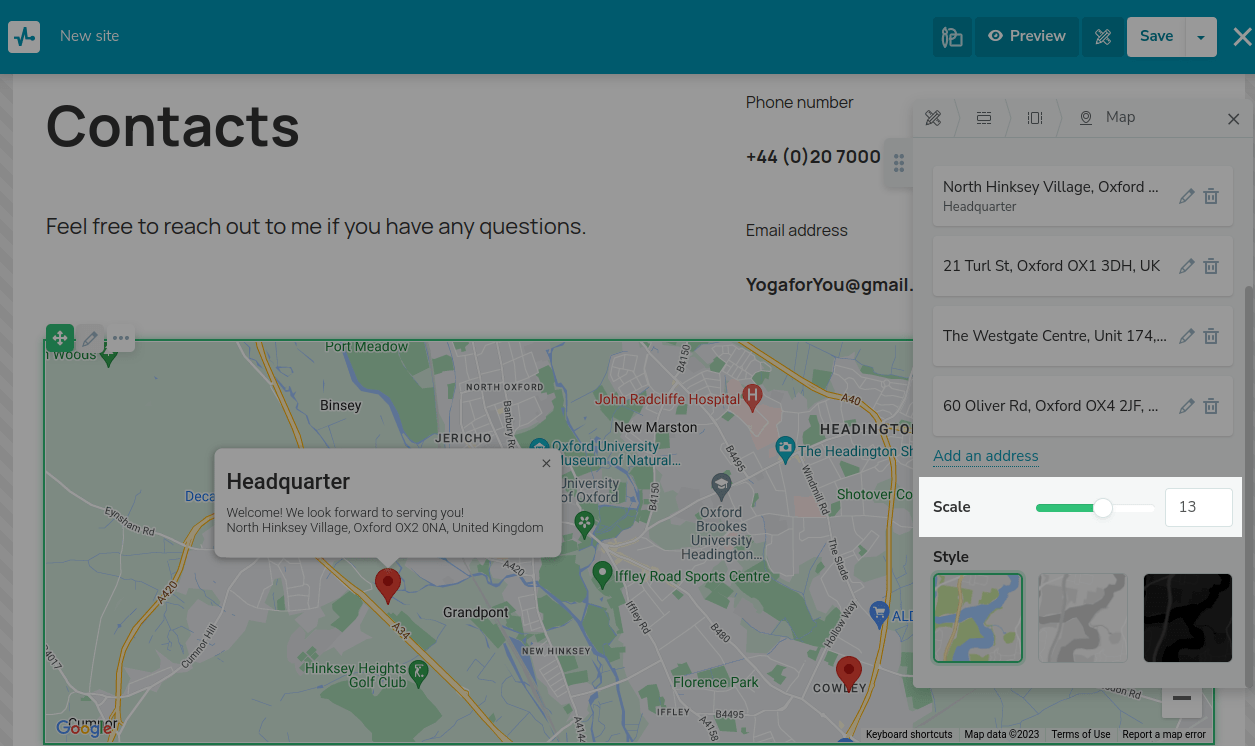
You can add one or more addresses to display in the widget. Use the built-in Google search to locate an address in the input or select a placemark on a map.

Then, you can also enter a name for the location and a brief description that will appear in a bubble above the placemark.
Add each subsequent address by clicking Add Address.
Customize the appearance
You can scale the map to display your placemarks better, but if the locations are far apart, we advise you to add more than one widget with maps of the relevant areas.
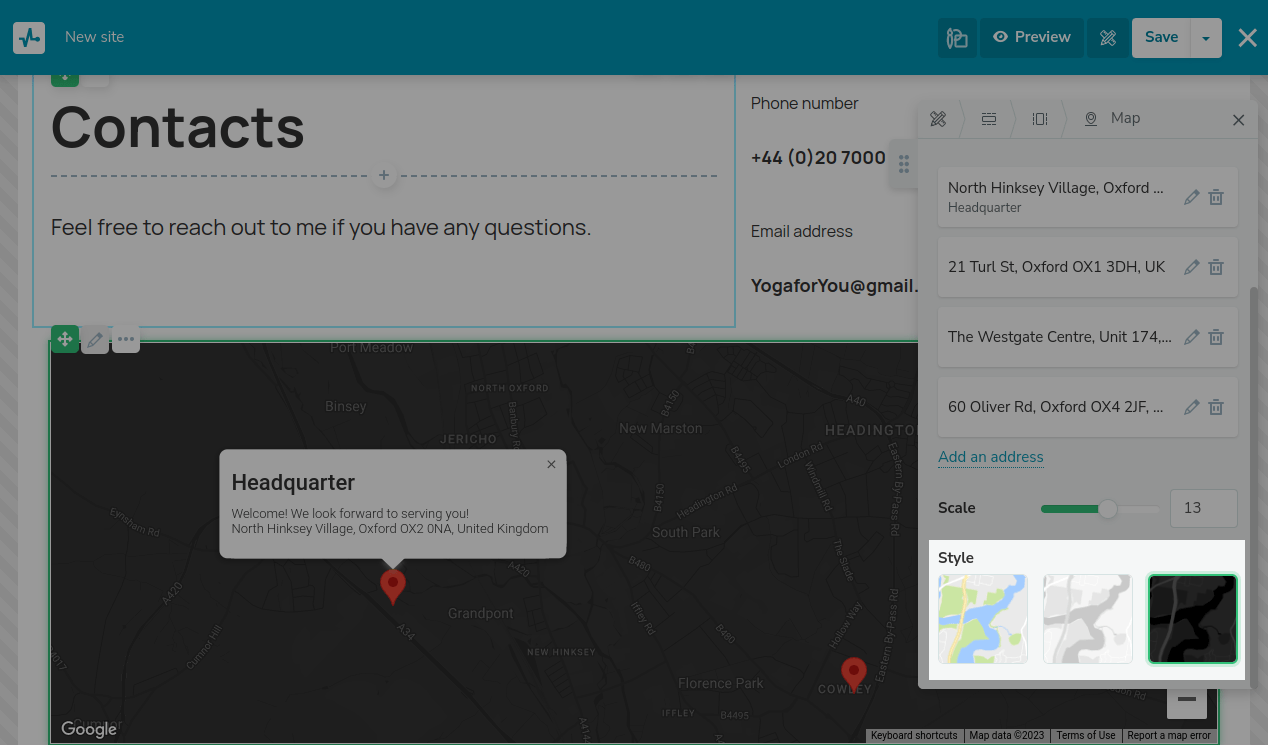
You can also choose a map style that best suits your page's design.
Copy your element ID
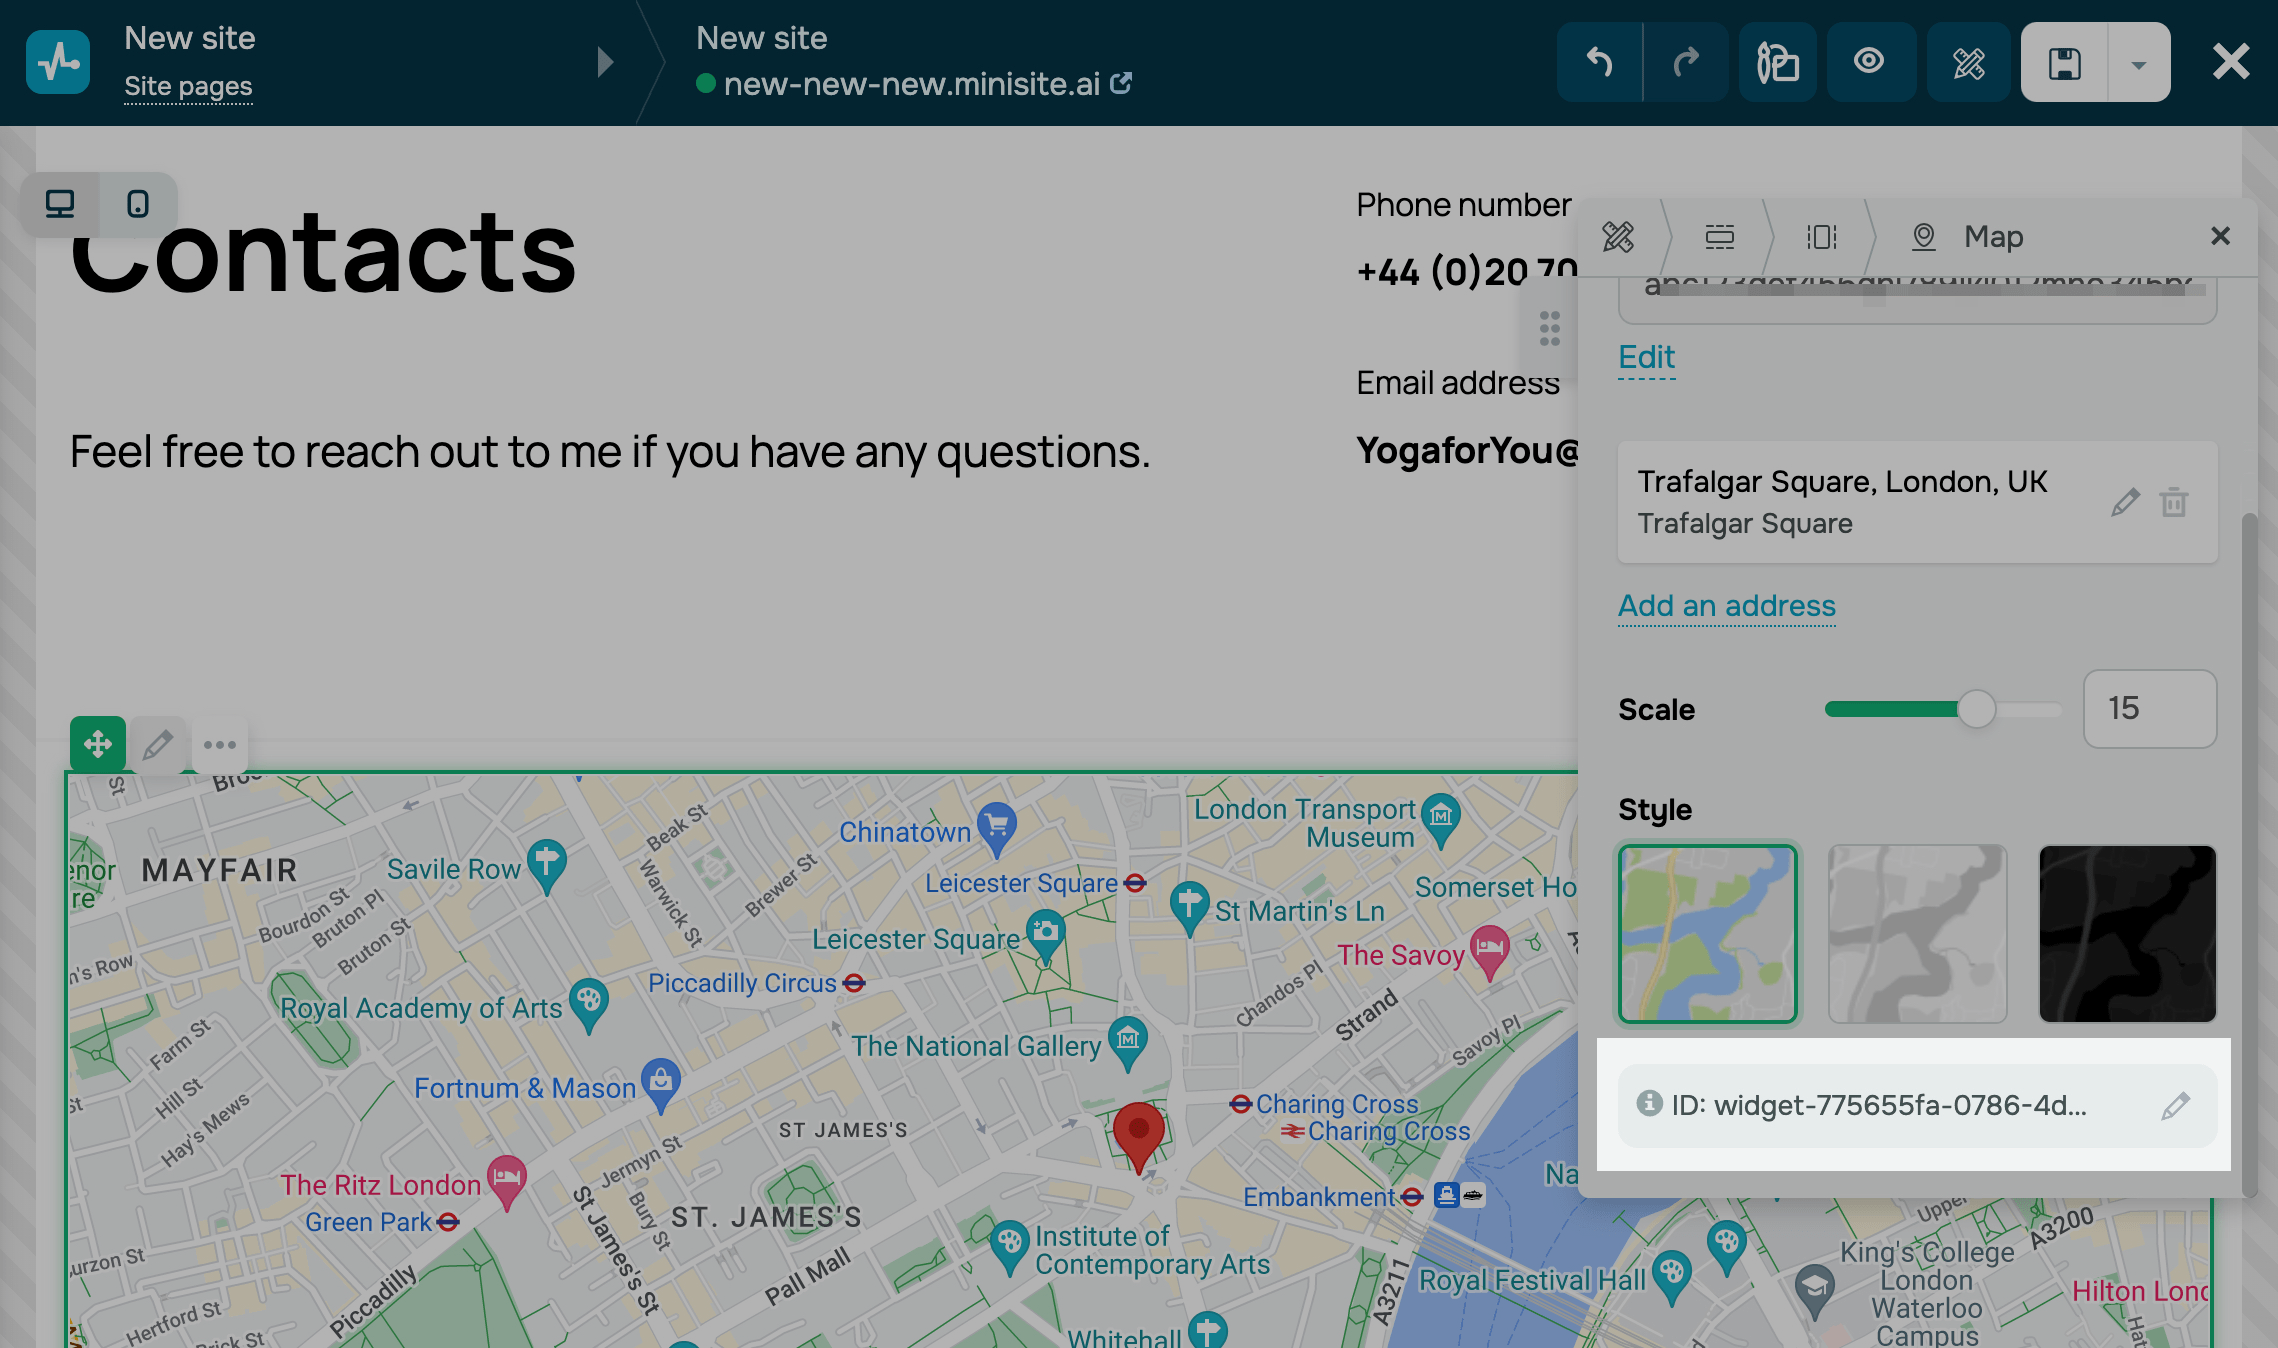
Every element has an ID that distinguishes it on the page. With it, you can add styles and scripts, show pop-ups, and track events for this element.
To copy an ID, click it. To edit an ID, click the pencil icon.
Read more: Block and widget ID.
Last Updated: 05.02.2025
or