The Menu widget in website builder
In the SendPulse website builder, you can add a Menu element to make it easier for the user to navigate your site and find the information they need.
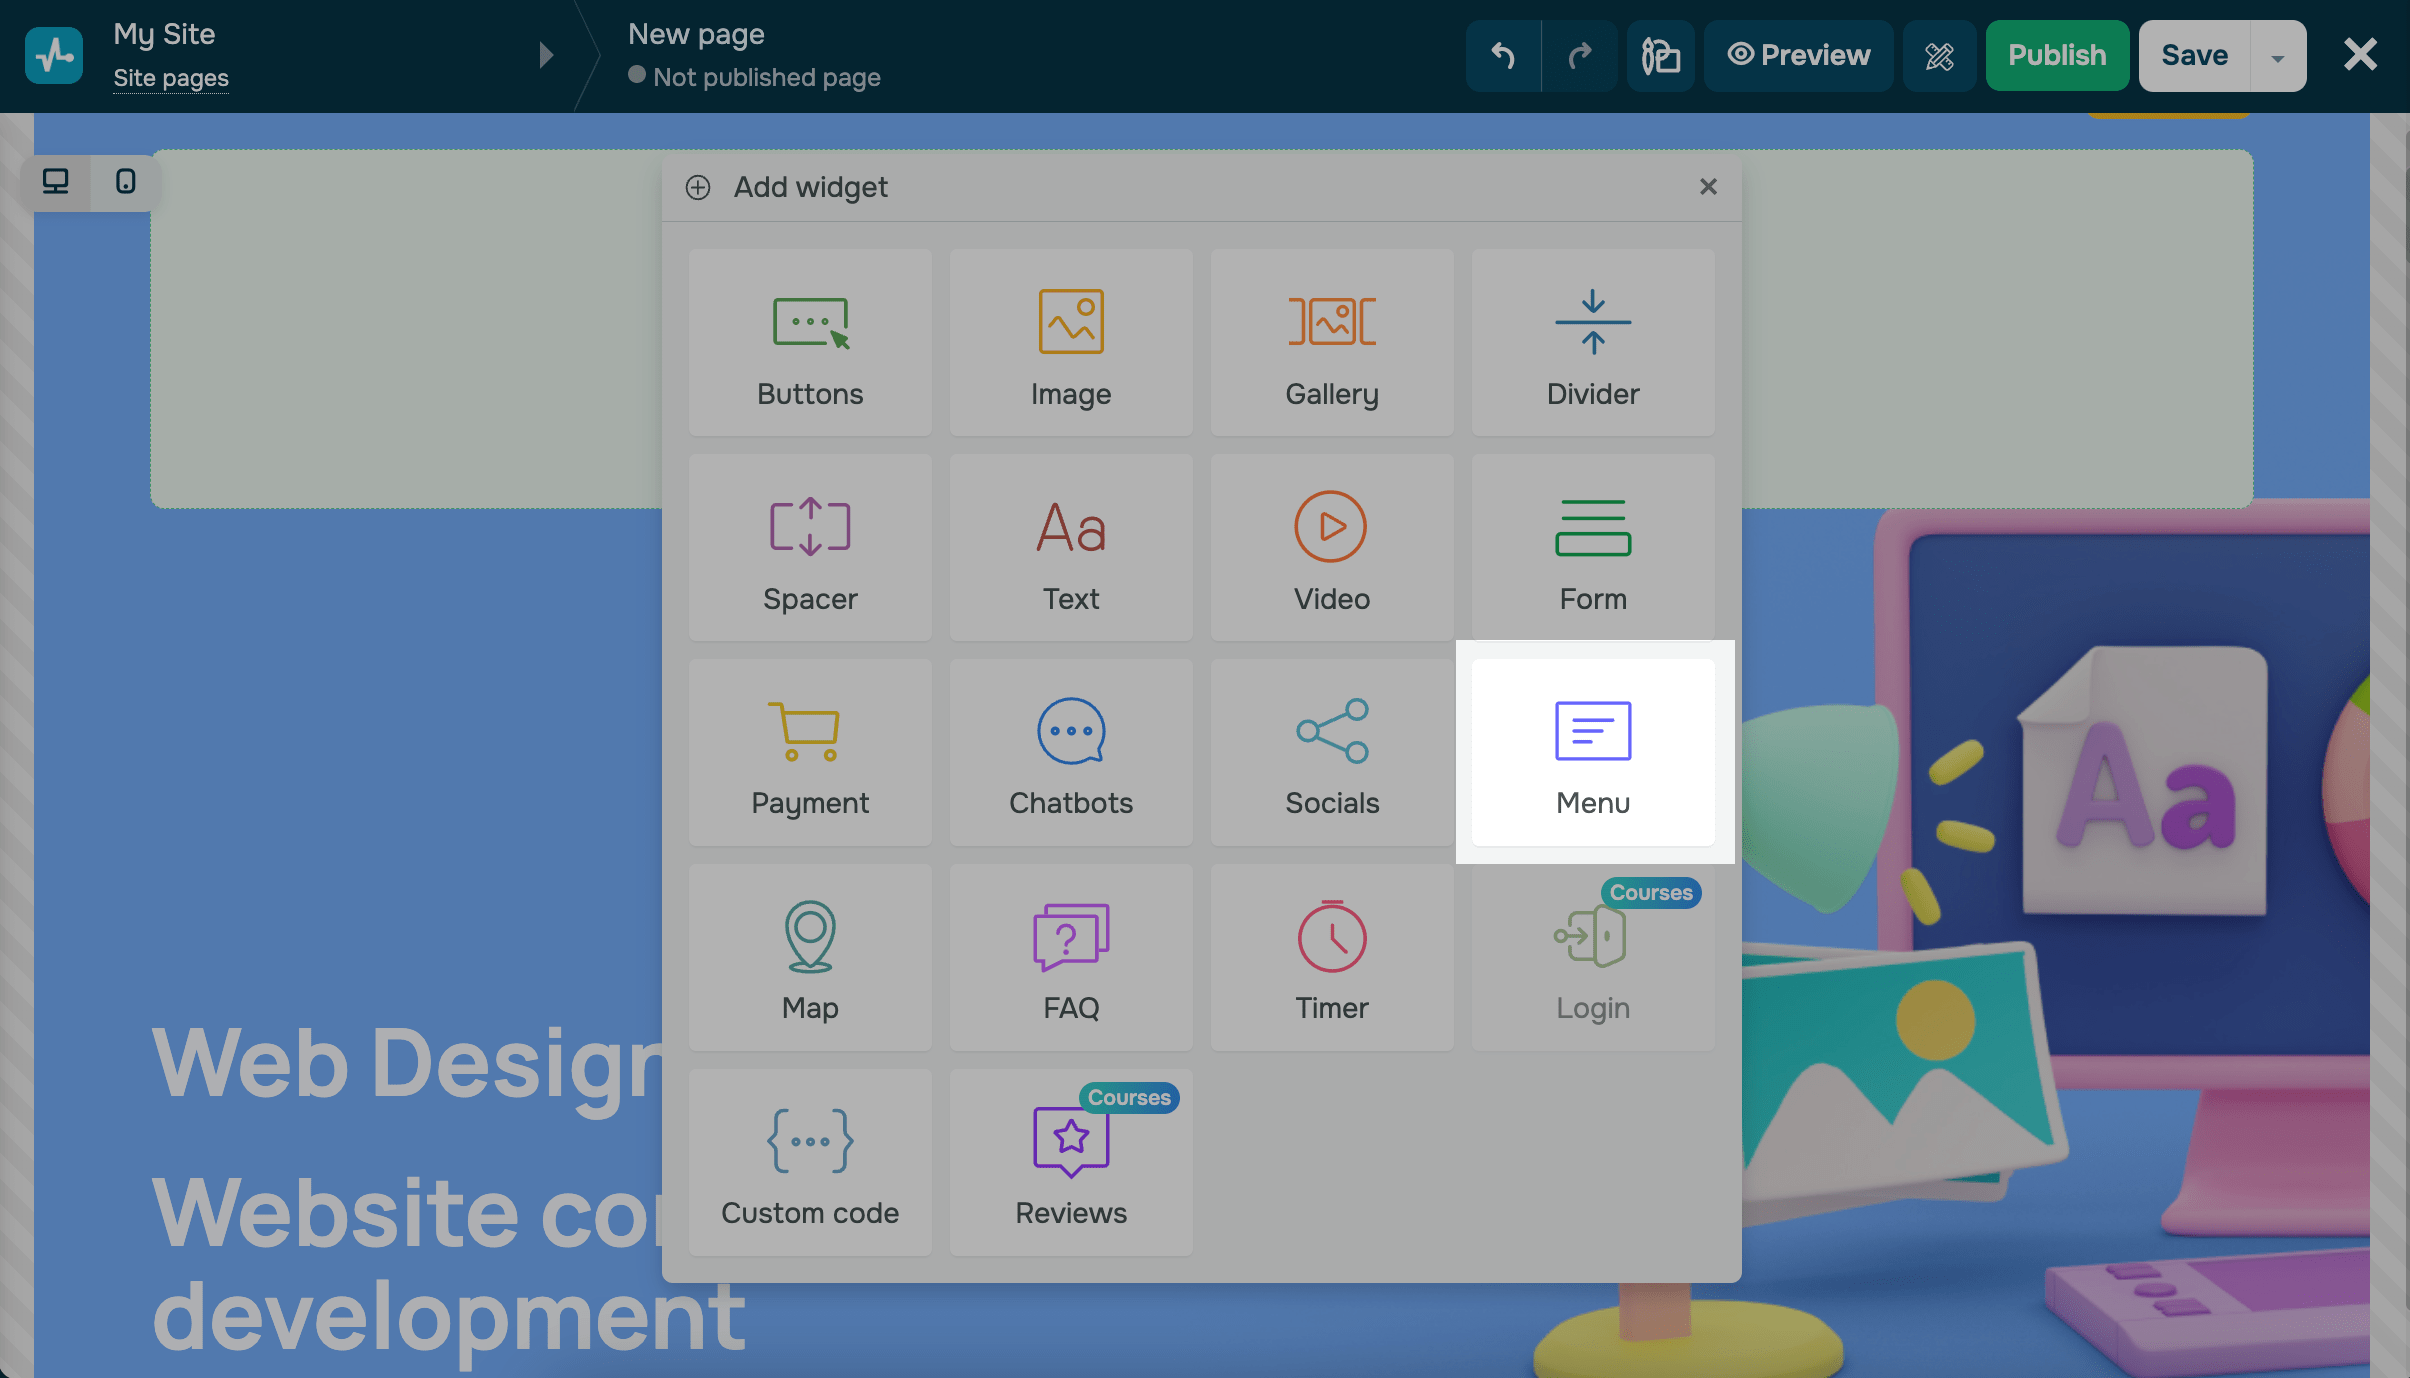
Add the element
Add the Menu widget to the desired part of the template.
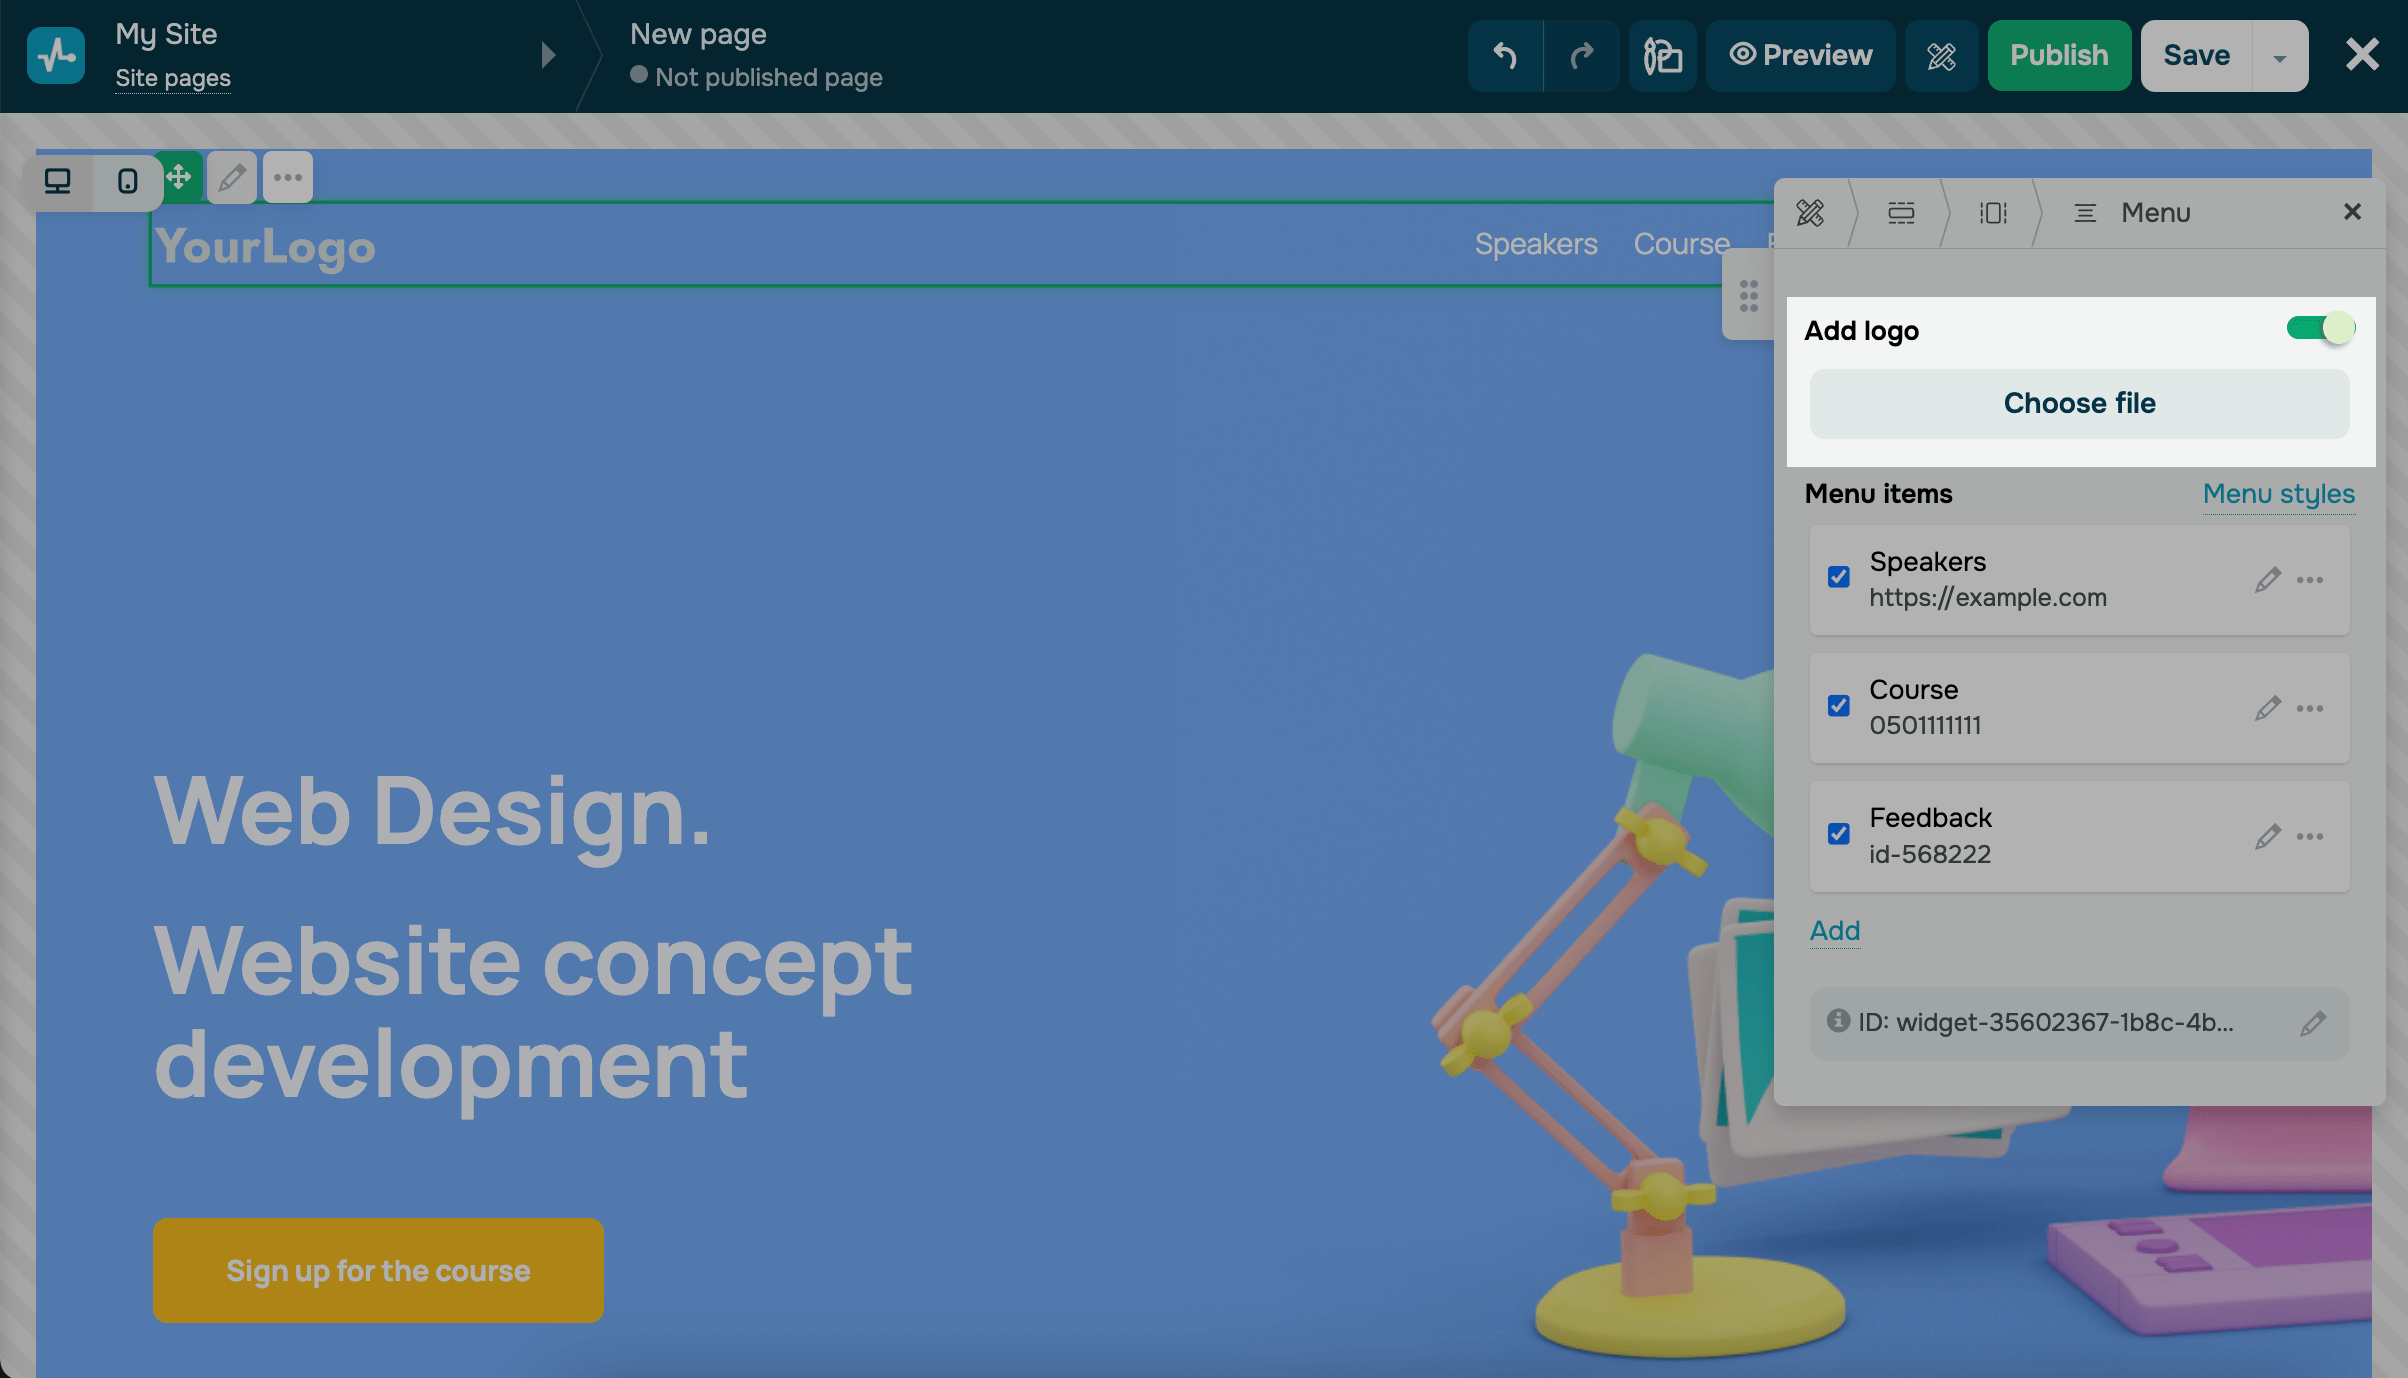
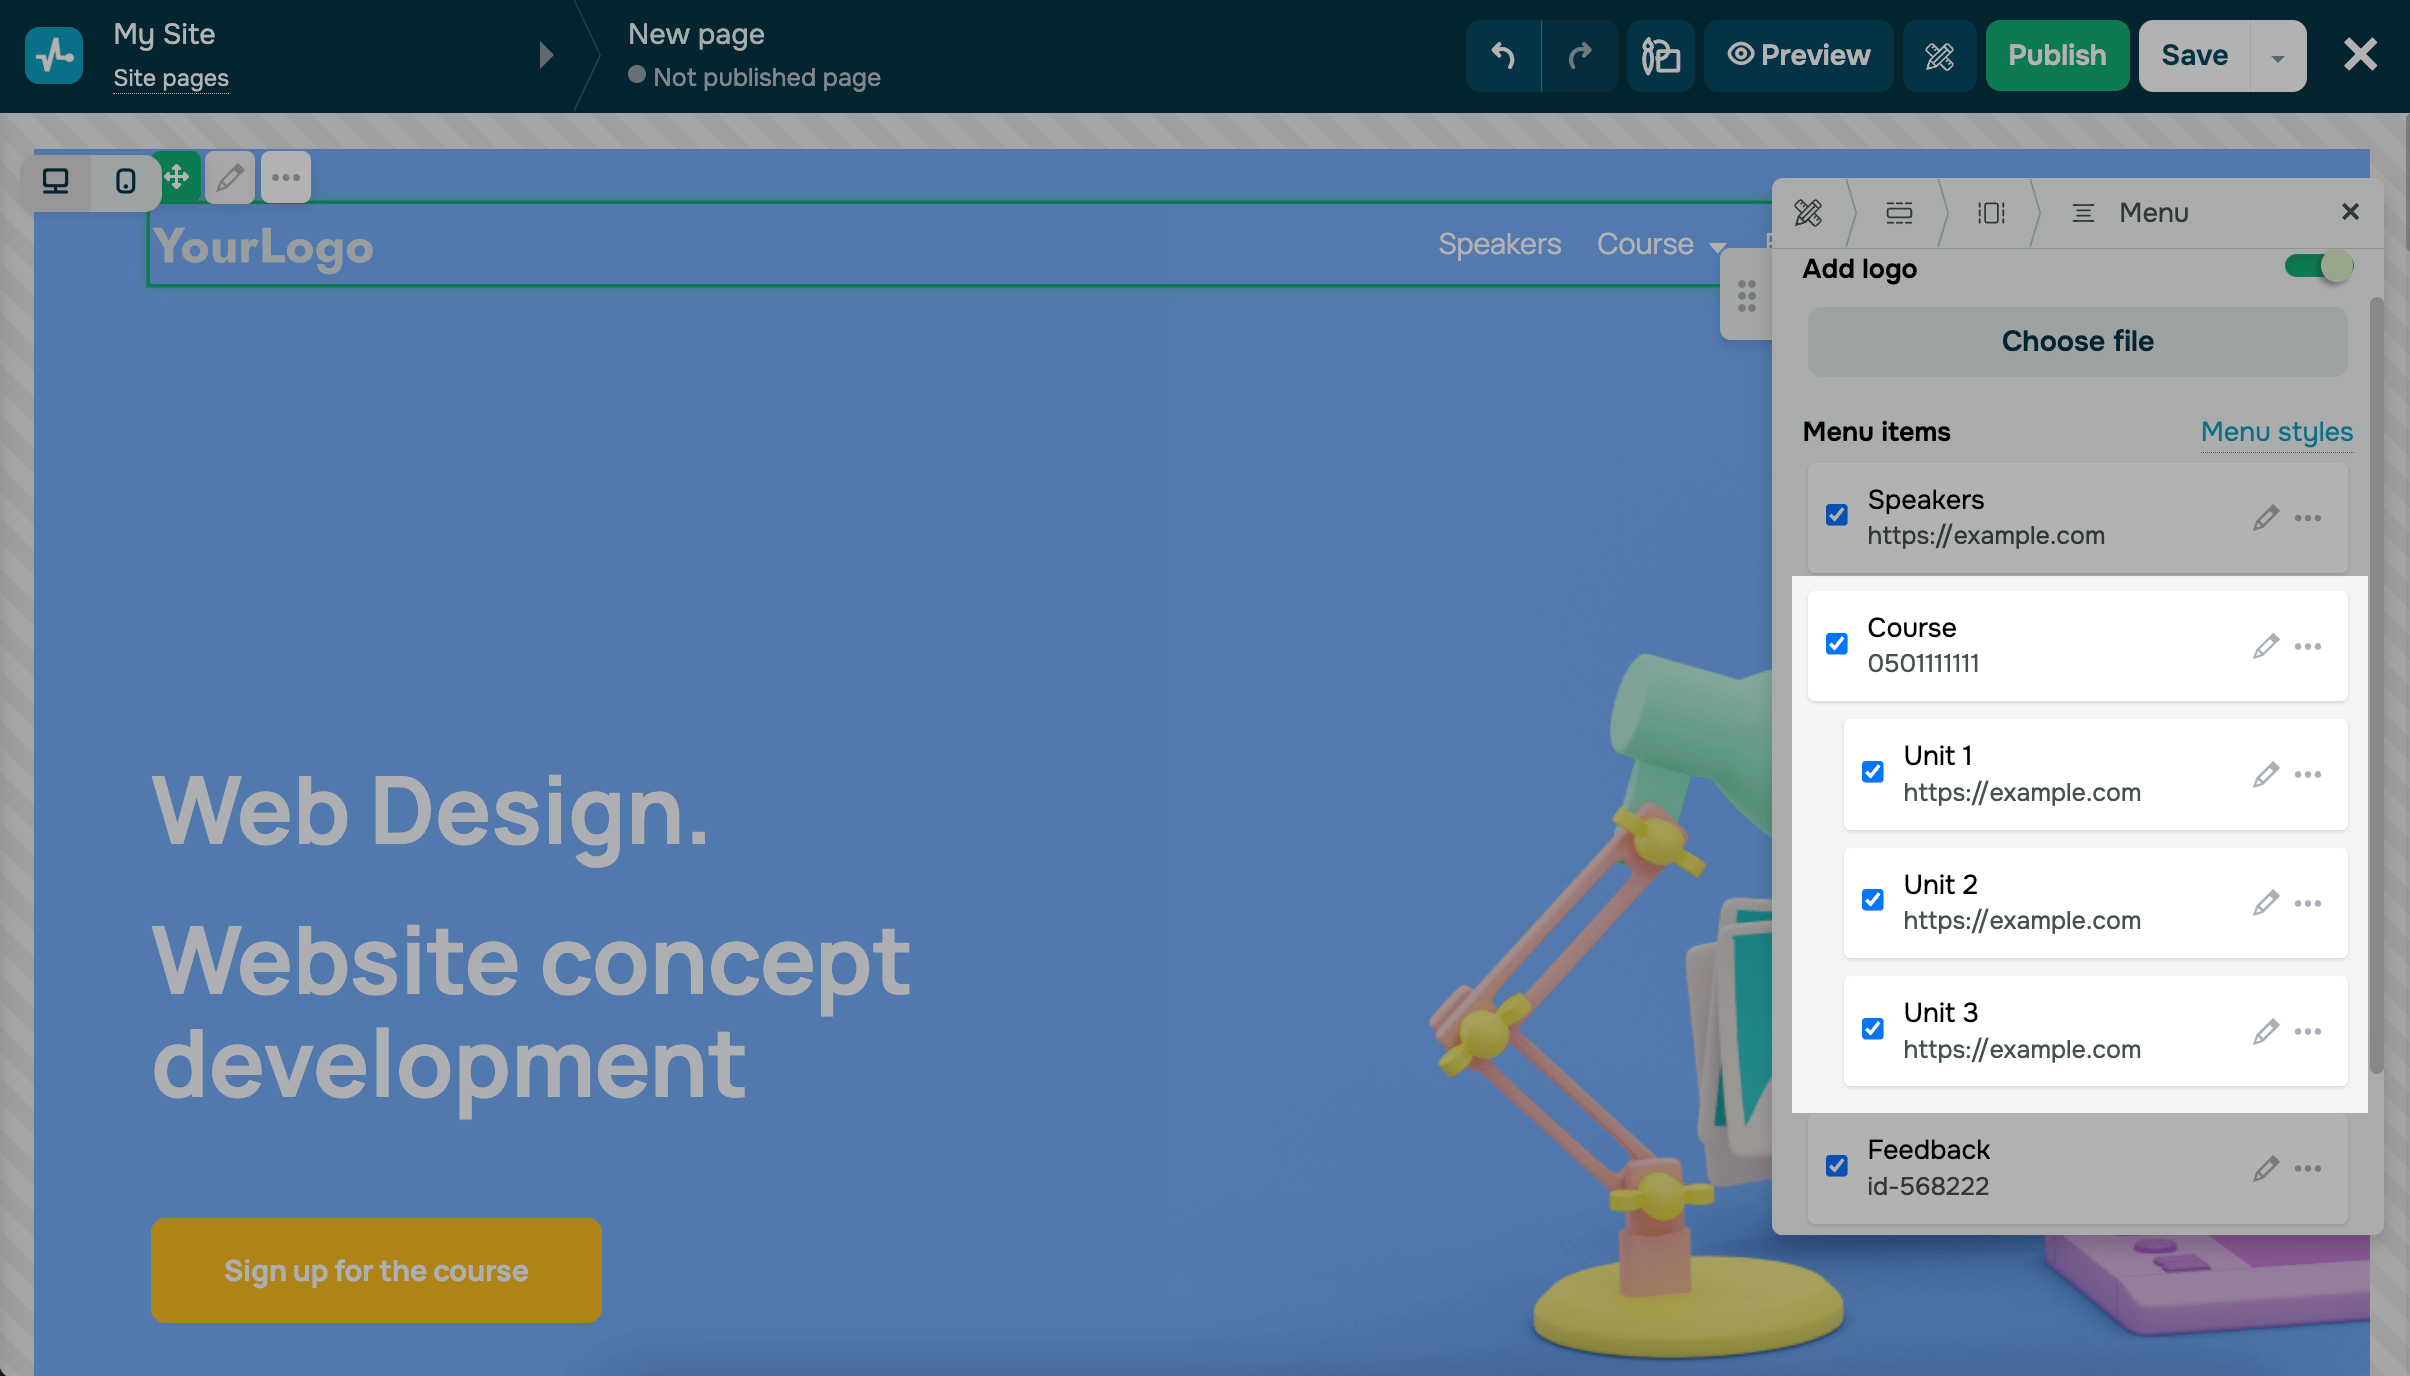
Add Logo
Activate the Add logo option and select or upload an image in the file manager.
To adjust the appearance of the logo, enter the size in the Width field, and you can select the image alignment in the menu styles settings.
Add menu items
Below, you will see examples of items that can be added to your site's menu.
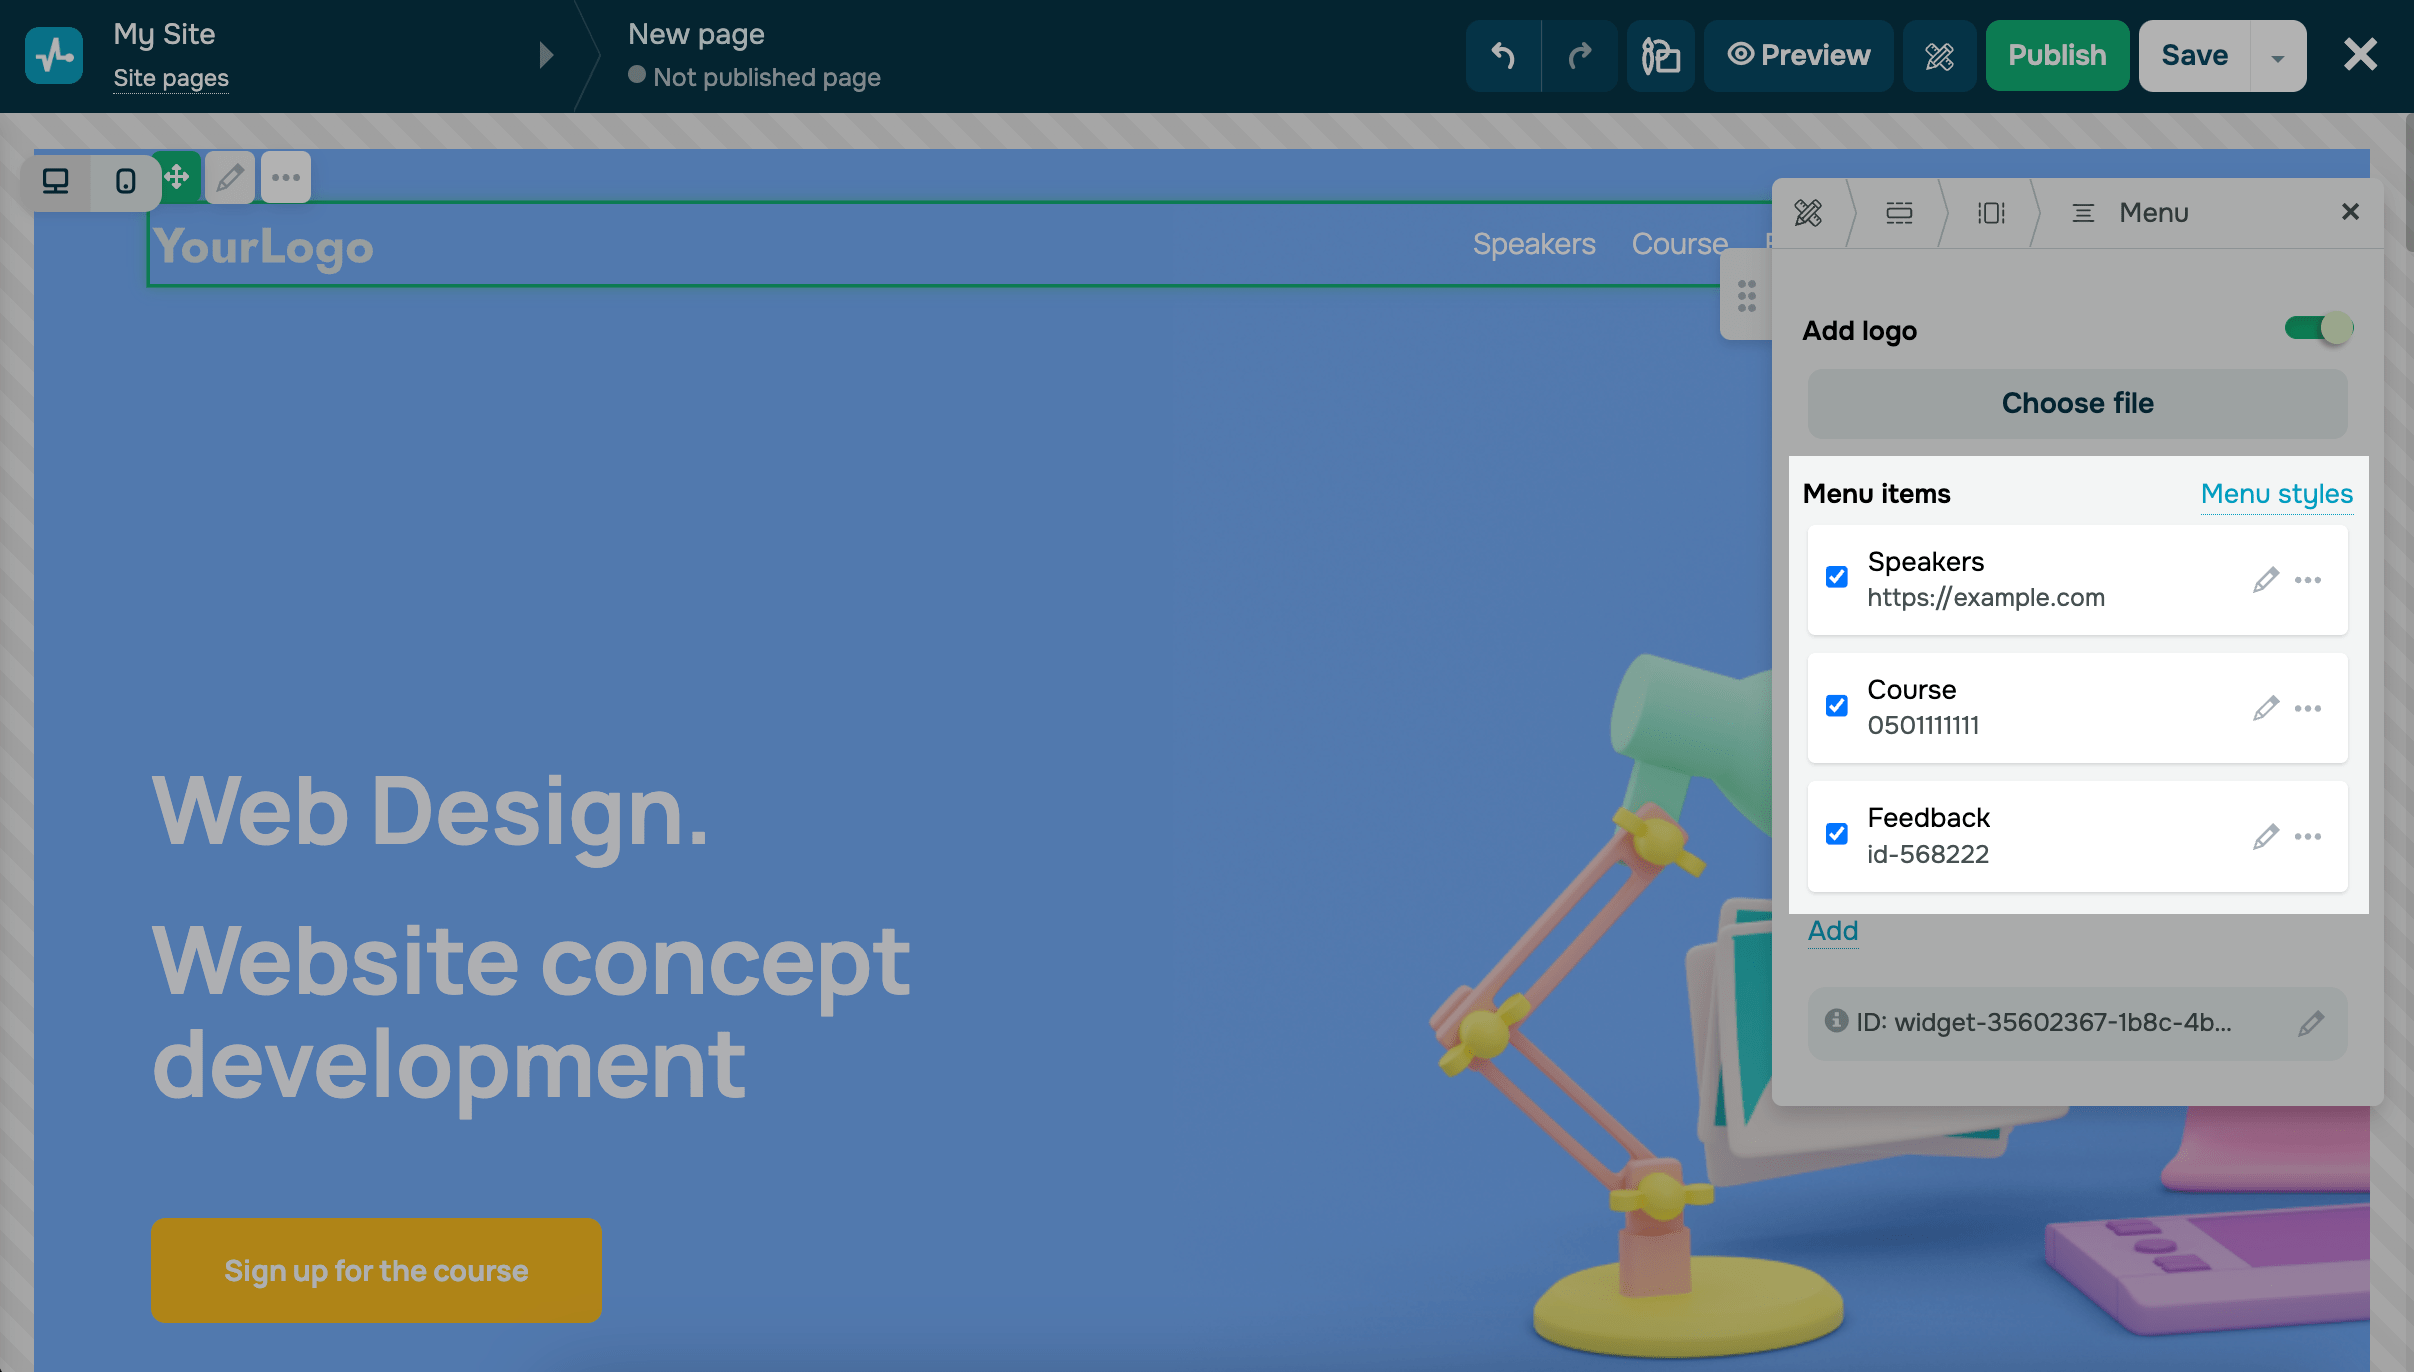
To add a new item to the menu, press Add. To modify a menu item, press the pencil icon and enter a new item name.
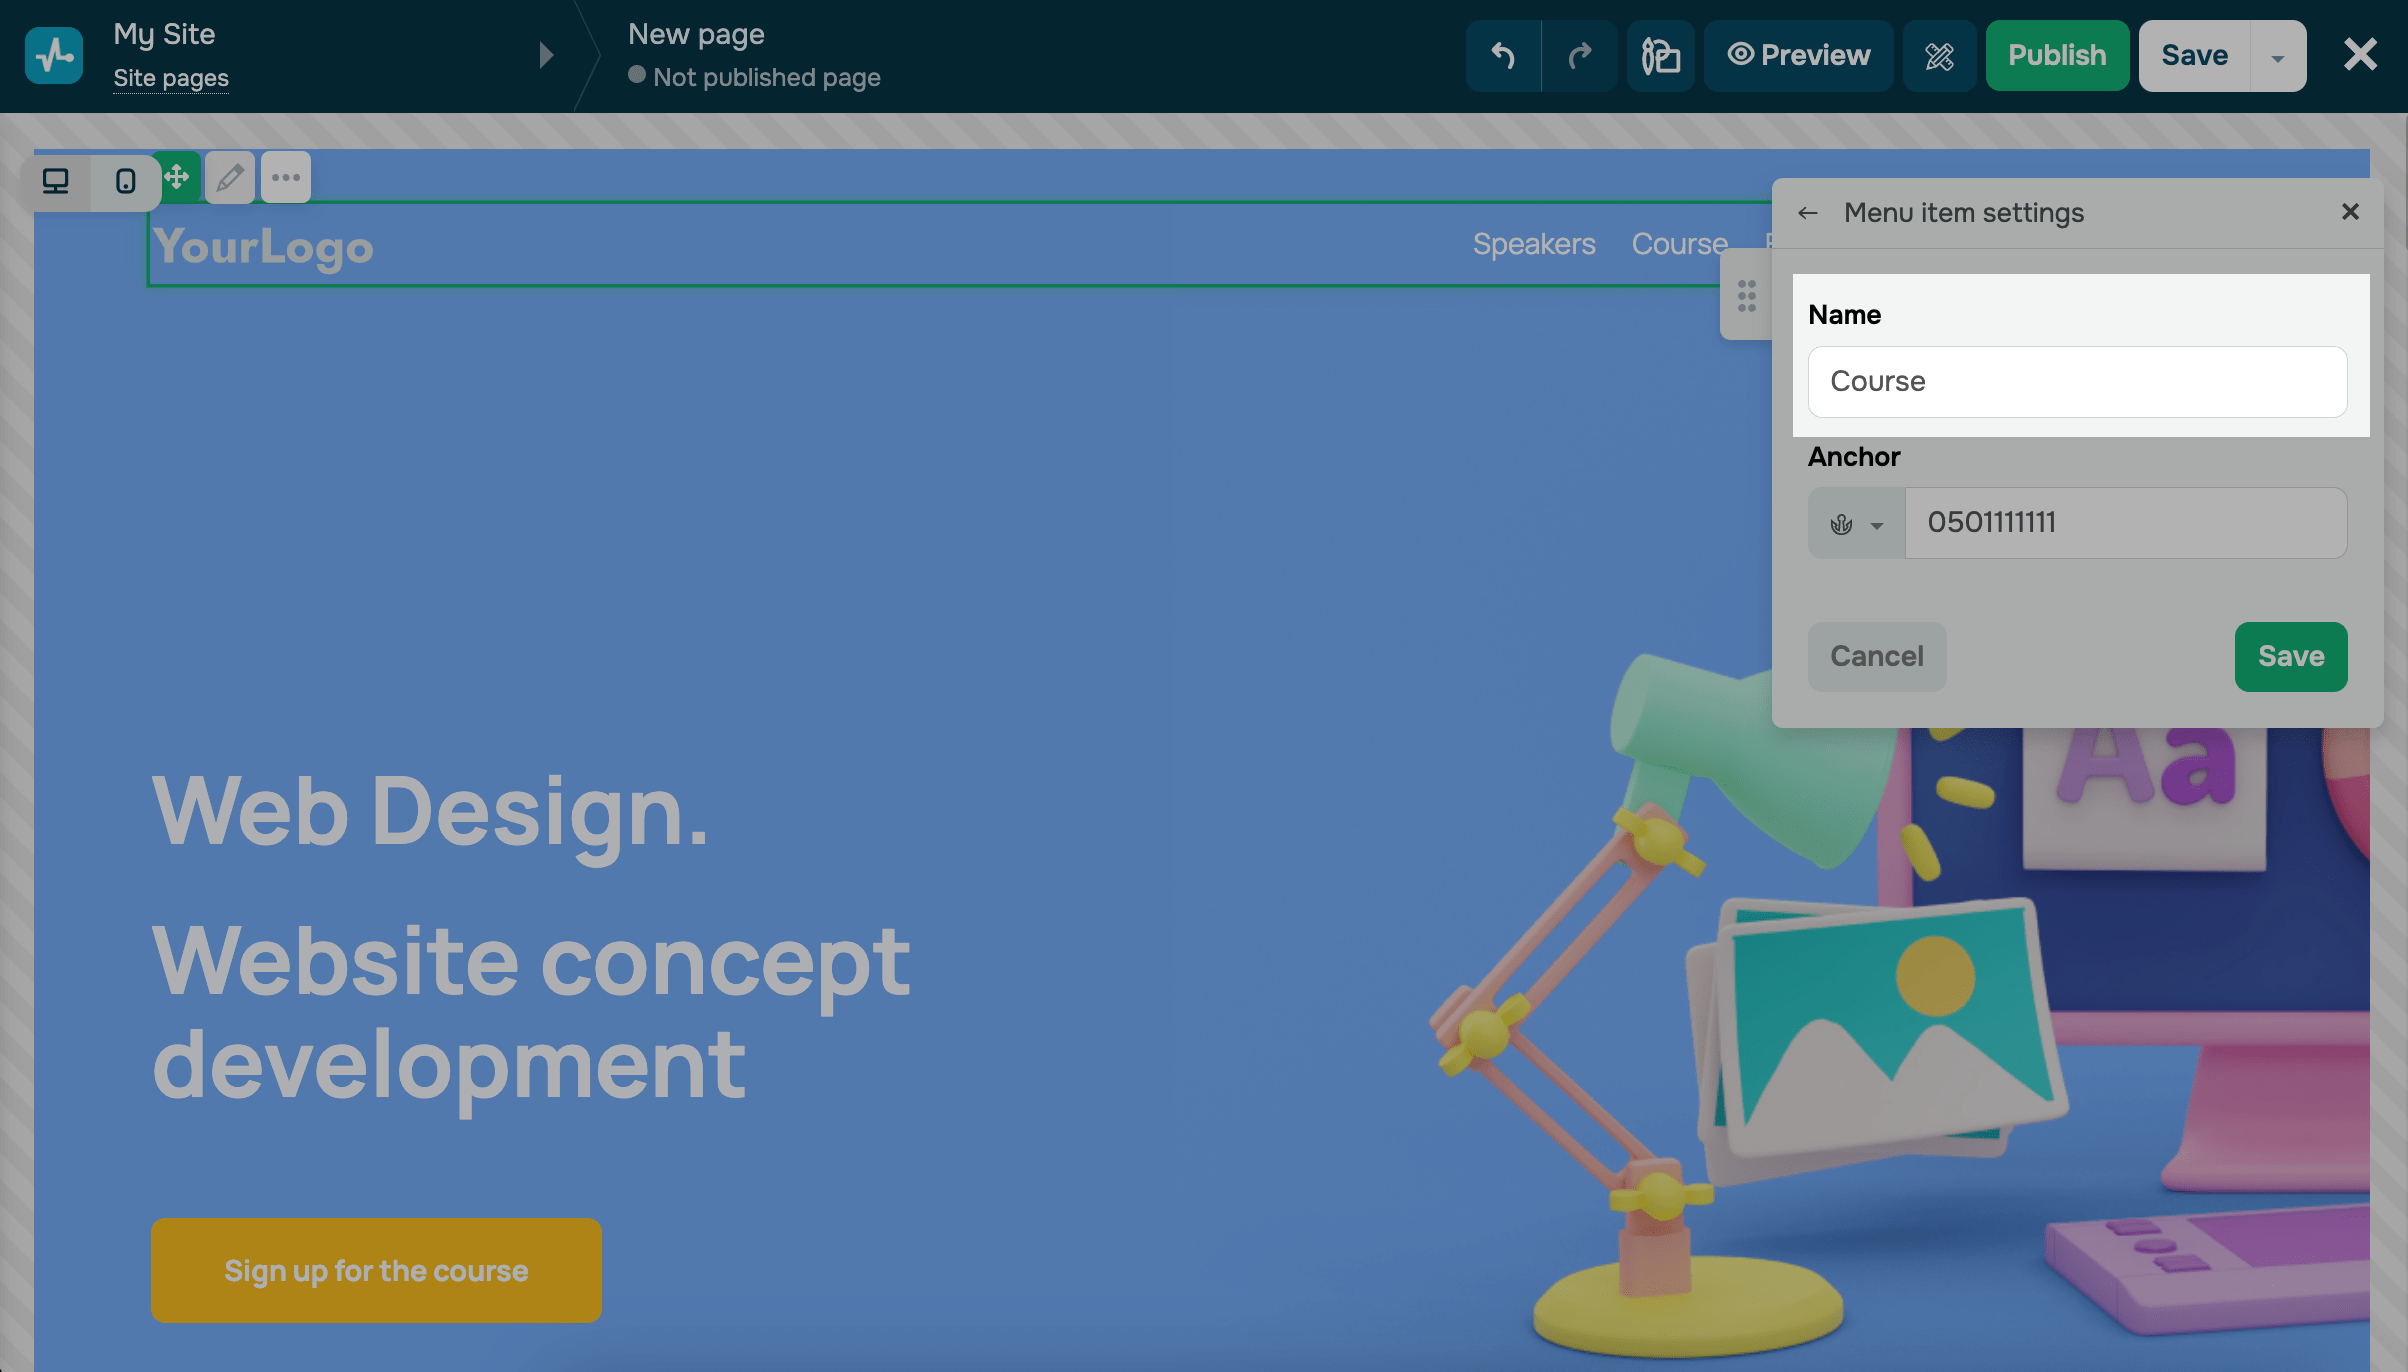
Next, you can specify a link to any resource, email address, phone number, or anchor to another block. If you selected the Link type of menu, you can choose to open the link in a new window or the same one.
Read more about link types in the table.
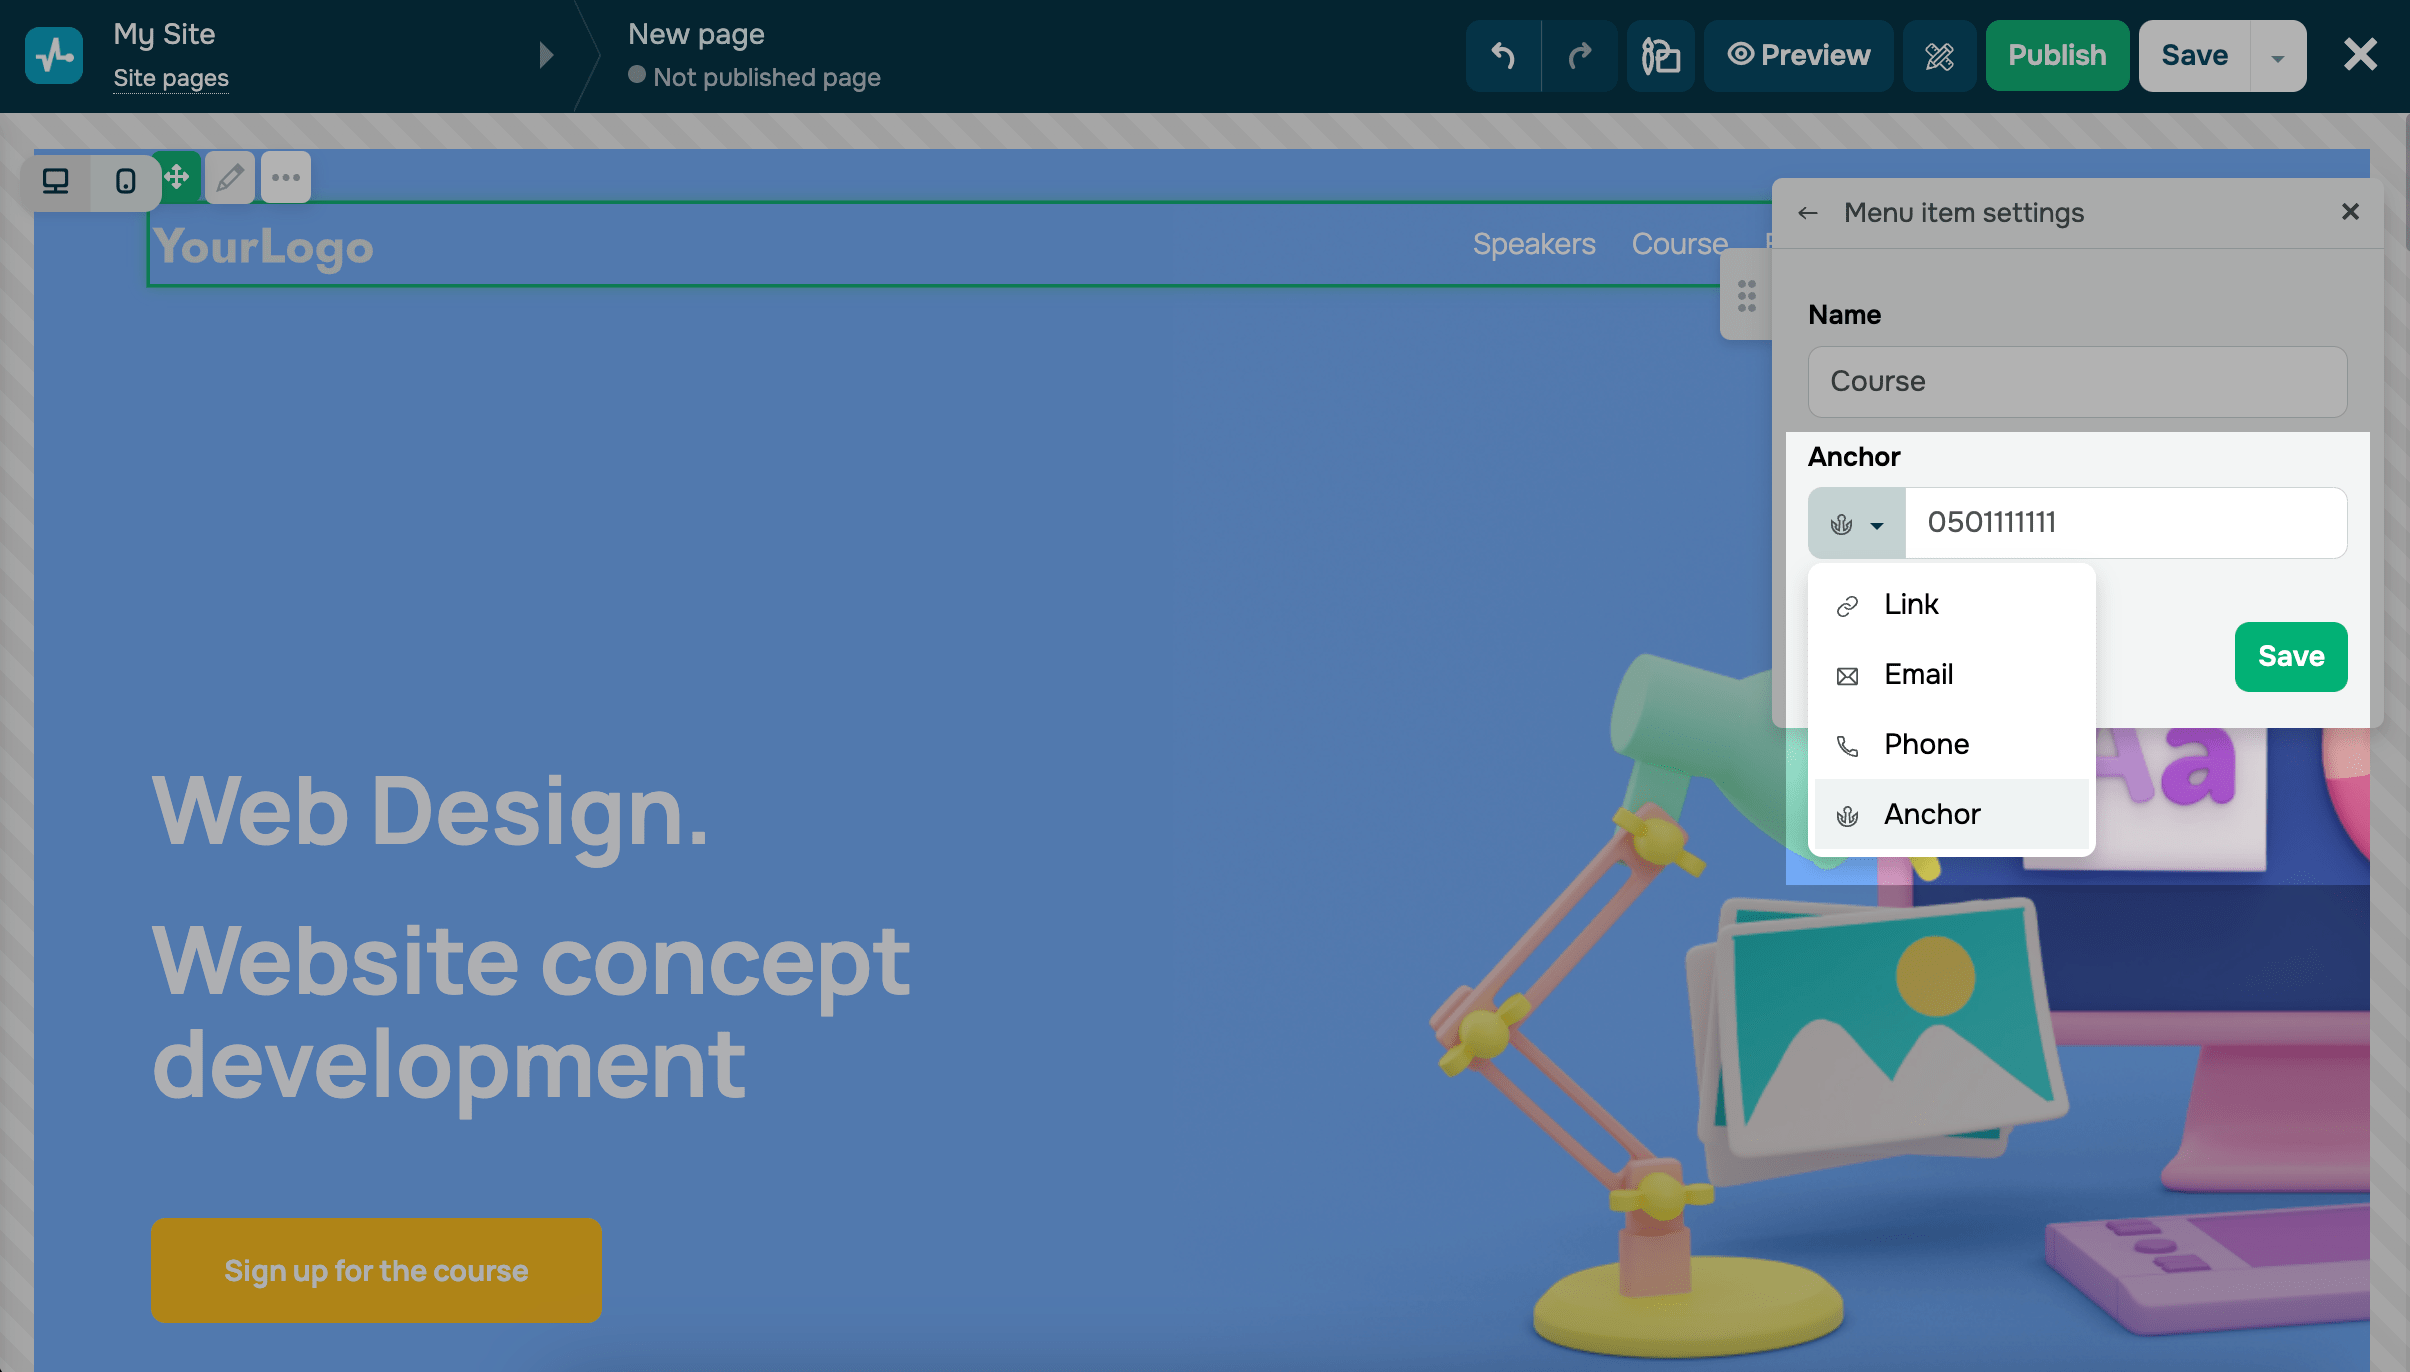
Press Save.
To delete or duplicate a menu item, press on the dropdown menu.
Add submenu items
You can add submenu items to structure data from various sections of the website or interlink different language versions of the sites.
To add a new submenu item, press the three dots next to a menu item and select Add submenu item.
Submenus have the same settings as their parent menu items, including titles, links, and the option to open a link in a new window upon clicking. You can also duplicate or delete submenus by pressing on the corresponding dropdown menu.
Customize the display of menu items
| Logo position | Select the logo's position: left, center, or right. |
| Position and indent of menu items | Select horizontal or vertical positioning of the menu items. Specify the size of the items: small (S), medium (M), or large (L). |
| Text style | Set the text size in pixels. Choose the text mode: first letter capitalized or all letters in uppercase. Specify the font style: bold or italic. Choose the text color from the palette. |
| Hover effect | Choose a hover effect:
|
| Submenu text style | Set the text size in pixels. Choose the text mode: first letter capitalized or all letters in uppercase. Specify the font style: bold or italic. Choose the text color. |
| Submenu background color | Select the text color from the palette. |
| Show menu as icon on mobile | Turn on this switch if you want mobile device users to see the menu as an icon, not expanded. You can also adjust the placement, size, and color of the icon. |
Copy your element ID
Each menu is given an identifier (ID) that specifies the element on the page. With it, you can apply styles and scripts, set up pop-up displays, and track events for this element.
To copy the ID, press on it. To edit the ID, press the pencil icon.
Read more: Block and widget ID.

Last Updated: 05.02.2025
or