Digital product basics
Digital products are intangible products, such as ebooks, webinar recordings, or access to materials. In SendPulse's CRM system, you can create product cards, sell digital products online, and send files or links after payment.
With SendPulse, you can:
- create a digital product card with a link or file your customer receives after payment;
- sell your product as a one-time payment or a subscription;
- add a sample so your customer can try the product before buying it;
- sell products on your website, in a chatbot, and through a payment link at the same time;
- deliver the product automatically after payment on your website and in a chatbot flow;
- track payments, deals, and subscriptions in the CRM system.
Here's how businesses can use digital products:
- An eBook author can sell a guide on their website. They create a digital product with a link to a PDF and add it to the Product catalog widget. The customer pays for this book and receives an email with a link to the file.
- A consultant can sell a strategy template in a chatbot. They add the product to a flow with the CRM Product element, and the next message sends the file after payment.
- A design studio representative can sell a presentation template to a customer they already have a deal with. They add the product to the deal, create a payment link, and send it to the customer in a chat. After payment, they email the file from the contact card.
Let's talk about how to create digital products in SendPulse, set up payments, and deliver your product to customers.
Create a digital product
To sell a digital product online, first create a product card and add the information you need to sell it.
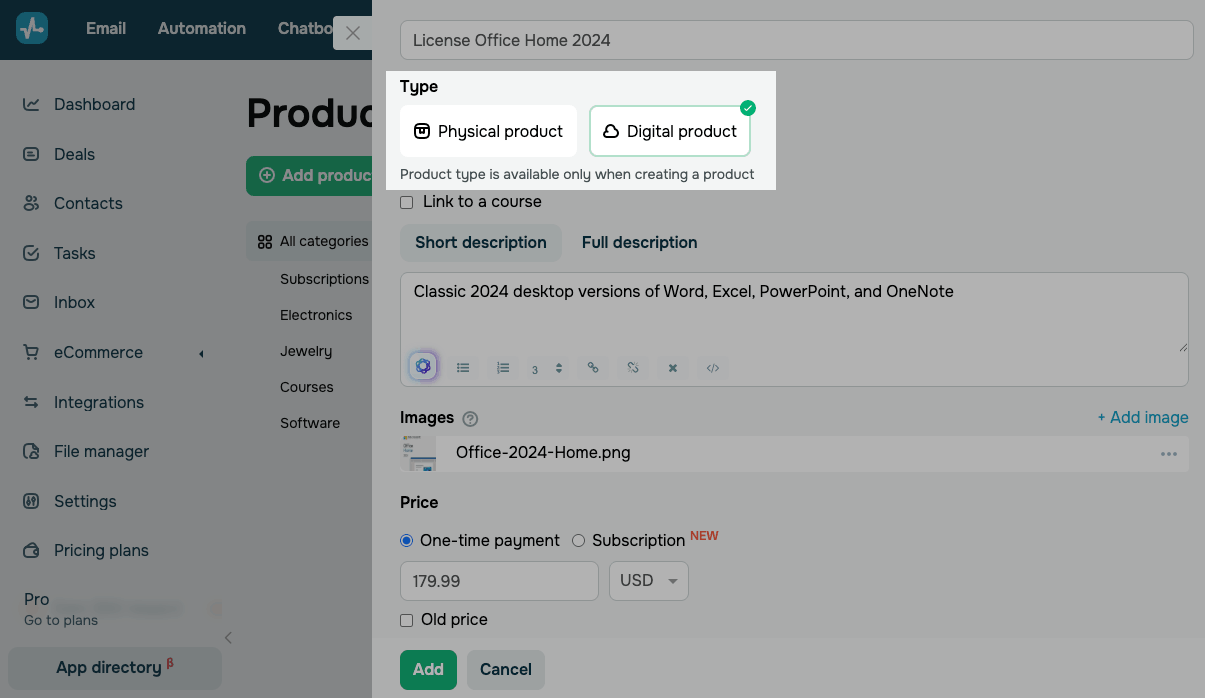
Go to CRM > eCommerce > Products and click Add product. Select the Digital product type. Add a name, description, images, and other details.
Choose a payment model:
| One-time payment | Your customers pay only once.
Read more: Add a digital product. |
| Subscription | Your customers are charged automatically on a regular schedule using their selected payment method.
Read more: Create a subscription. |
In the Product post-purchase delivery method section, add the link or file your customer should receive after payment.
Connect a payment provider
To get payments for your product, connect a payment provider to your account.
Go to Account settings > Accept payments and connect the provider you need.
Every supported provider accepts one-time payments, but subscriptions run through Wayforpay only. Your product and your provider need to use the same currency.
Read more: Accept payments.
Set up product sales
Once your product card is ready, add the product where your customers can see it and buy it. You can sell one product in multiple places at once, such as on your website, in a chatbot, and through a payment link. Choose a sales channel and add your CRM product to it.
Each sales channel needs its own plan: the Pro plan or above for your website, the Lite plan or above for payment links, and any paid plan for chatbots.
On your website
To sell your product on a website, go to the Websites section and select your website. In Site settings > Online store, turn on the Connect an online store toggle.
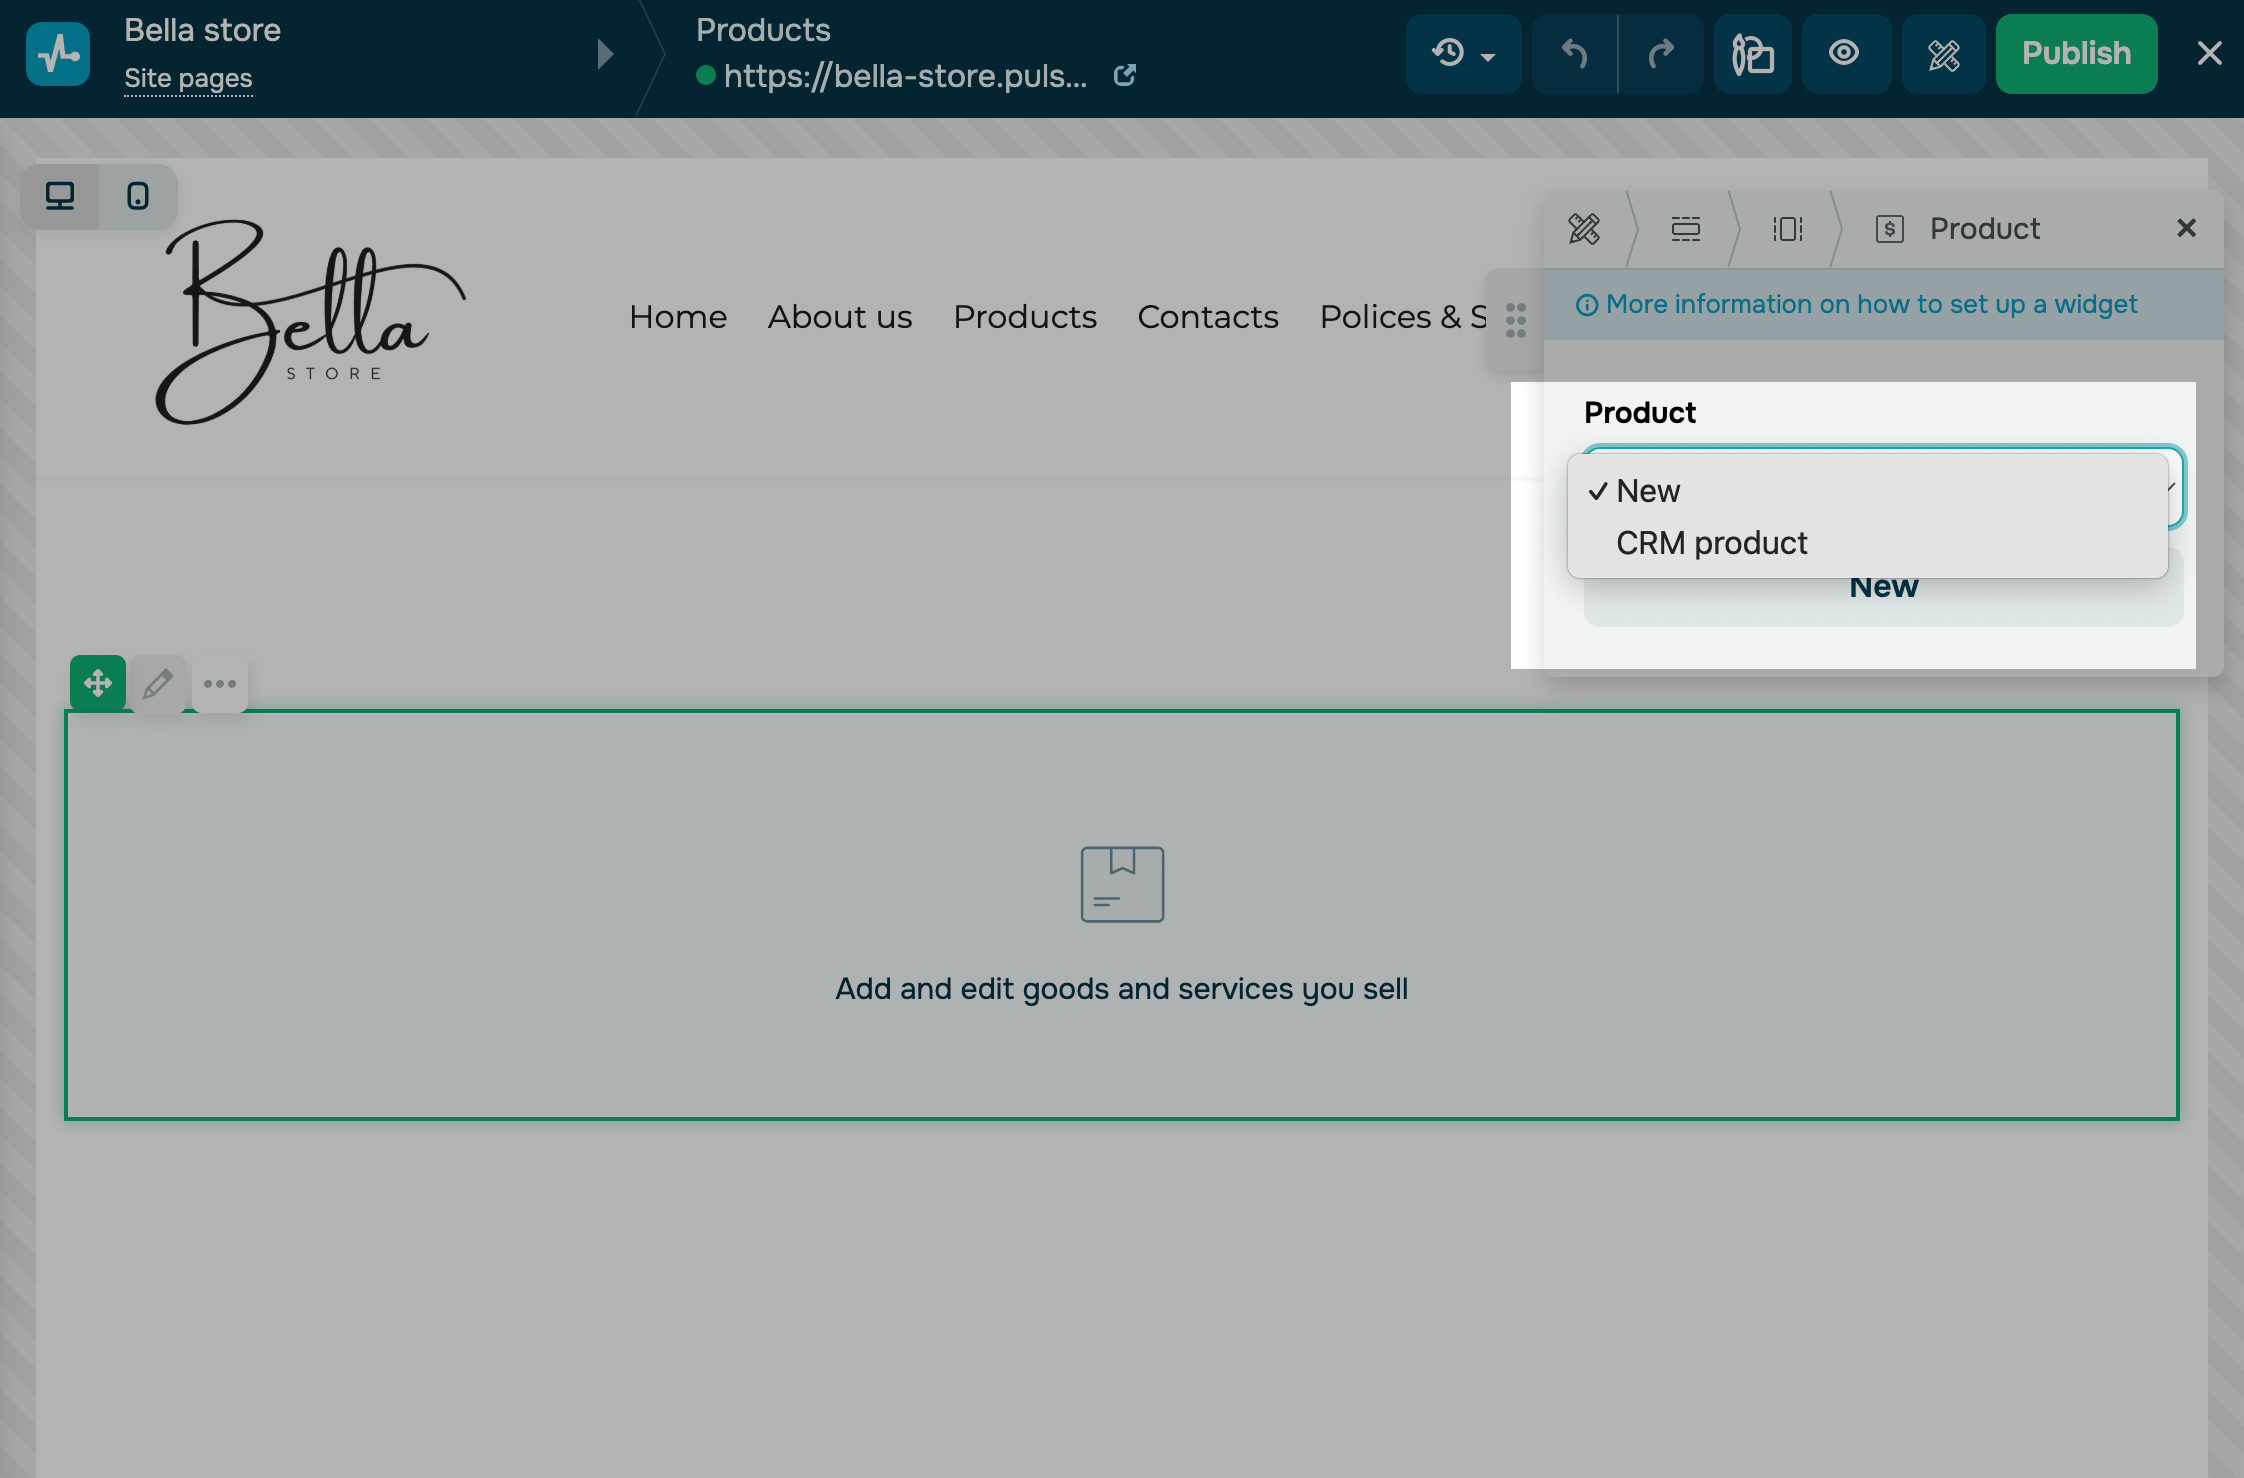
On your website page, add the Product or Product catalog widget and select a CRM product.
On your cart page, add a payment method and select the pipeline and deal stage where new deals should land in.
When a payment goes through on your website, SendPulse emails your customer the link you set in the Product post-purchase delivery method section. The email comes from messages@sendpulse.com with the subject line of Your file is ready for download. It goes to the email address your customer entered in the cart.
Read more: Add a product to your website.
In a chatbot
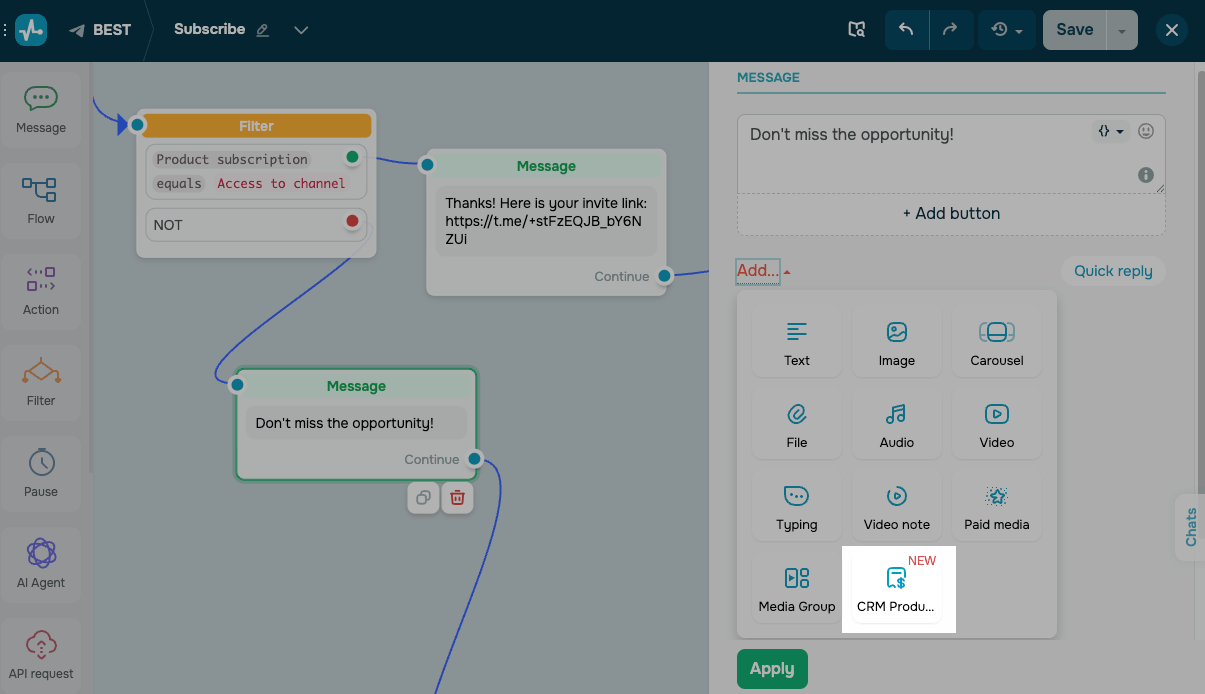
To sell your product in a chatbot, go to the Chatbots section. Select your chatbot and open the flow builder. Add the Message element, select CRM Product in it, and choose a payment provider and a pipeline for new deals. Your subscriber will see a product card with a payment button.
Chatbot sales don't come with an automatic email. To deliver the product, build the rest of your flow from the green dot on the payment button. For example, you can add a Message element with a link or file, send an API request to another tool, or add an Action element.
If your flow doesn't have a post-payment branch, send the product to your subscriber manually in the chat.
Read more: The CRM Product element in chatbots.
Automate product delivery
Optionally, you can email the product to your customers automatically. Create a flow in Automation with the Product purchase trigger. This flow starts when a deal with your product moves to the stage you select, and you can insert a variable with the product link into your email.
Read more: Automate product management.
Track payments
Payments made through your website and chatbot create a new deal in the pipeline you selected, with your customer as the contact. Payment links work differently: the payment goes to the deal the link came from.
The product and the payment appear in your deal on the Products and Payments tabs, and the payment status appears in the deal history.
The deal stays at its current stage after payment. You can move the deal manually or automatically using its payment status in the pipeline settings.
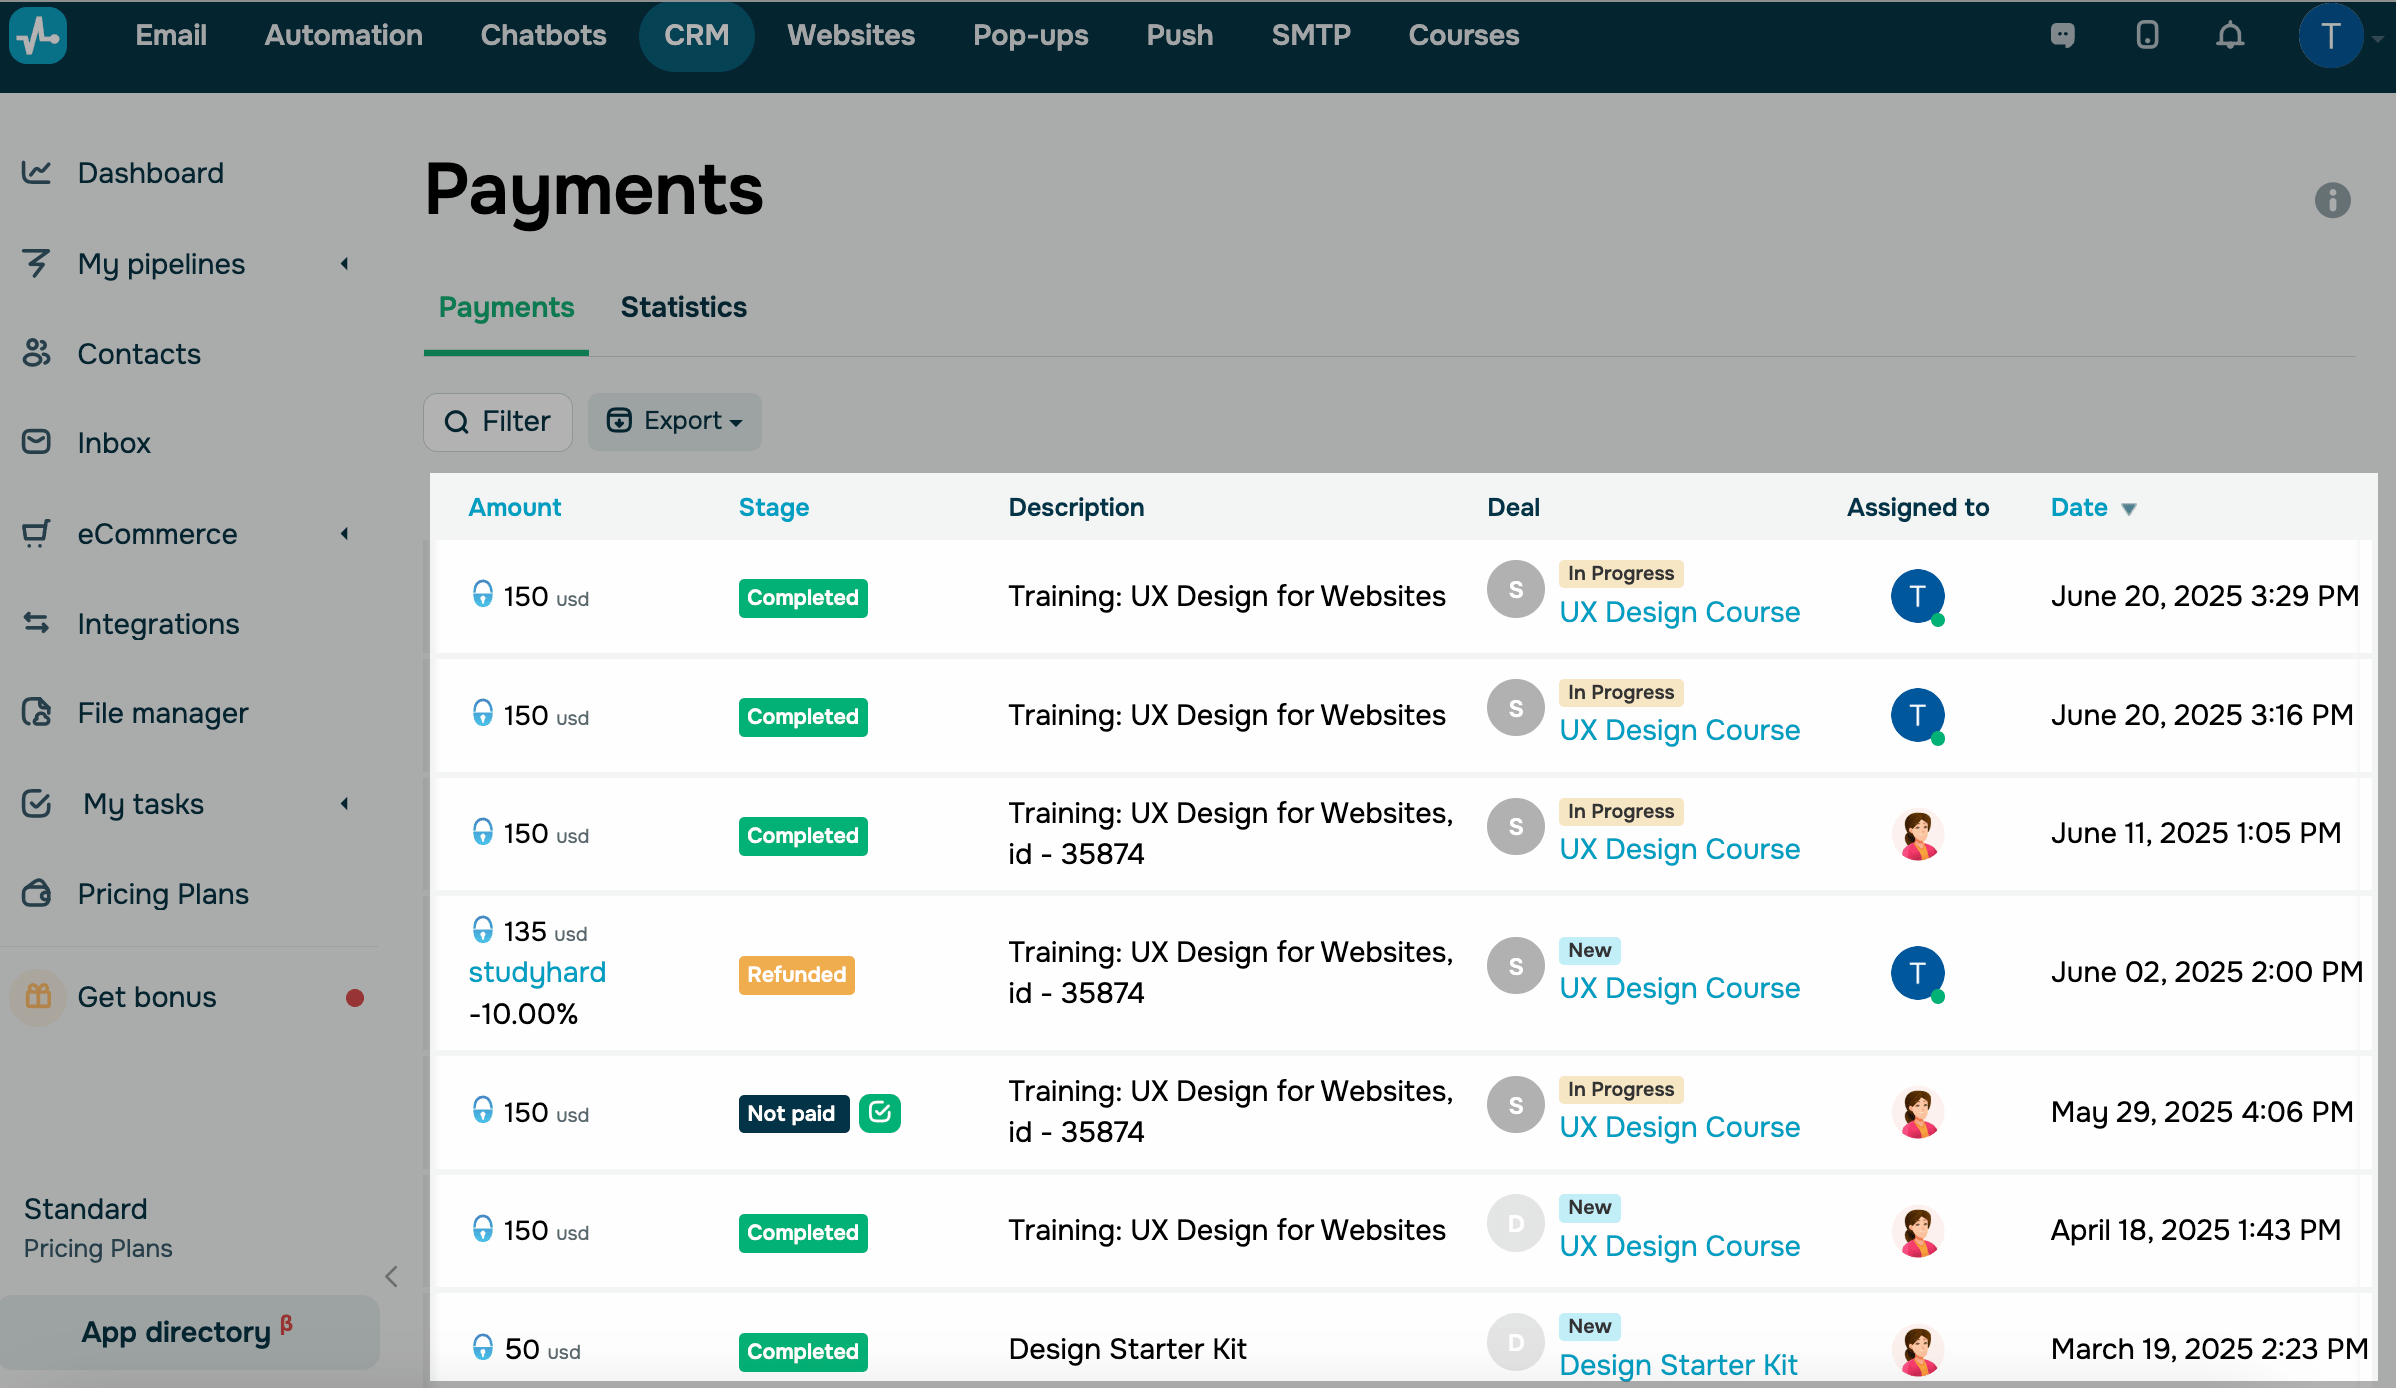
To view payments for your digital products, go to CRM > eCommerce > Payments. Here, you can view payment details, including your customers' contacts, statuses, and dates, and confirm or reject a payment.
Read also: Manage products in CRM.
 Last Updated: 07.07.2026




or