View student data
After enrolling in a course, students are added to the Courses section of the selected course in the Students tab. In addition, contacts are created in the CRM section, so you can manage your students via your pipeline and communicate with them using different communication channels.
In this article, we'll talk about how to view student information in these two sections.
Read more: How to view student questions, How to manage students, and How to view your course analytics.
Find students
Go to the Courses section.
In a specific course
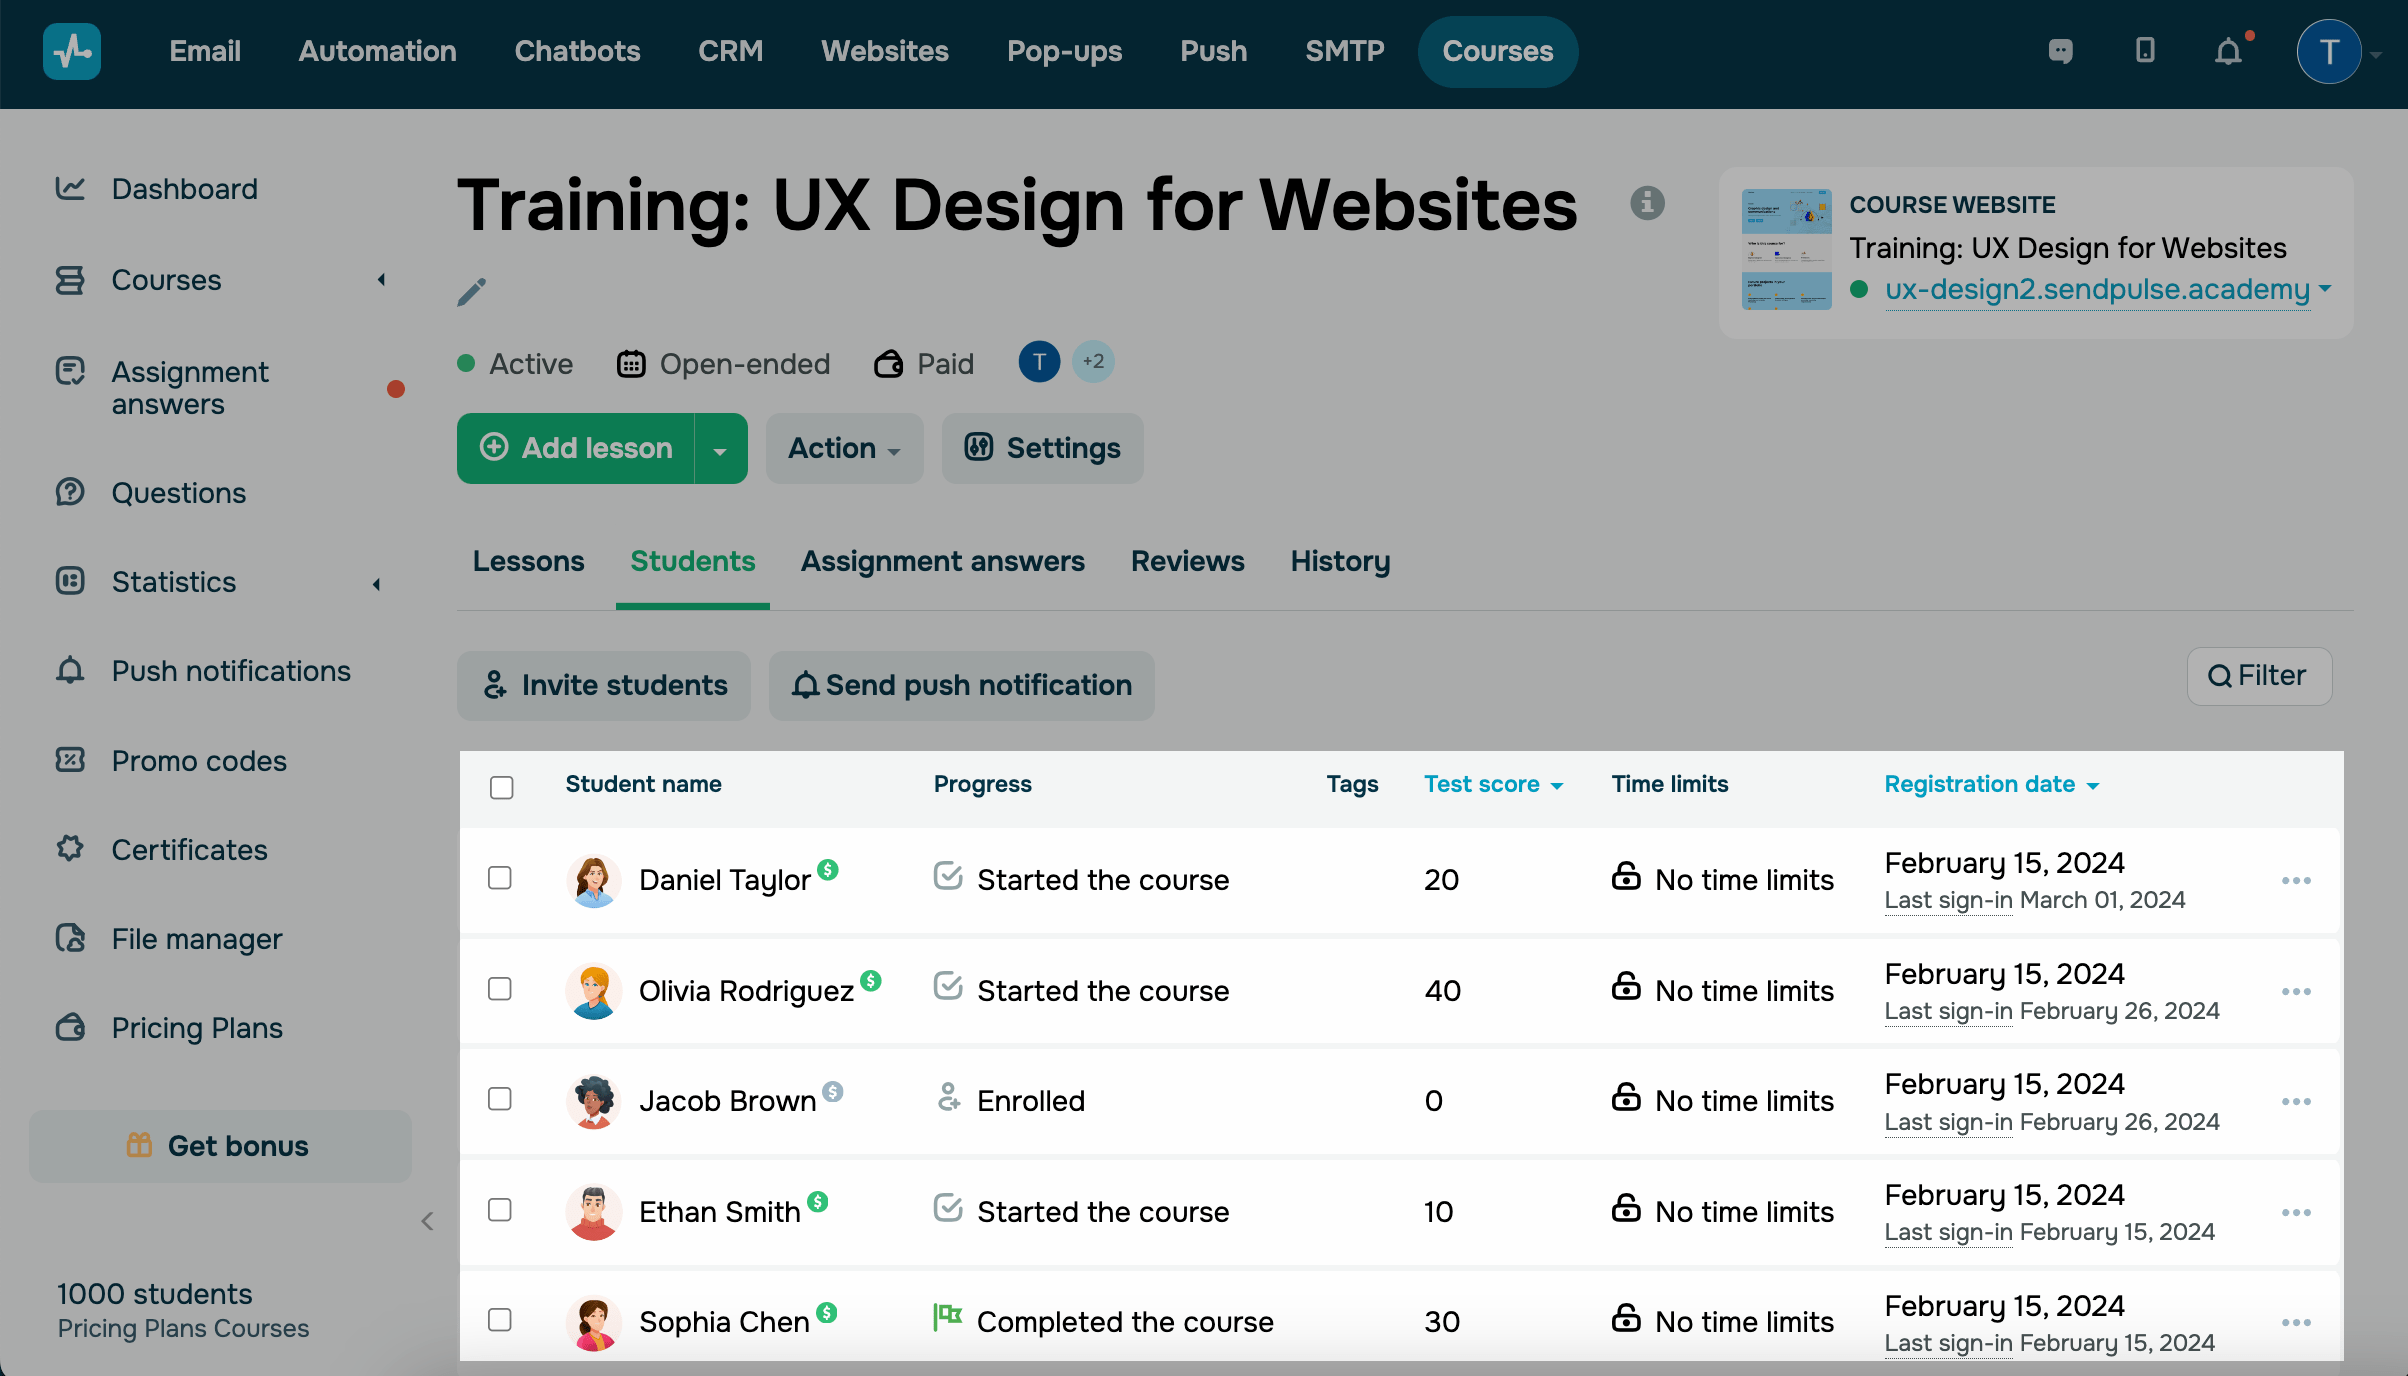
Select a course, and go to the Students tab.
In this tab, you'll find a list of students enrolled in your course and their data, including name, progress, assigned tags, limits, and registration date.
In all courses
To view students from all your courses, go to the Audience tab.

You can perform more actions with your student list.
| Invite students |
This button allows you to invite new students to your courses. In the modal window, select a course from the dropdown list, add students by email address (manually, one at a time, or from other courses), and configure your welcome email. Read also: How to enroll students in a course. |
| Send push notification |
This button allows you to send web push notifications to students. Configure your campaign options in the right panel. Read also: How to send push notifications to students. |
| Blocked students |
This button redirects you to the CRM section where you can view the blocked student list. Read also: How to block and unblock a contact from Courses. |

Filter
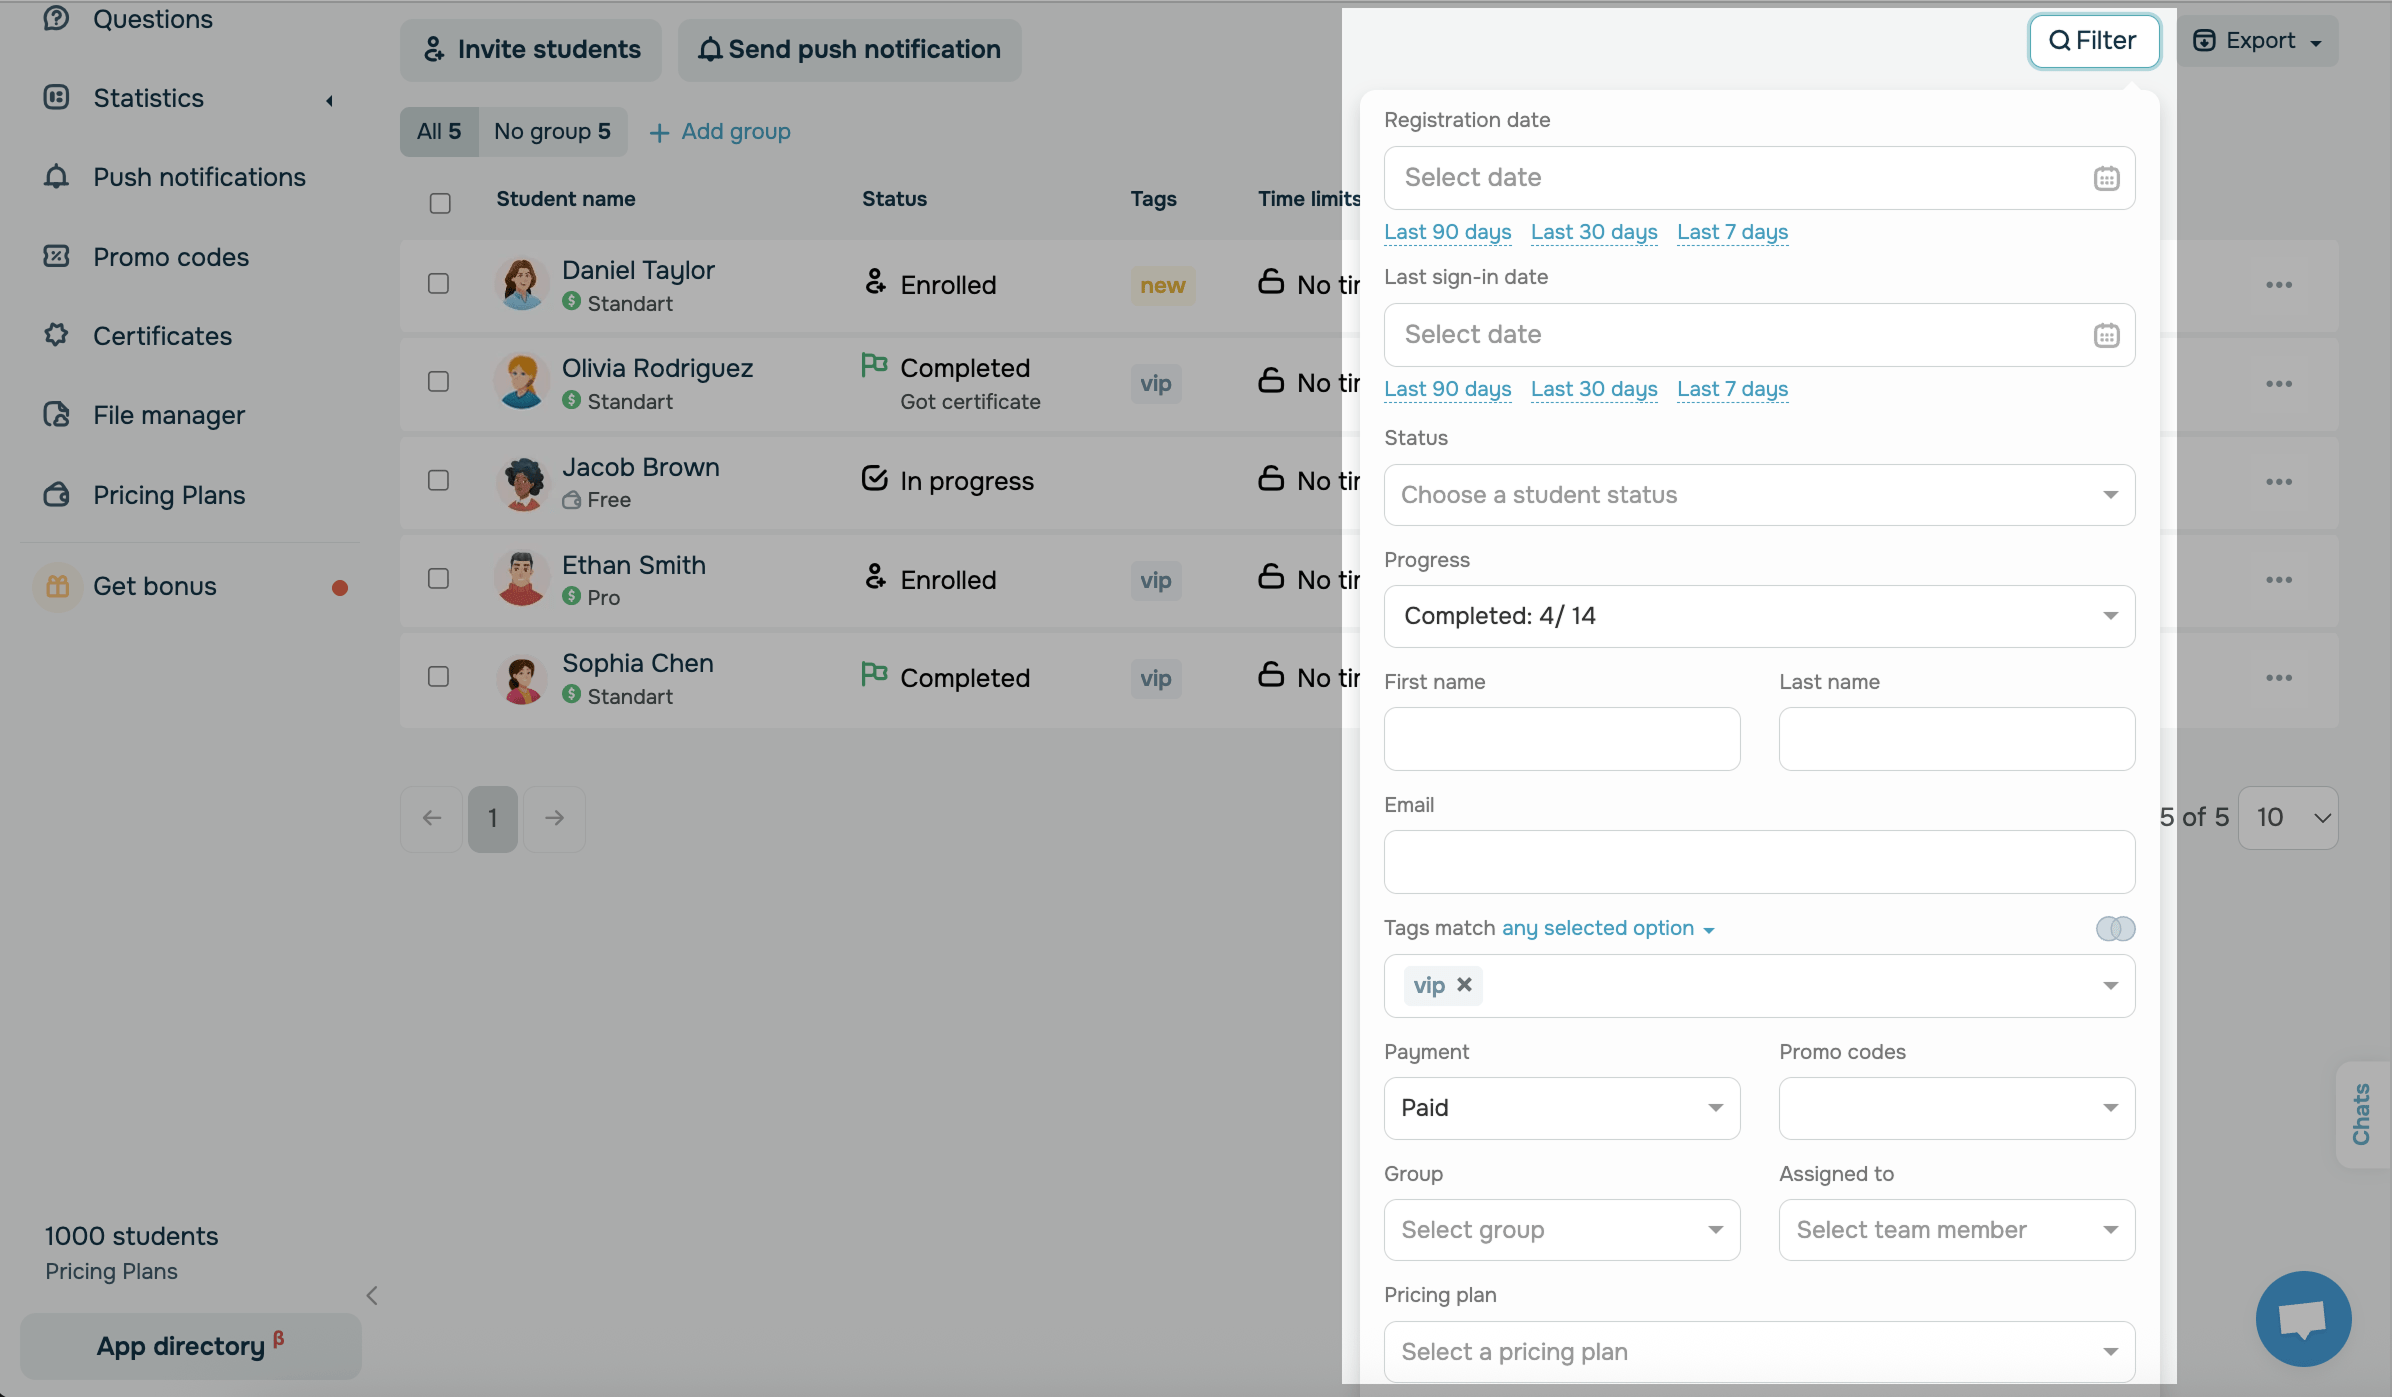
On the right, you can click Filter to sort the list of students by the following criteria:
| Registration date | Select a date or one of the suggested options: last 90 days, last 30 days, or last 7 days. |
| Last sign-in date | Select a date or one of the suggested options: last 90 days, last 30 days, or last 7 days. |
| Status | Select a student status, such as enrolled, in progress, completed, or invited. |
| Progress | Select course elements that students have completed, such as sections, lessons, tests, or certificates. |
| First name | Enter the first name. |
| Last name | Enter the last name. |
| Enter the email address. | |
| Tags | Select one or more tags from the dropdown list. |
| Payment | Select one of the options: paid, paid with a promo code, paid without a promo code, or unpaid. |
| Promo codes | Select one or more promo codes from the dropdown list. |
| Group | Select an available student group. |
| Assigned to | Select an assigned team member to view their assigned students. |
| Course | This criterion is available in the Audience tab.
Select a course from your account. |
| Pricing plan |
Choose a course pricing plan. If your students haven’t chosen one yet, select No pricing plan. |
View the list of students
You can view student data in the columns.
Student name
In the Student name column, you will see the name that this student has in their account settings.
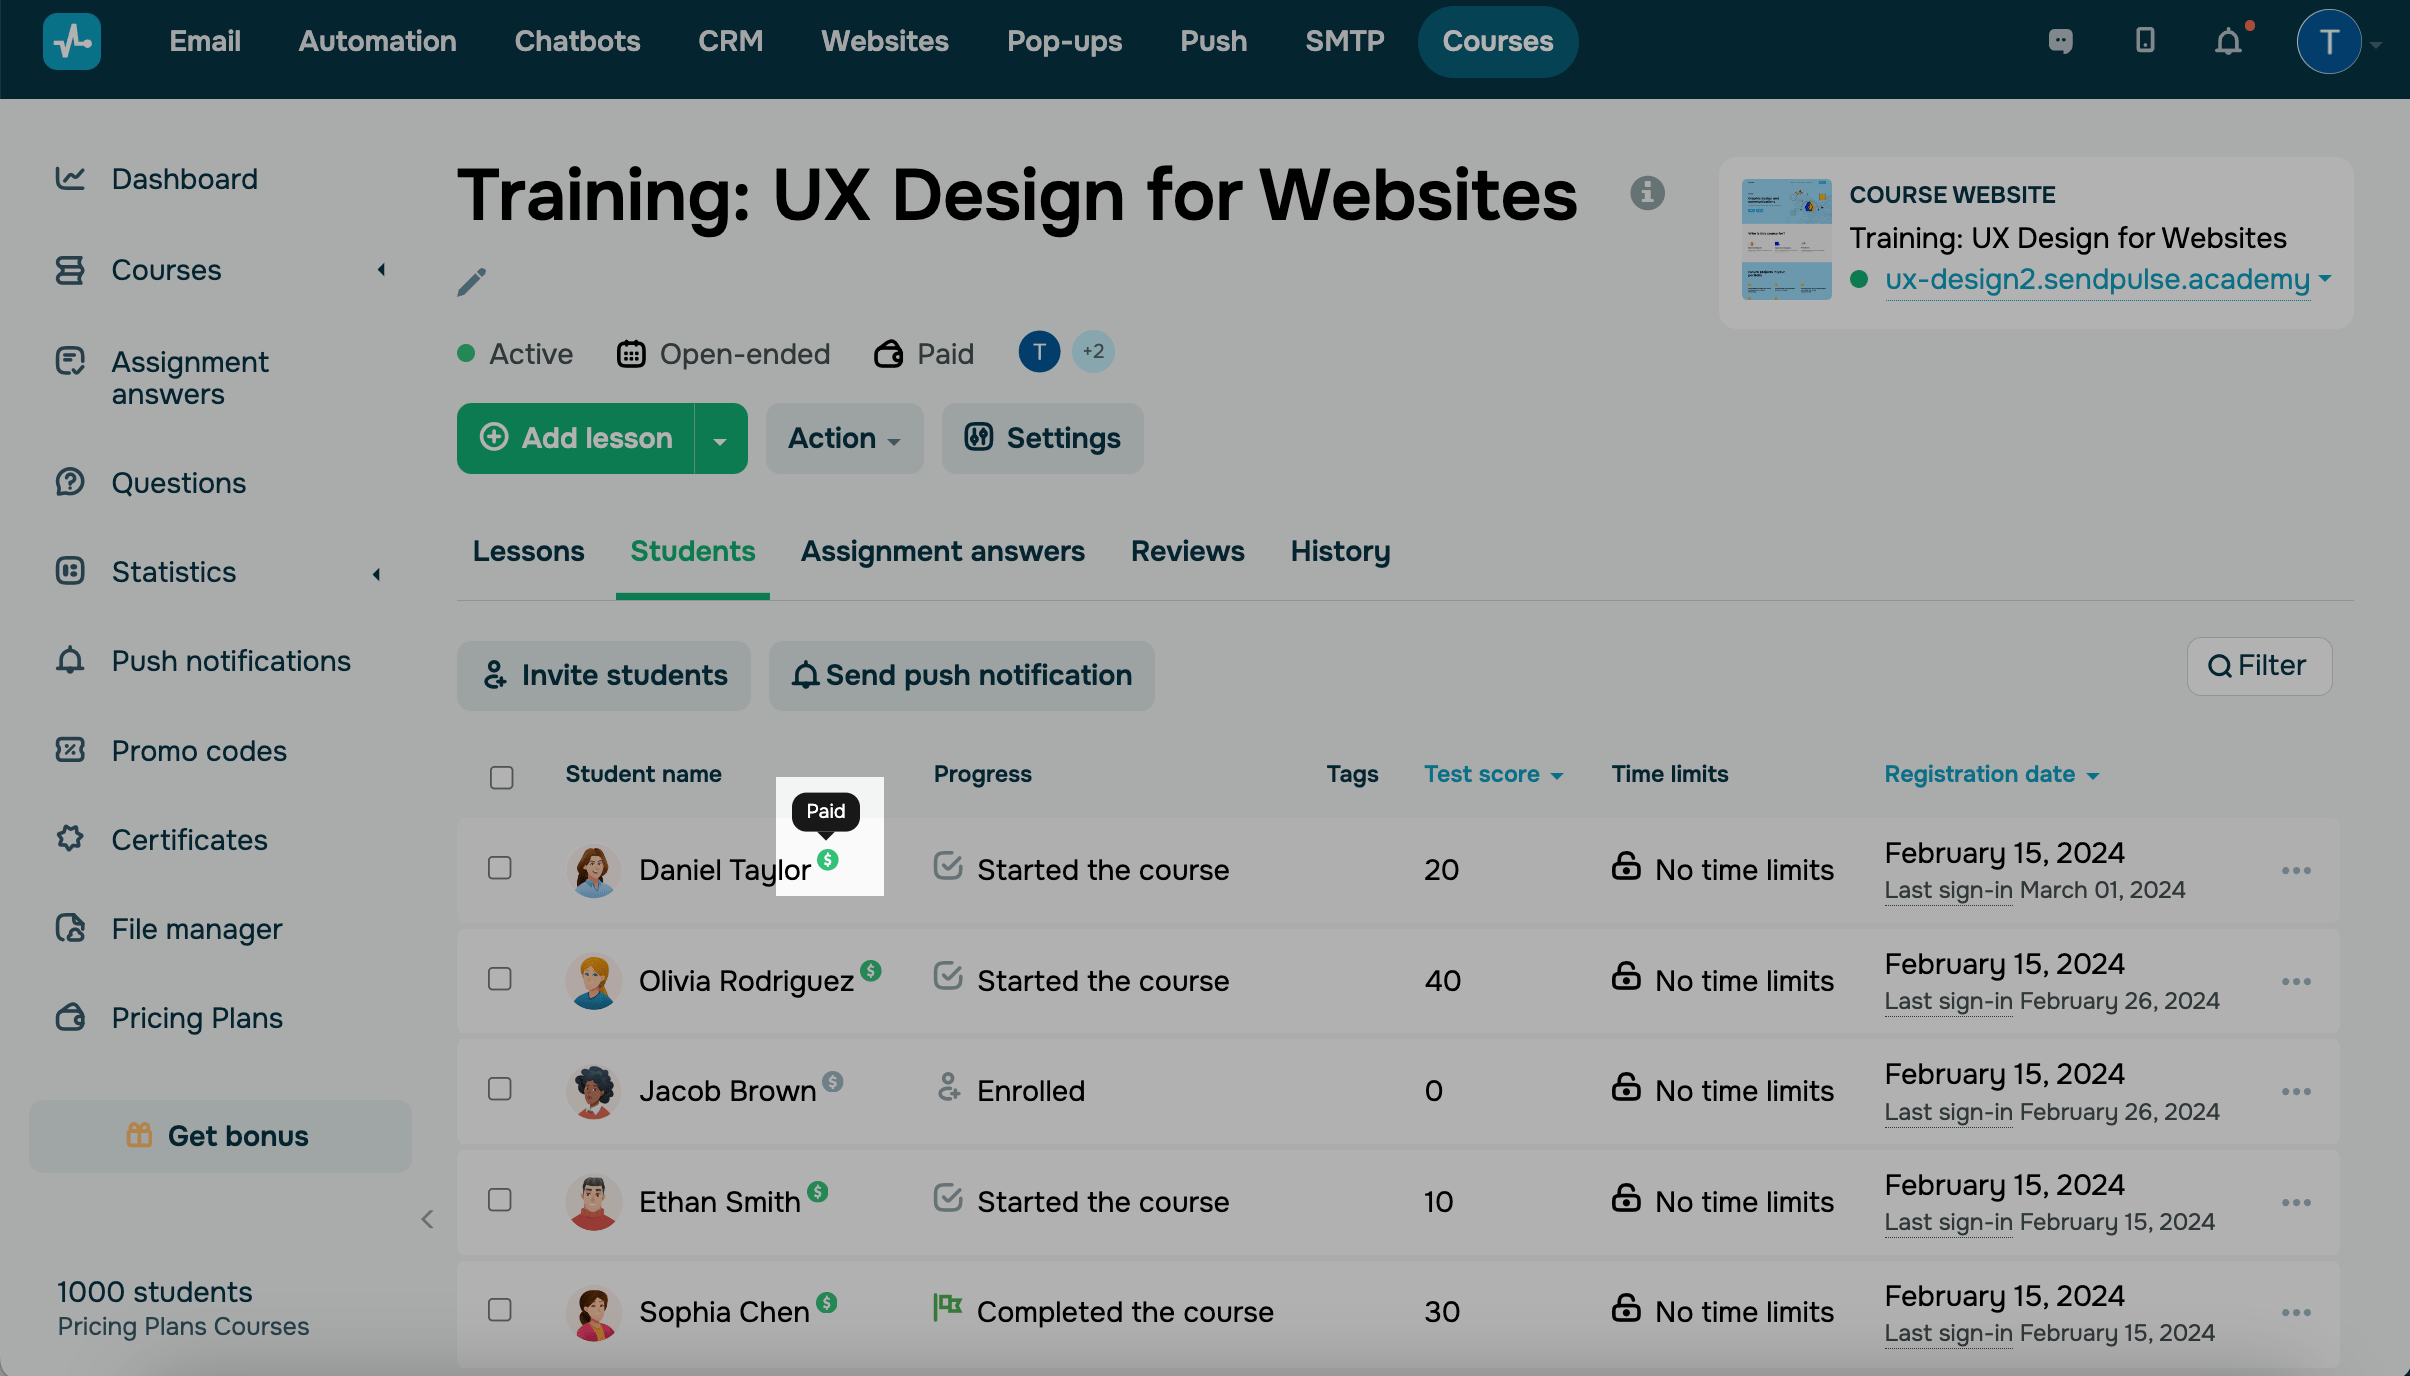
Payment status
In the Student name column, hover over the pricing plan icon next to a student's name to view their course pricing plan and payment status:
| Paid | The student successfully paid for your course using a selected payment method |
| Unpaid | The student did not pay for your course |
You can also view students’ payment details in their CRM cards. Open a card, and go to the Payments tab.
If a payment was made through an alternative payment method and you need to grant access to the student, you can manually change their payment status. To do this, select the student, and choose the Confirm payment action.
Status
The Status column displays the following course completion statuses:
| Enrolled | The student registered for your course but did not open the lessons. |
| In progress | The student is in the process of taking your course. |
| Completed |
The student has successfully met your course completion criteria (completed all lessons and/or passed the test). If your course includes a certificate and the student has received it, you will see the |
You can update students’ current statuses in the Students tab.

You can also see how many students have completed your lesson. Go to the Lessons tab, and next to every lesson, you will see the number of students who have completed them.
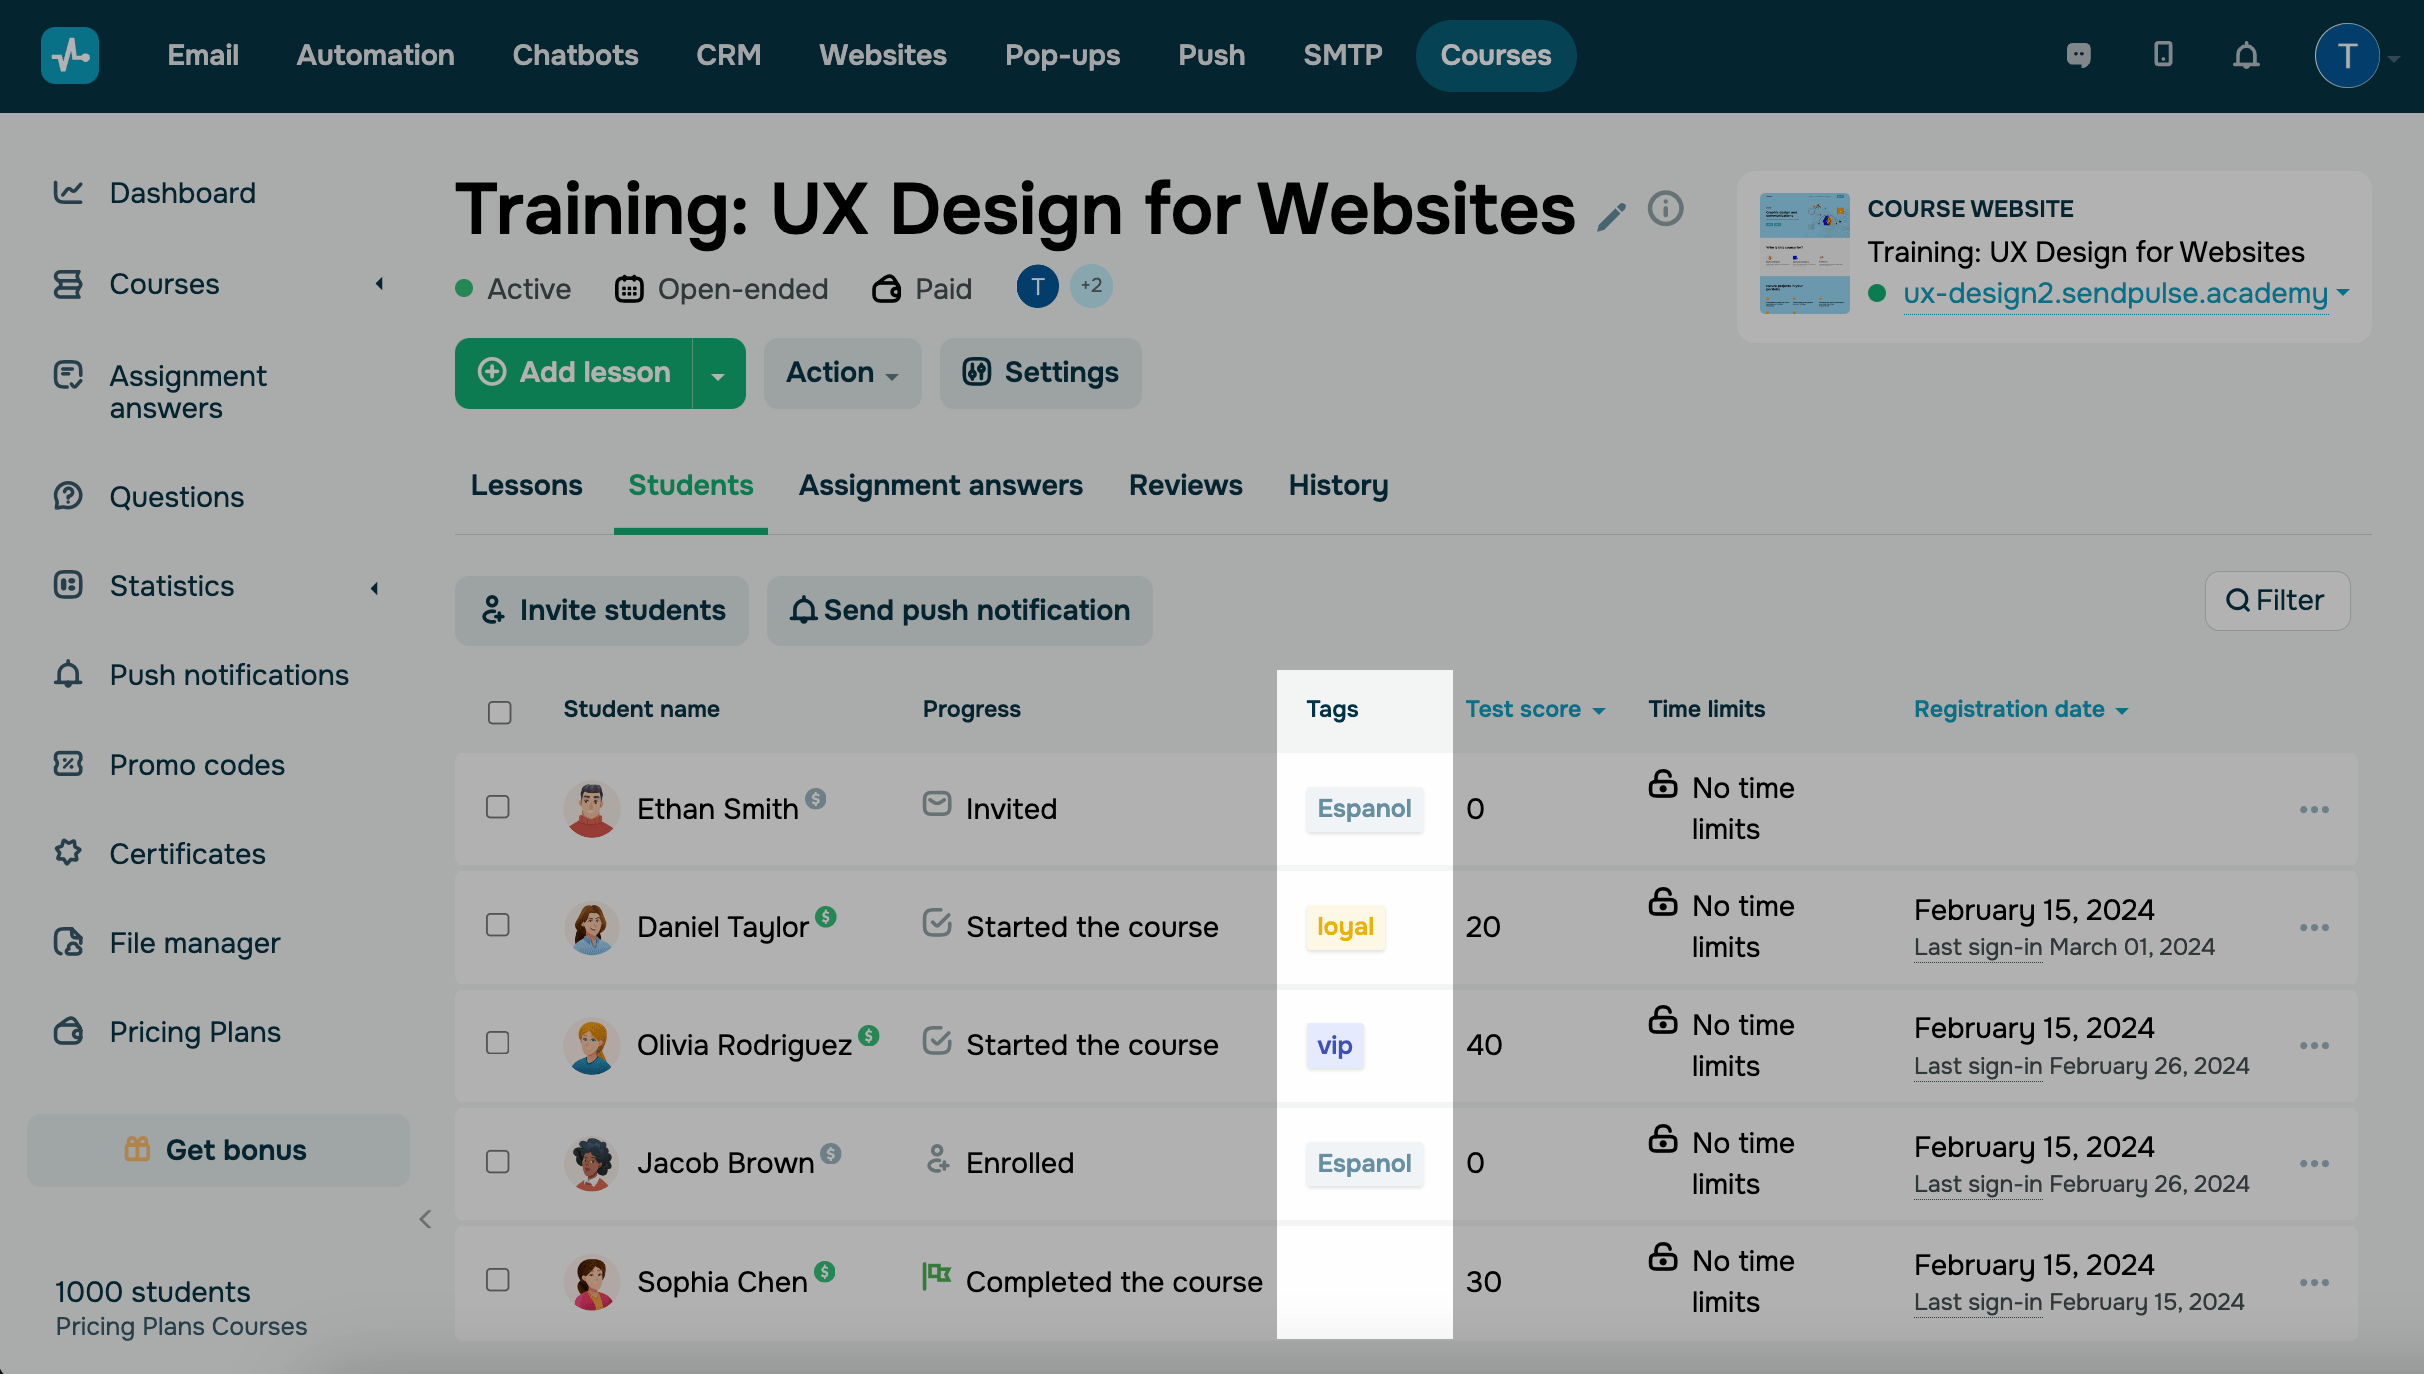
Tags
In the Tags column, you can view tags assigned to students.
With tags, you can filter your contacts by a certain attribute to be able to find them faster and manage each group individually.
To assign a tag to a student, select the checkbox next to the student’s name, and select Assign tag from the top of the actions panel. Choose the tag you have previously created in the CRM section.
The CRM and Courses sections have a common tag database. You can find students by tags in CRM > the Contacts tab and in Courses > the Students tab.
Time limits
In the Time limits column, you can view students’ course completion time limits.
| No time limits | The student can take your course anytime. |
| Up to [Date] | The student must complete your course by the selected date. |
| Not available | The student cannot access your course. |
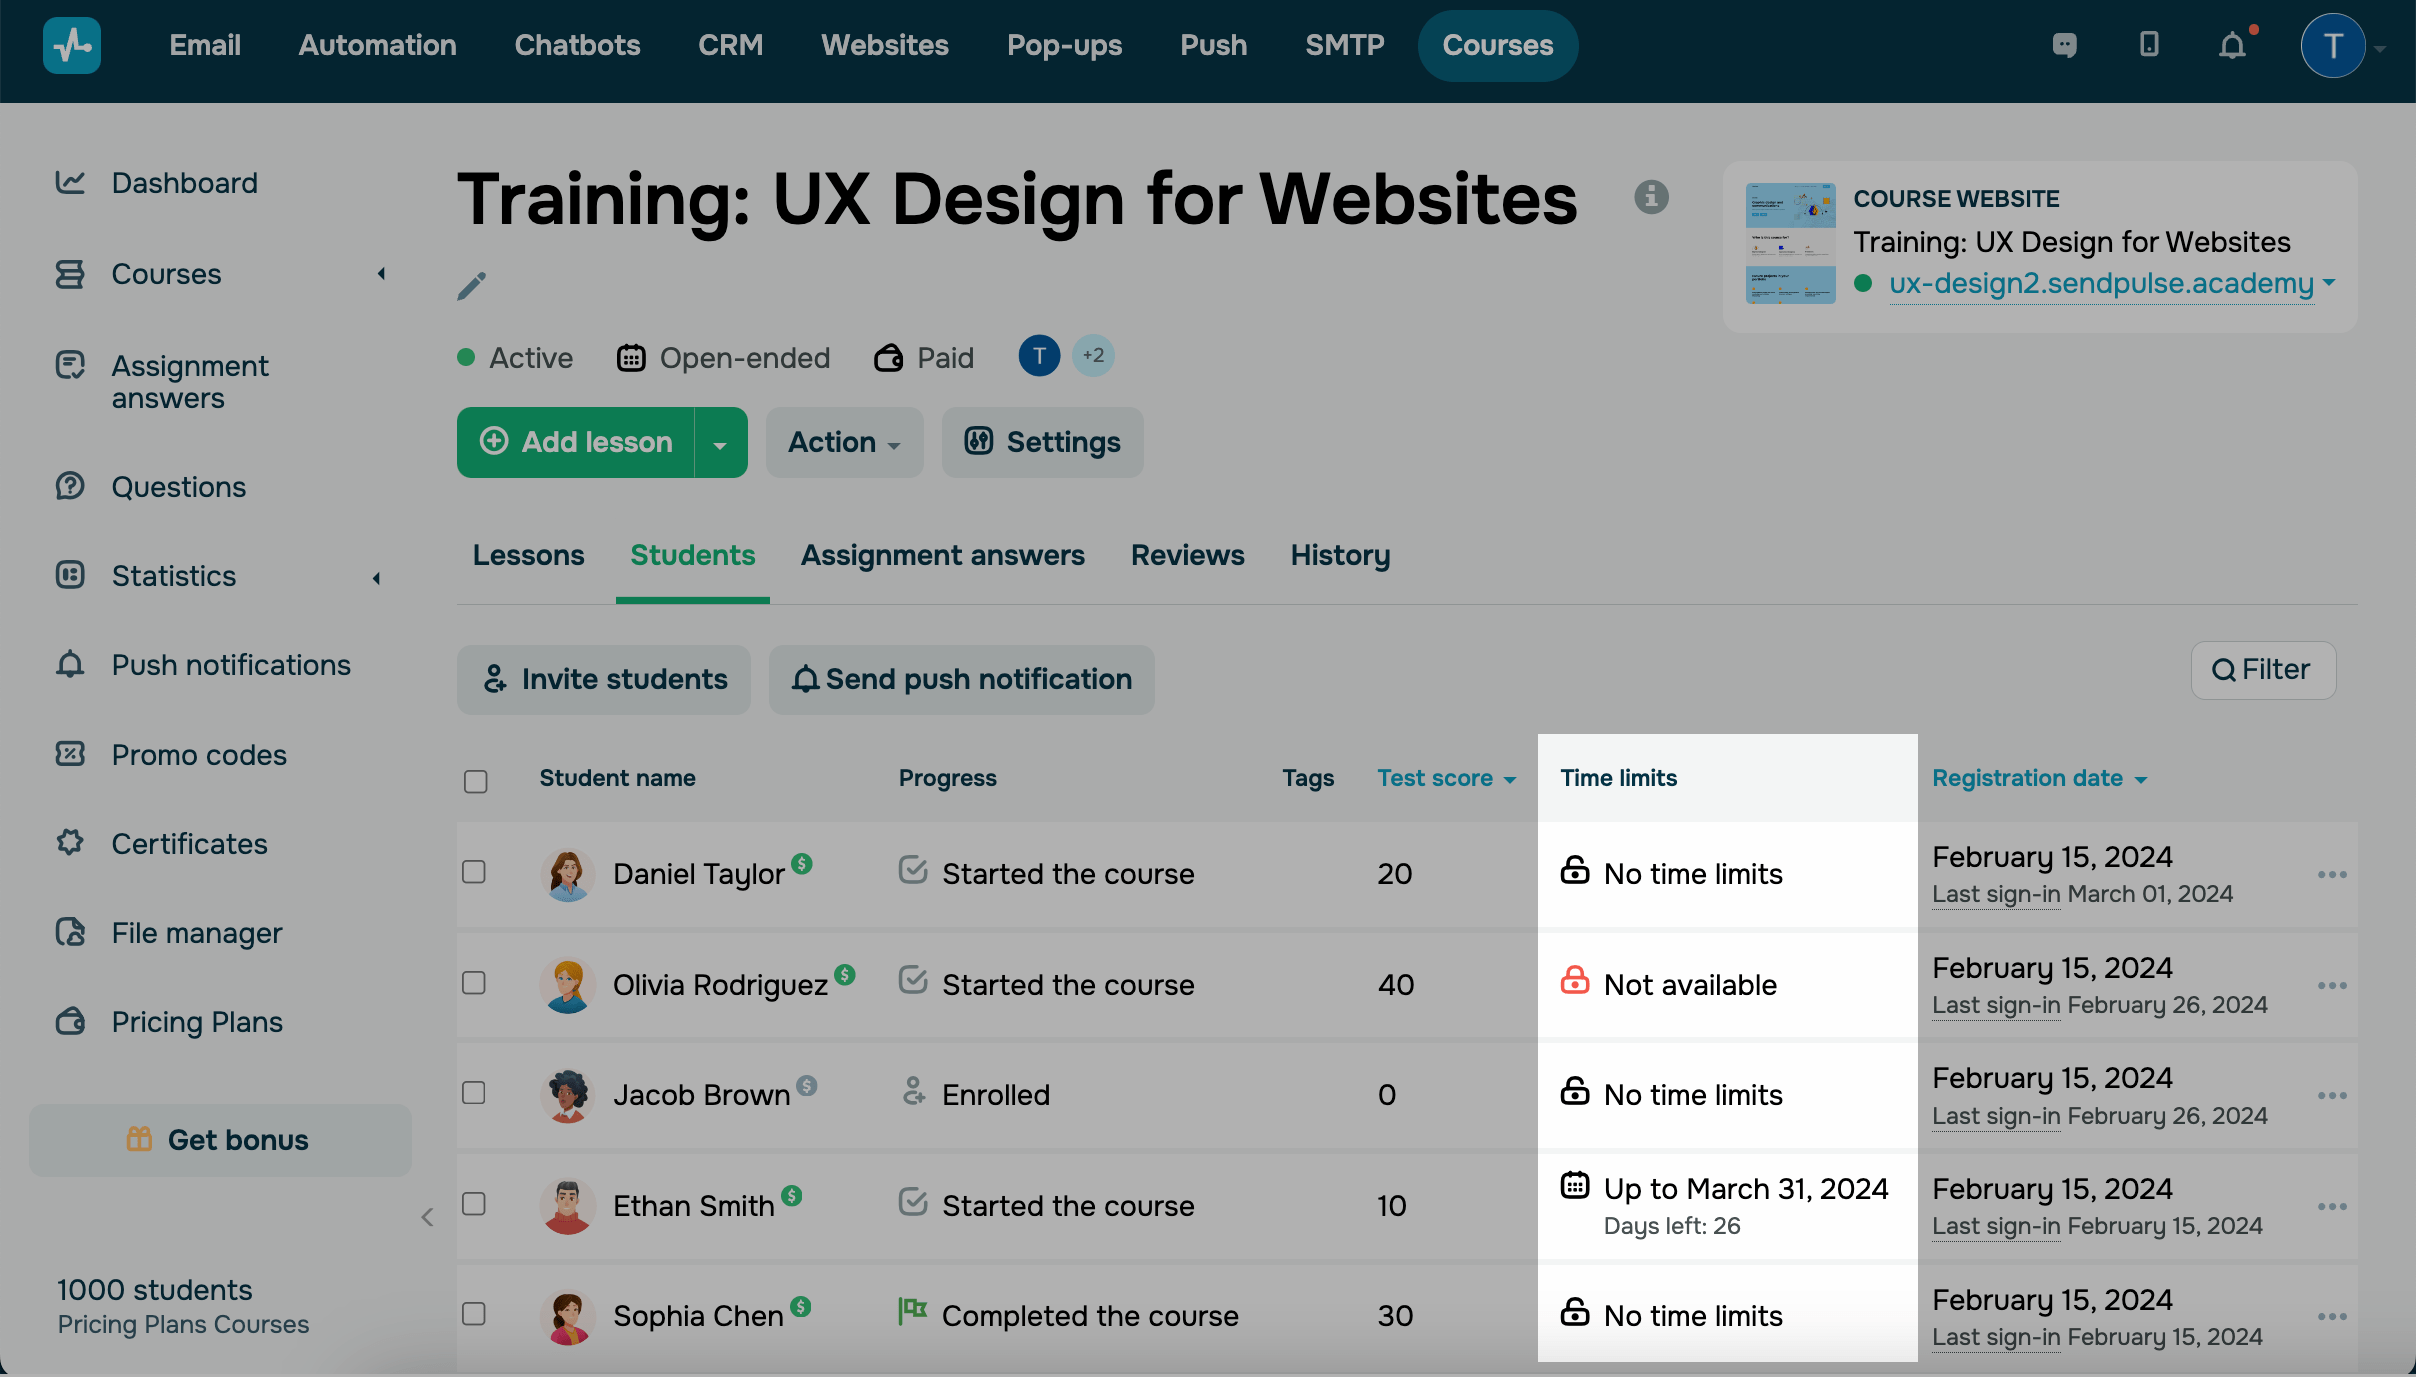
To set a course completion time limit, select a student, choose the Change time limits action, and select a limit.
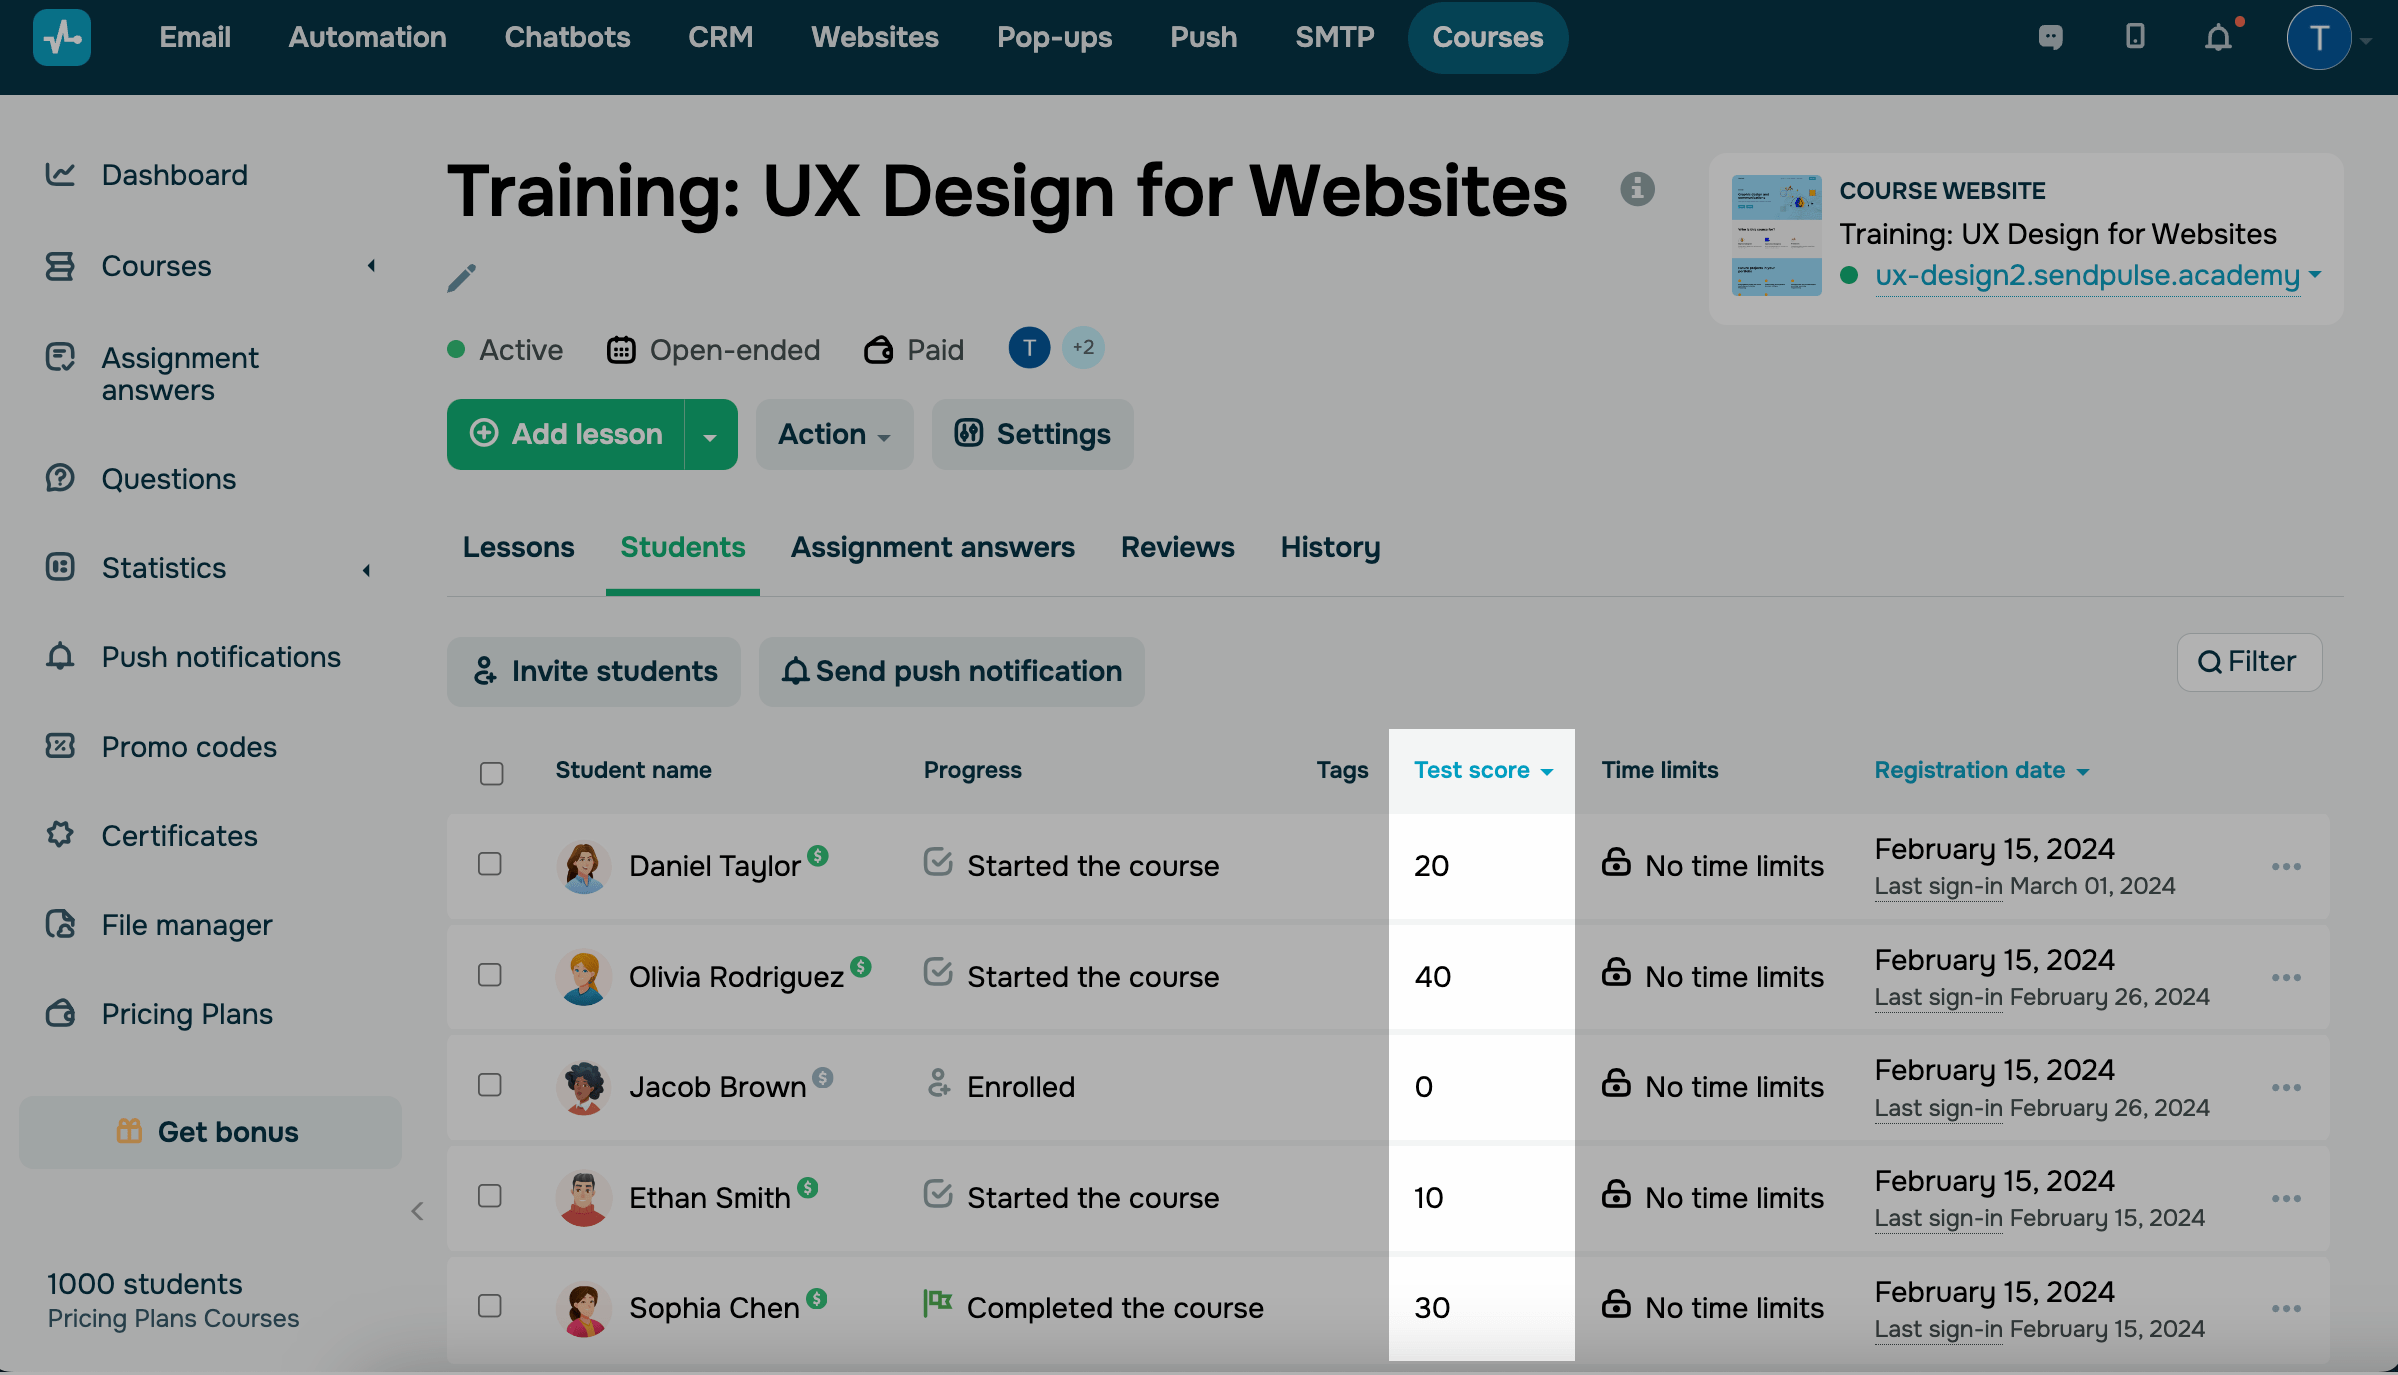
Test scores
In the Test score column, you can view students' progress and test scores they have gotten throughout your course.
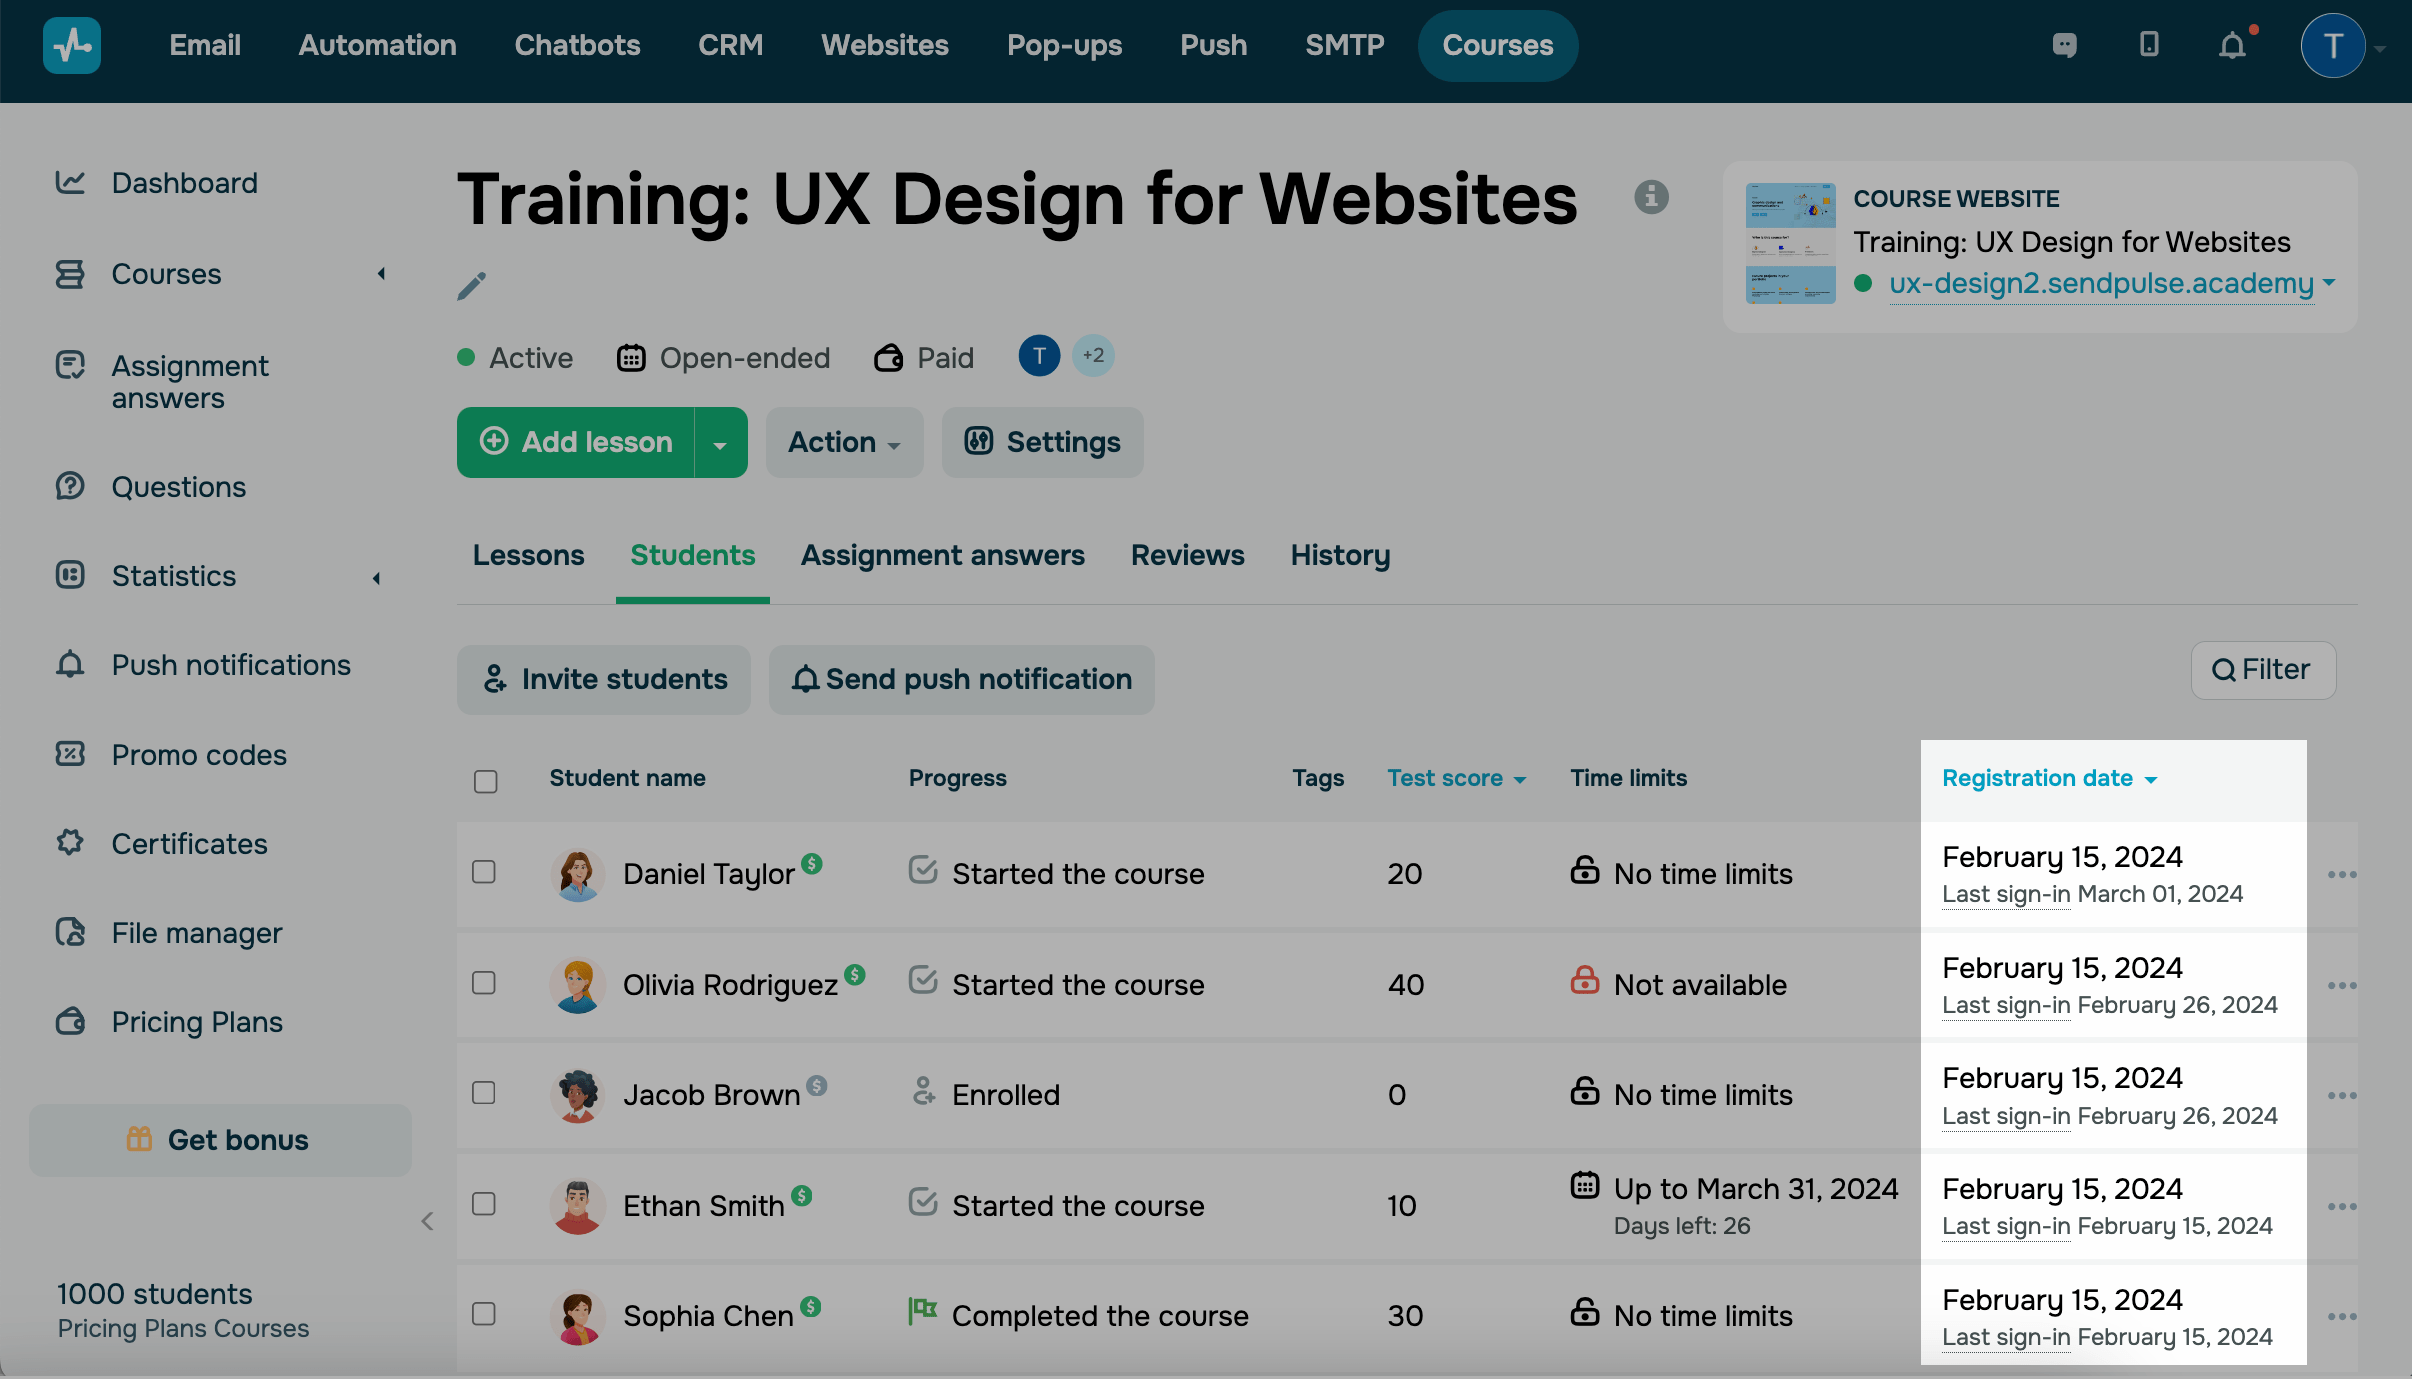
Registration date
In the Registration date column, you can view students’ registration dates and last sign-in dates.
Student card
You can view information about each student individually. To do this, click a student’s name in the Students tab.
Read more: How to view student card data.
Last Updated: 24.06.2025
or