Create a lesson
With the drag and drop lesson builder, you can create a media-rich lesson. Use a variety of multimedia elements to help your students perceive information better: audio and video lectures, text instructions, lesson summaries in downloadable documents, samples, and so on.
In this article, we will look at how to add and configure each element, change students’ access status, and modify the order of lessons.
Add a lesson
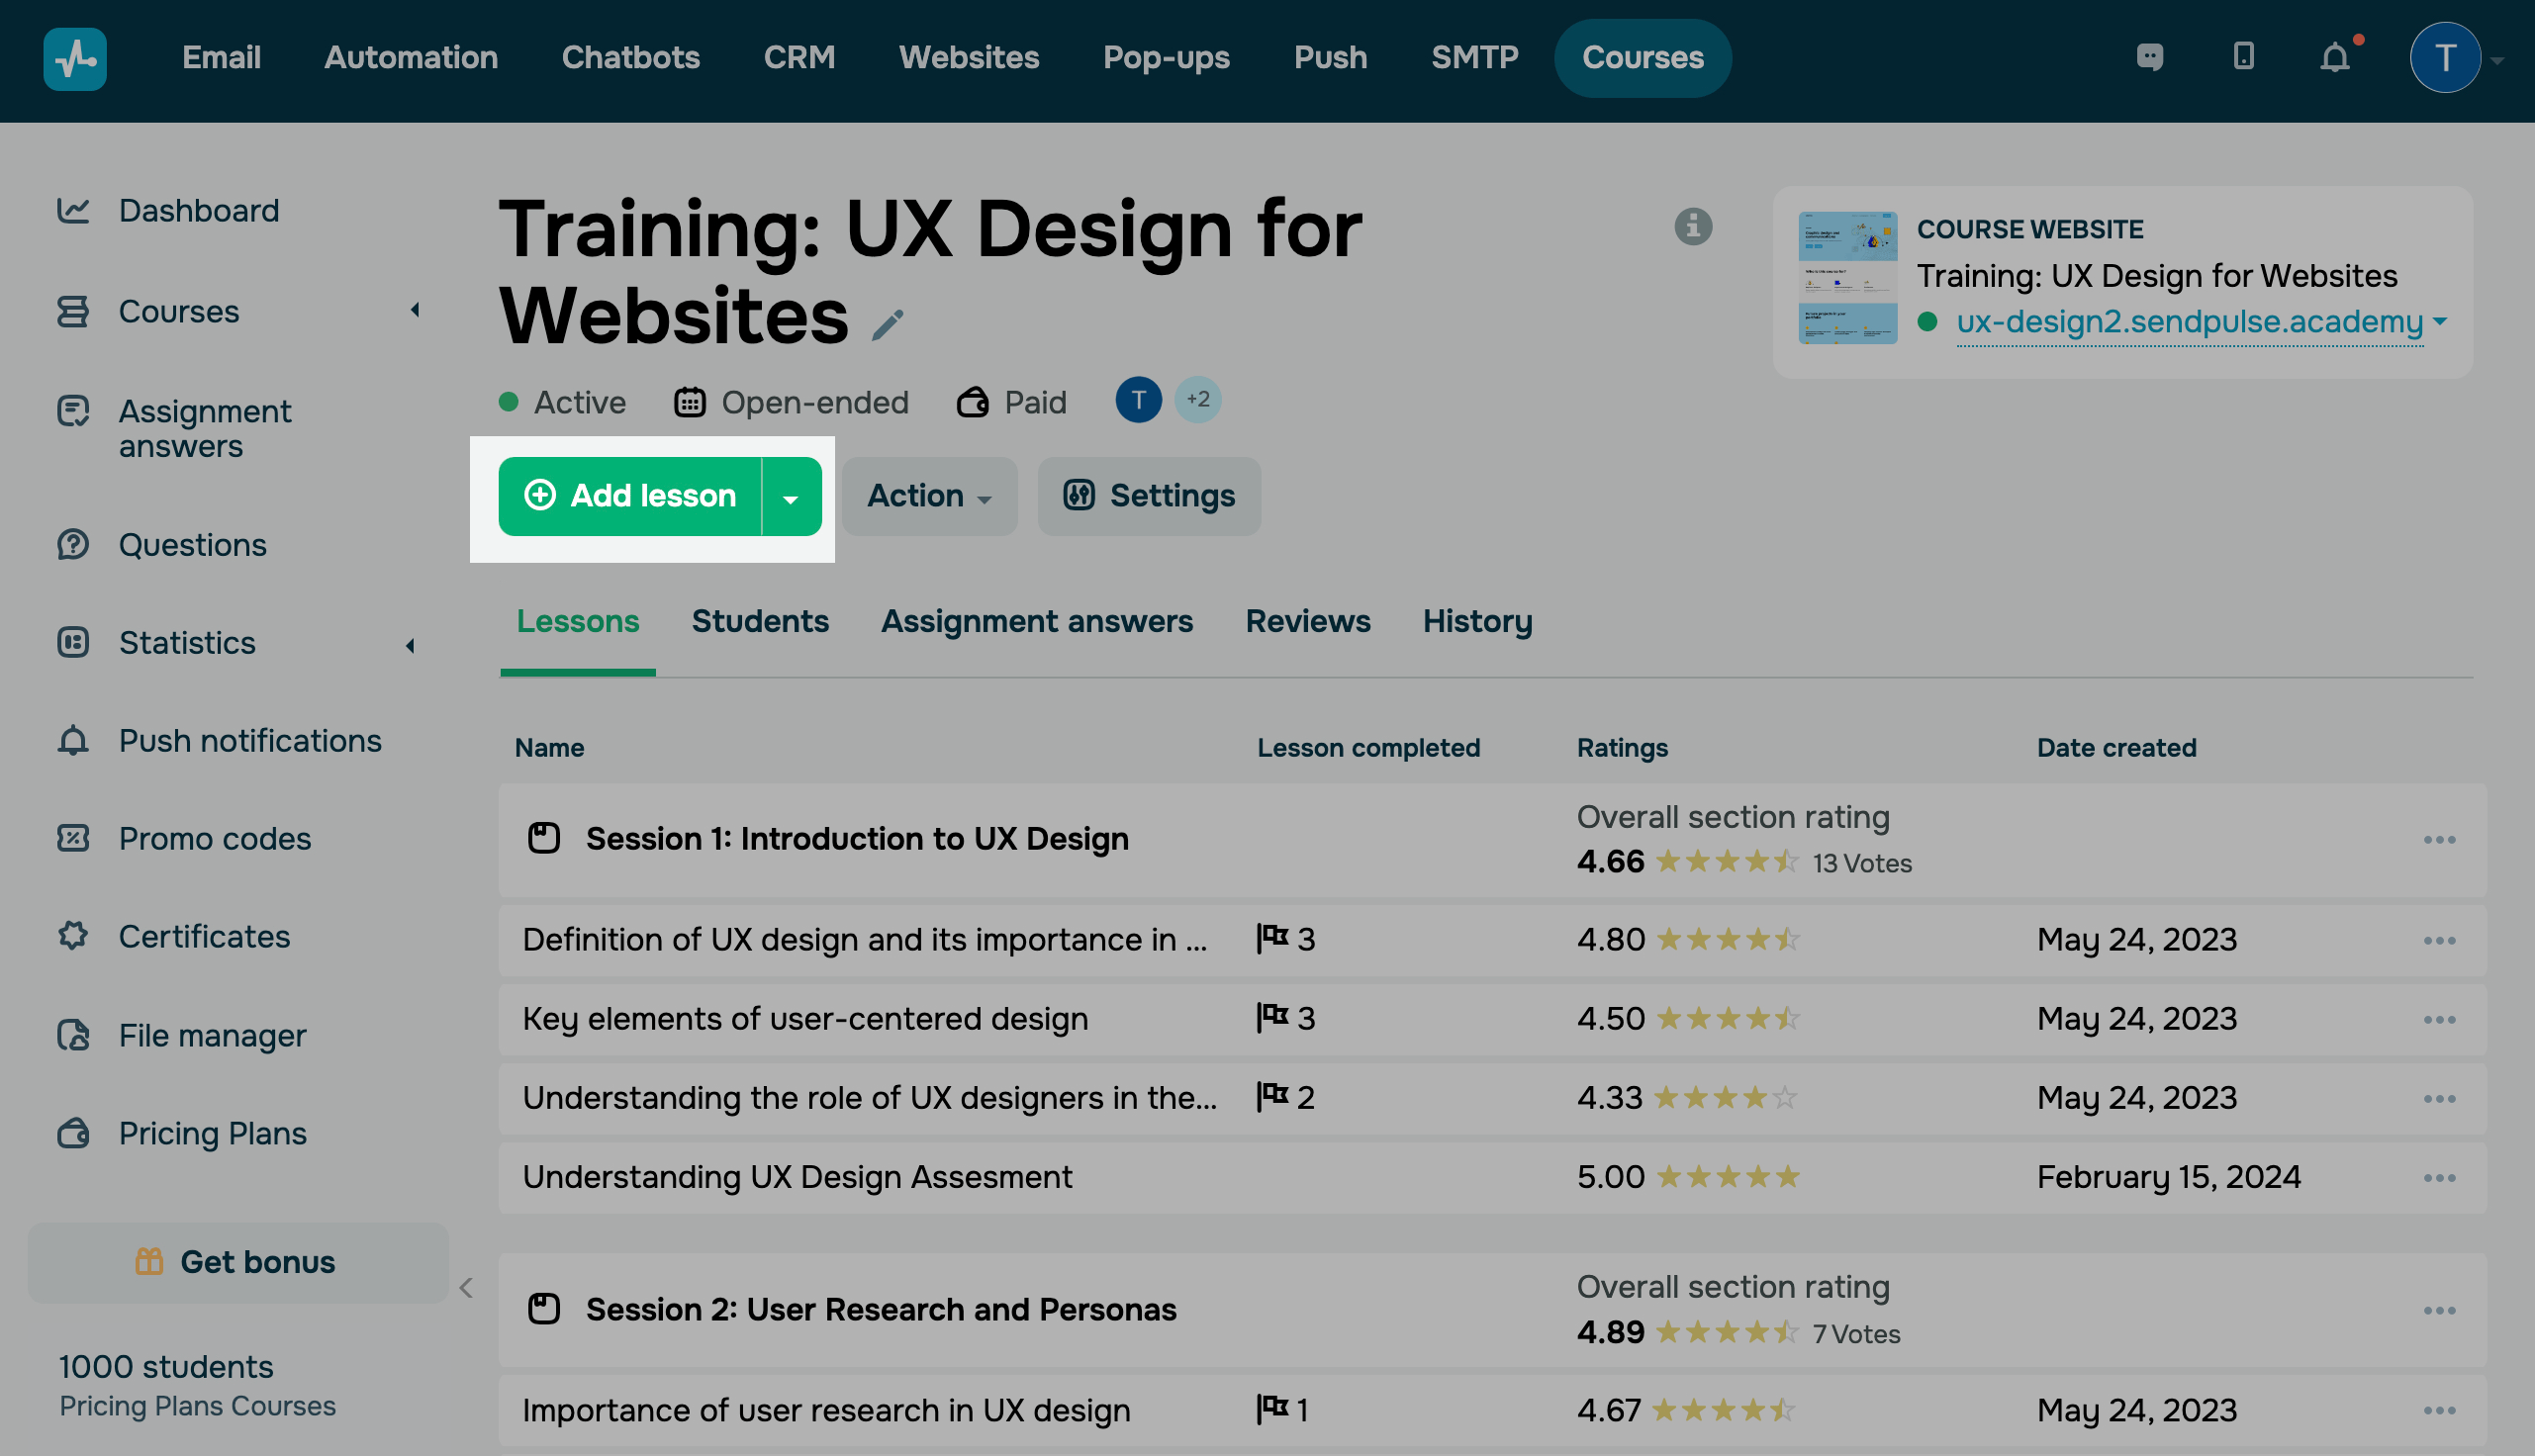
Go your course page and click Add lesson.
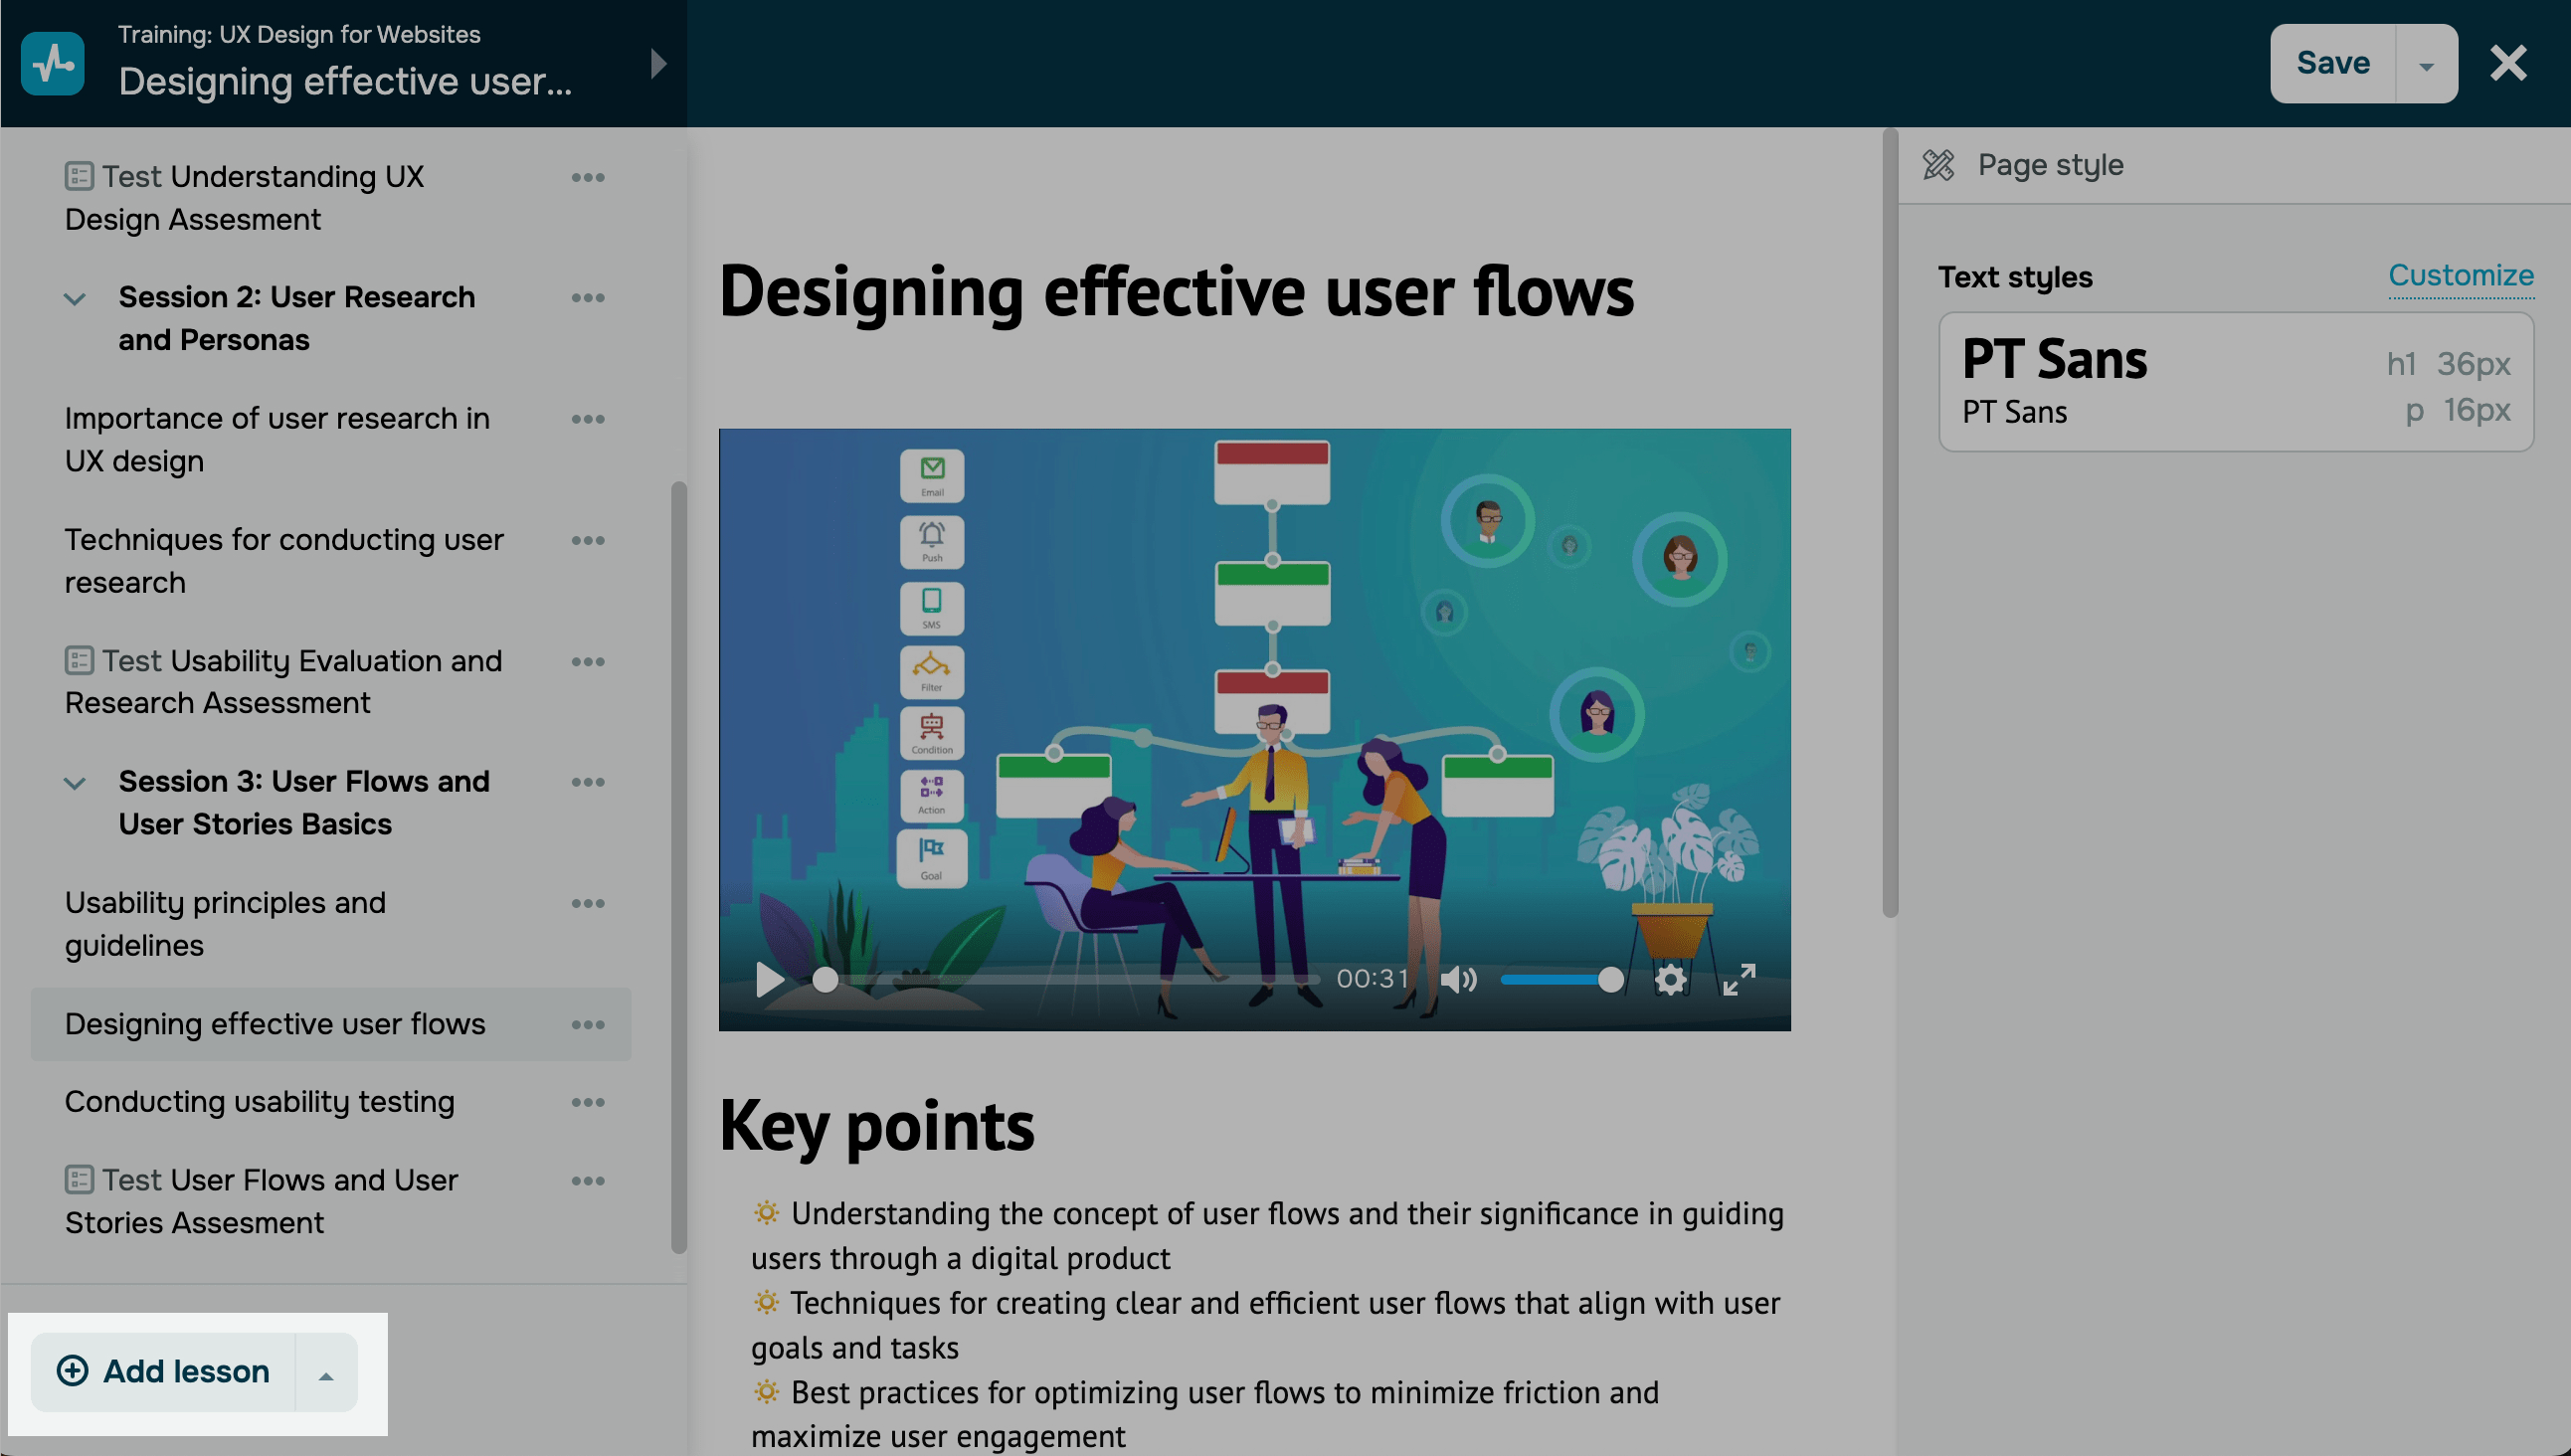
You can also proceed to create a lesson using the drag and drop lesson builder. Click on the top left menu, and below the lesson list, click on the arrow, and select Add Lesson.
Enter the name of your lesson.
We recommend keeping lesson names short so that they are fully visible in your course program. You can also include emojis if you'd like.
Add elements
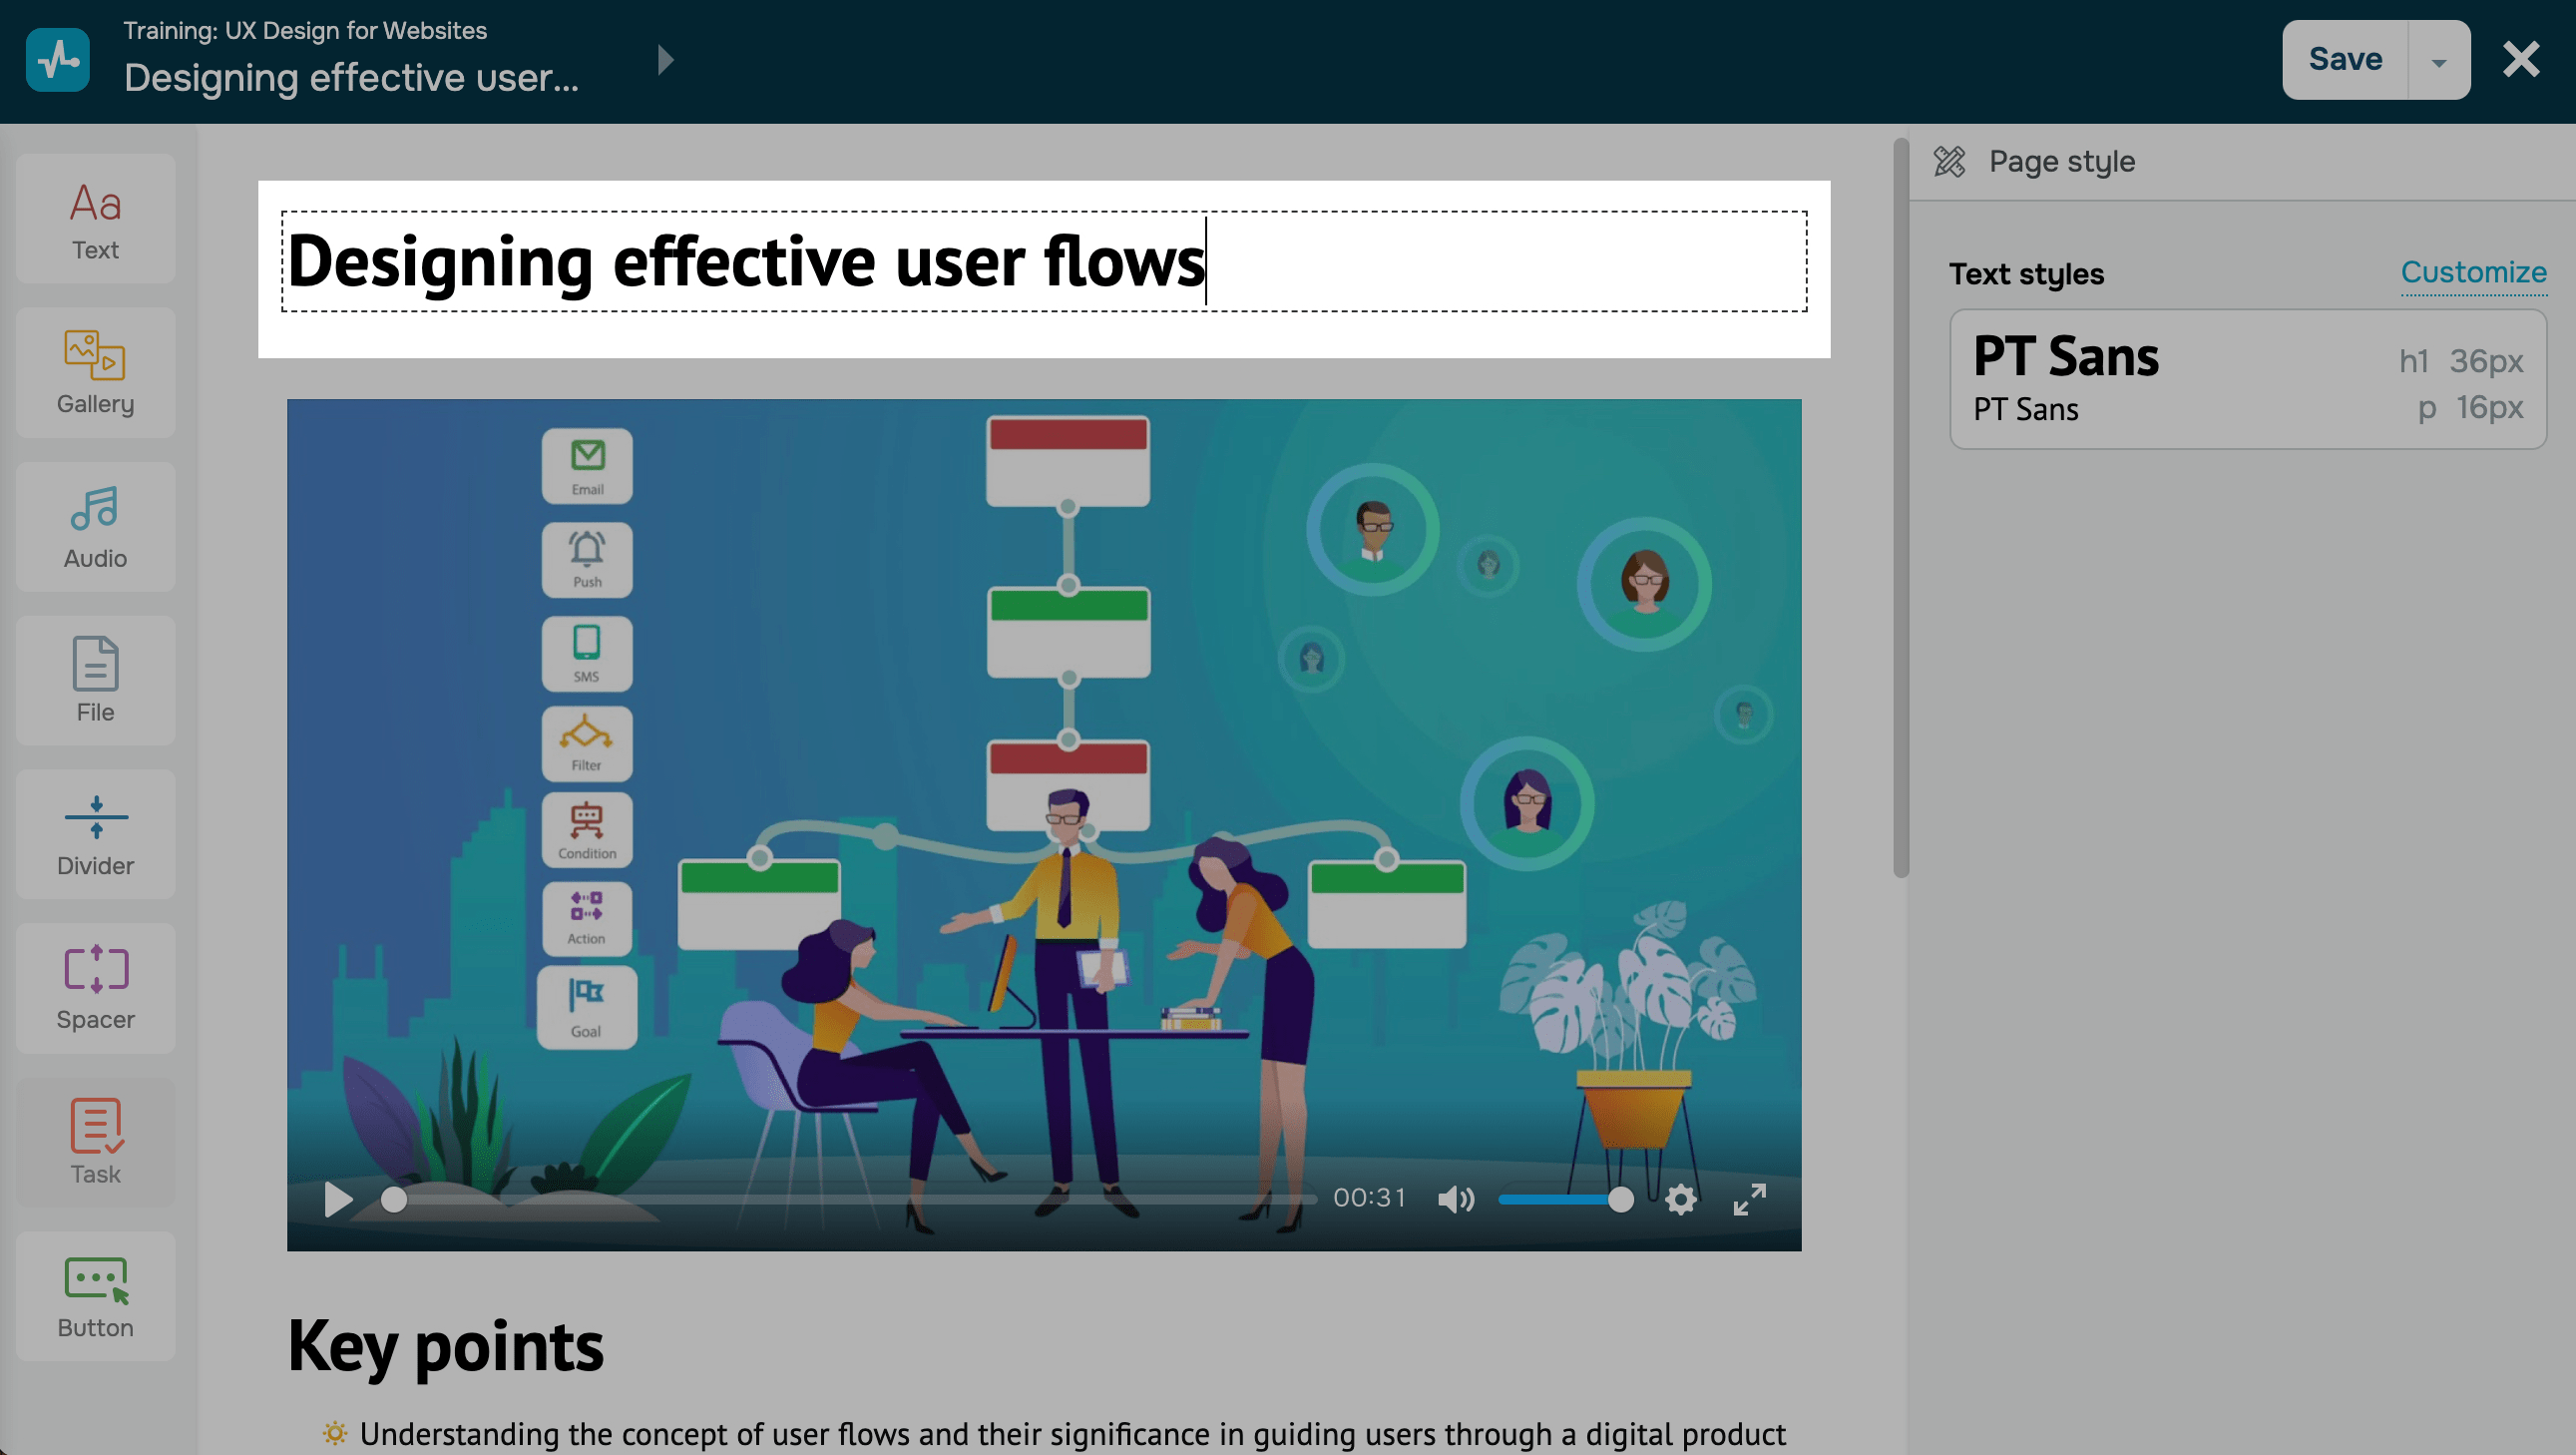
Select an item in the left panel, and drag it to the workspace for further customization. You can use the following elements to build a lesson:
| Text | Used to add text to the page. |
| Gallery | Used to add media elements to the page, including Image, Carousel, and Video. |
| Button | Used to add links to external resources or payment pages. |
| Audio | Used to upload audio content. |
| File | Used to upload other downloadable content. |
| Spacer and Divider | Used to add white space and visually organize page sections. |
| Assignment | Used to create assignments and test students’ knowledge. |
| Plan | Used to upsell content within a course. |
Set up your lesson
To go to lesson settings, click the panel in the upper-left corner and select Lesson settings from the menu of the selected lesson.
Read also: Set lesson access та Copy lesson.
Save your lesson
Once you finish creating and configuring your lessons, click Save and exit in the upper right corner of the builder.
You can view and edit saved lessons.
You can view test results and student progress in the Analytics tab and in each student's card.
Last Updated: 23.05.2025
or