CRM system basics
The CRM system is a SendPulse tool that stores your customer and sales data, including deals, contacts, companies, tasks, and interaction history. You can see the stage of every sale and manage customer data in one place.
With the CRM system, you can:
- Manage deals in pipelines and track customer journeys.
- Save customer data to contact and company cards.
- Reach out to customers from contact cards through a connected email inbox, telephony, or messaging apps.
- Plan your team's workload on a task board.
- Control what data each user can view and edit.
- Create deals, contacts, and tasks automatically.
- Analyze your performance on a dashboard with deal and task metrics.
Here's how different teams can use the CRM system:
- Sales teams can capture leads using chatbots, subscription forms, and websites in one pipeline and see the entire interaction history in a contact card.
- Marketers can segment contacts by tags and fields to send personalized campaigns.
- Fulfillment teams can check order details in a deal card.
- Team leads can track deal value and every team member's workload.
To get started, go to the CRM section. The left sidebar will show tabs with its main features. Then, set up your CRM step by step, starting with a pipeline and ending with analytics.
Create a pipeline
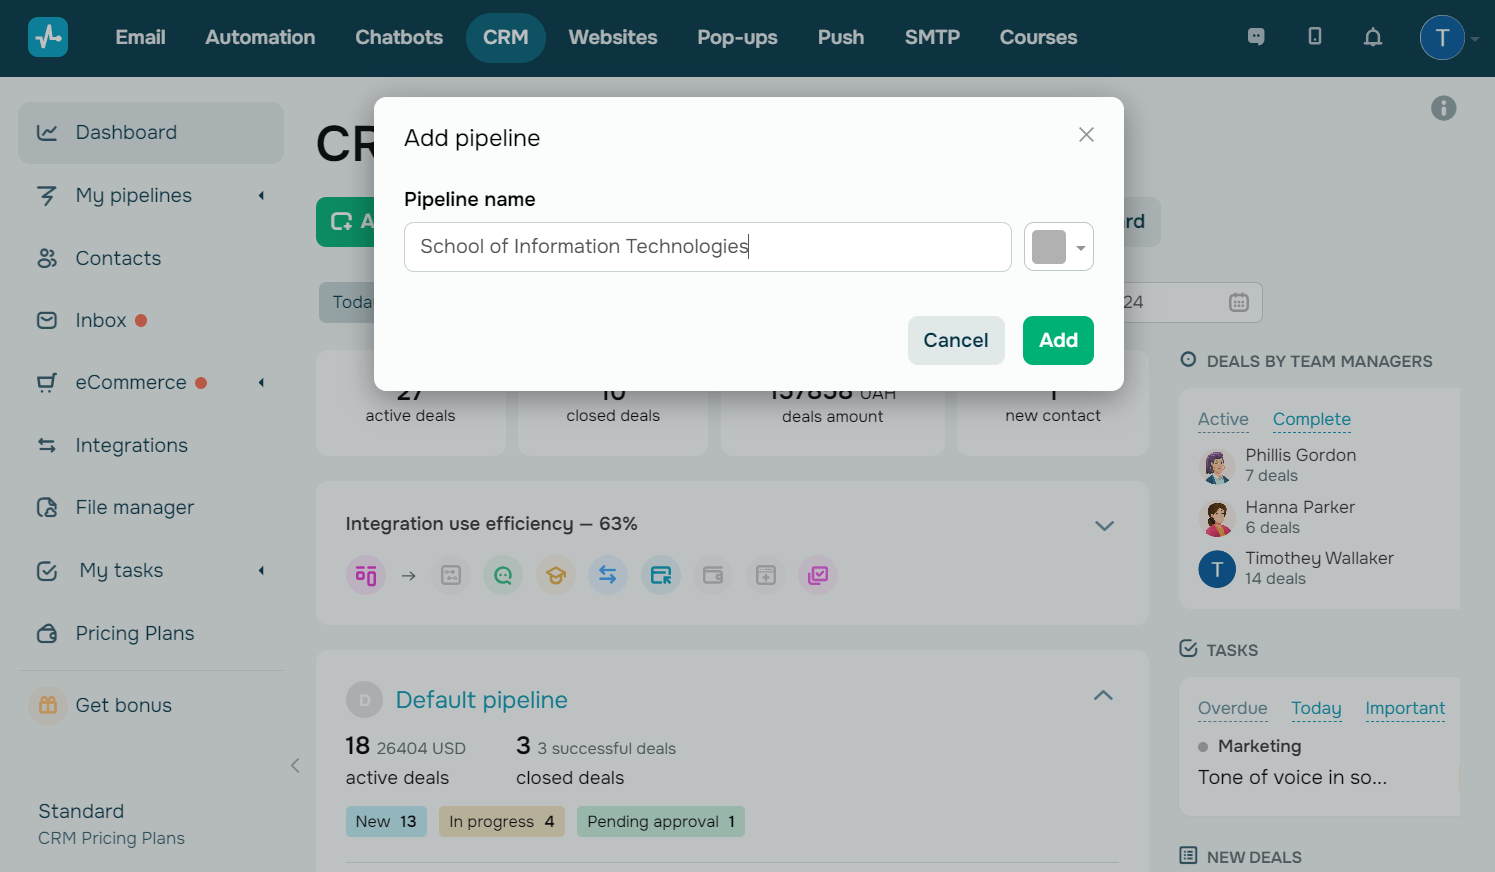
A pipeline is a set of stages your deals move through on their way to a sale. All your deals are stored in a pipeline.
By default, CRM already has one pipeline. To add a stage to it, go to Deals, select the Kanban display mode, and click Add deal stage.
Read more: Deal pipeline basics, Change a deal stage.
Add deals
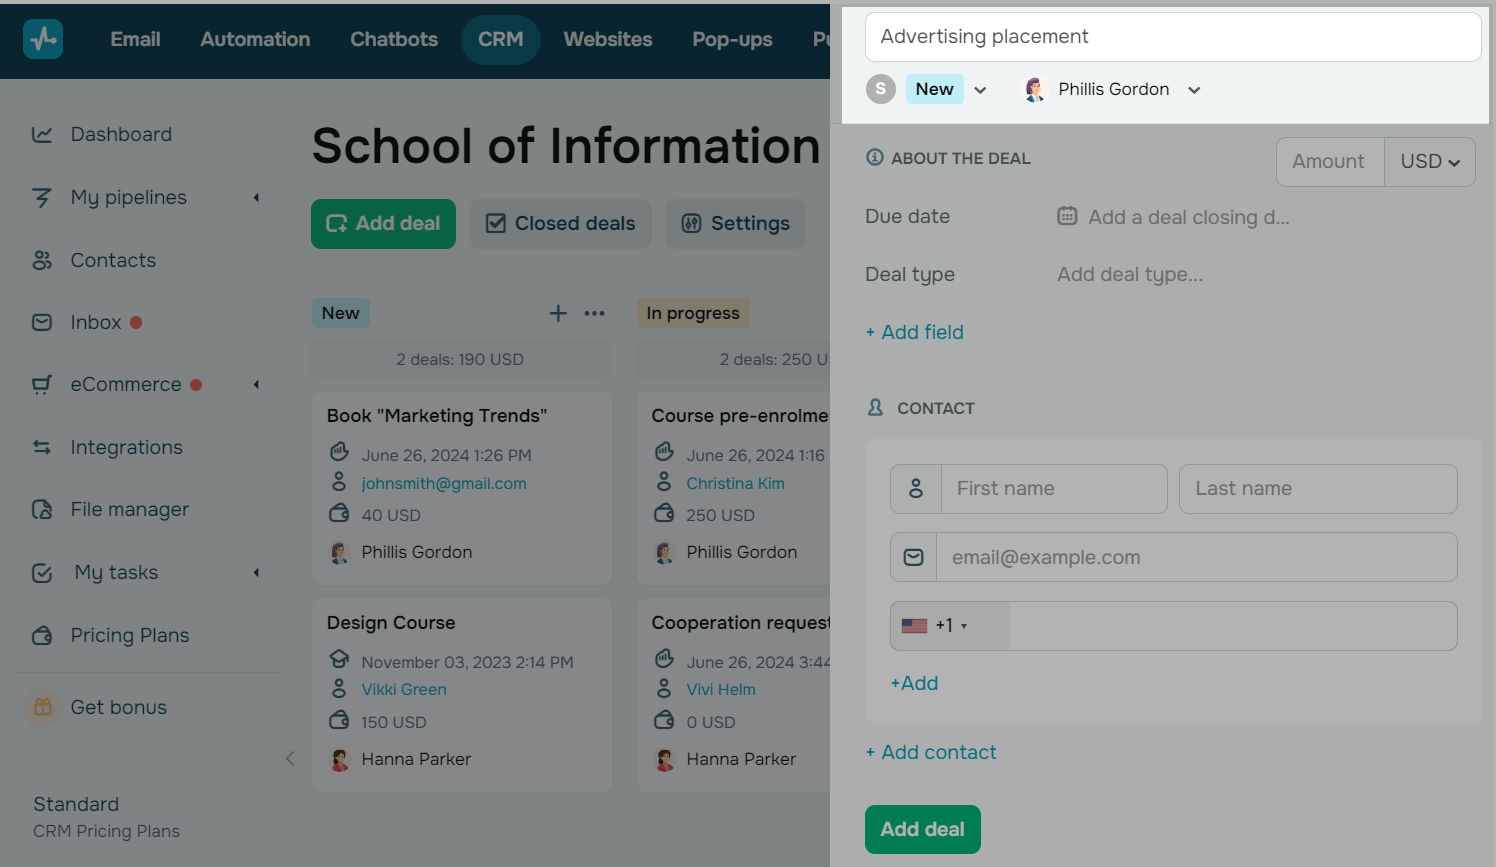
A deal is a card in your pipeline that represents one sales opportunity in your pipeline. Each card records the deal value, the stage it's in, the assigned team member, and the full activity history. Together, your deals show the state of every sale.
To create a deal, go to Deals, select your pipeline, and click Add. Enter a deal name, select a stage, assign a team member, then add a price, due date, and customer contact details.
Once you set up automation or integrations, deals and contacts appear in your pipeline automatically. Sources include payments, SendPulse-powered chatbots, subscription forms, and websites.
Read more: Create a deal, Manage deals.
Add contacts
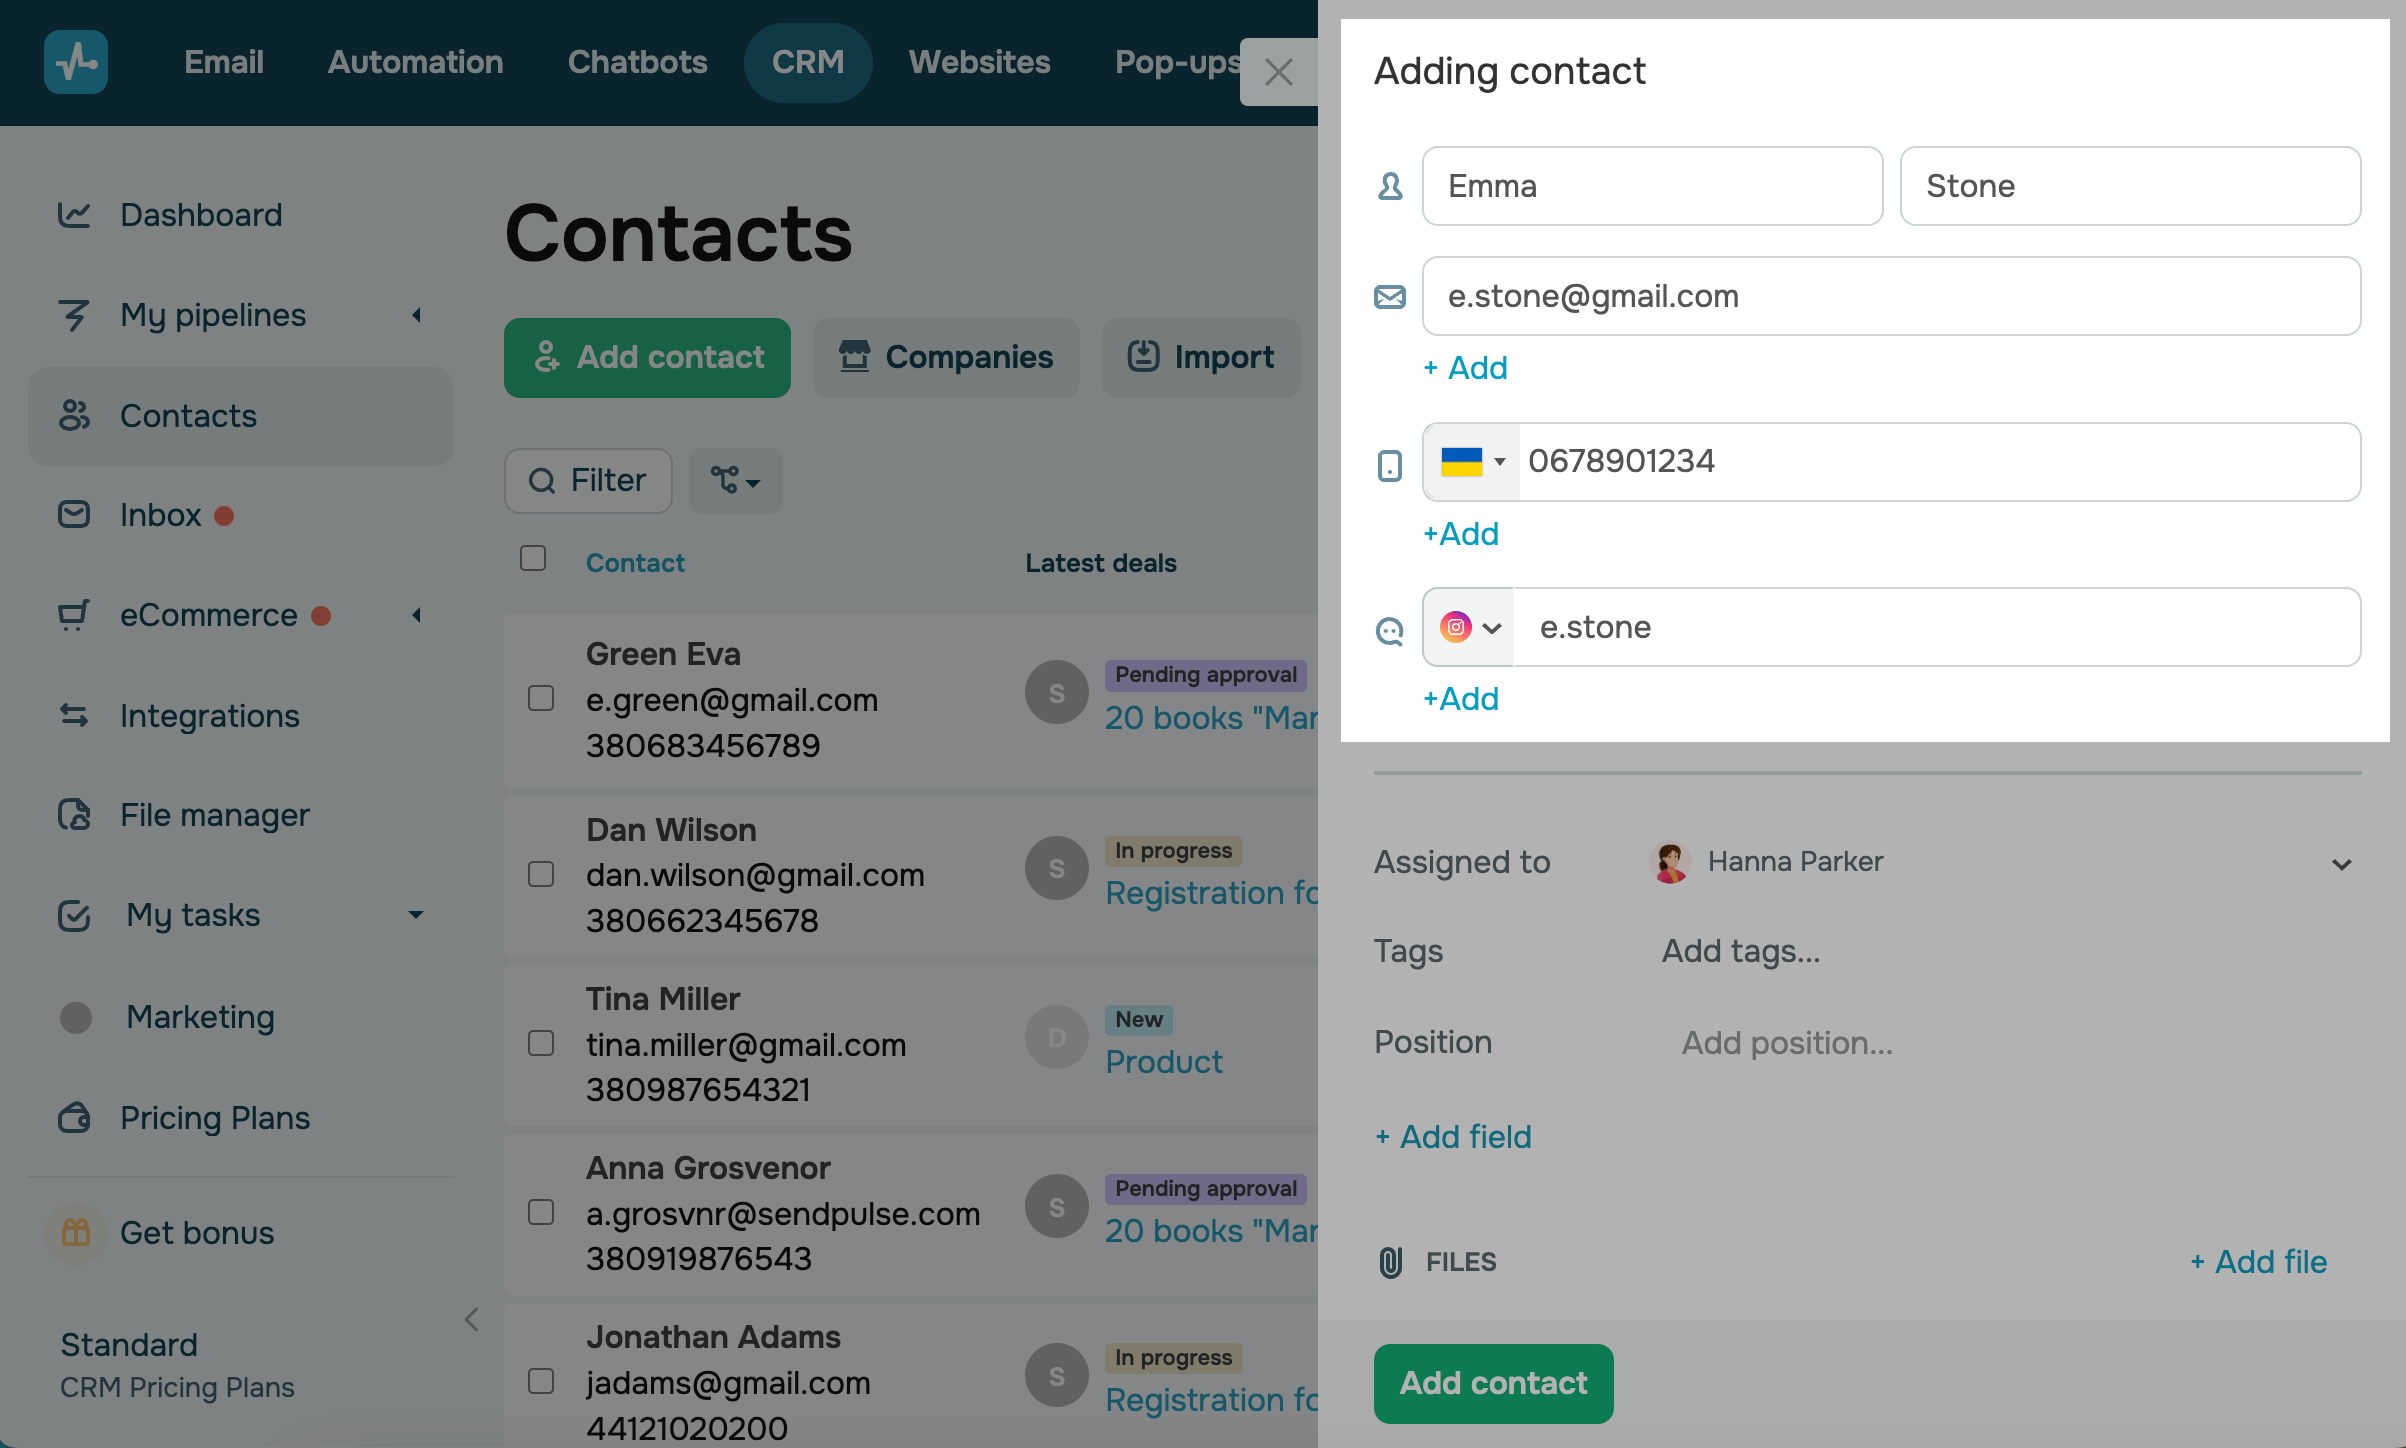
A contact is a card that stores a customer's details, such as their email address, call history, and linked deals.
To create a contact, go to Contacts and click Add. Enter your customer's name, email address, phone number, or username on social media, then assign a team member.
When you create a deal, a contact with the customer's data appears in the CRM system automatically.
Read more: Create a contact, Manage contacts.
Group contacts into companies
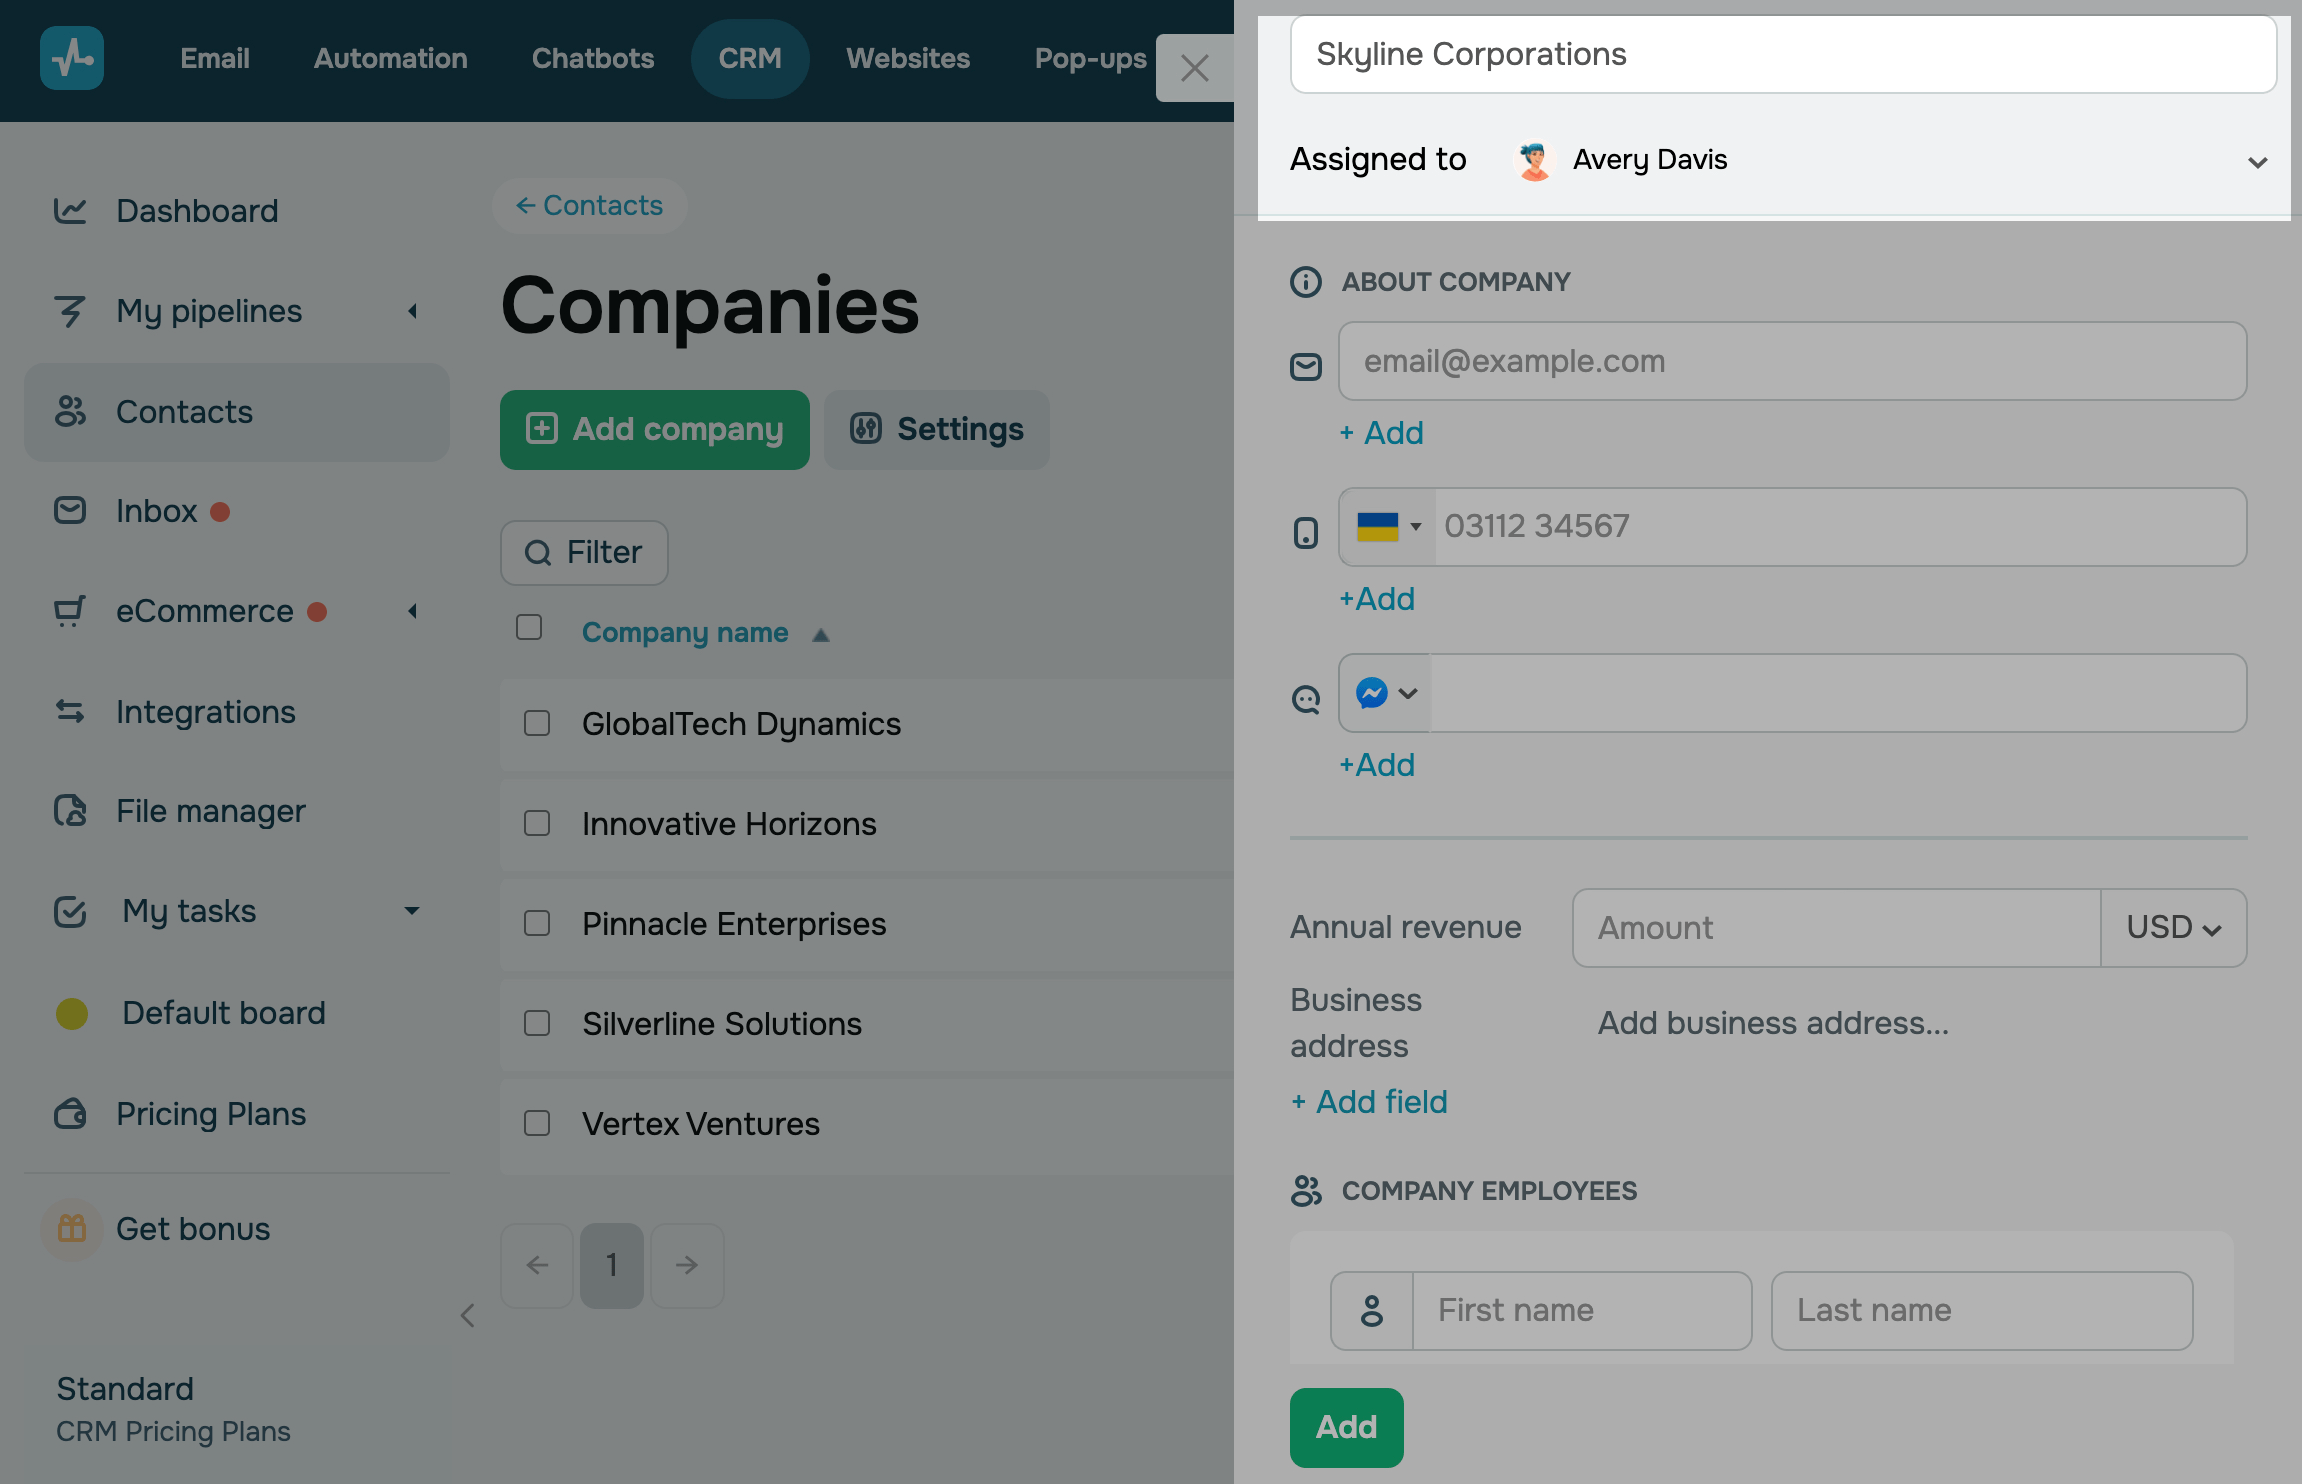
If your customers are organizations, you can group contacts into companies. A company card stores the organization's business details, physical address, annual revenue, and employee contacts.
To create a company, go to Contacts > Companies and click Add. Enter a name, assign a team member, and add company employees. Their data will also appear in the Contacts tab.
Read more: Create a company.
Add tasks to a board
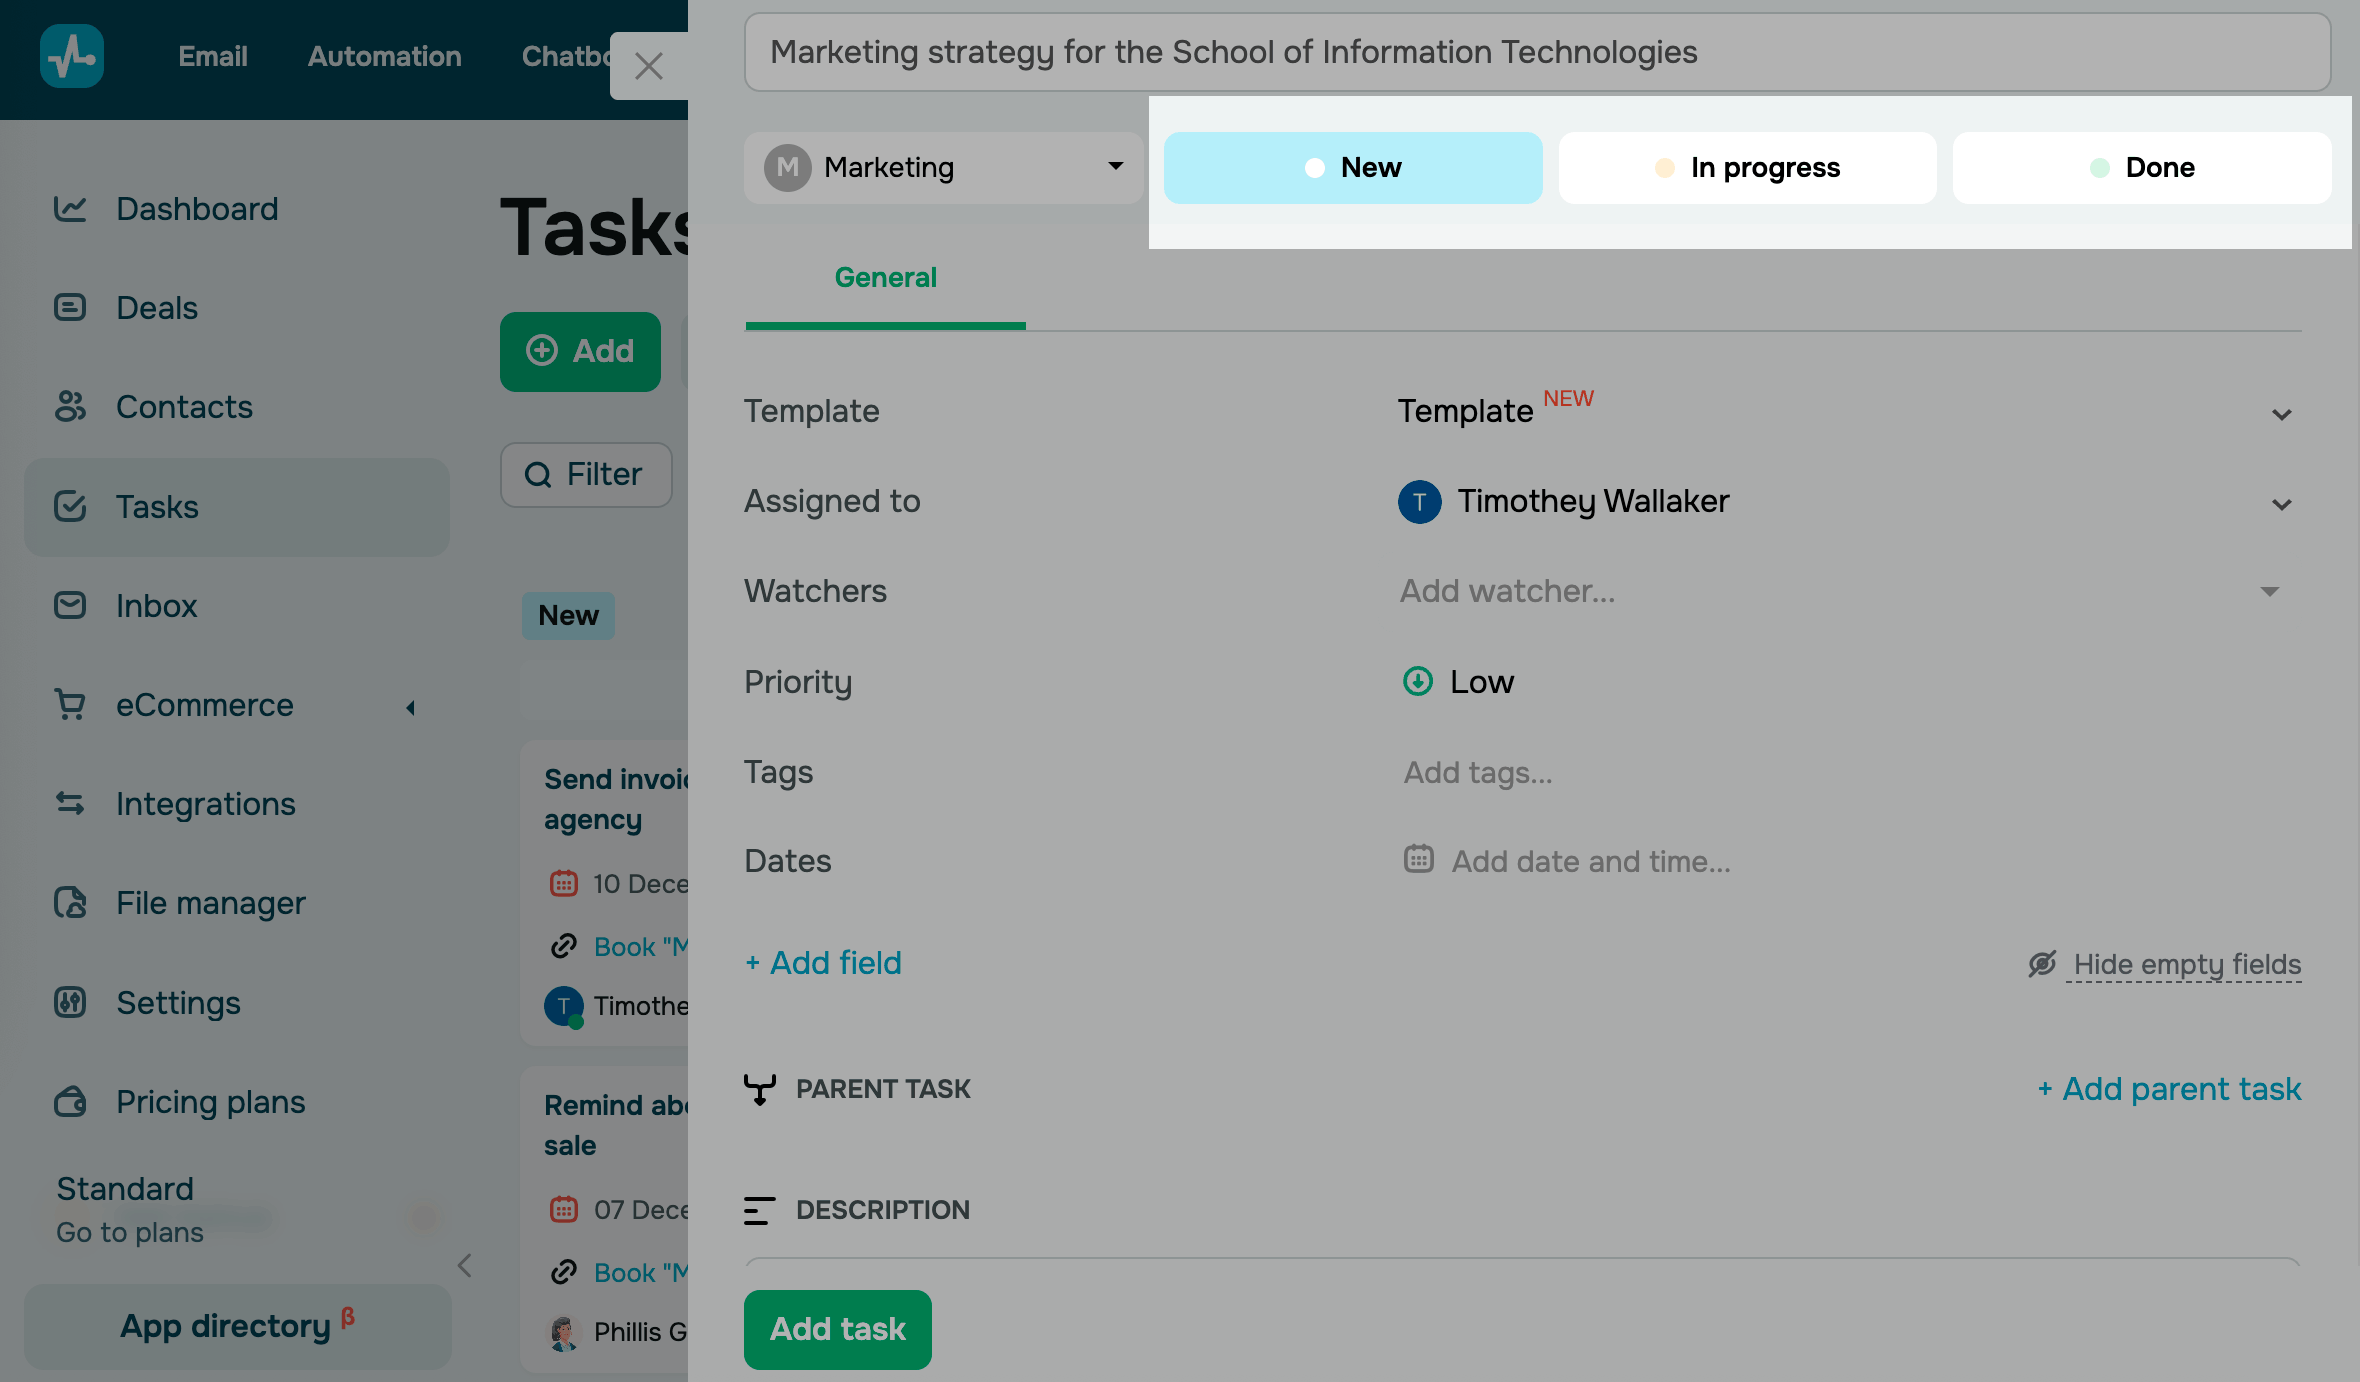
Tasks help you balance your team's workload and keep track of deadlines. Every task appears as a card with an assignee, due date, and status.
To create a task, go to Tasks and click Add. Enter a task name, and select a status, assignee, priority, and dates. You can link tasks to deals and contacts and create task templates for regular activities.
Read more: Task board basics, Create a task.
Invite your team
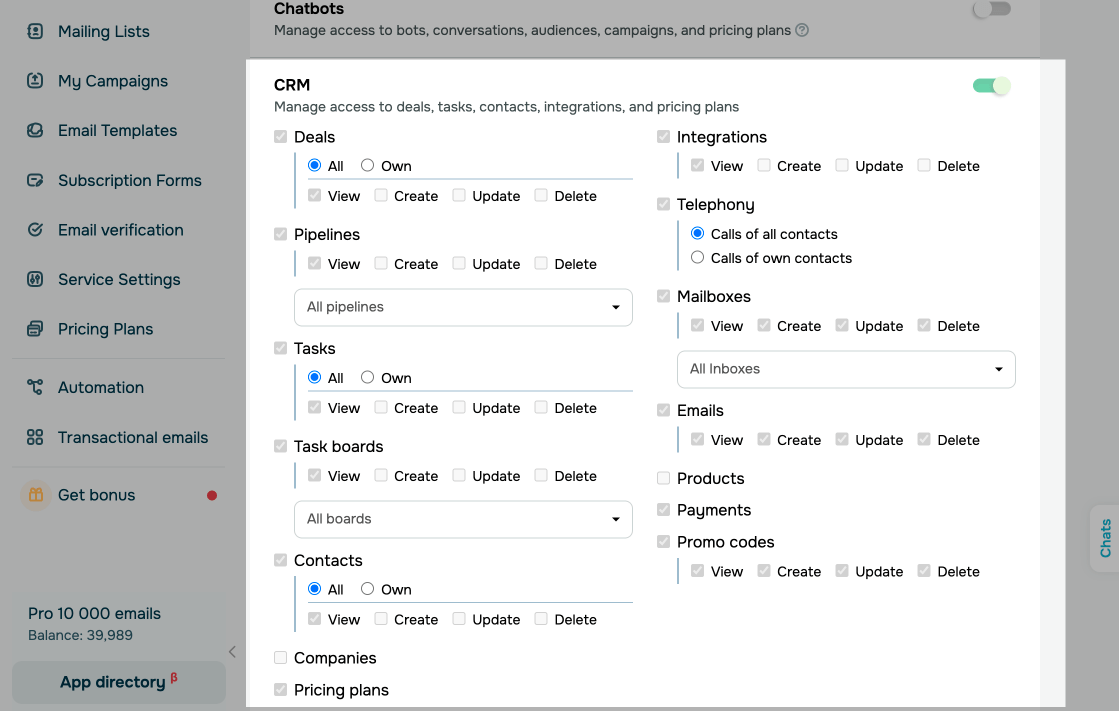
Invite team members to your account and decide what each of them can access.
Go to Account settings > Team, then click Invite new user. Select a role, and in the CRM section, grant access to all records or only the ones assigned to this user.
Read more: Manage your team’s CRM system access, Manage CRM section visibility.
Automate your CRM work
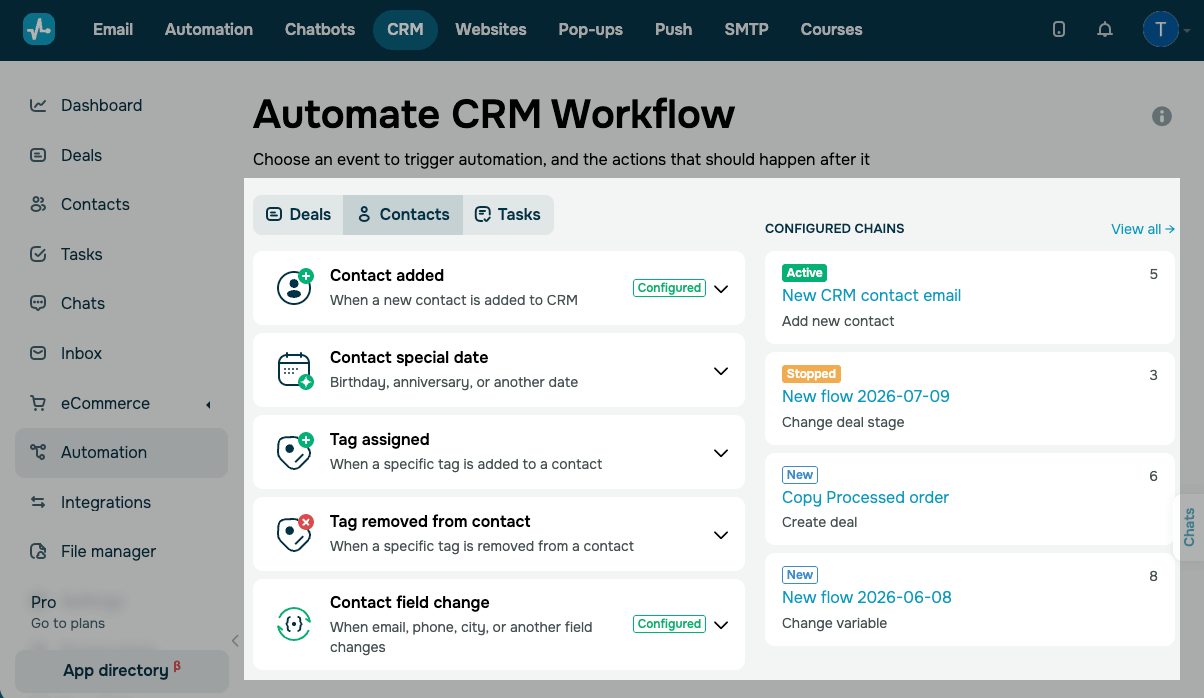
Automation can do some of the work for you. In response to events in your CRM and other SendPulse tools, it can:
- create deals, contacts, and tasks;
- update fields in your records;
- move deals to other stages;
- send messages to customers.
To create an automated flow, go to your pipeline, task board, or the Contacts tab, then click the flow icon. Click Create flow, select a trigger, and add actions. To view all your CRM flows and their statuses, go to CRM > Automation.
Read more: Automate CRM system management, Sources of automatically added deals and contacts.
You can also create and update deals, contacts, and tasks through the CRM API.
Analyze your performance
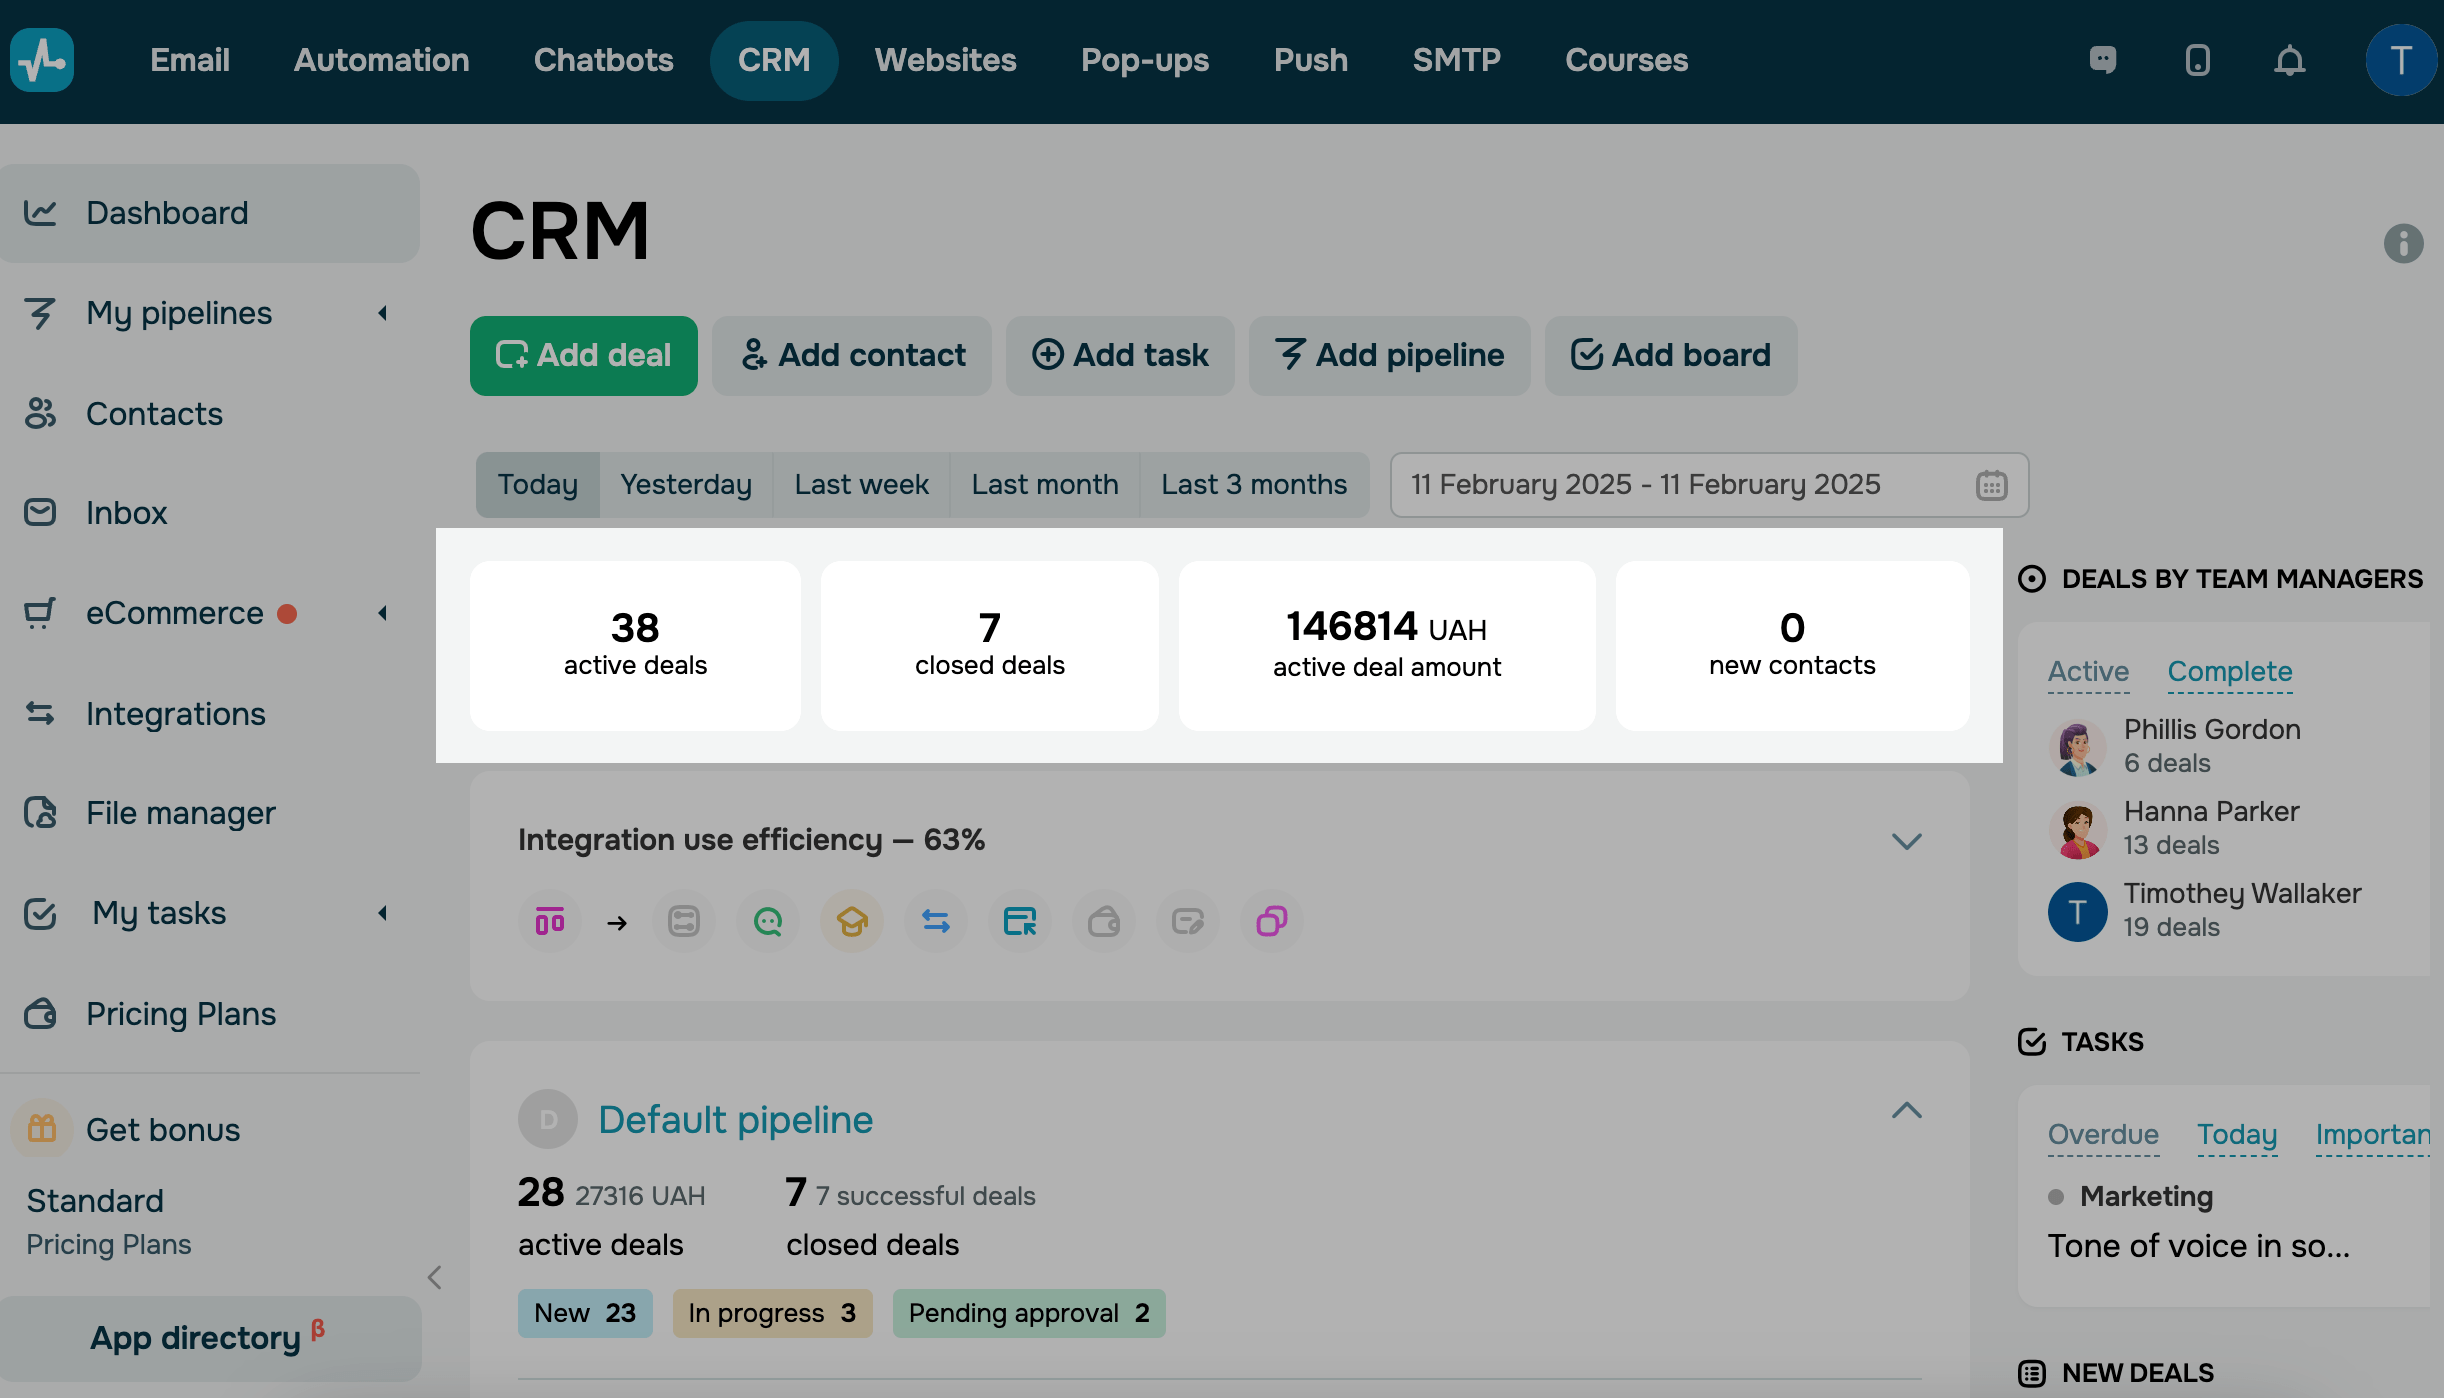
Your dashboard shows your team's performance as charts. You get a full view of your sales without having to build reports yourself.
To view statistics, go to CRM > Dashboard and select a timeframe. You'll see the number and total value of active and closed deals, deal sources, each team member's performance, and task statistics.
Read more: View CRM statistics.
That's it — your CRM is ready to use. Leads land in your pipeline, customer details and conversation history live on contact cards, and your team's work sits on the task board.
You can get started for free and switch to a paid plan as you scale.
If you sell products, you can also maintain a product catalog and capture payments in your CRM system.
On top of that, you can add and manage products, create and use promo codes, and send email replies in CRM.
 Last Updated: 09.05.2025





or