Work with HTML editor
With SendPulse, you can create your email template using our visual builder or HTML editor.
In this article, we will talk about how to create a template and edit its elements using the toolbar.
We recommend using the HTML editor only if you are well-versed in HTML. If you find it difficult, you can create a template in our visual builder by simply dragging and dropping the necessary elements.
If you need to create a dynamic template, check out this article: How to Create Dynamic Emails Triggered by Events Using Pre-made SendPulse Templates.
You can also choose a ready-made template and replace the text and images in it — read more about this in the article: How to Use Free Email Templates.
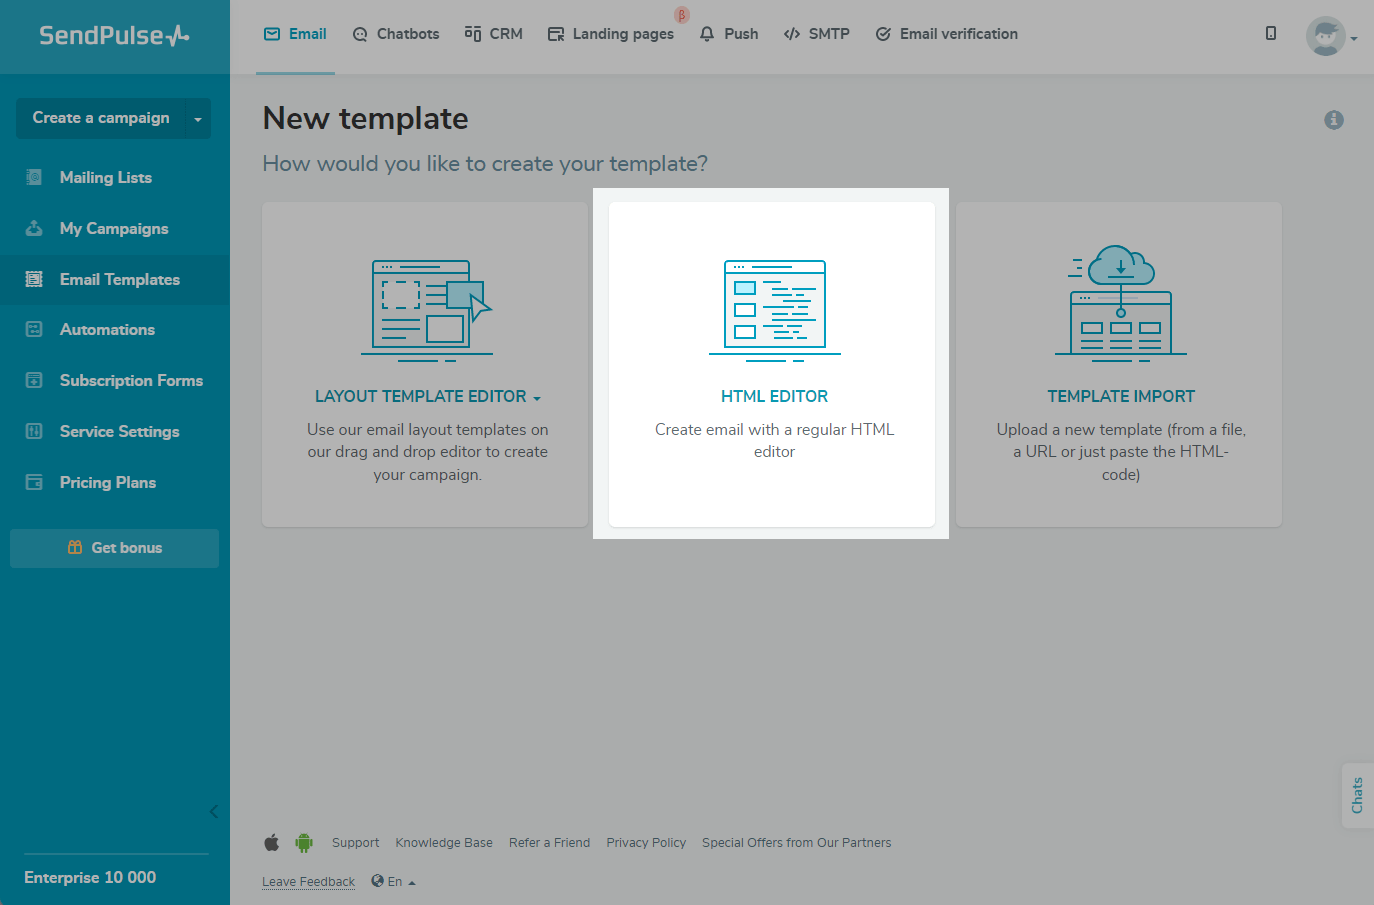
How to create a template
Go to Email > Email Templates, click Add a Template, and select HTML Editor.
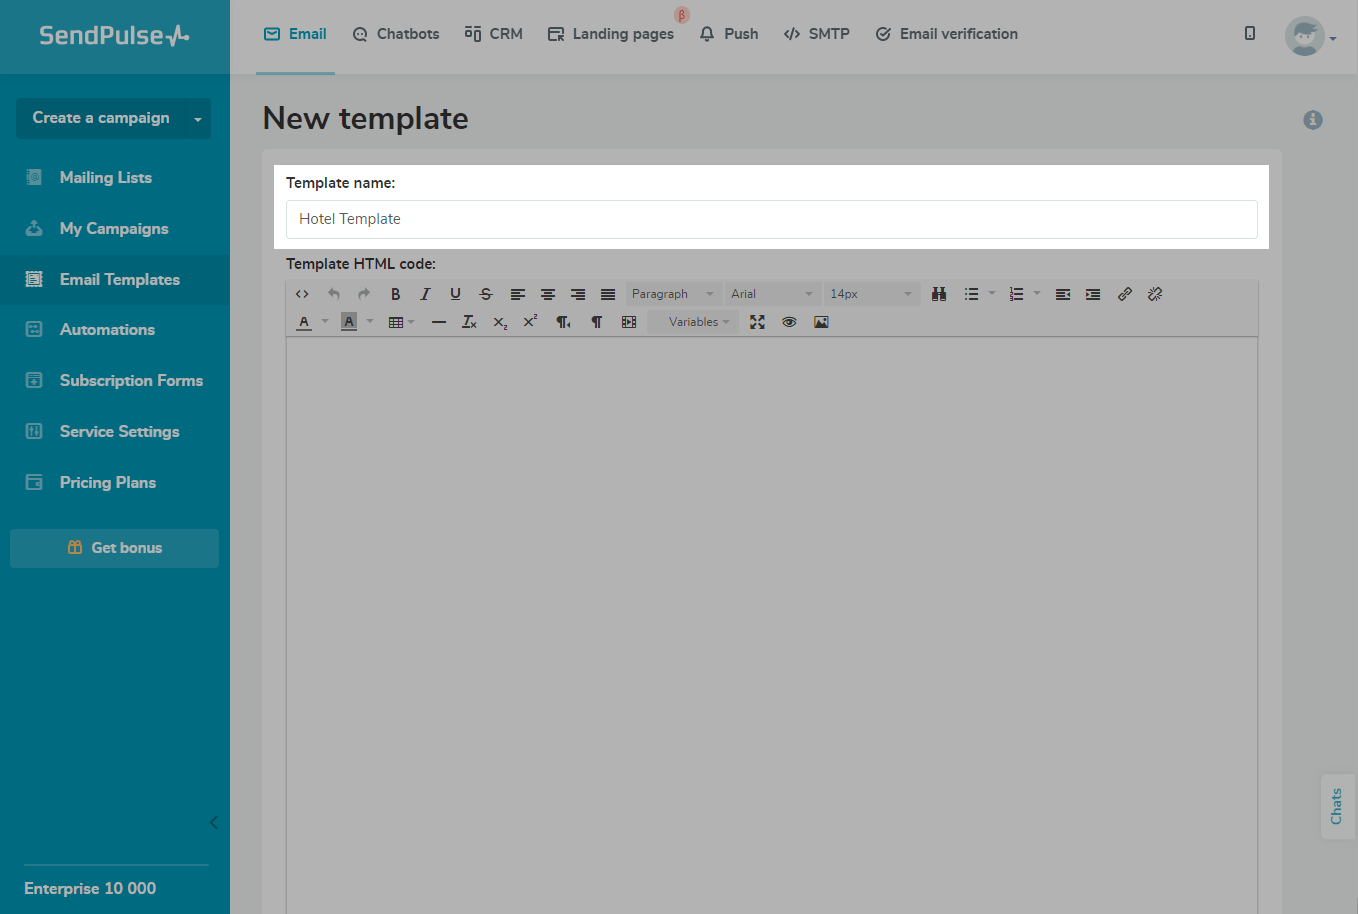
Enter your template name.
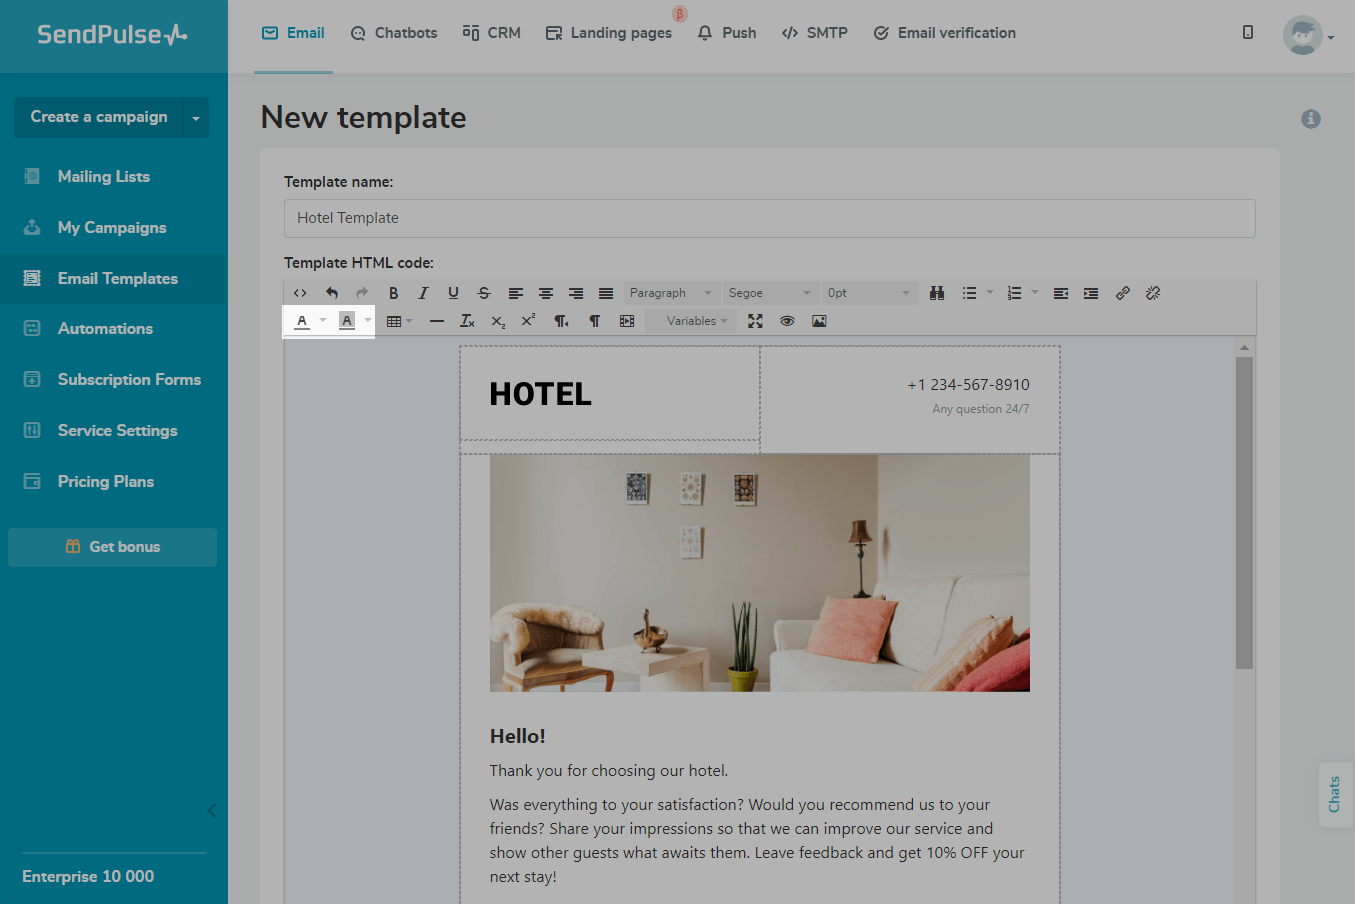
Add Your Template Code
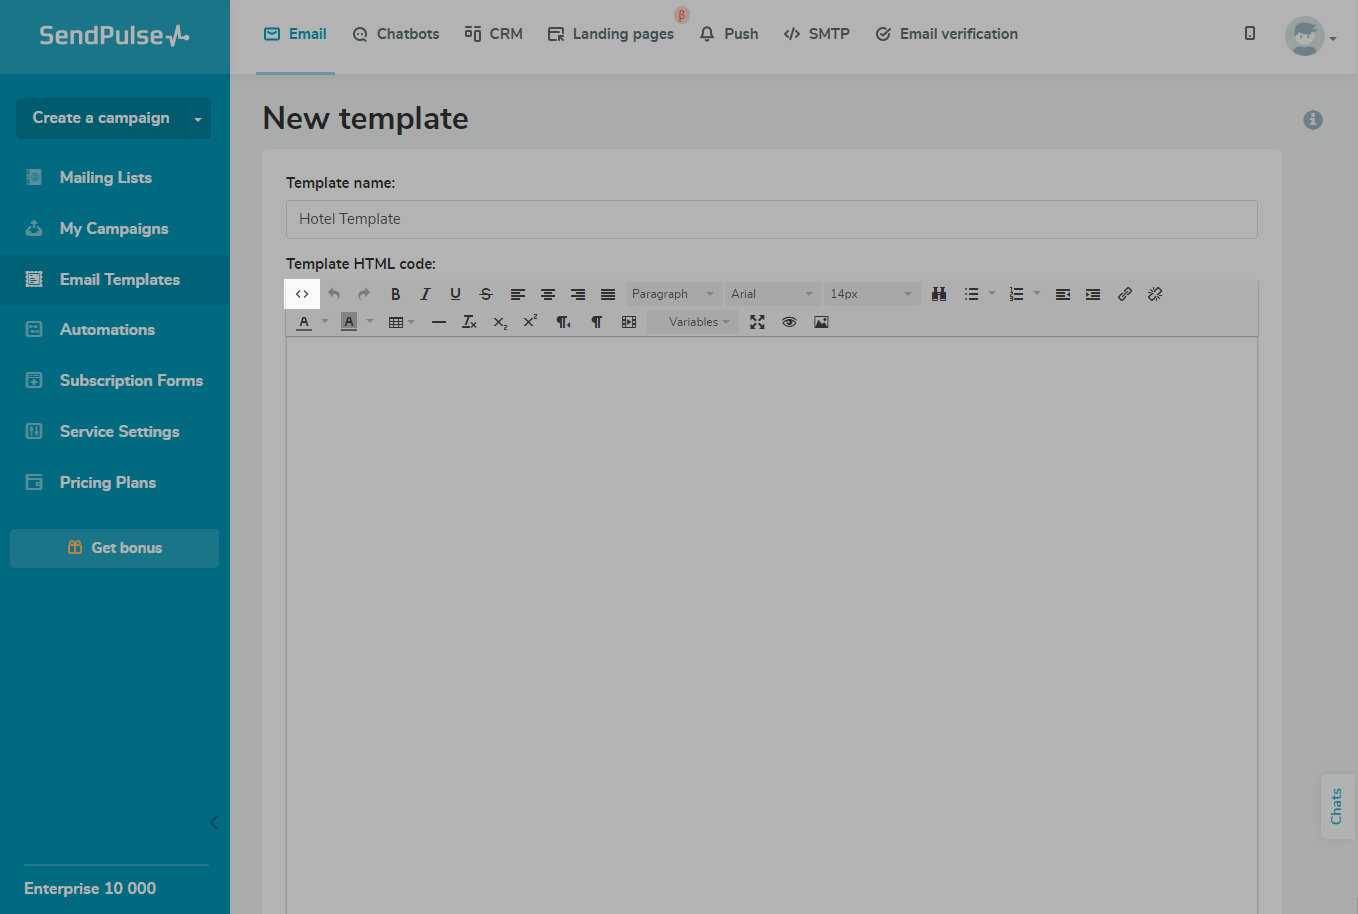
Click on the <> (Source code) icon.
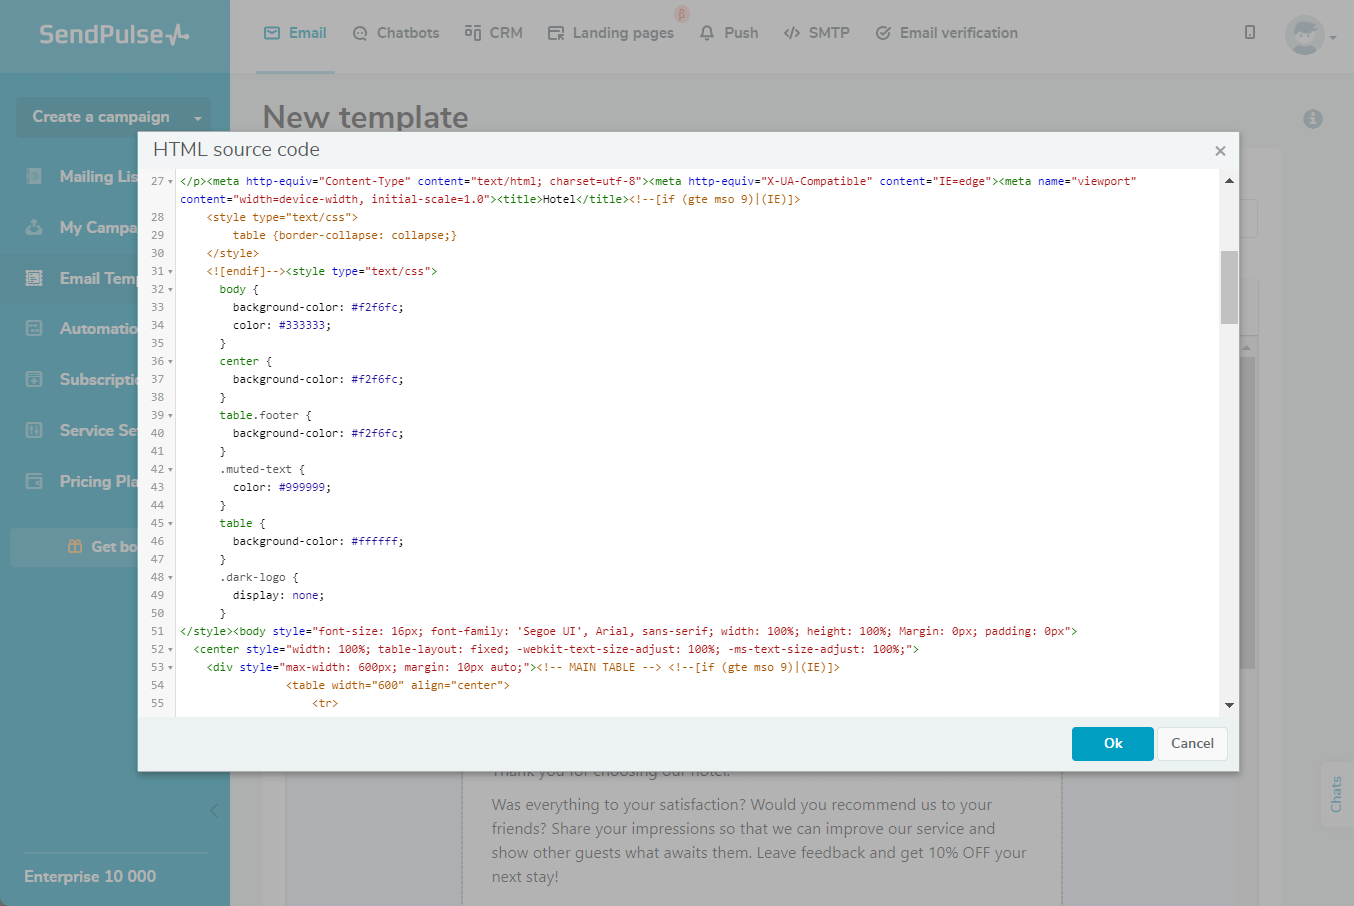
Enter your template code. In the <head> tag, place all the media queries, and add your template content to the <body> tag.
Email clients render HTML differently from browsers, so the preview can differ from what your recipients see. SendPulse’s HTML editor supports a limited set of tags and CSS properties.
Follow these rules when you add or edit HTML:
- Use a responsive layout. Avoid fixed block width and height. A fixed size often breaks on mobile devices and in some email clients.
- Use inline CSS with the
styleattribute. Many email clients ignore<style>blocks and external CSS. - Do not use JavaScript or embedded content, such as
<iframe>. Most email clients block them. For interactivity, use AMP emails. - Use conditions in table-based layouts carefully. Do not place condition tags directly inside
<table>or<tr>. Email clients and browsers can add missing elements, such as<tbody>, which can move your condition tags and break the layout. Place your conditions inside<td>or wrap the entire table in the condition. Learn more about the Table element and the HTML living standard. - Close tags properly. Missing closing tags cause incorrect nesting and layout issues.
- Validate your template using an email HTML checker and see SendPulse’s list of supported CSS and HTML attributes before sending
Make Changes to Your Template
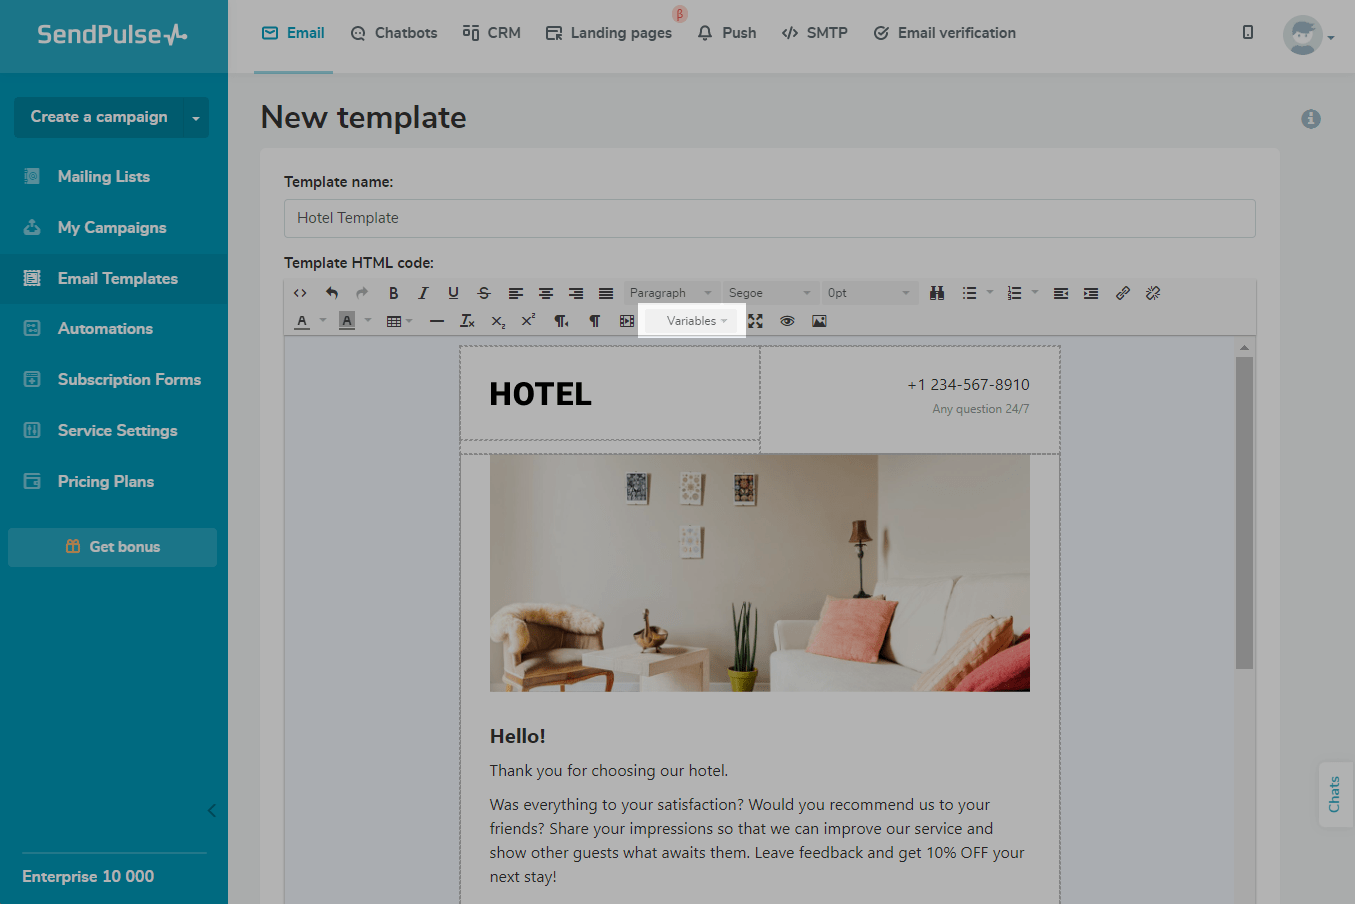
You can work with the text using the toolbar: choose the typeface, size, alignment, and font, and increase or decrease indents.

You can also choose the text and background color.
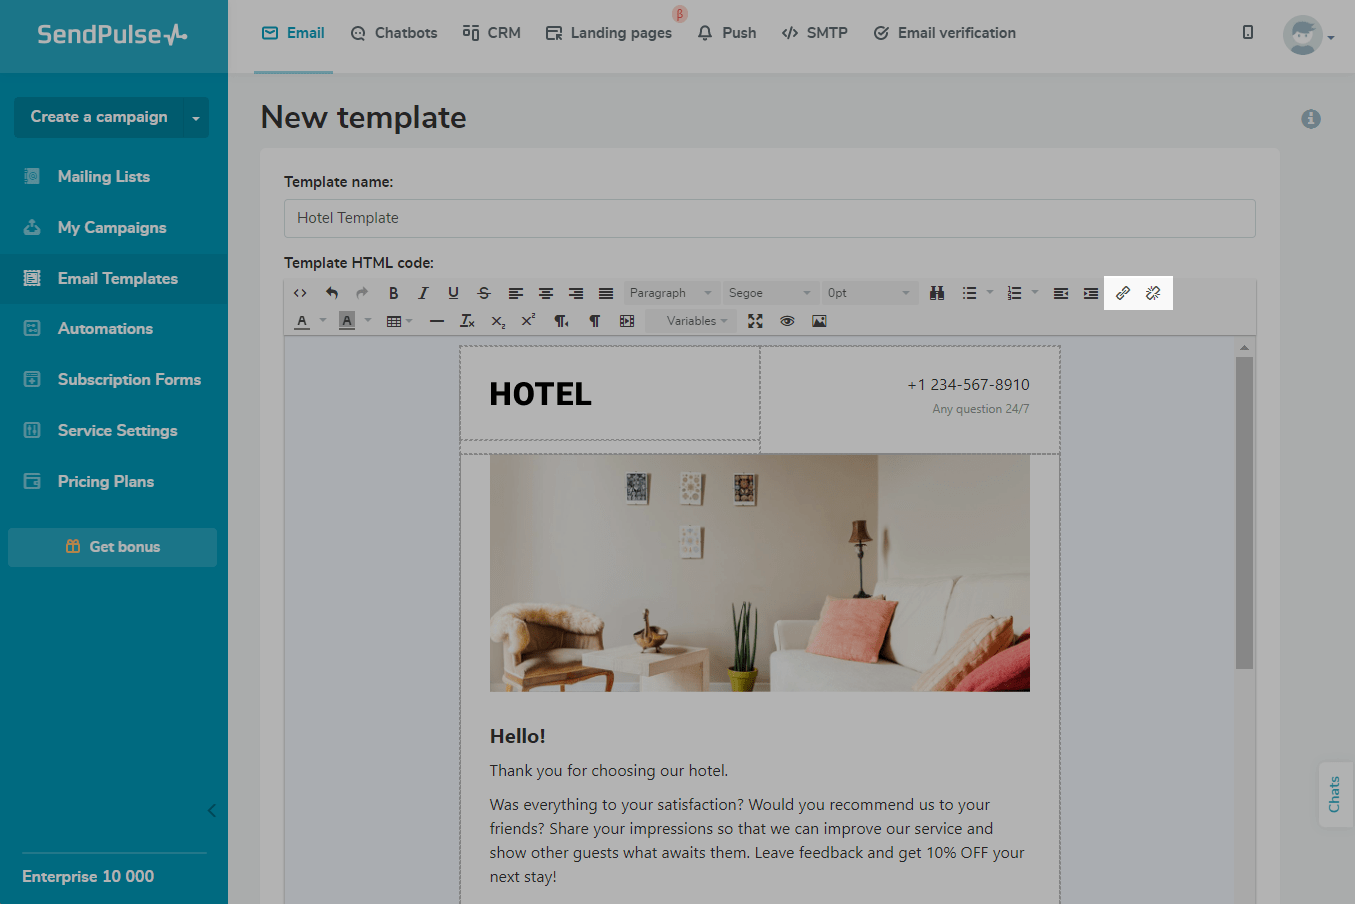
Use the Insert/edit link and Remove link icons to insert or remove a link.
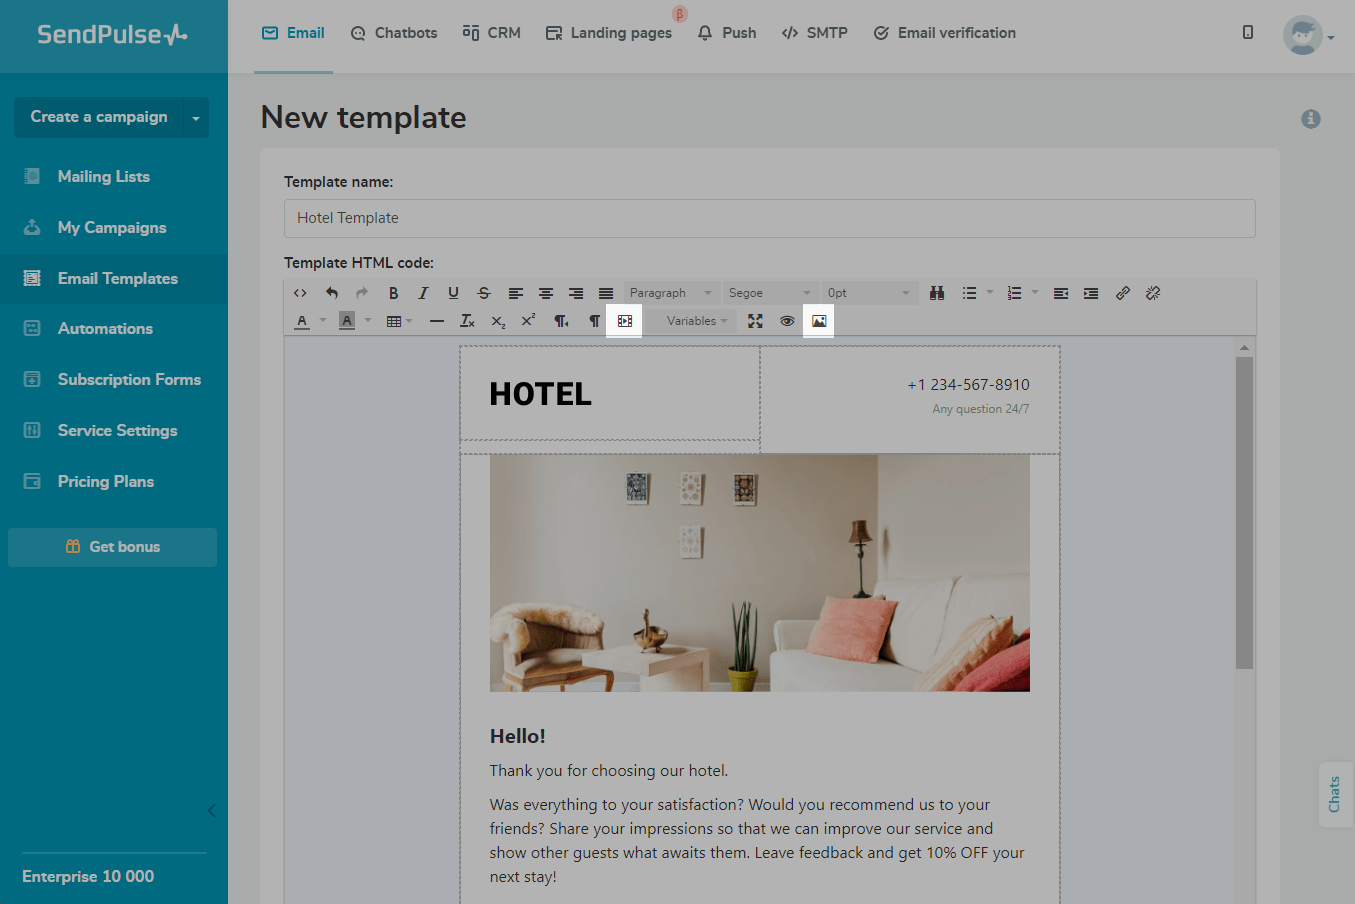
To add media files to your template, click on Insert video or Insert/edit image icons.
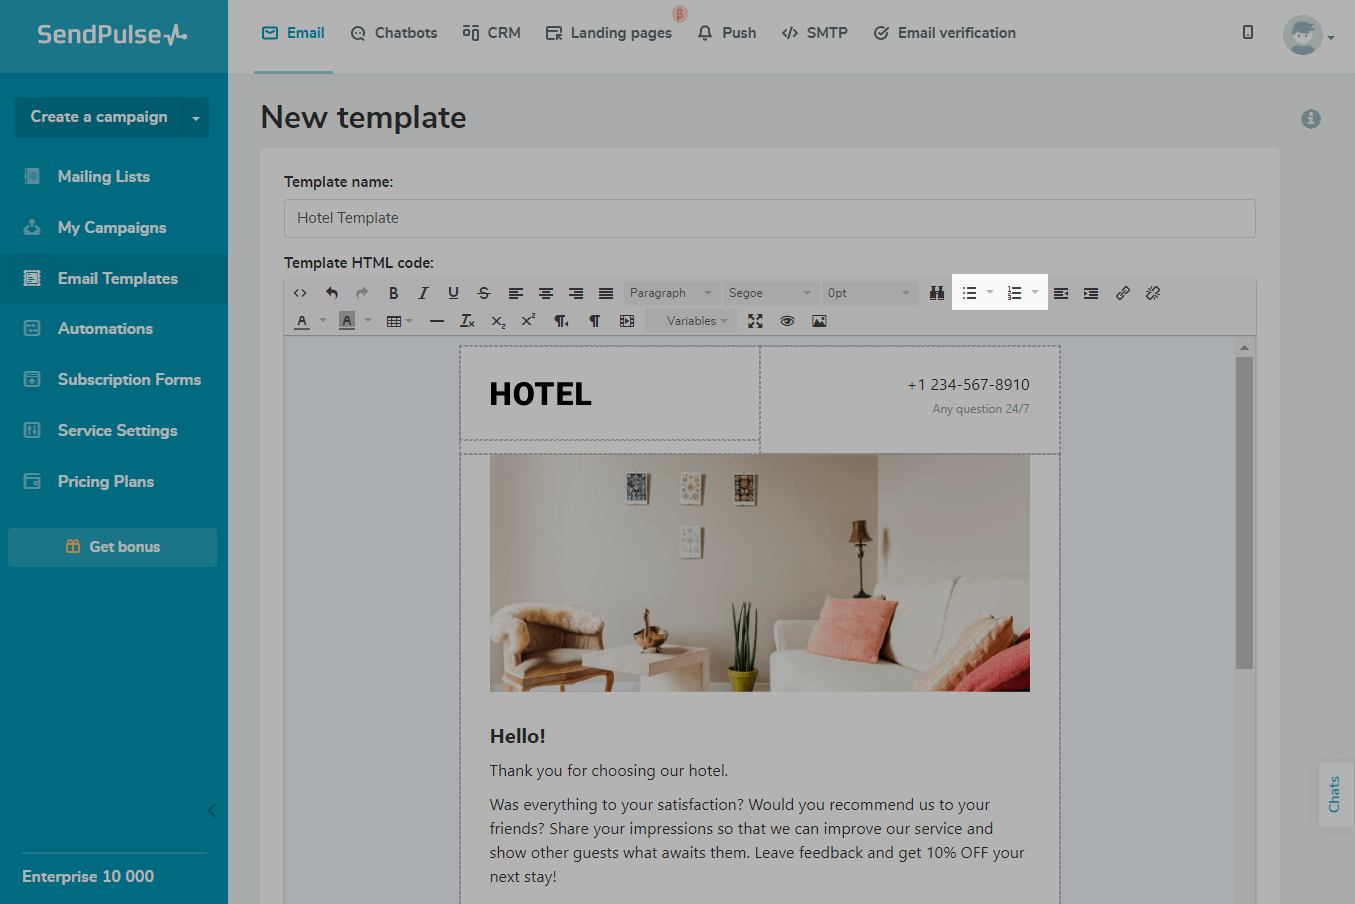
You can add bulleted and numbered lists to your email template.
You can also add a table to your template.

To send personalized emails to users, insert variables.
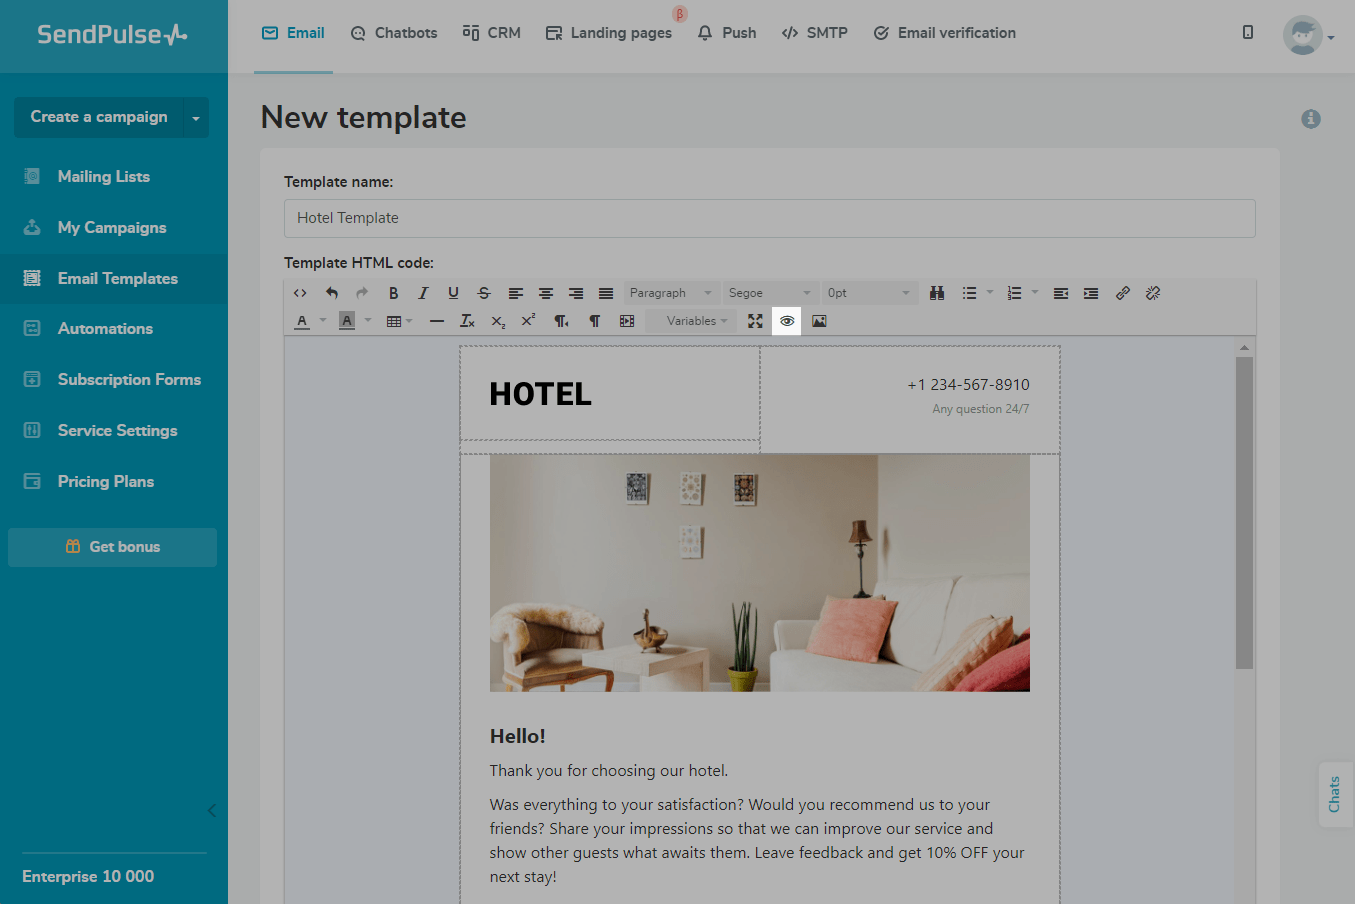
To see how your template will look in an email, use the Preview function.
The following functions are also available on the toolbar: Redo, Undo, Find and replace, Horizontal line, Clear formatting, Subscript, Superscript, Right to left, Show blocks, and Fullscreen.
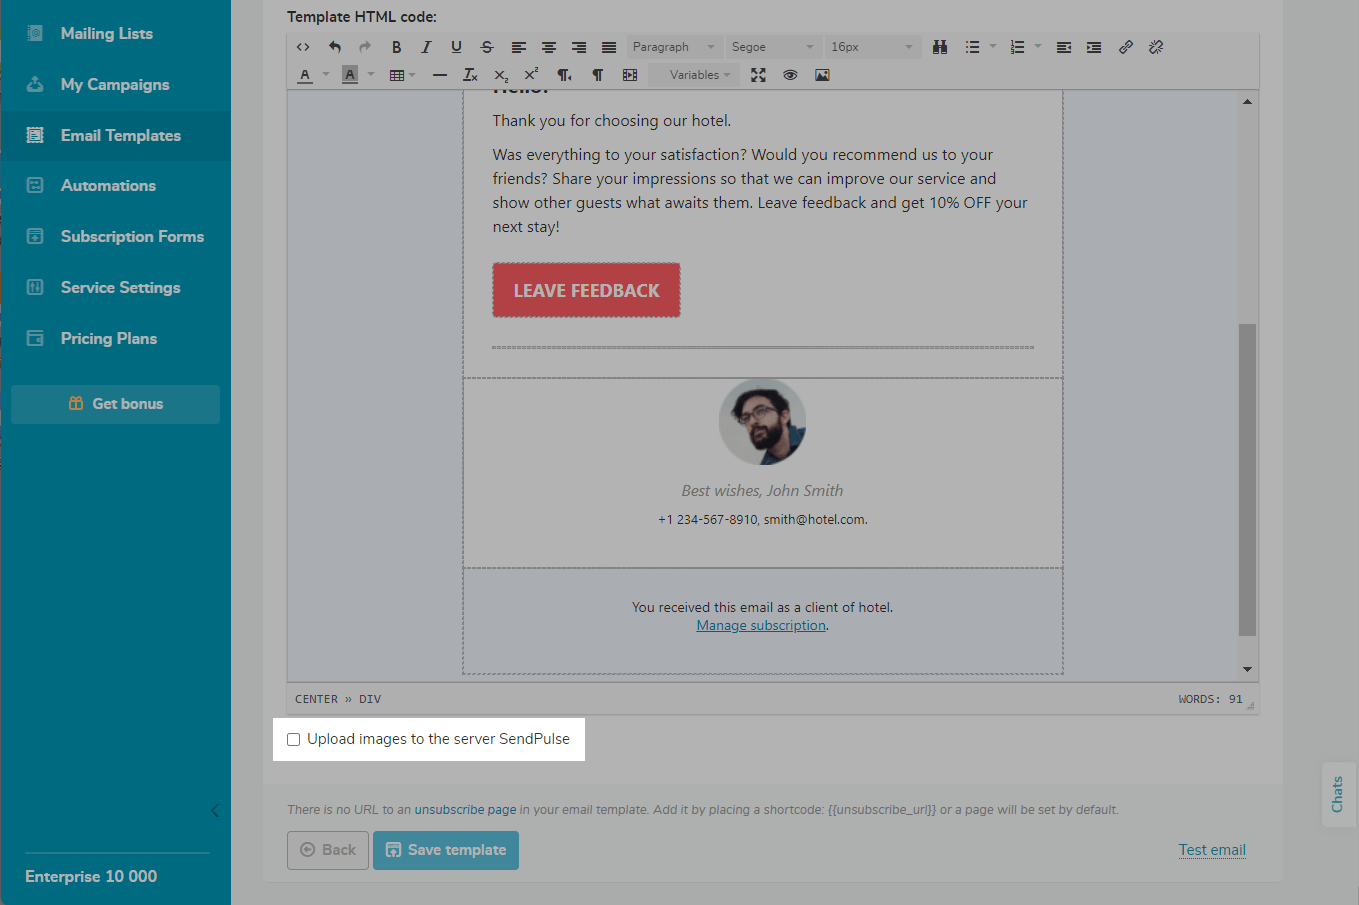
Upload Images to the SendPulse Server
Scroll down. Check if you want to upload images to the SendPulse server and use them in other templates.
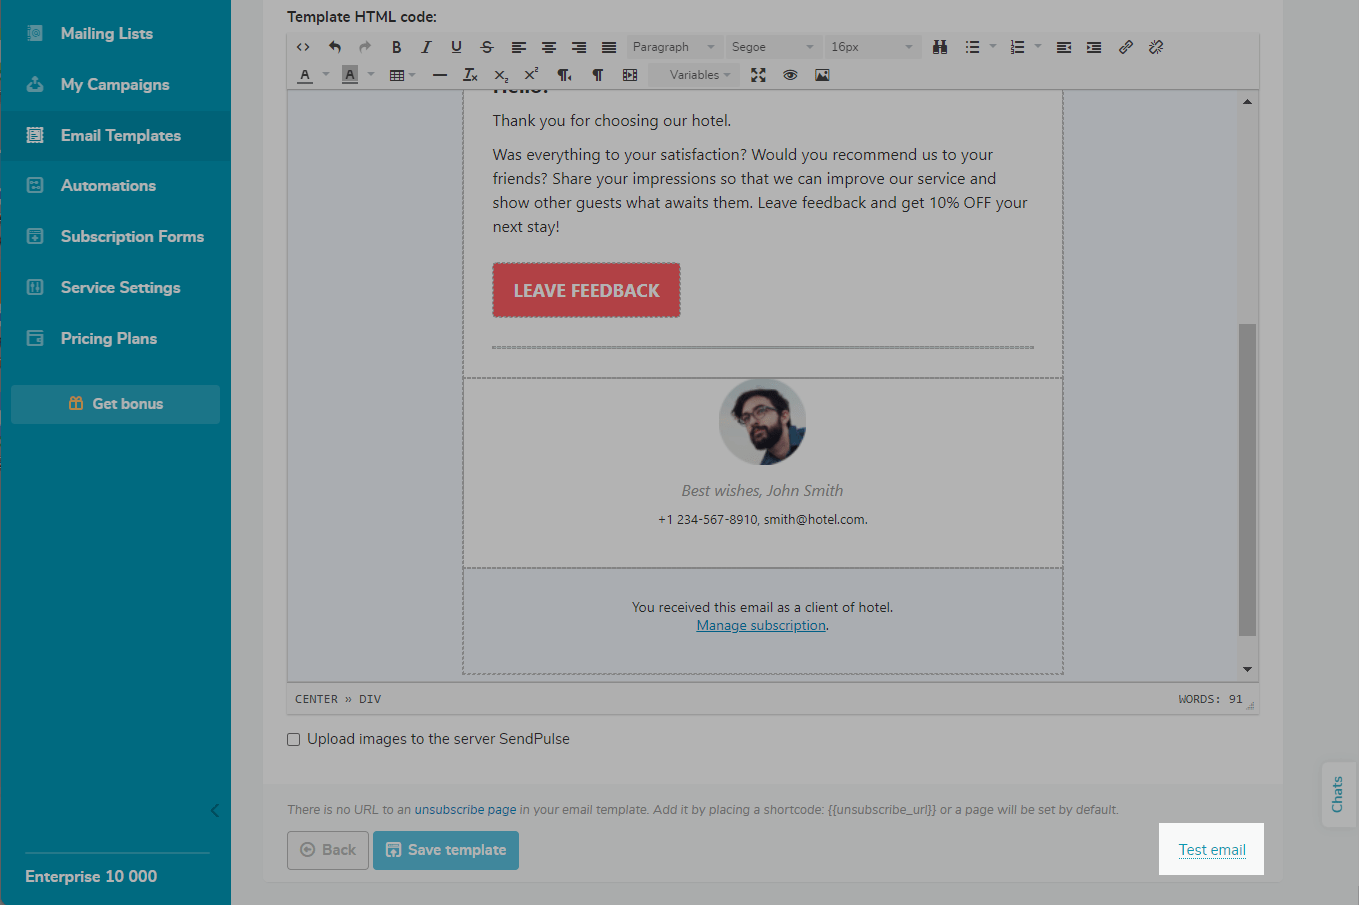
Send a Test Email
Each email client may have its own code recognition and template display rules. We recommend sending a test email to your own address before sending it to your customers.
Variables do not work in test emails. If you need to test your variable substitution, send a campaign to a mailing list that contains your address.
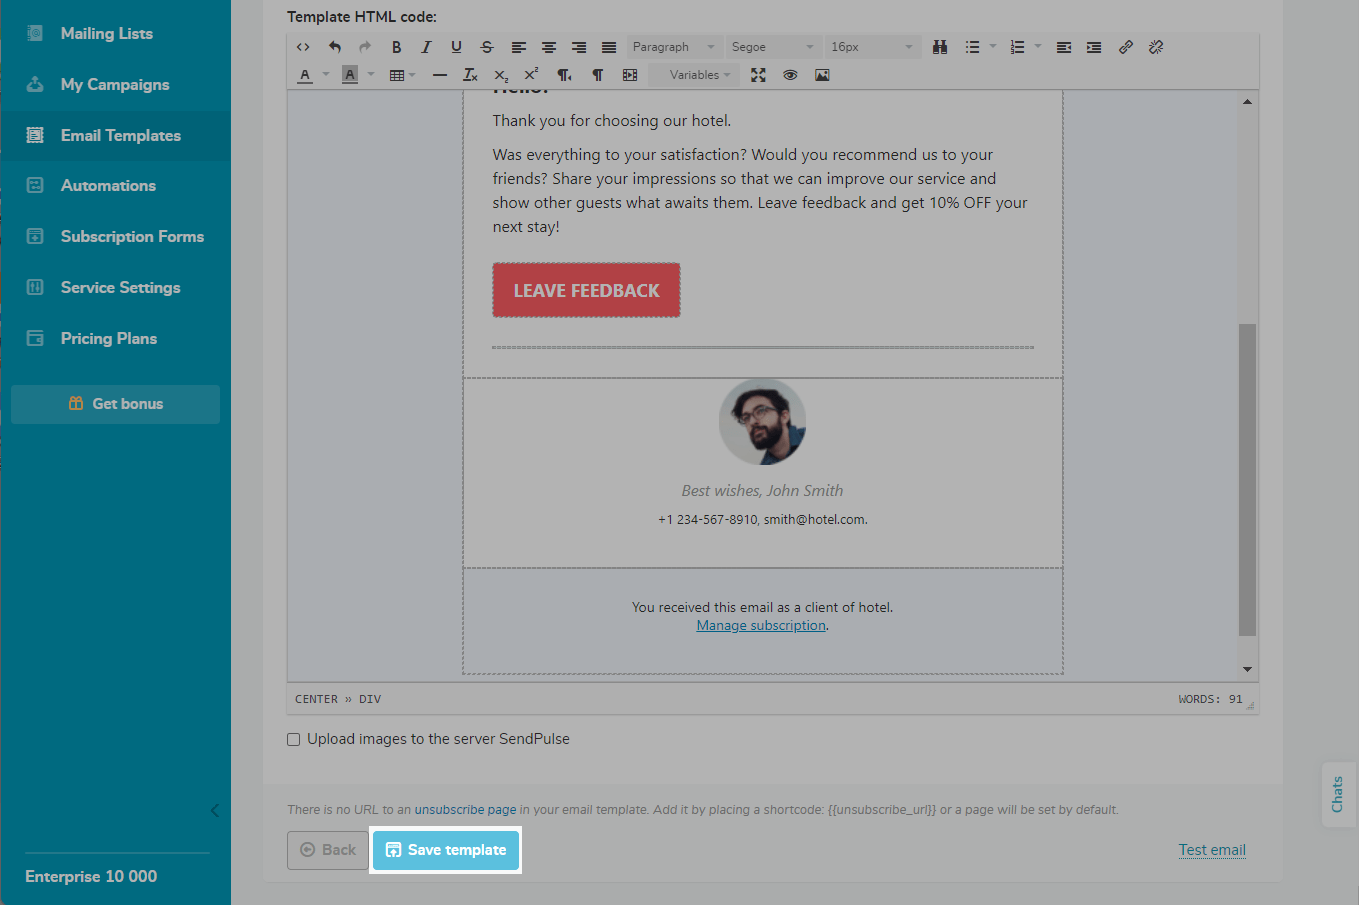
Save Your Template
Save the template, and use it in your campaigns.
Learn more: How to send an email campaign.
How to edit your template
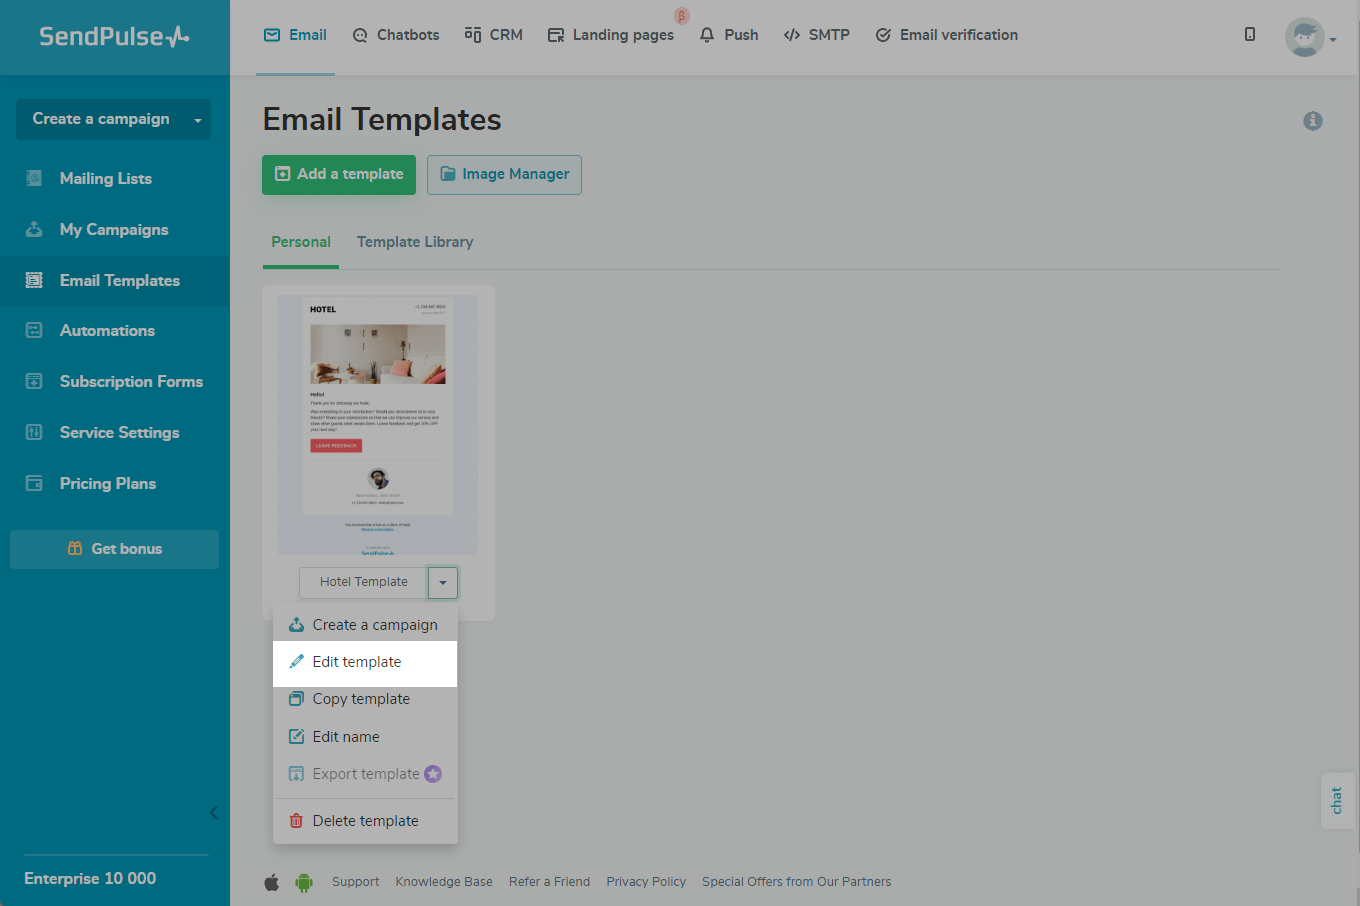
To edit an existing template, go to Email > Email Templates. Select the desired template, and click Edit template.
Please note that not all templates can be edited using the HTML editor. For example, if you created a template in the visual builder, it will be opened there. You can also edit some system templates using the HTML editor.
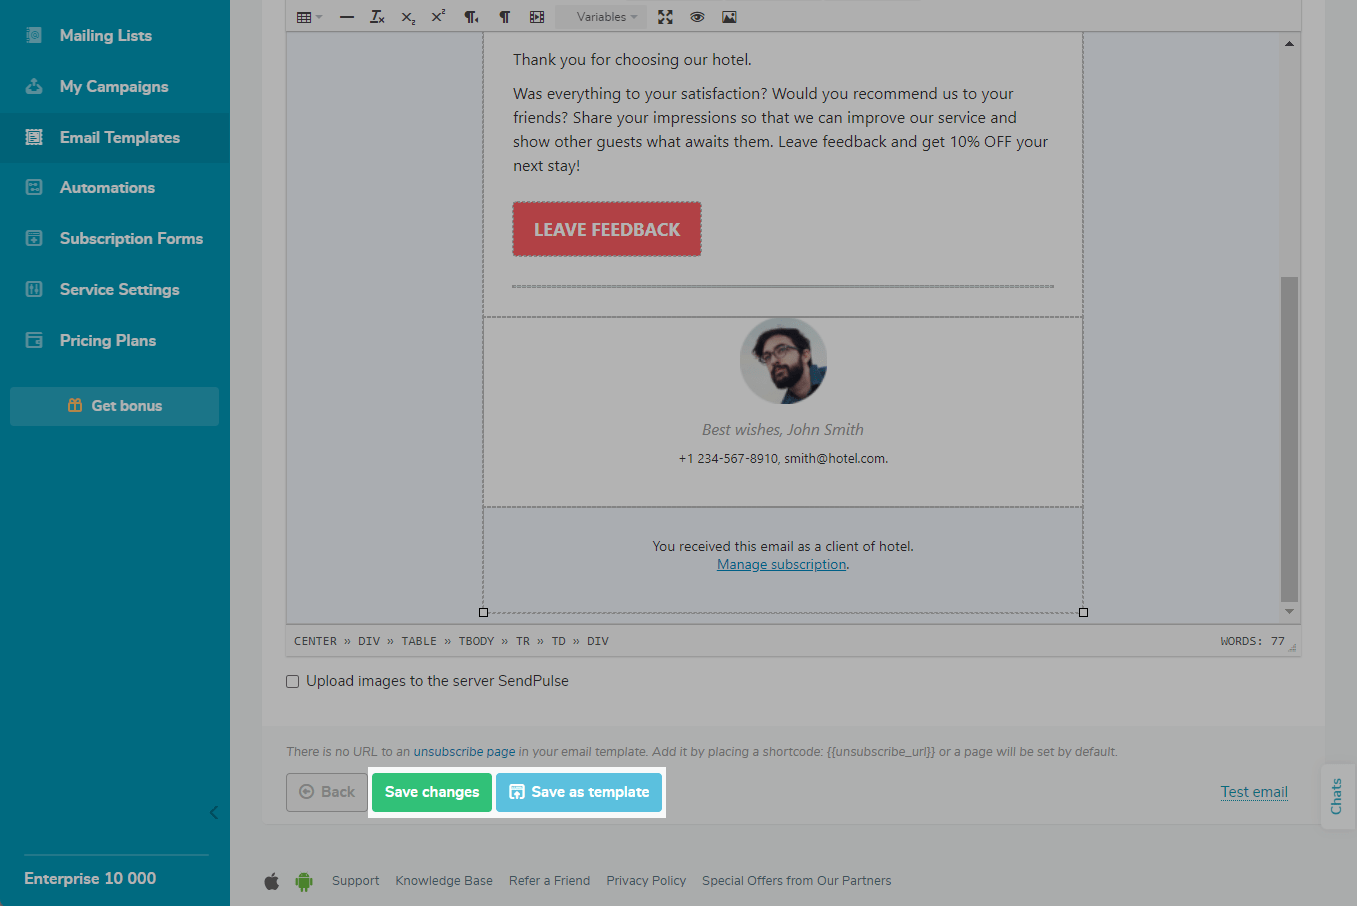
When the template is ready, you can save it as a new one or re-save the current one with all the changes.
Last Updated: 07.12.2023
or