Teamwork for Chats basics
Teamwork tools in the Chats section help you organize how your team handles conversations in messengers and distribute incoming chats between agents based on your team structure and workload.
With Teamwork tools, you can:
- Organize agents into groups based on your team structure.
- Assign a chat to a group instead of a specific agent and let SendPulse route it to an available group member.
- Set workload limits to control how many active chats can be automatically assigned to each agent.
- Keep chats in a queue when all agents are busy and assign them once someone becomes available.
- Let agents pause automatic assignments by changing their availability status.
- Track agent workload and activity to adjust chat distribution when needed.
Here's how different teams can use Teamwork:
- A customer support team can create tier 1 and tier 2 groups. Tier 1 agents handle common questions and pass more complex issues to tier 2.
- A sales and support team can create dedicated groups so that sales inquiries and support issues reach the right team.
- A multilingual support team can create groups for different languages and route customers to agents who can assist them in their preferred language.
- A company managing multiple brands or projects can create a dedicated agent group for each one, so every conversation goes to the team responsible for it.
To start using Teamwork, set up your team and chat distribution step by step.
Set up roles and invite agents
To add agents who will reply to customer chats, invite users to your team and assign them roles with access to the required chatbots and conversations. Agents appear in the group member list after they accept the invitation.
Read more: Manage agent access to chats.
Create an agent group and add members
Groups reflect your team structure, including departments, support tiers, projects, brands, or languages. A chat assigned to a group can then be routed to an available group member.
To create a group, go to Chatbots > Chats > Teamwork and click Create group. Enter a group name and select members from your list of account users.
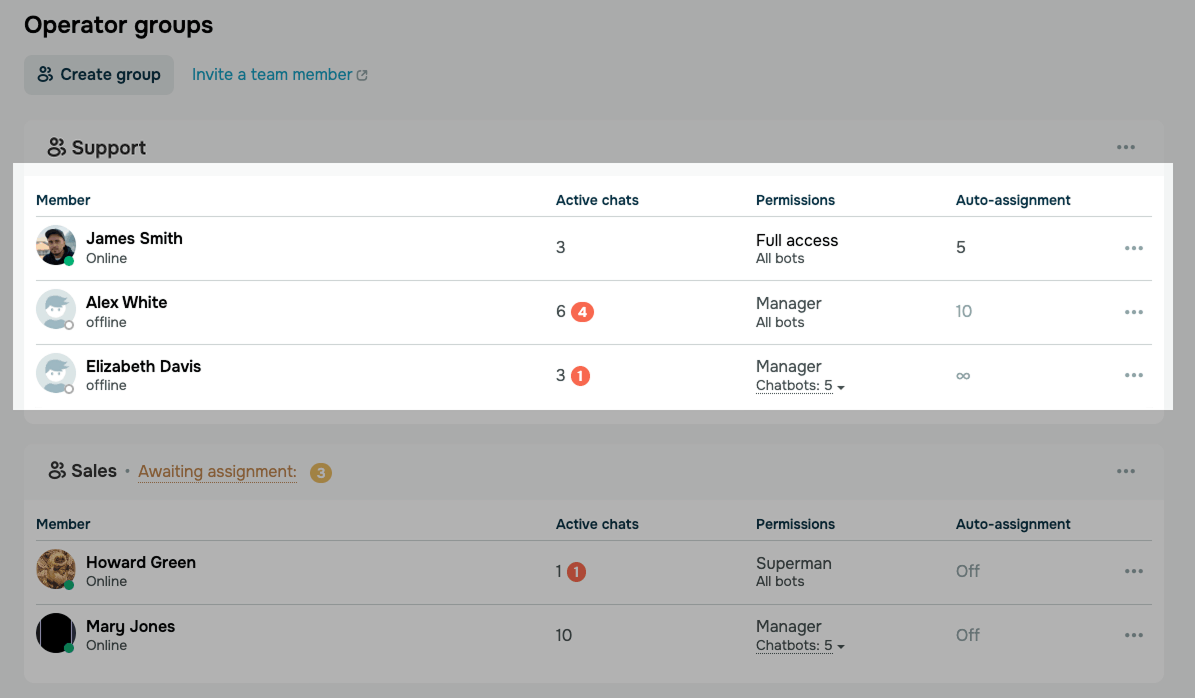
After you create groups, they appear on the Teamwork tab. Each group card shows its members, active chats, permissions, and auto-assignment limits.
Read more: Create and manage an agent group.
Set chat limits for agent
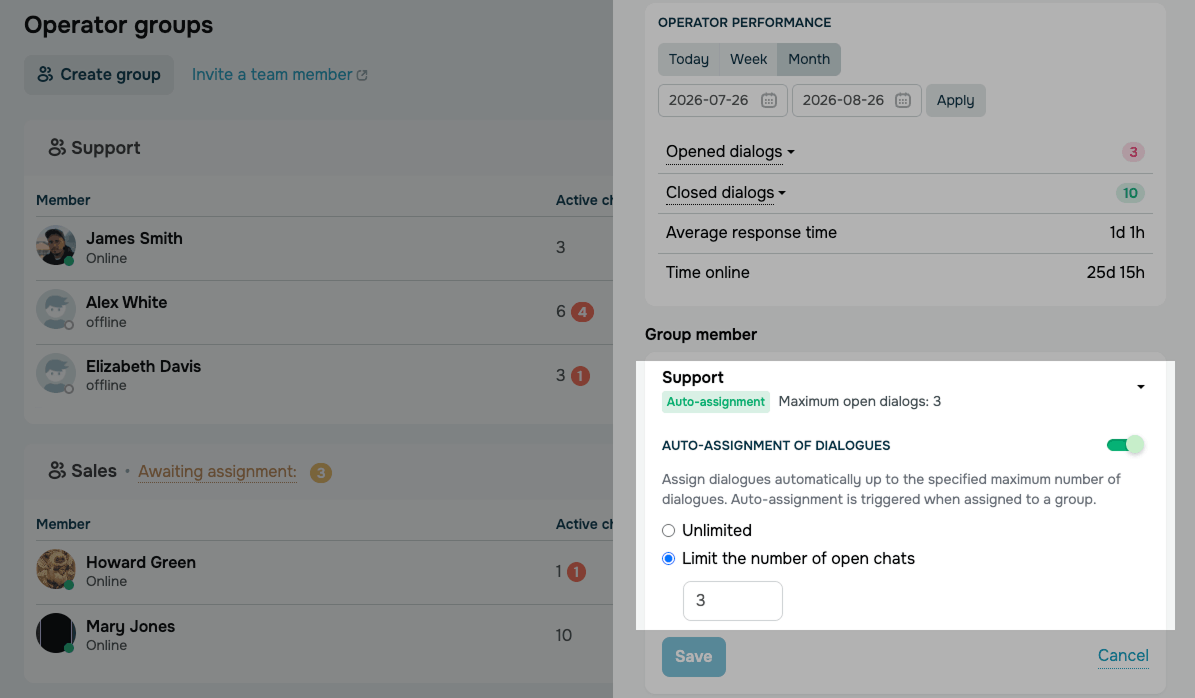
A chat limit is the maximum number of active chats the system can assign to an agent at once — so nobody gets more chats than they can handle.
To set it, go to Chatbots > Chats > Teamwork, click the three dots icon next to an agent, and select Settings. In the Group member section, choose Unlimited or enter a number.
Read more: Set agents’ chat limit.
Track your team's workload
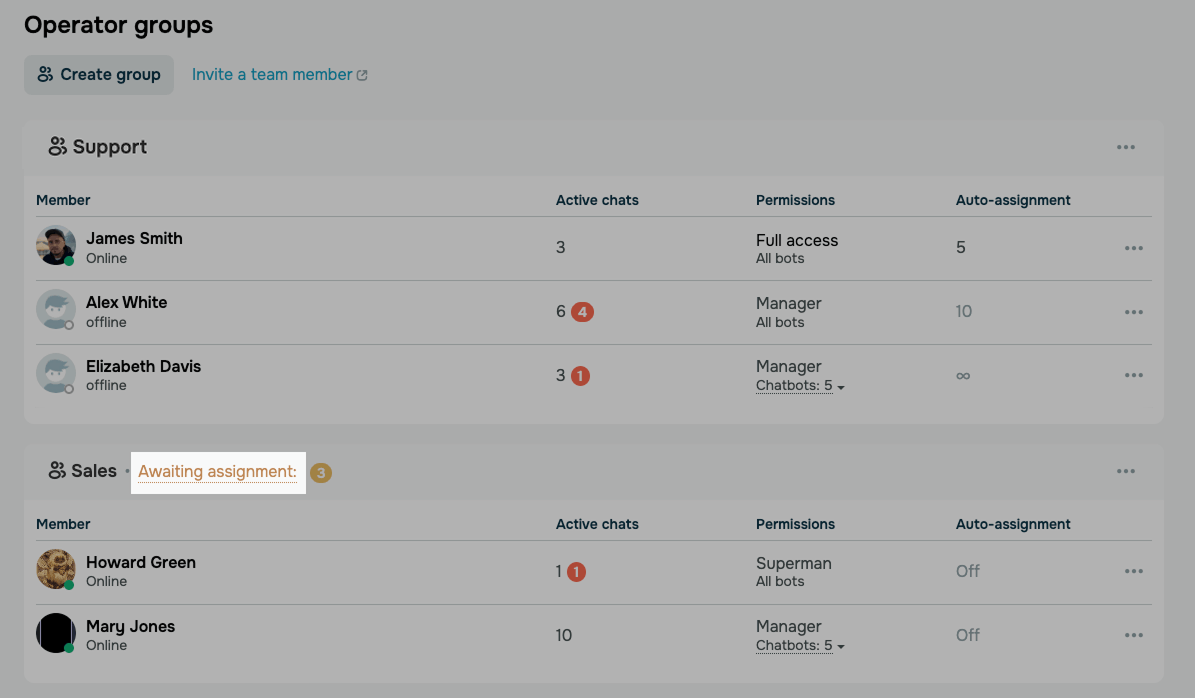
Check how many chats your agents are handling and whether any chats are still waiting for a reply. If someone is overloaded, change their chat limit or add another agent to the group.
To see the chat querry and assign those chats manually, go to Chatbots > Chats > Teamwork, click on the Awaiting assignment queue.
Read more: Distribute chats between agents.
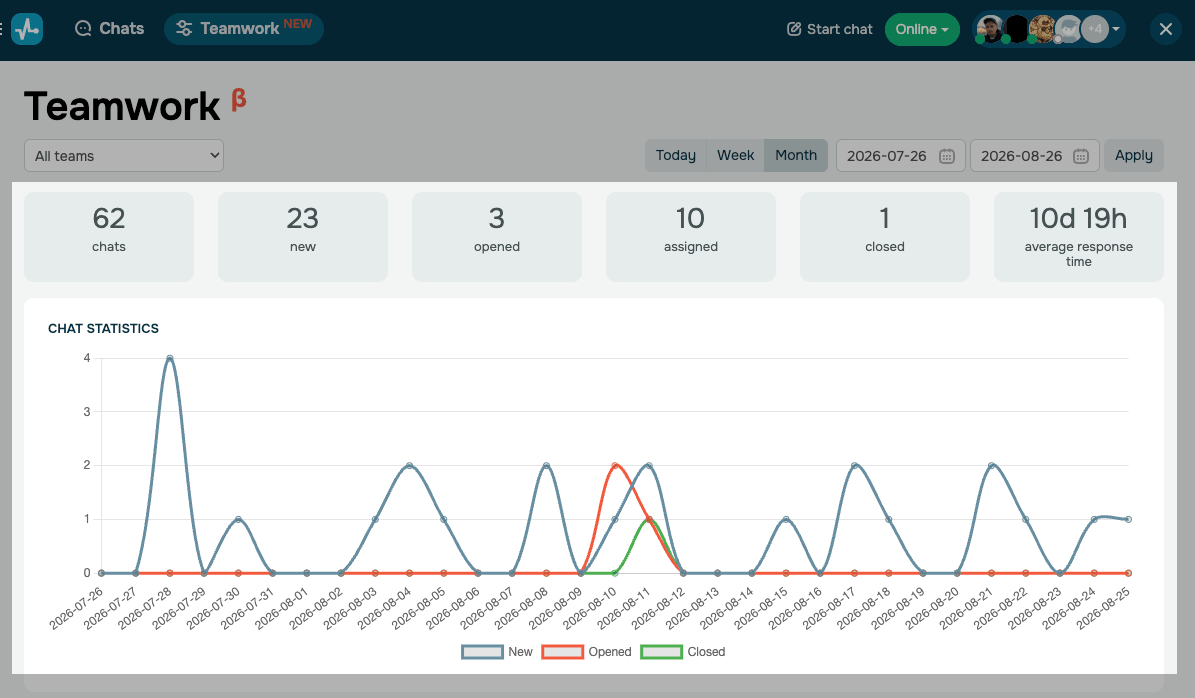
Also, in the Teamwork tab you can view team statistics for a selected timeframe and includes each agent's performance, such as handled and resolved chats, average response time, and time online. You can also check each agent perfomance in their profiles.
 Last Updated: 28.08.2026





or