Upload a custom course certificate
In SendPulse, you can create a certificate and issue it to your students. If the standard certificate template doesn't work for you, you can also create and upload a personalized certificate for each student.
In this article, we will explain how to set up custom certificate issuing in your course.
File requirements
You can design a unique certificate, and your students can view and download it from their accounts. Save your certificates as PNG or PDF files, and name them correctly. The recommended file size for uploading is no more than 5 MB.
Your file name should contain only your unique course ID digits and the student’s email address they used to create a SendPulse account — for example, 5738_user1@example.com.pdf.
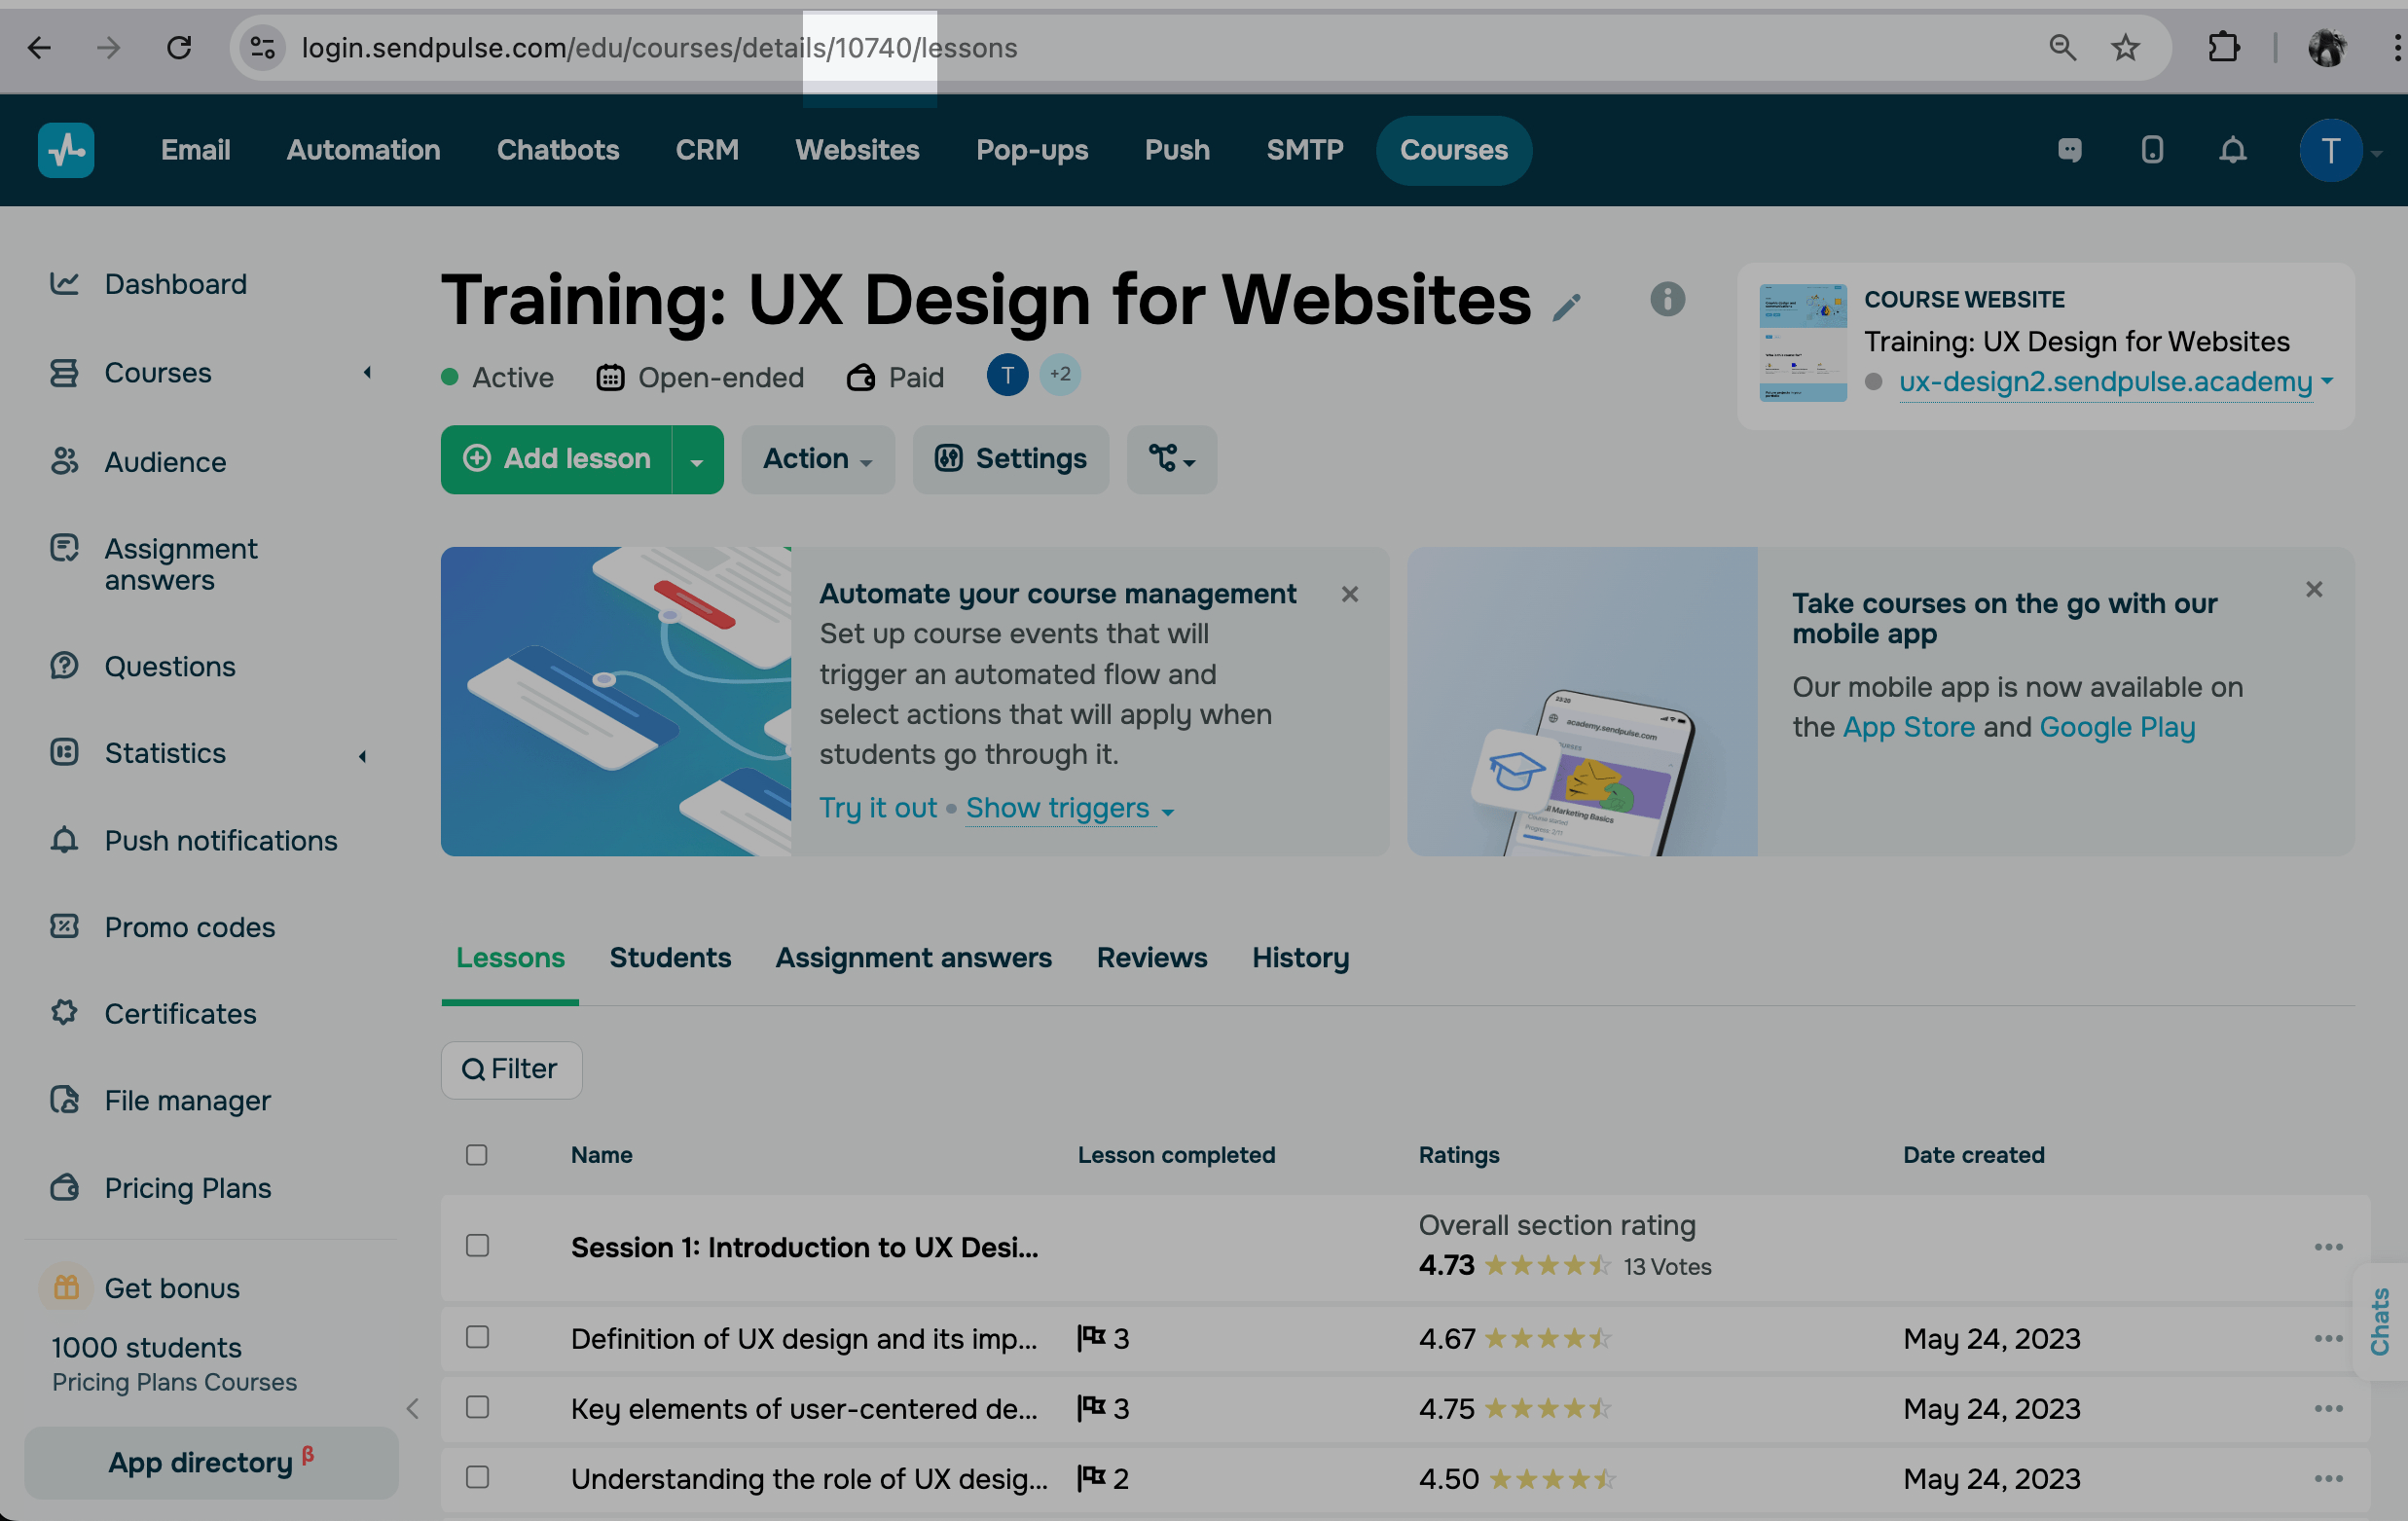
You can copy your course ID from your browser's address bar if you view the course. Thus, in the URL: https://login.sendpulse.com/edu/courses/details/10740/lessons, the course ID is 10740.
Upload certificates
Go to Certificates, and click Open file manager. You can also go to File Manager directly. In the opened tab, create a new folder for your course certificates, or go to an existing one.
You can create a shared folder for certificates in all your courses or one for each. We recommend using your course names or IDs to name these folders so that you can quickly differentiate them from one another.
Click Upload files.
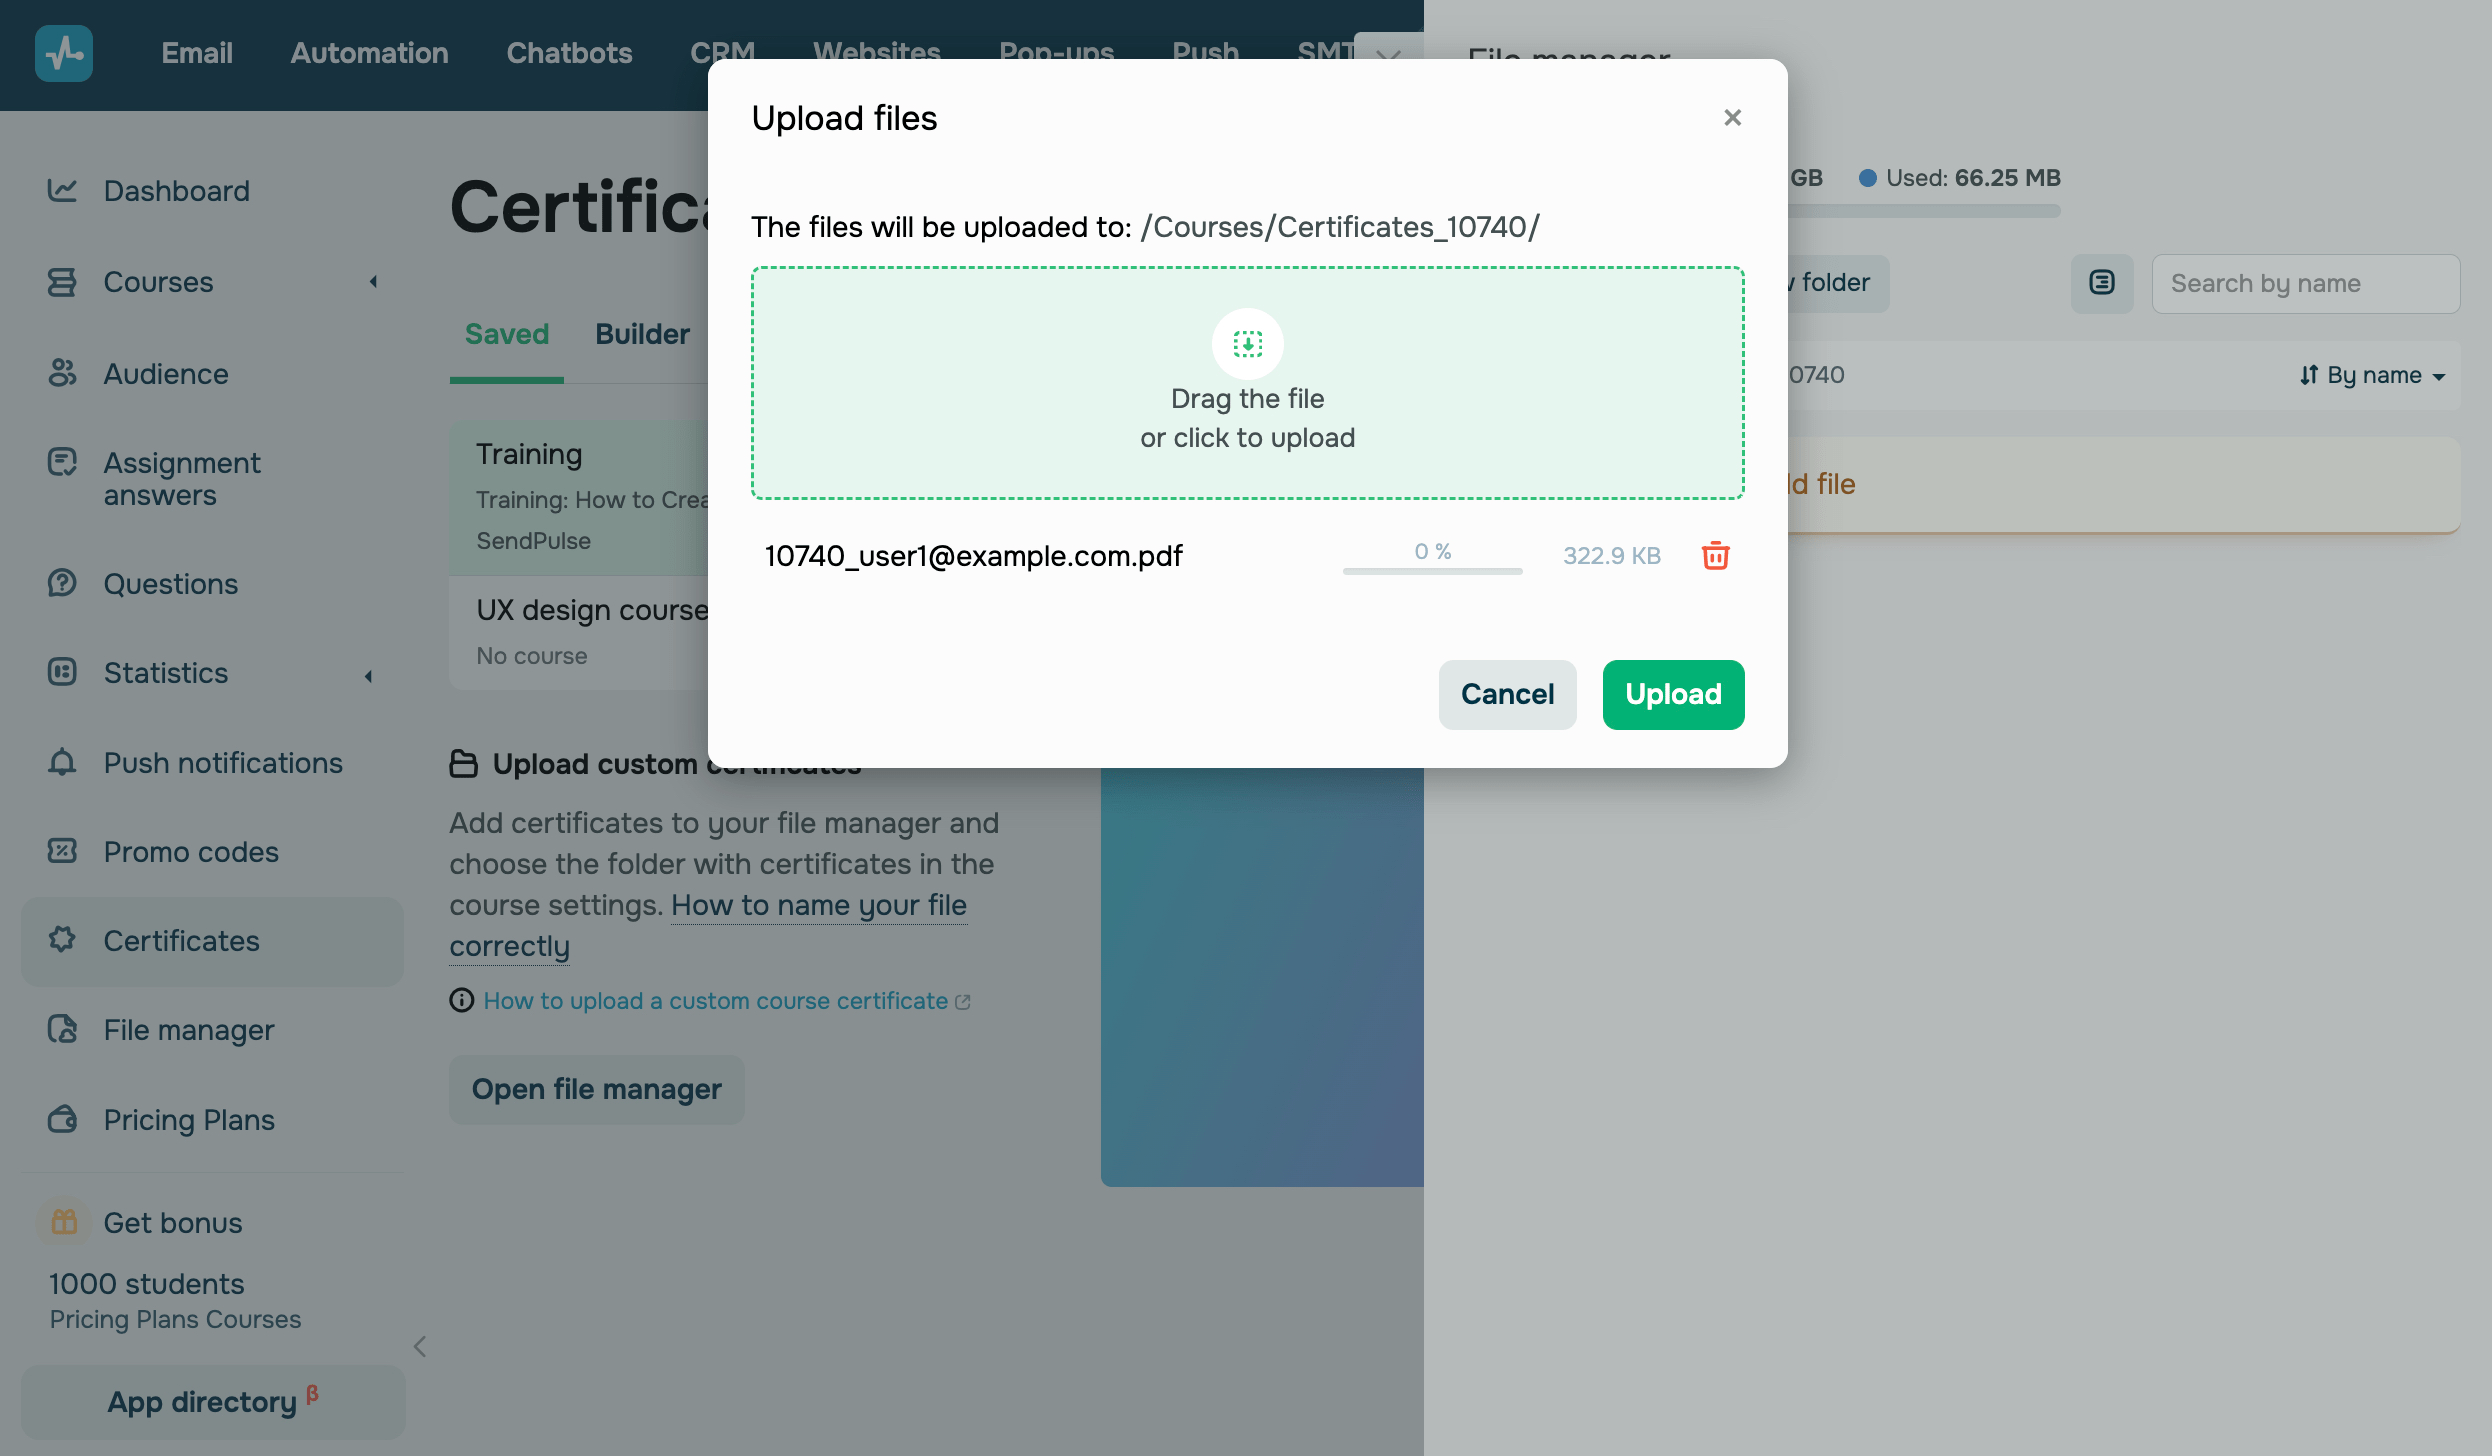
Drag and drop your files from the viewer, or click the icon to select files from your device. Then, click Upload.
Once you upload your certificate file, the file manager will automatically remove the @ sign and replace dots with underscores _. For example, 5738_user1@example.com.pdf will become 5738_user1example_com.pdf.
 Last Updated: 21.02.2024





or