Add a banner to student accounts
You can add promotional images that appear in your students' accounts. Use them to highlight new courses, announce upcoming events, or direct students to specific course plans.
For example, you can place a banner at the top of their course list to promote a limited-time discount on an upskilling course.
Let's talk about how to enable, place, and configure banners in student accounts.
Enable banners
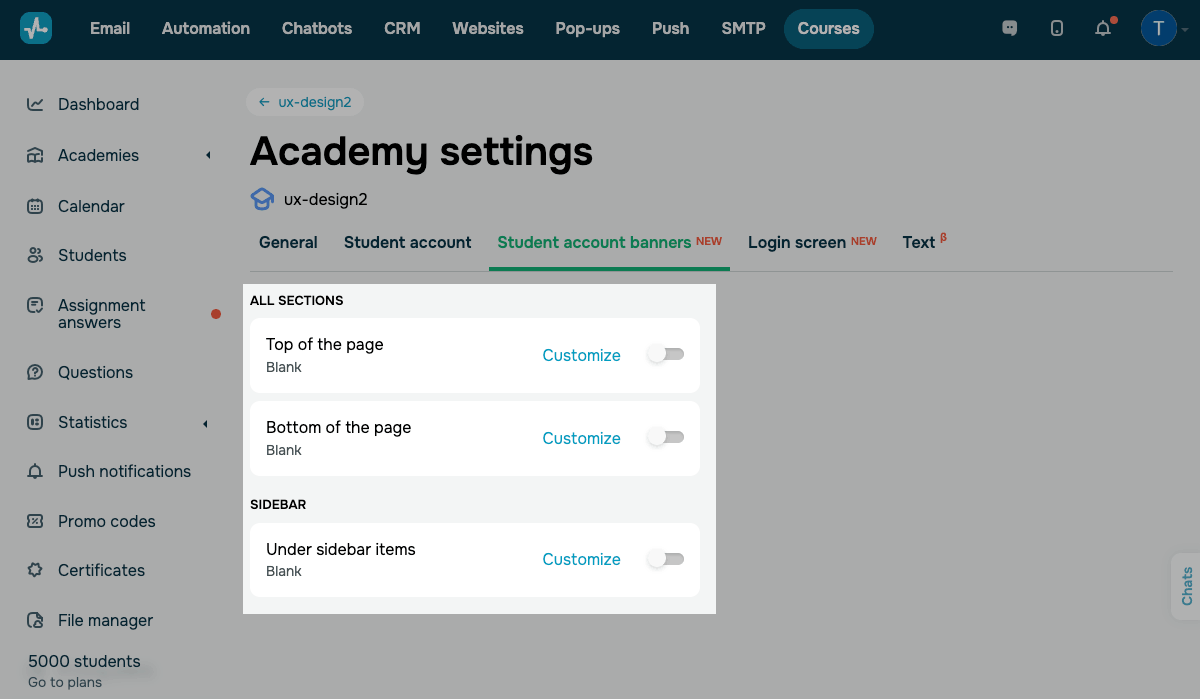
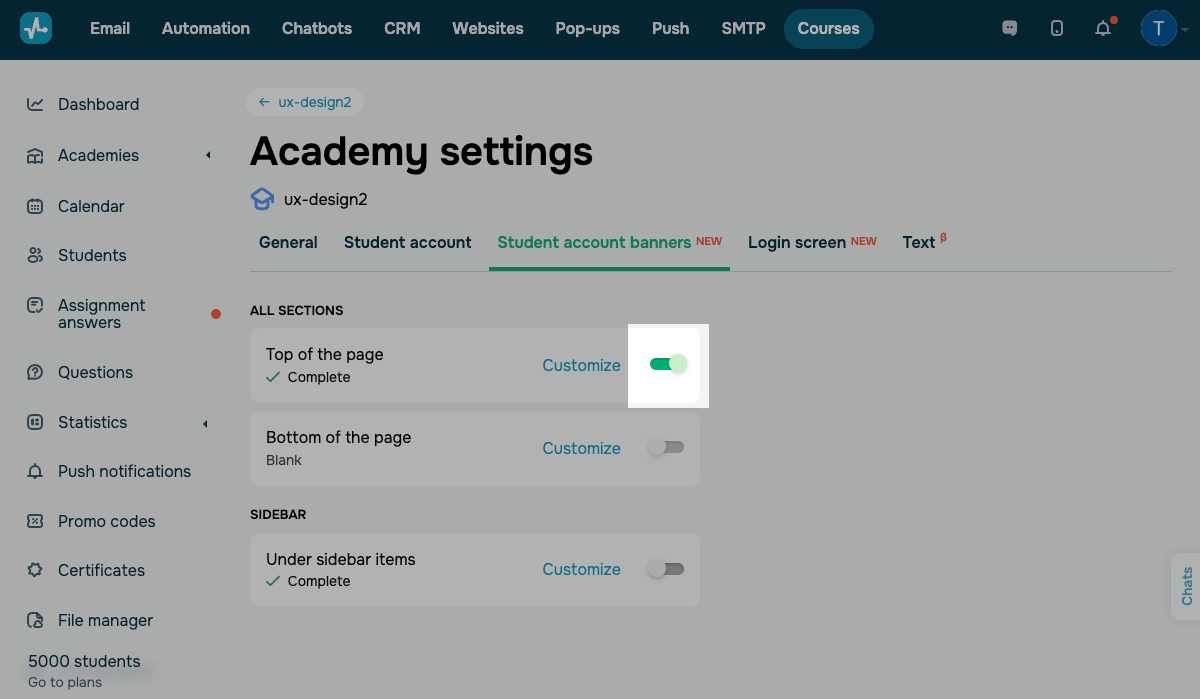
To access banner settings, go to Academy settings > Student account banners.
You can show banners in the following areas of student accounts:
| All sections | Banners will appear on the courses page in student accounts.
Options include: Top of the page shows a banner above the course list. Bottom of the page shows a banner under the course list. |
| Sidebar | Banners will appear under the navigation menu items.
Under sidebar items shows a banner at the bottom of the sidebar on every page that has sidebar navigation. |
Configure your banner
To view your banner's current settings, check the information under its name. If the banner is not configured, it appears as Blank.
To set up a banner, click Customize next to a placement option.
To see where your banner will appear in student accounts, click Banner placement sample in the upper-right corner.
Upload images
To make sure your banner appears as intended across devices, upload a separate image for each screen size.
Click Select to choose a file. Supported file types: PNG, JPG, SVG, WEBP.
You can choose the following options:
| Desktop | Upload a banner image for desktop devices.
Recommended image sizes: Section banners — 1920×270 px. Sidebar banner — 256 px (width). |
| Mobile | Upload a banner image for mobile devices.
Recommended size: 720×320 px. This option is not applicable to sidebar banners due to their fixed width. |
If you don't upload an image for a specific screen size, your banner will not appear on devices with that screen size.

Set banner display conditions
You can show or hide a banner from specific students using their tags. If you leave both fields empty, all academy students see the banner.
The system checks tags each time a student logs in to their account.
You can choose from the following options:
| Tags to show |
Choose one or more tags from the drop-down list. The banner is shown only to students who have at least one of the selected tags. |
| Tags to hide |
Choose one or more tags from the drop-down list. The banner is hidden from students who have at least one of the selected tags. |
If a student has tags from both fields, the Tags to hide condition takes priority, which means your banner will not be shown to that student.
If conditions are configured but the student doesn't have any of the listed tags, your banner will not be shown either.
Set an on-click action
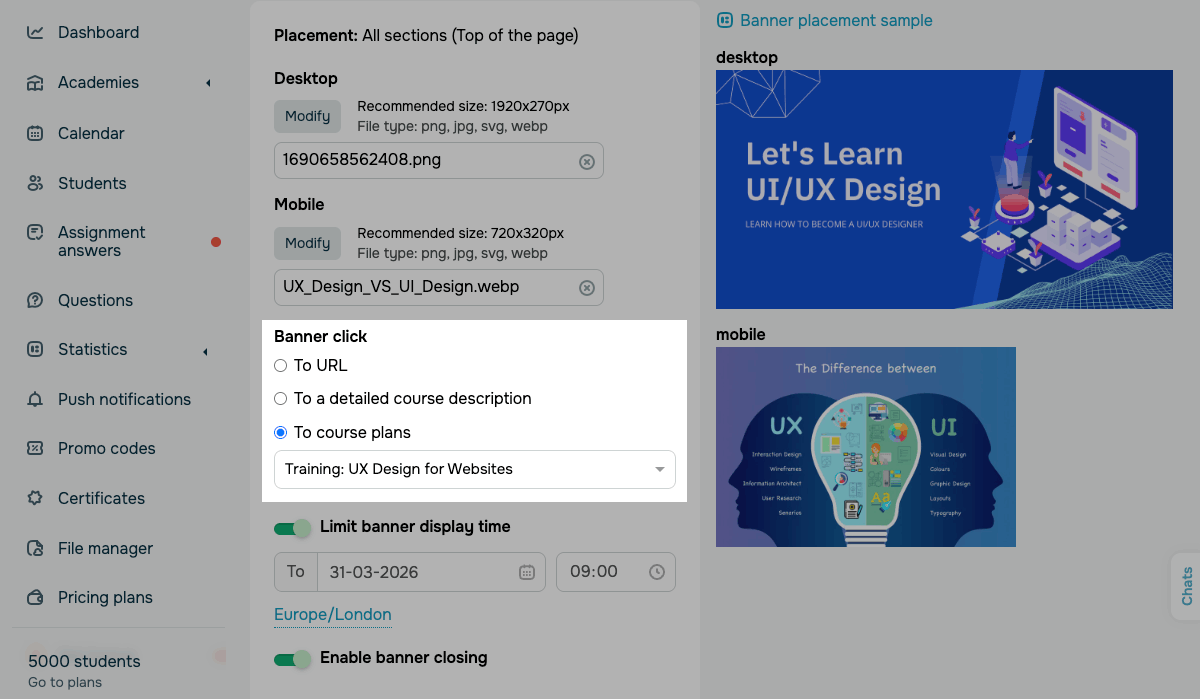
To decide what your banner links to, in the Banner click section, select an option:
| To URL | Redirects students to any external or internal link you paste.
Paste a link in the field below. It will open in a new browser tab. |
| To a detailed course description | Opens a tab with the description of your selected course.
Select a course from the drop-down list. This option is applicable to courses with detailed descriptions enabled in their recommendations. |
| To course plans | Opens a tab with the pricing plans of your selected course.
Select a course from the drop-down list. |
Configure other settings
You can also configure the following settings:
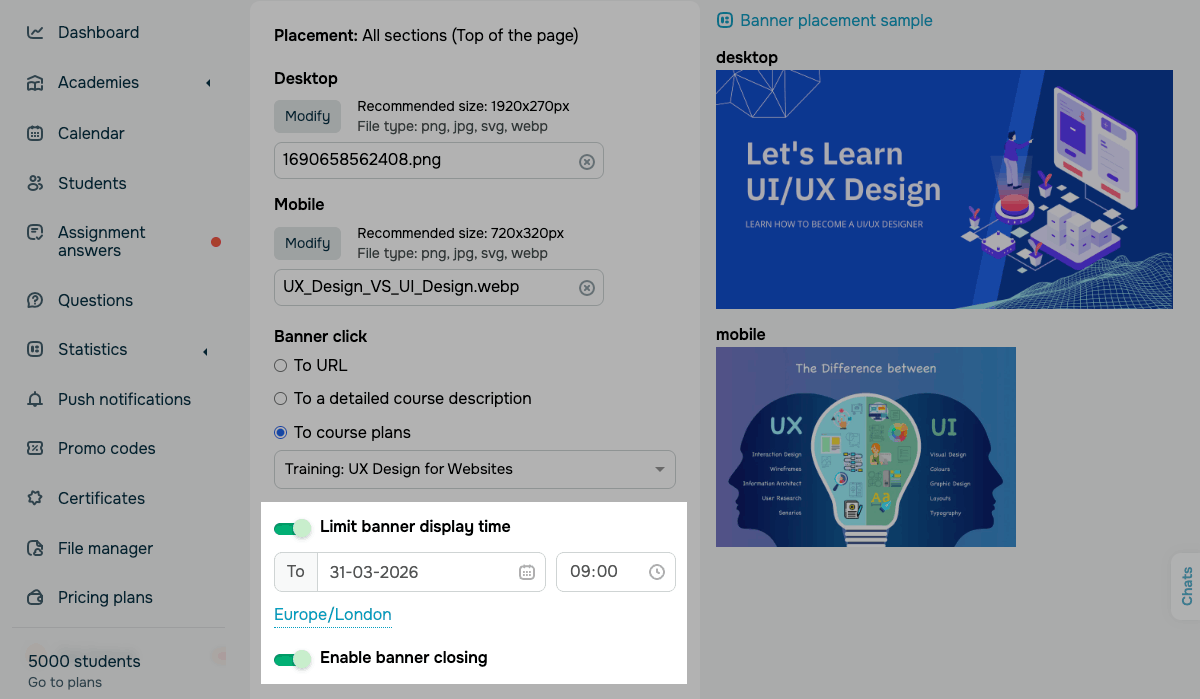
| Limit banner display time | Turn on the toggle to set an expiration date and time for your banner.
After the set date and time, your banner will no longer appear in student accounts. The time zone follows your account settings. |
| Enable banner closing | Turn on the toggle to allow students to dismiss your banner by clicking the close icon.
Once a student closes your banner, they will not see it again. |
Once you've finished customizing your banner, click Save.
Manage banners
You can turn on and turn off the toggle next to the configured placement to make the banner visible to students.
Use the toggle next to a banner's placement to show or hide the banner for students.
Last Updated: 03.04.2026
or