Add tag in the Action element
The Add tag action assigns a tag to a subscriber so that you can group and segment your audience. Use it to track user actions in a flow, like picking a specific course, booking a tour, or adding an item to the cart, and follow up or route them down a different branch.
Let's walk you through how to set up the Add tag action.
Add the Action element
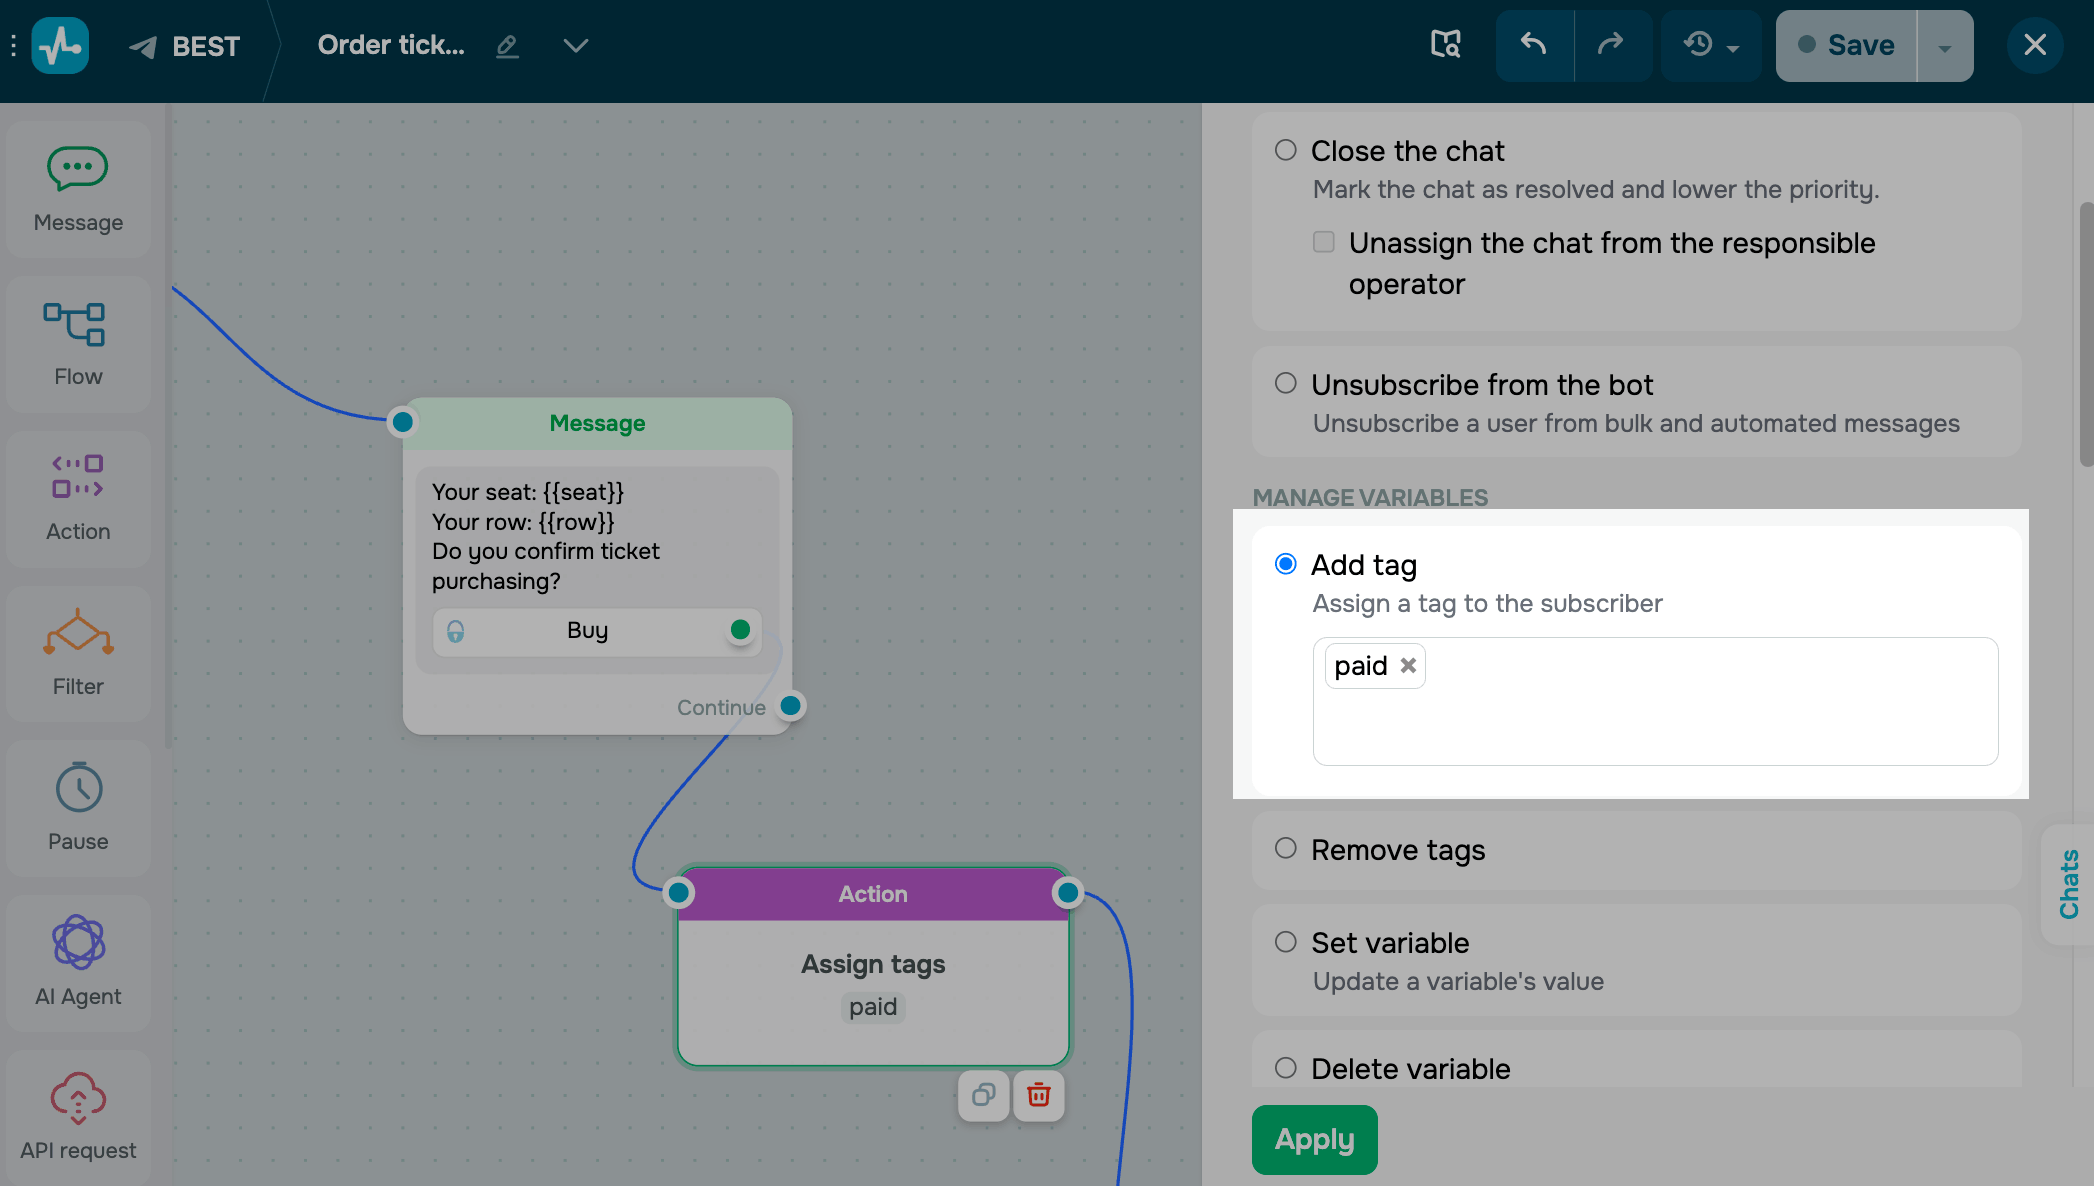
Drag the Action element to the workspace. In the settings that appear, select Add tag.
Click the field and choose a tag from the drop-down. To create a new one, type in the tag name and select the option to add it.
Save the element
Click Apply. From now on, every subscriber who reaches this step gets this tag attached to their contact.
To test the setup, run the flow and сheck the tag in your bot audience.
Last Updated: 28.04.2026
or