Email service actions
With the help of the Action element, you can make the contact undergo different processes when they get to the element.
To identify a contact in the service, you need the email or phone variable.
Unsubscribed contacts can go through all flow elements except the Email element. When the system verifies email addresses, it processes the following types of unsubscriptions: Unsubscribe from the entire service, Unsubscribe from a category, and Unsubscribe from a specific flow.
If you use the Launch for mailing list option, contacts who unsubscribed from all campaigns will not be added to your flow start, and contacts who unsubscribed from this category or this flow will go further down your flow, skipping the Email elements.
Add element
Drag the Action element, and select one of the following actions from the Email category.
You can also rename your element to distinguish it from others, or add a comment for your team. Click Element name and enter up to 253 characters in the field. Once you save the settings, the new name will appear in a pop-up window when hovering over the element in the builder.
Select an action
Choose what to do with contact data.
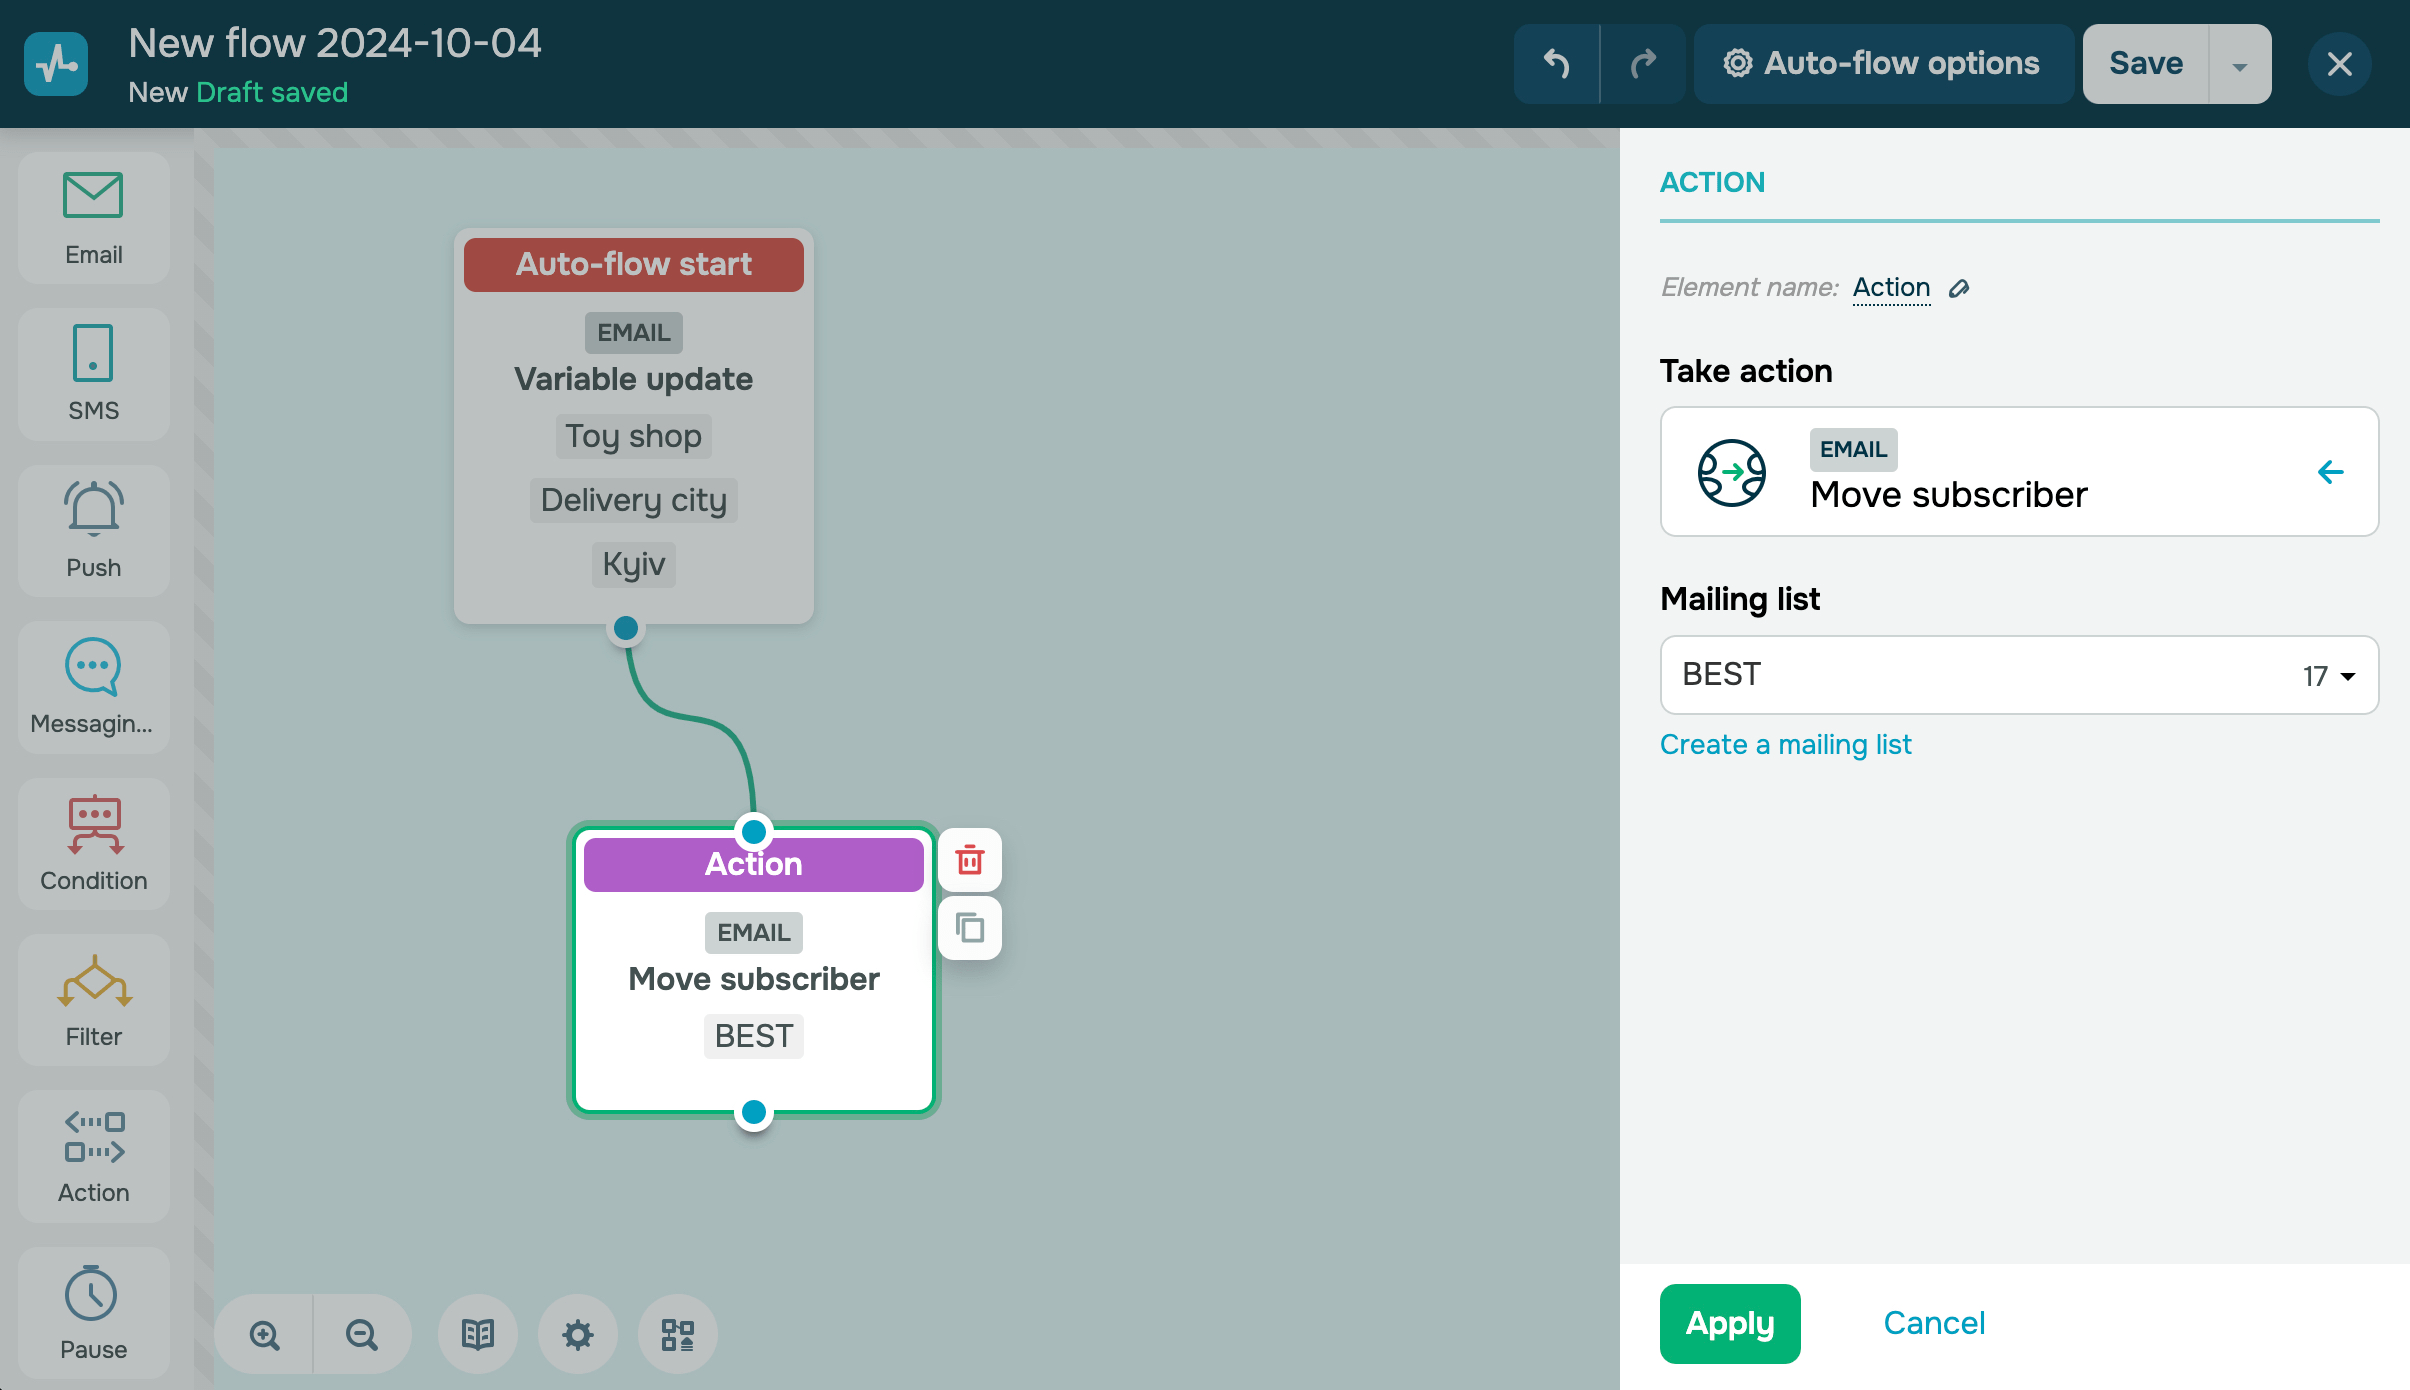
Move subscriber
Moves your subscriber from one mailing list to another. This action will remove the subscriber from the first mailing list. In the drop-down list, you can select any of the existing mailing lists you want to move the contact to.
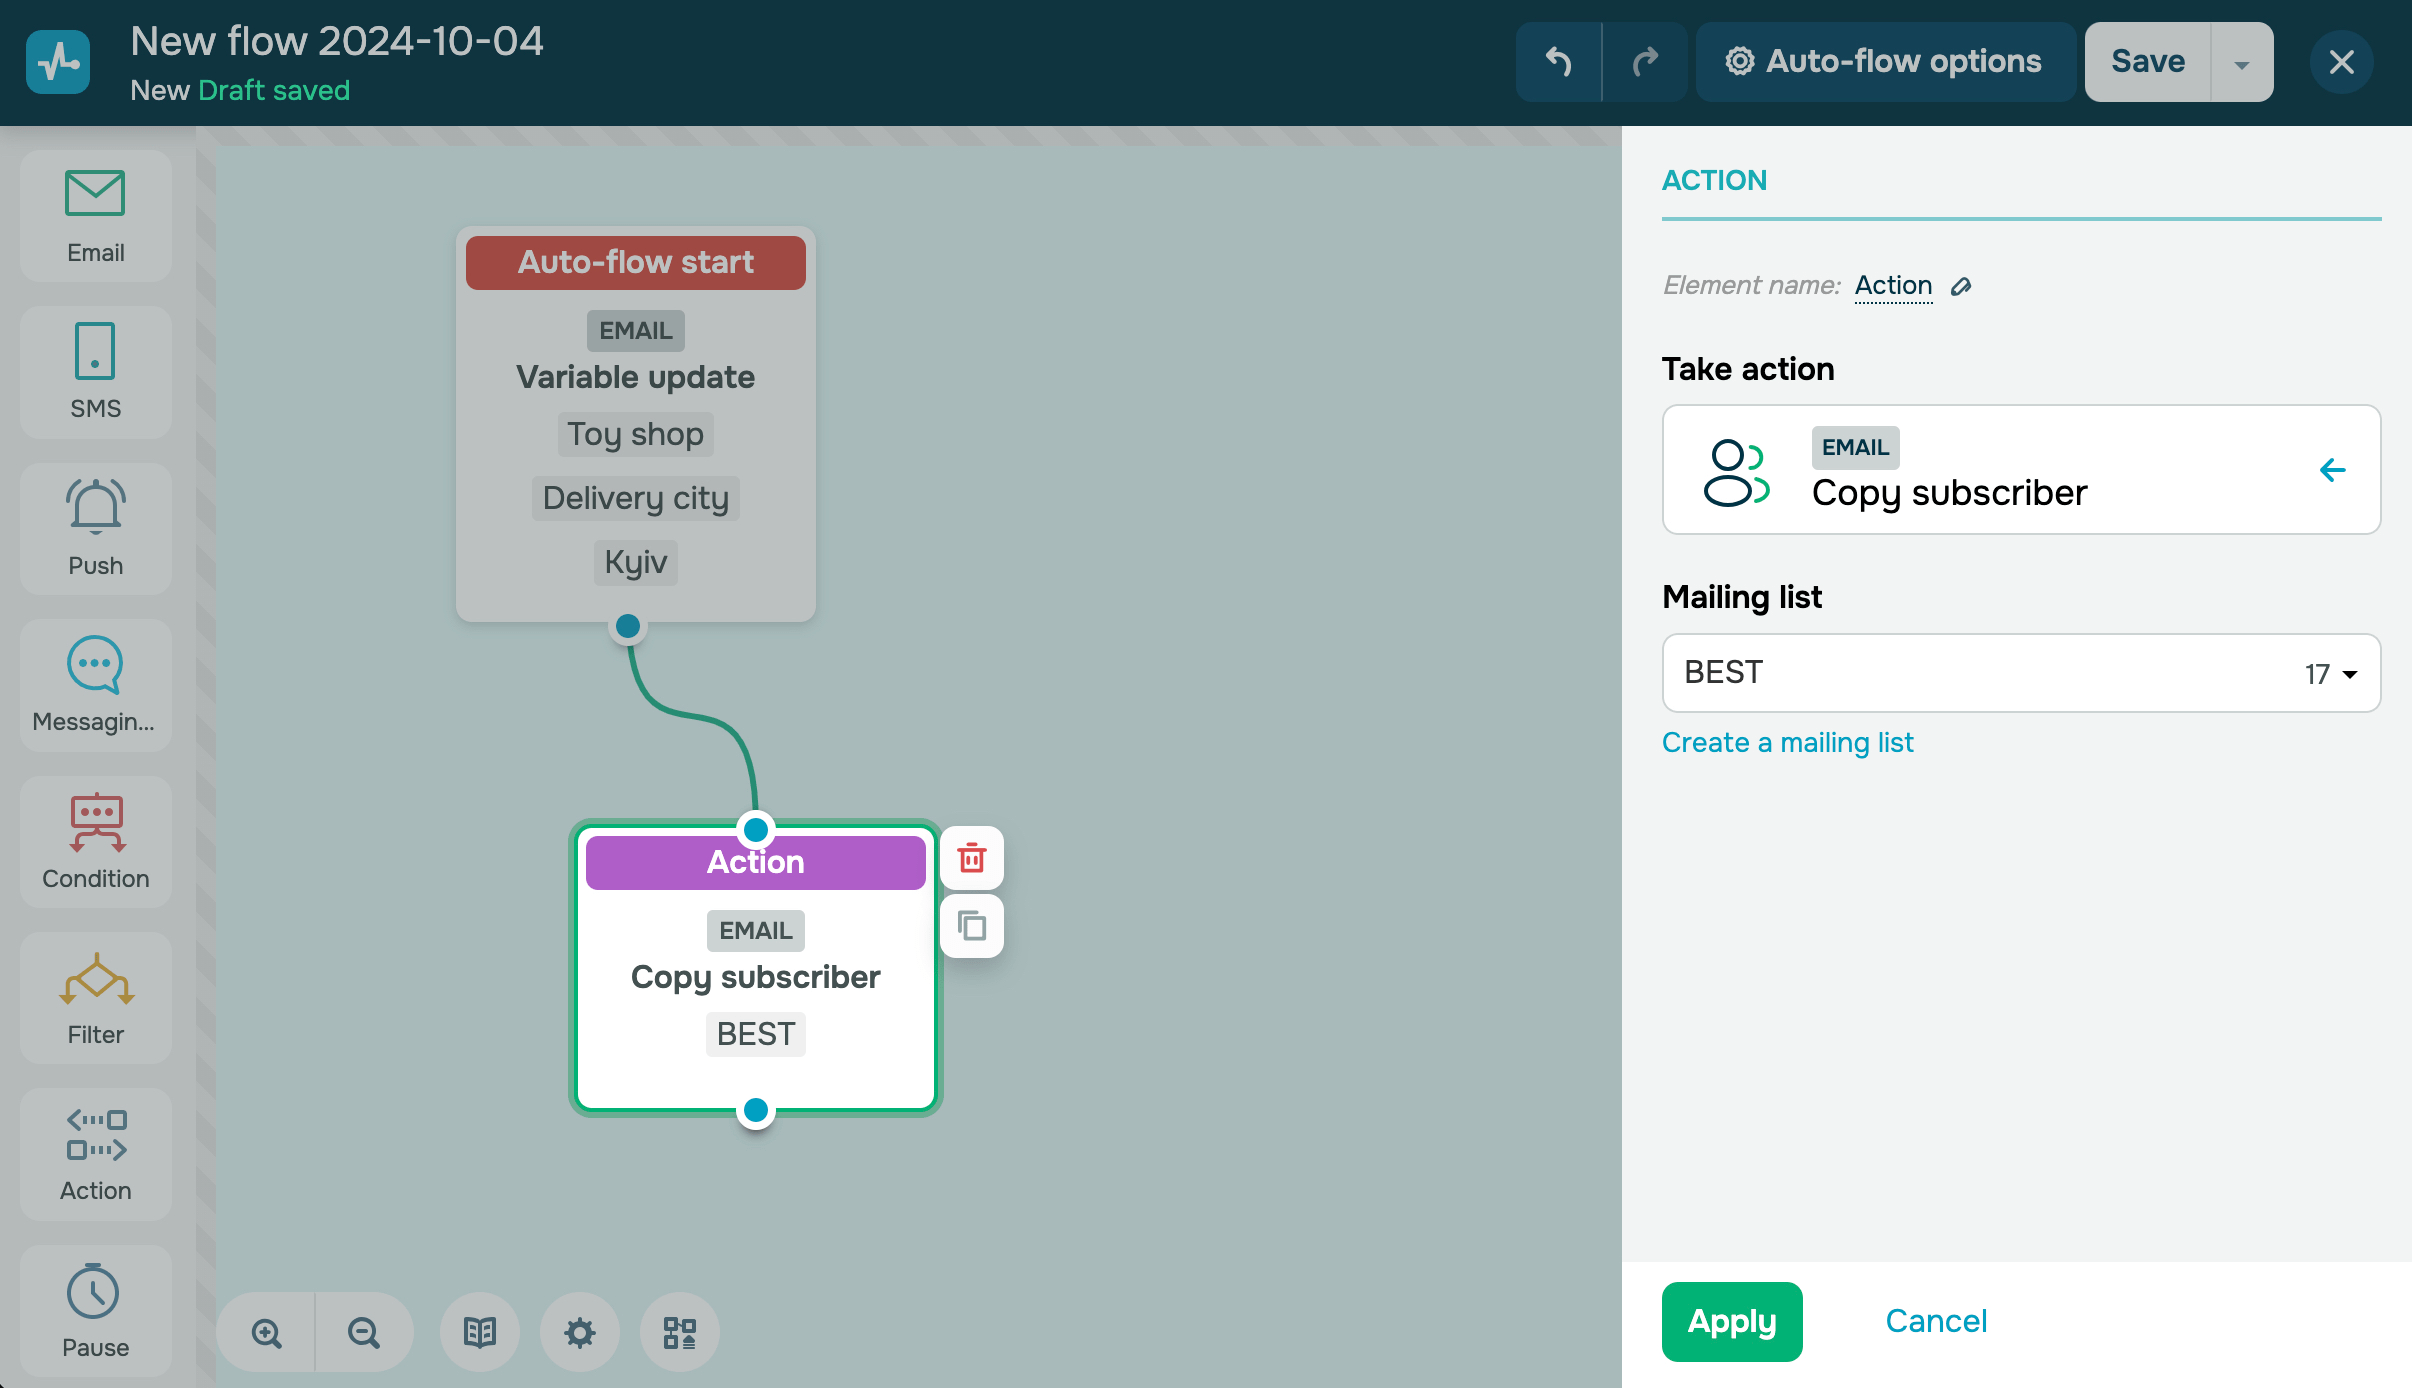
Copy subscriber
Adds your contact to the selected mailing list. This action will not remove the subscriber from the first list.
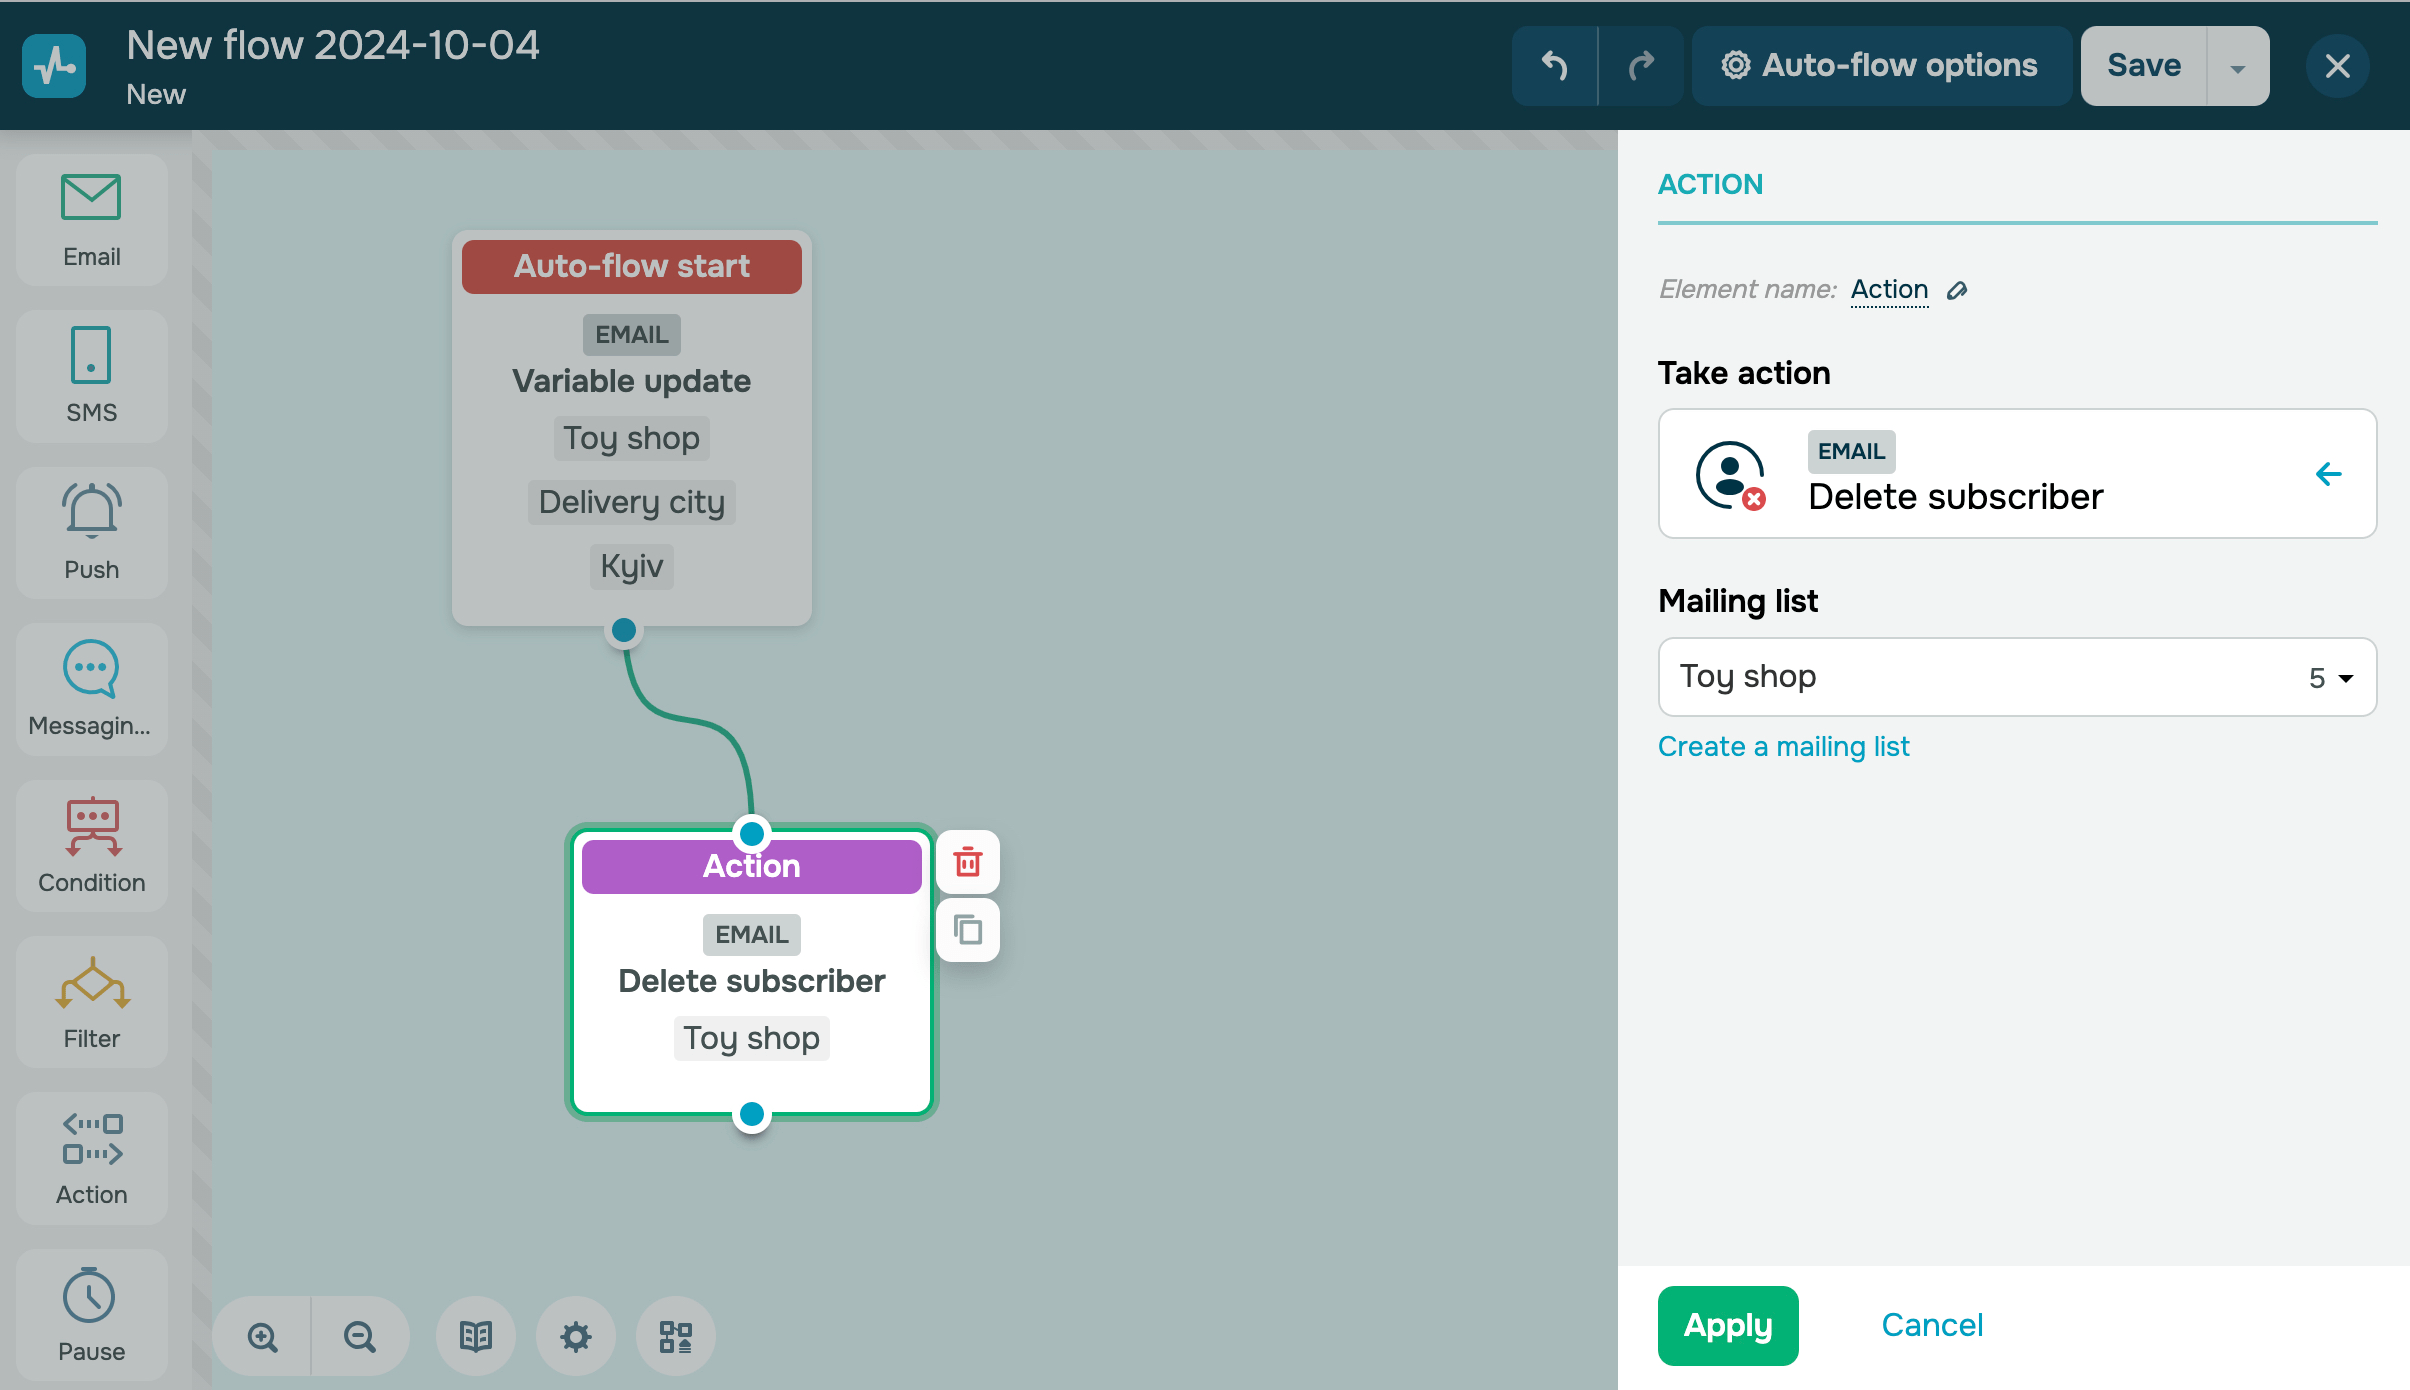
Remove subscriber
Removes your subscriber from the mailing list.
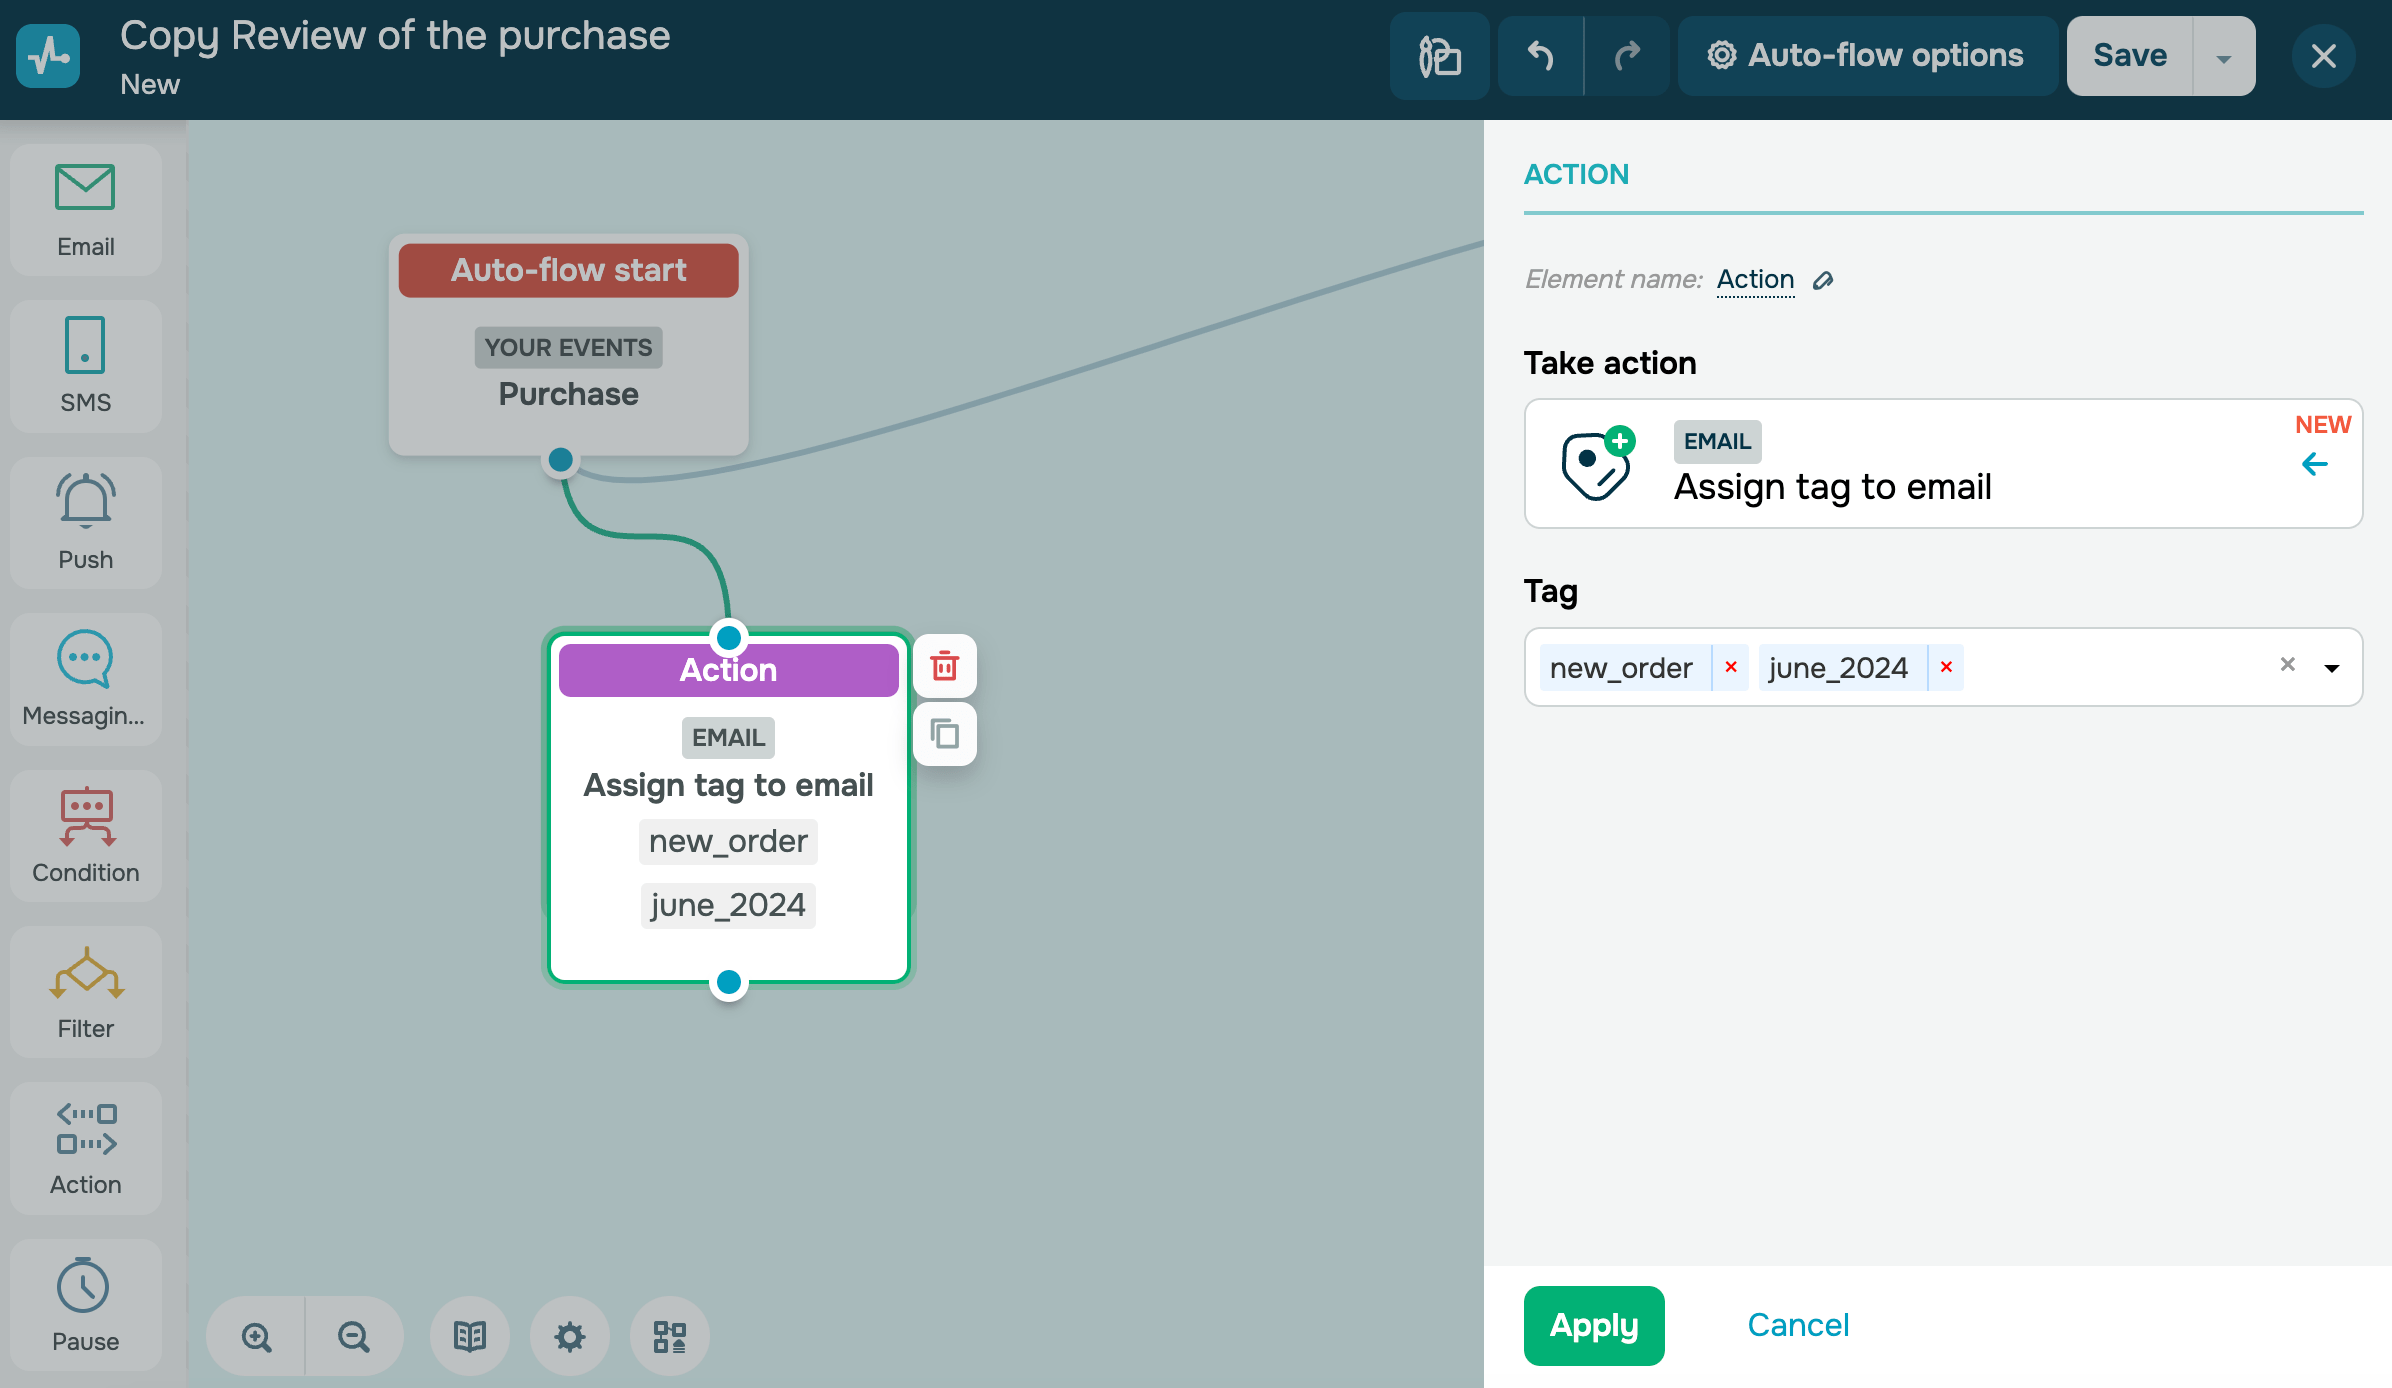
Assign tag to email
Adds a tag to a contact in the Email section. For example, you can assign a tag to customers after a purchase, segment your audience based on this tag, and send email campaigns with related products.
In the Tag field, select a tag from the Email section.
You can add up to five tags at once — all of them will be assigned to your contact.
Disable subscriber
This option disconnects a contact in the email service. Select a mailing list from the dropdown menu, or create a new one.
You can only disable contacts with the Active status.
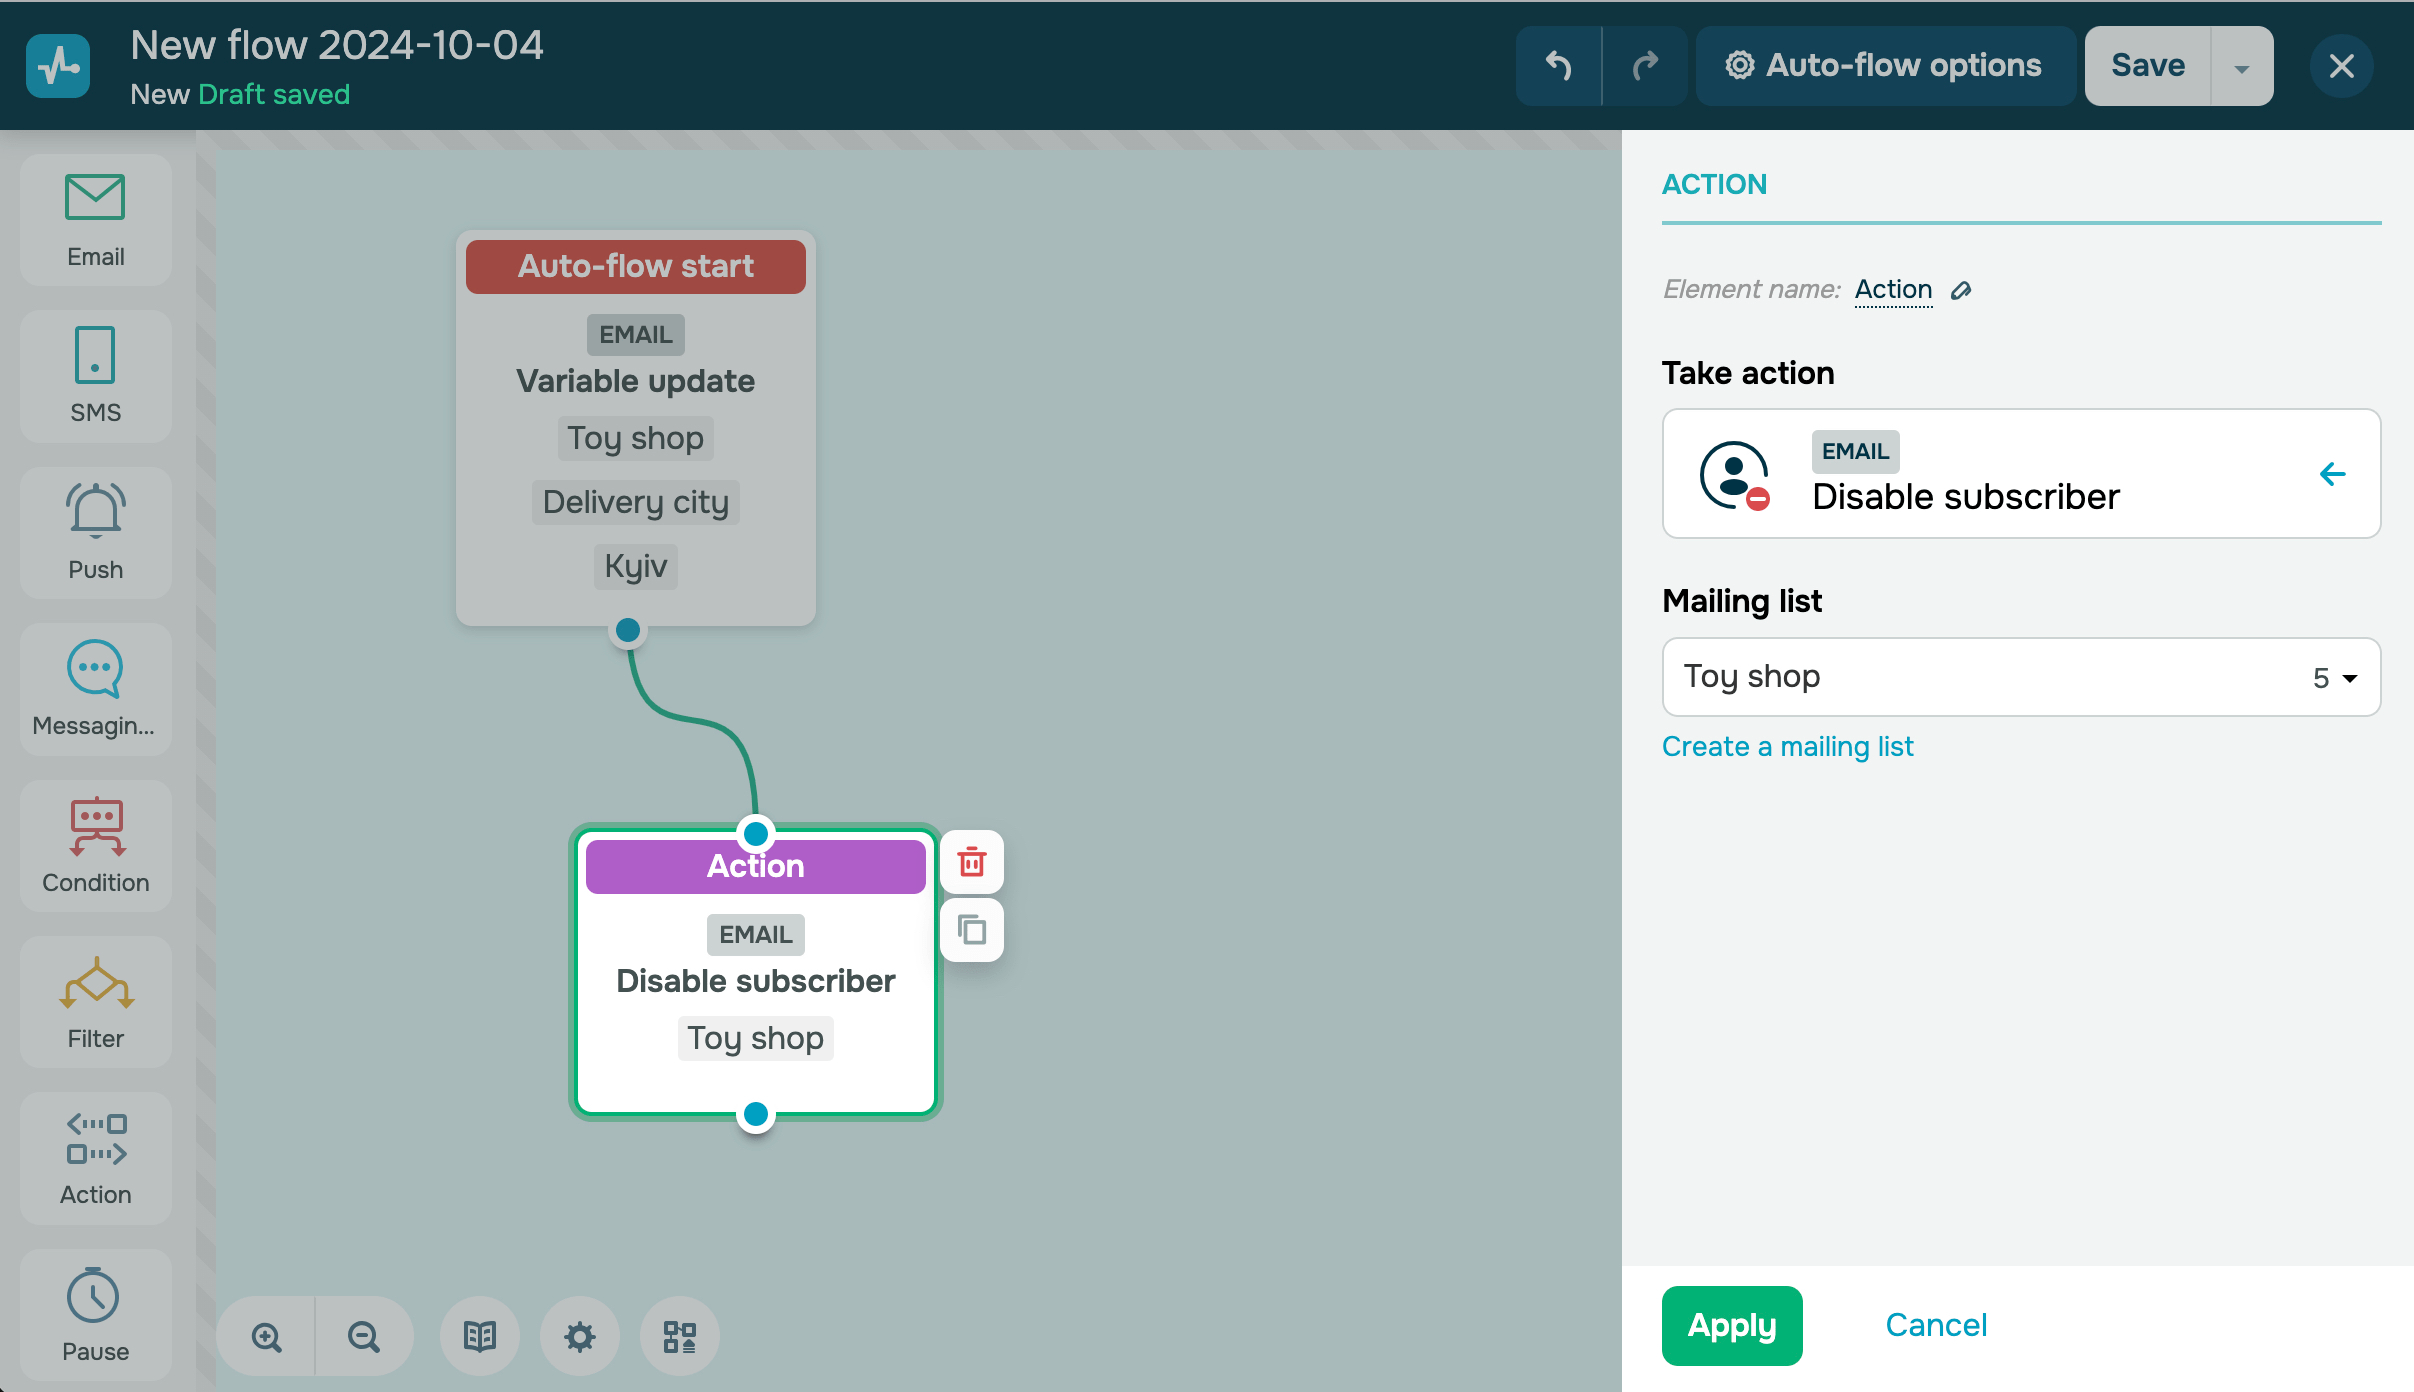
Your contact’s status will be changed to Disabled only in the mailing list you have selected. If the contact exists in other mailing lists, its status will not change there. This status is applicable only to contacts with email addresses and does not extend to phone numbers.
You cannot add contacts with the Disabled status to the Start when subscriber is added to the list multiple times option. Read more: How to manage inactive contacts.
Unlink tag from subscriber
Removes a tag from a contact in the Email section. For instance, you can unlink a tag once a user's trial period ends and trigger a follow-up flow offering them to upgrade.
In the Tag field, select a tag from the Email section. You can select only one tag per element.
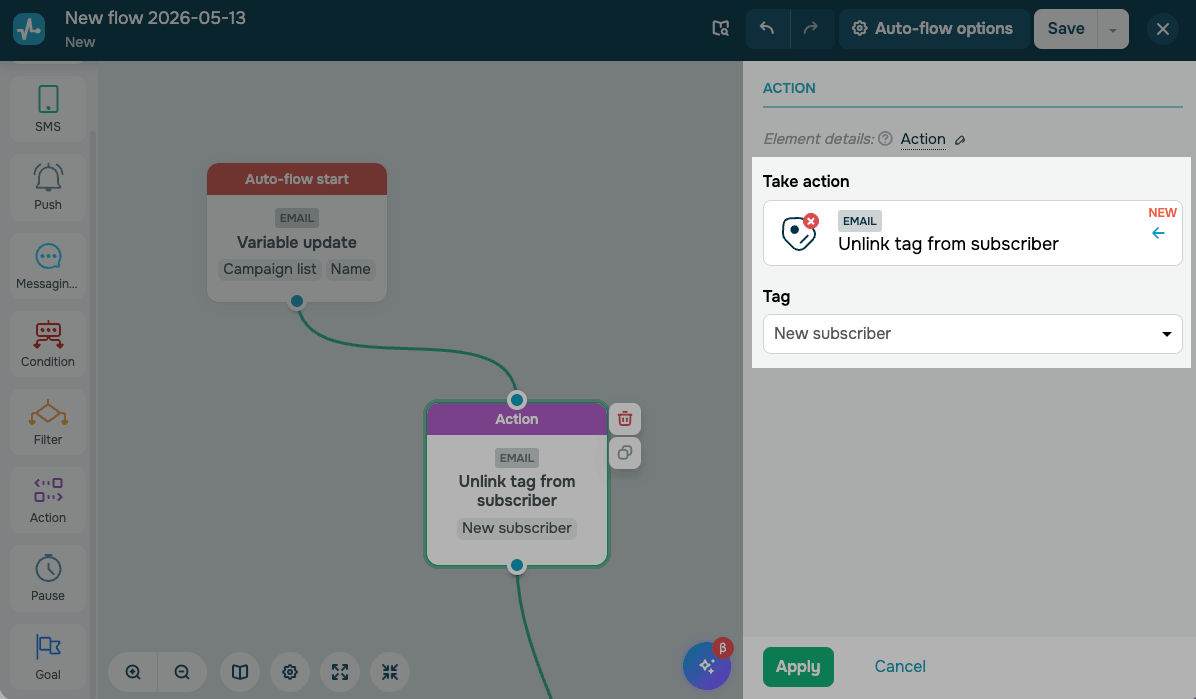
If a contact reaches the Unlink tag from subscriber element and does not have the selected tag assigned, the action completes successfully, moving the contact to the next element. In this case, a starting event for other flows that listen for this tag's removal is not generated.
Last Updated: 17.07.2025
or