Add contacts to the mailing list
Mailing lists help you create and keep your client base up to date. In your mailing lists, you can add subscribers’ personal data and other details, such as their city or order number, to segment and personalize your campaigns.
In this article, we will talk about how to create a mailing list and import your contacts using different methods.
You can add up to 5 mailing lists when using a free account. To create more, choose a pricing plan.
Create a mailing list
If you have a mailing list, skip this step and go to the Add contacts.
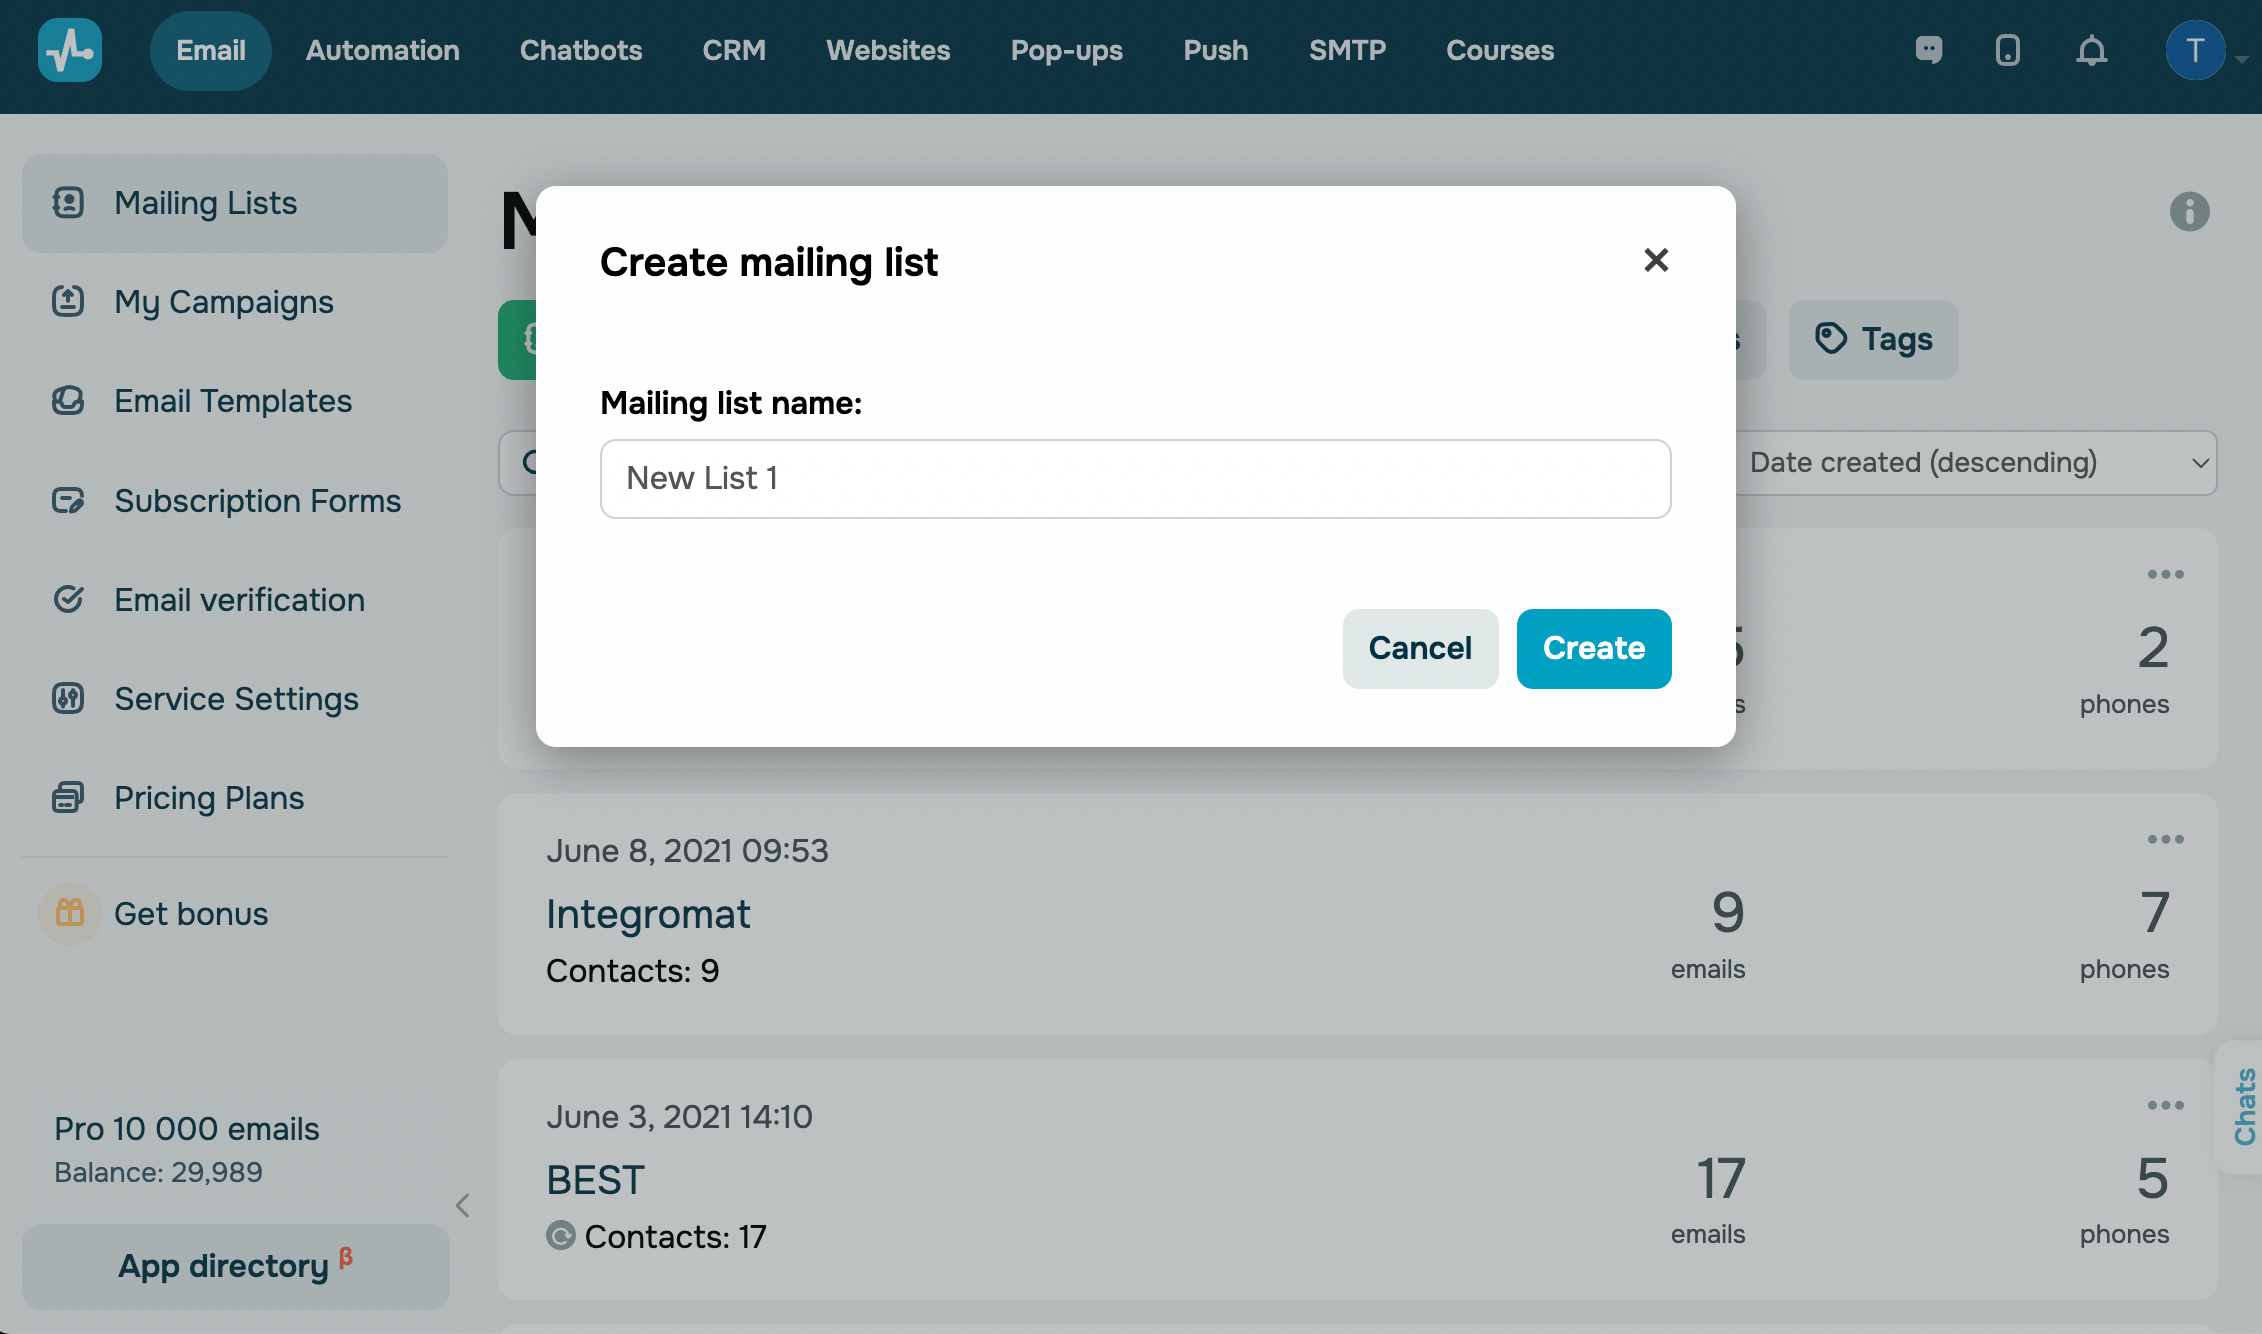
Go to the Email > Mailing lists tab, and click Create mailing list.
Enter your mailing list name, and click Create.
Add contacts
You can import your contacts with variables from a file, enter their email addresses manually, import them from your website, or add contacts one by one.
From a file
Select the desired file in the Upload file tab, and click Upload.
Available formats: TXT, CSV, XLS, XLSX. Your dates must be imported in the MM/DD/YYYY format (month, day, and year) for them to be identified properly. The length of each variable should be up to 255 characters.
Make sure to use the international format when importing phone numbers: +XXXXYYYYYYYY (XXX is a country code, and YYYY... is a phone number, for example, +120288888888).
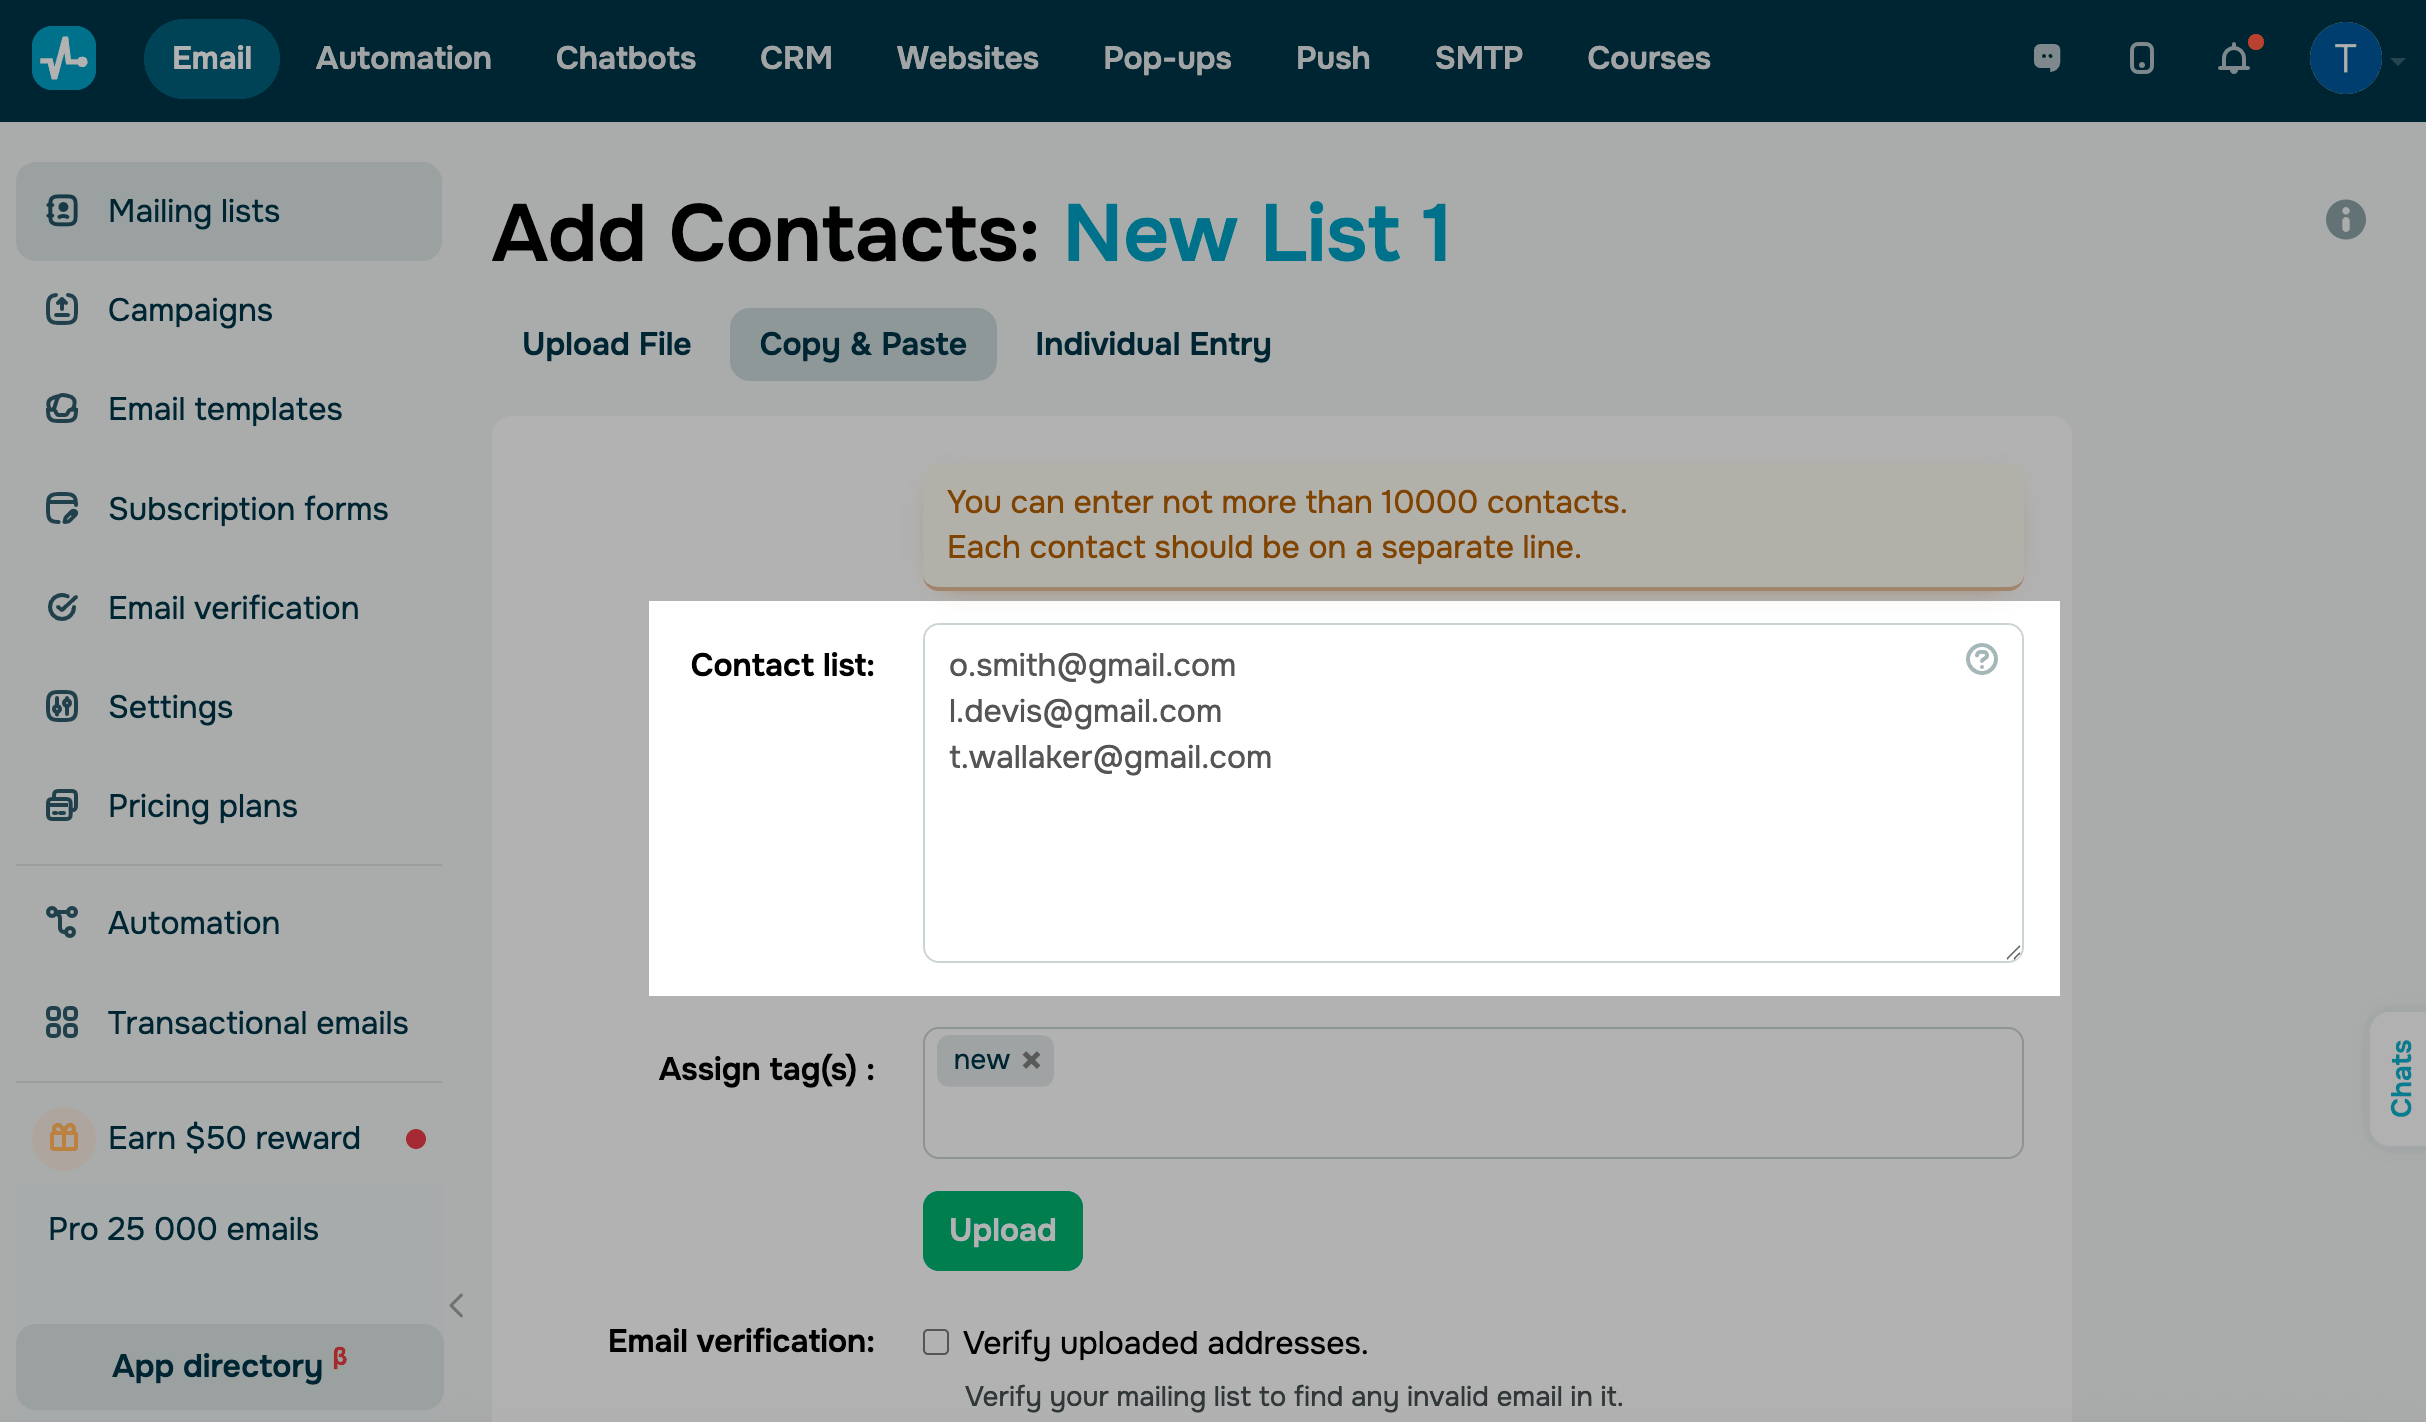
You can also assign tags to all your imported email addresses to segment them later.
To verify your email addresses, select the Verify uploaded addresses checkbox.
Read more: What is an email verifier and why should you use it?
Once you are done with that, define your variables for each column from the file: select a variable from the list or create a new variable.
If you do not select a variable, the data from your file will not be uploaded to this column.
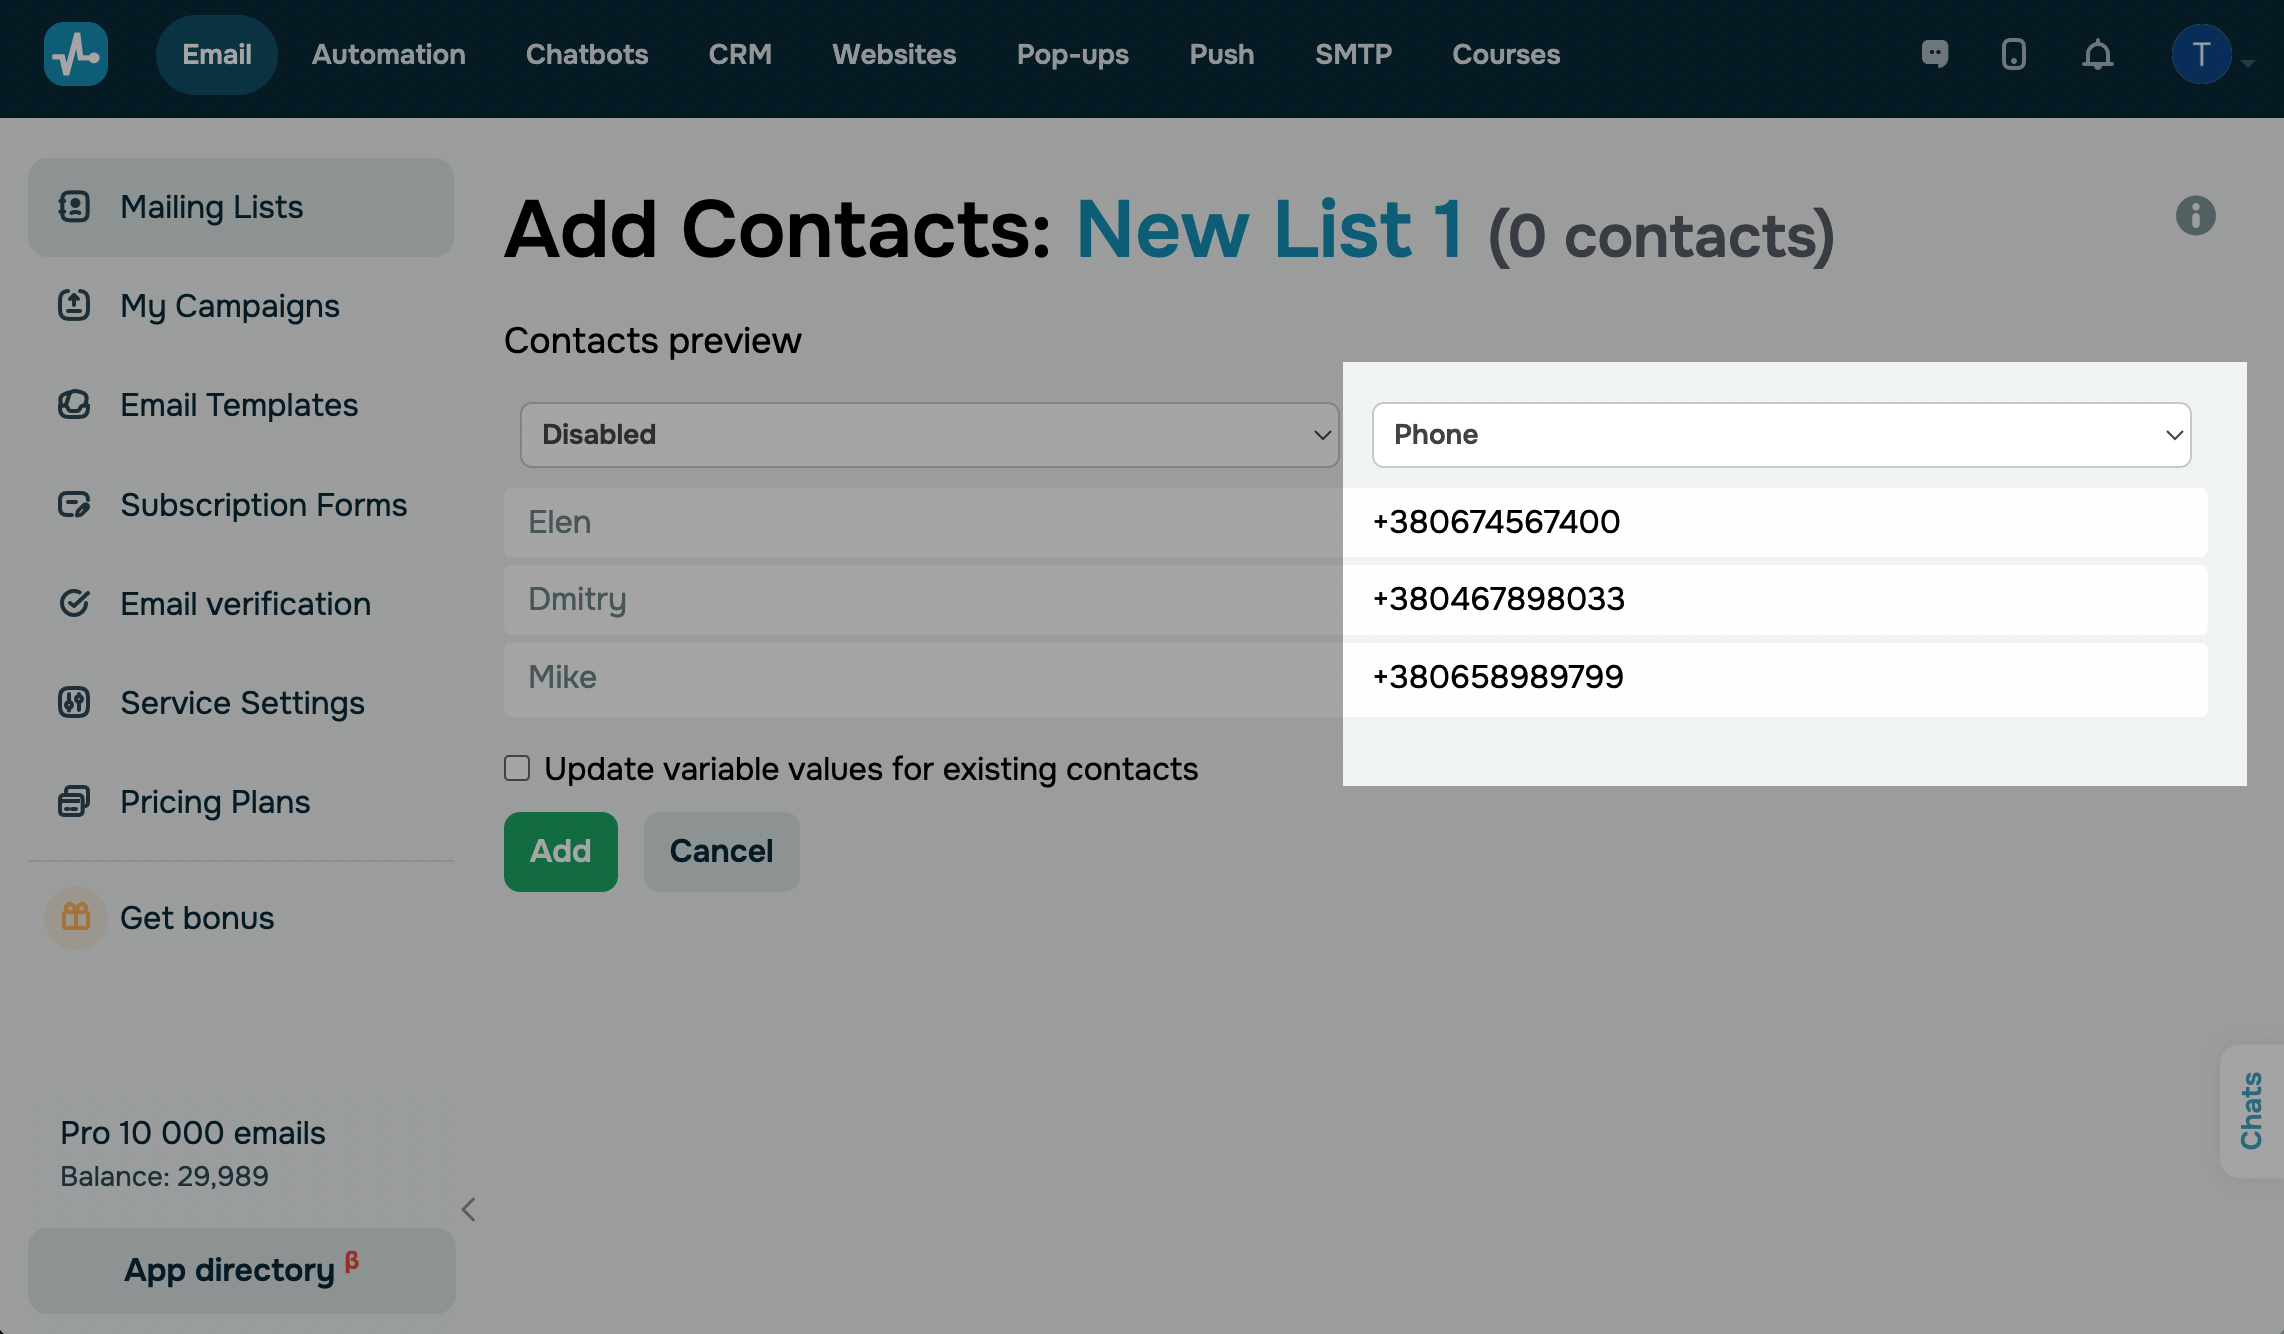
Click Add to upload contacts from the file.
If there are subscribers with the same personal data in your mailing list, you can choose the Update variable values for existing contacts option to update the variable values for them.
Manually
Go to the Copy & Paste tab. Add your contacts in the Contact list field.
Enter each contact as a new line. You can add a contact’s additional personal data points next to their email address, separating each point by commas.
Click Upload.
Afterwards, include variables to your additional data columns, and click Add. You can define your variables this way when using other import methods as well.
One by one
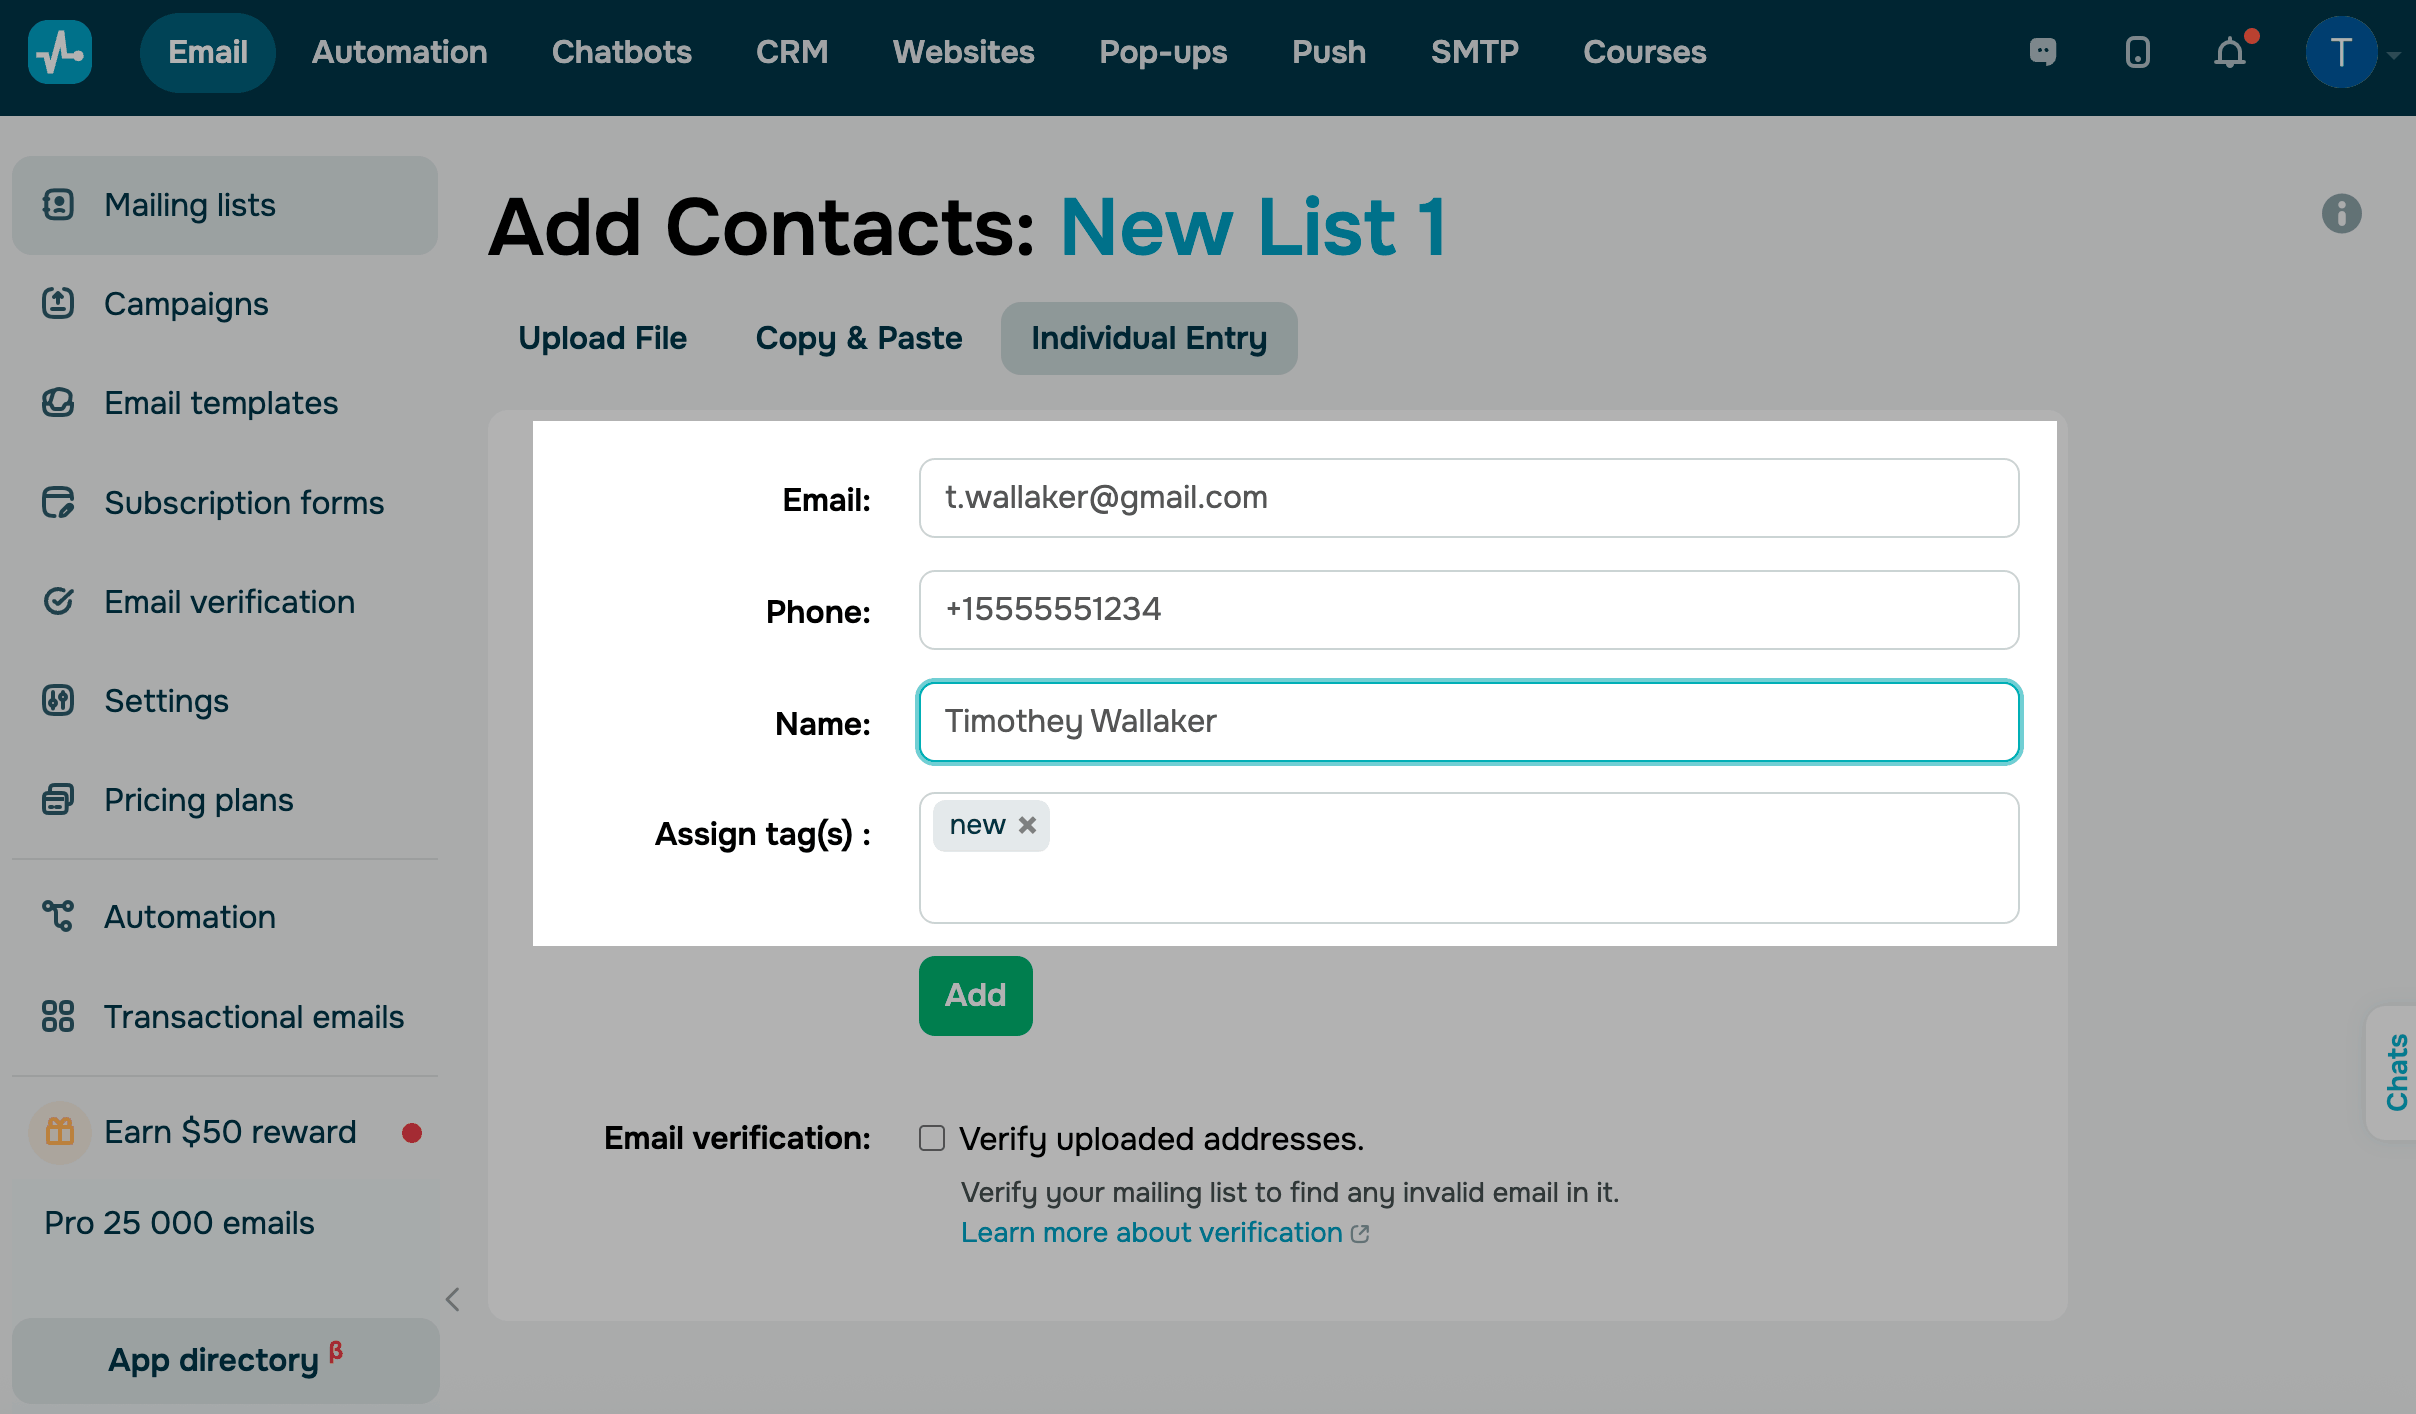
Go to the Individual entry tab. Fill in the fields, and click Add. To add a contact to your mailing list, you can enter an email address or phone number.
When importing contacts from a file, manually, or from other services, you can add any variables. When importing contacts one at a time, you only have the option to add your contact’s email address, phone number, and name.
Last Updated: 10.06.2024
or