Сonnect SendPulse's MCP server to Visual Studio Code with Cline
Cline is an AI coding assistant that runs as a Visual Studio Code extension and supports MCP integrations. Once you connect SendPulse's MCP server to it, you will be able to manage your SendPulse account directly in Cline using natural-language requests.
Let's talk about how to connect SendPulse's MCP server to VS Code with the Cline extension.
To learn more about SendPulse's MCP server and how it works, see MCP basics.
Add SendPulse’s MCP server
Before proceeding, make sure you have the Cline extension installed and that you have logged in to your GitHub account.
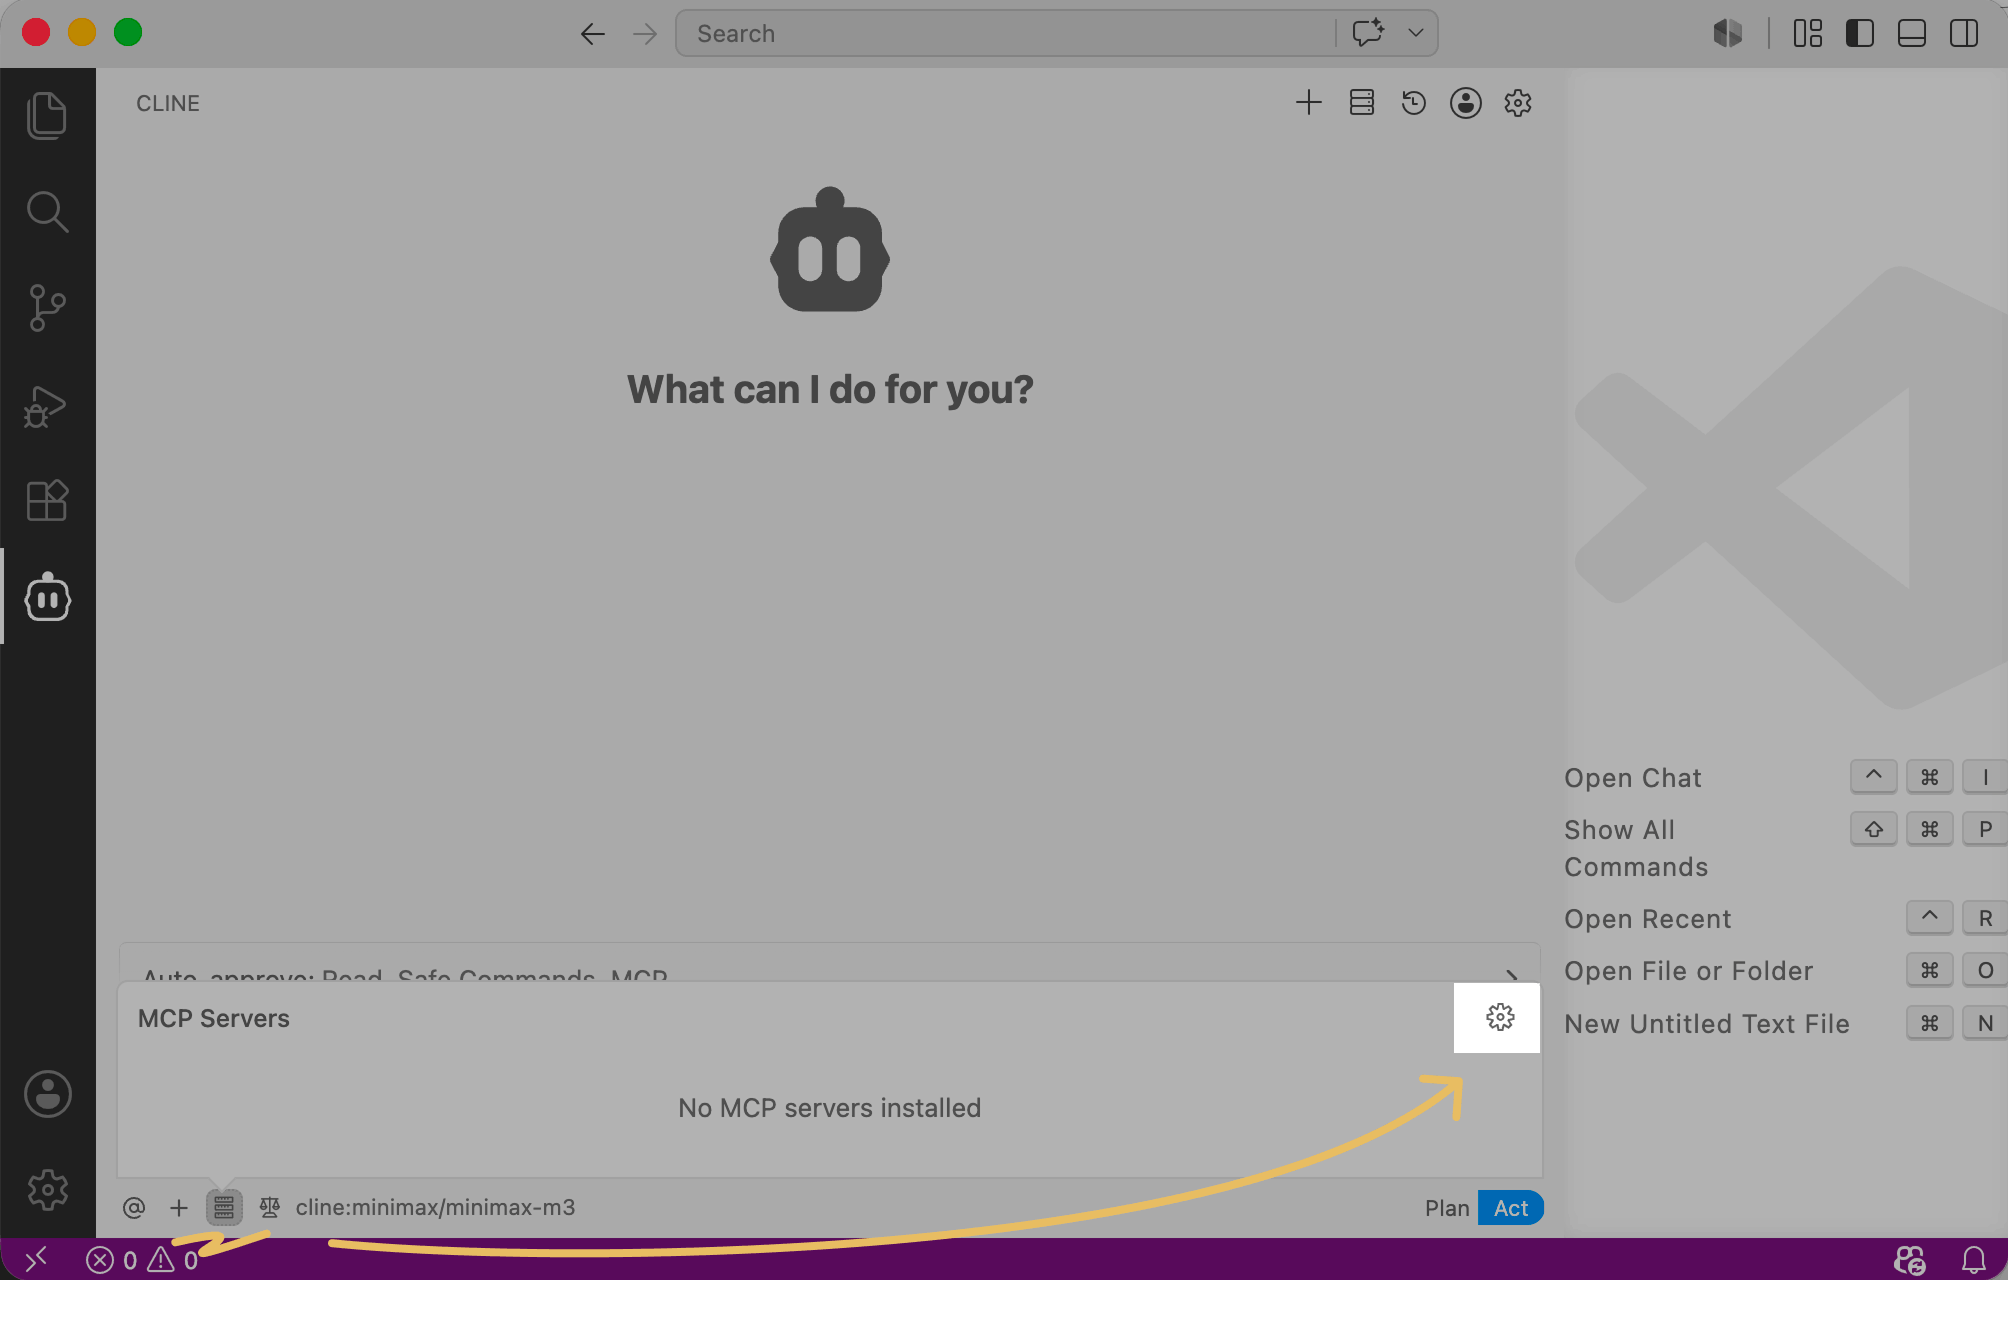
In the VS Code app, go to Cline. In the chat, click Manage MCP servers and then click the settings icon.
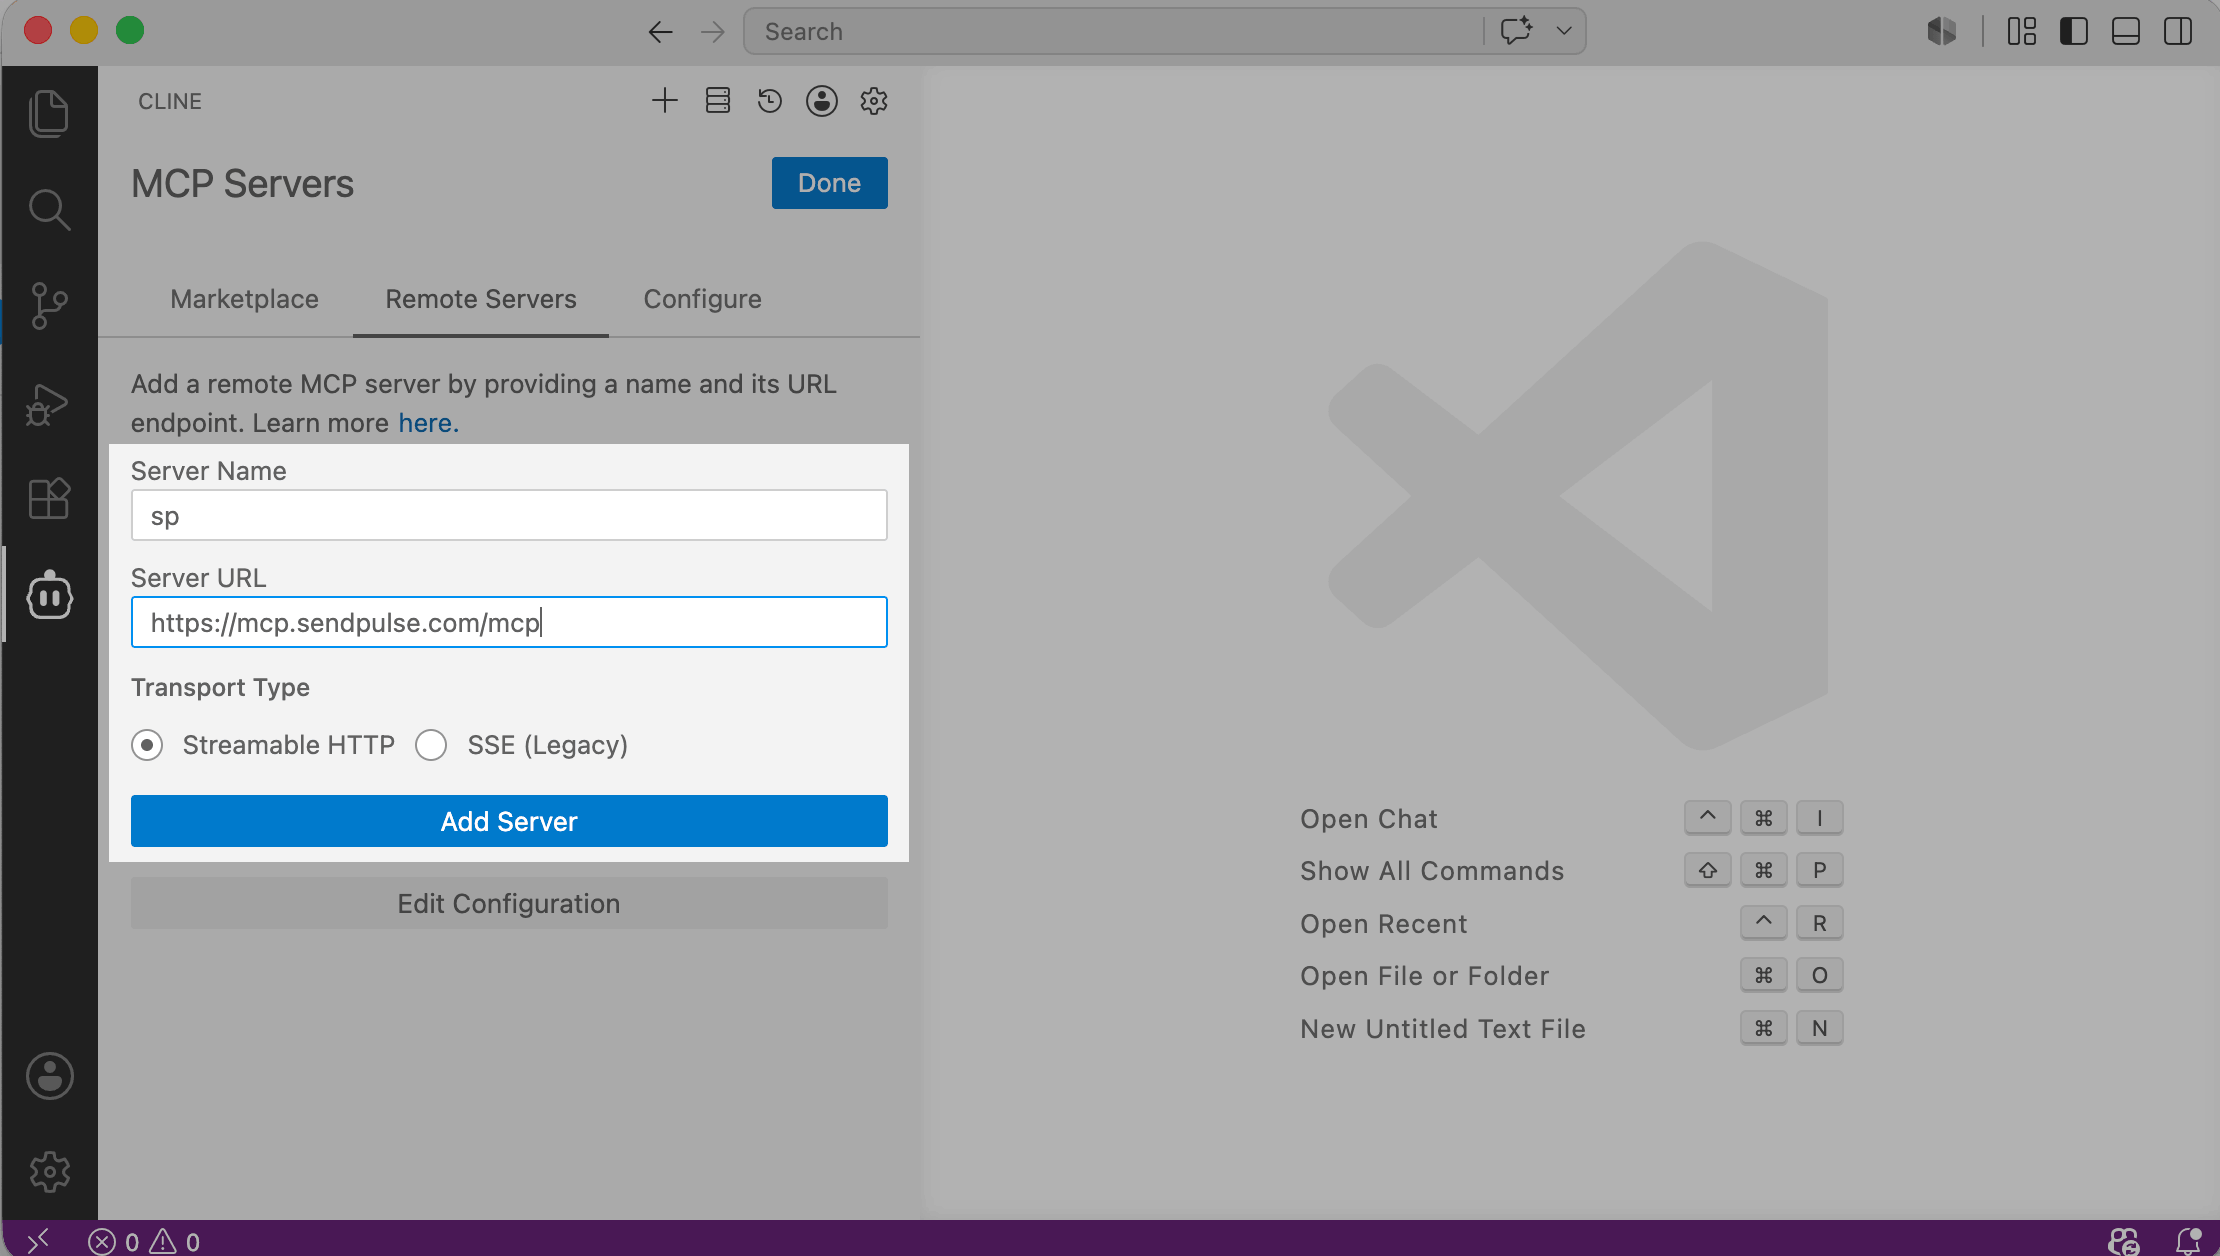
Go to the Remote servers tab and fill in the fields:
| Server name | Enter a custom app name using Latin characters so that you can quickly find it on the list later. |
| Server URL | Paste SendPulse's MCP server link: https://mcp.sendpulse.com/mcp. To find the link, log in to your SendPulse account. Go to Account settings > API, and in the MCP section, copy the link. |
Click Add server.
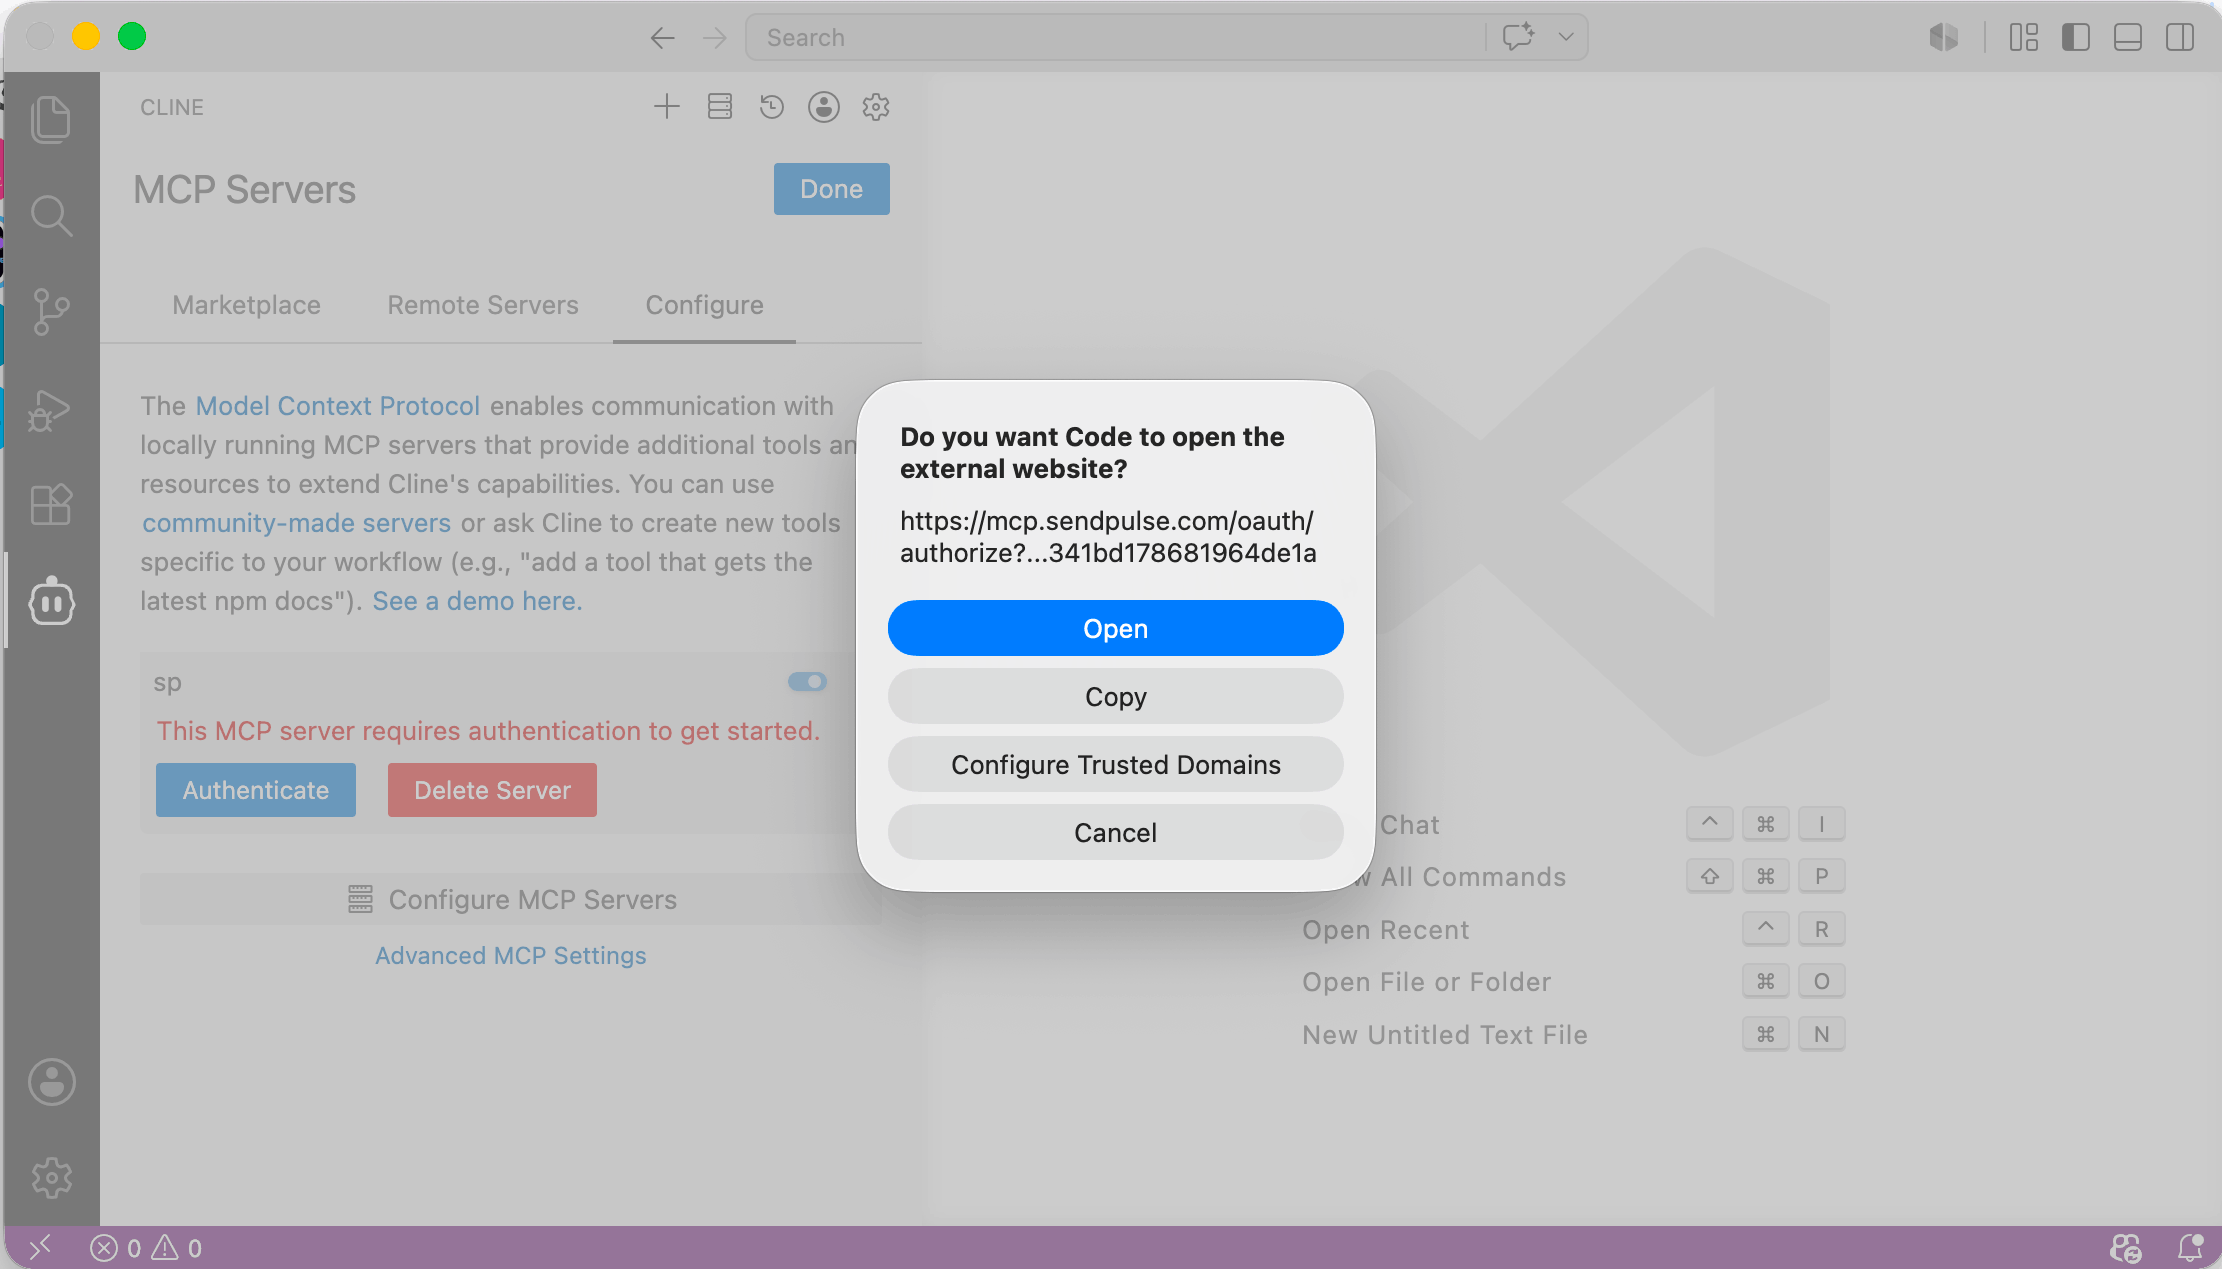
Then, click Authenticate. A prompt will appear asking for permission to open the external website. Click Open.
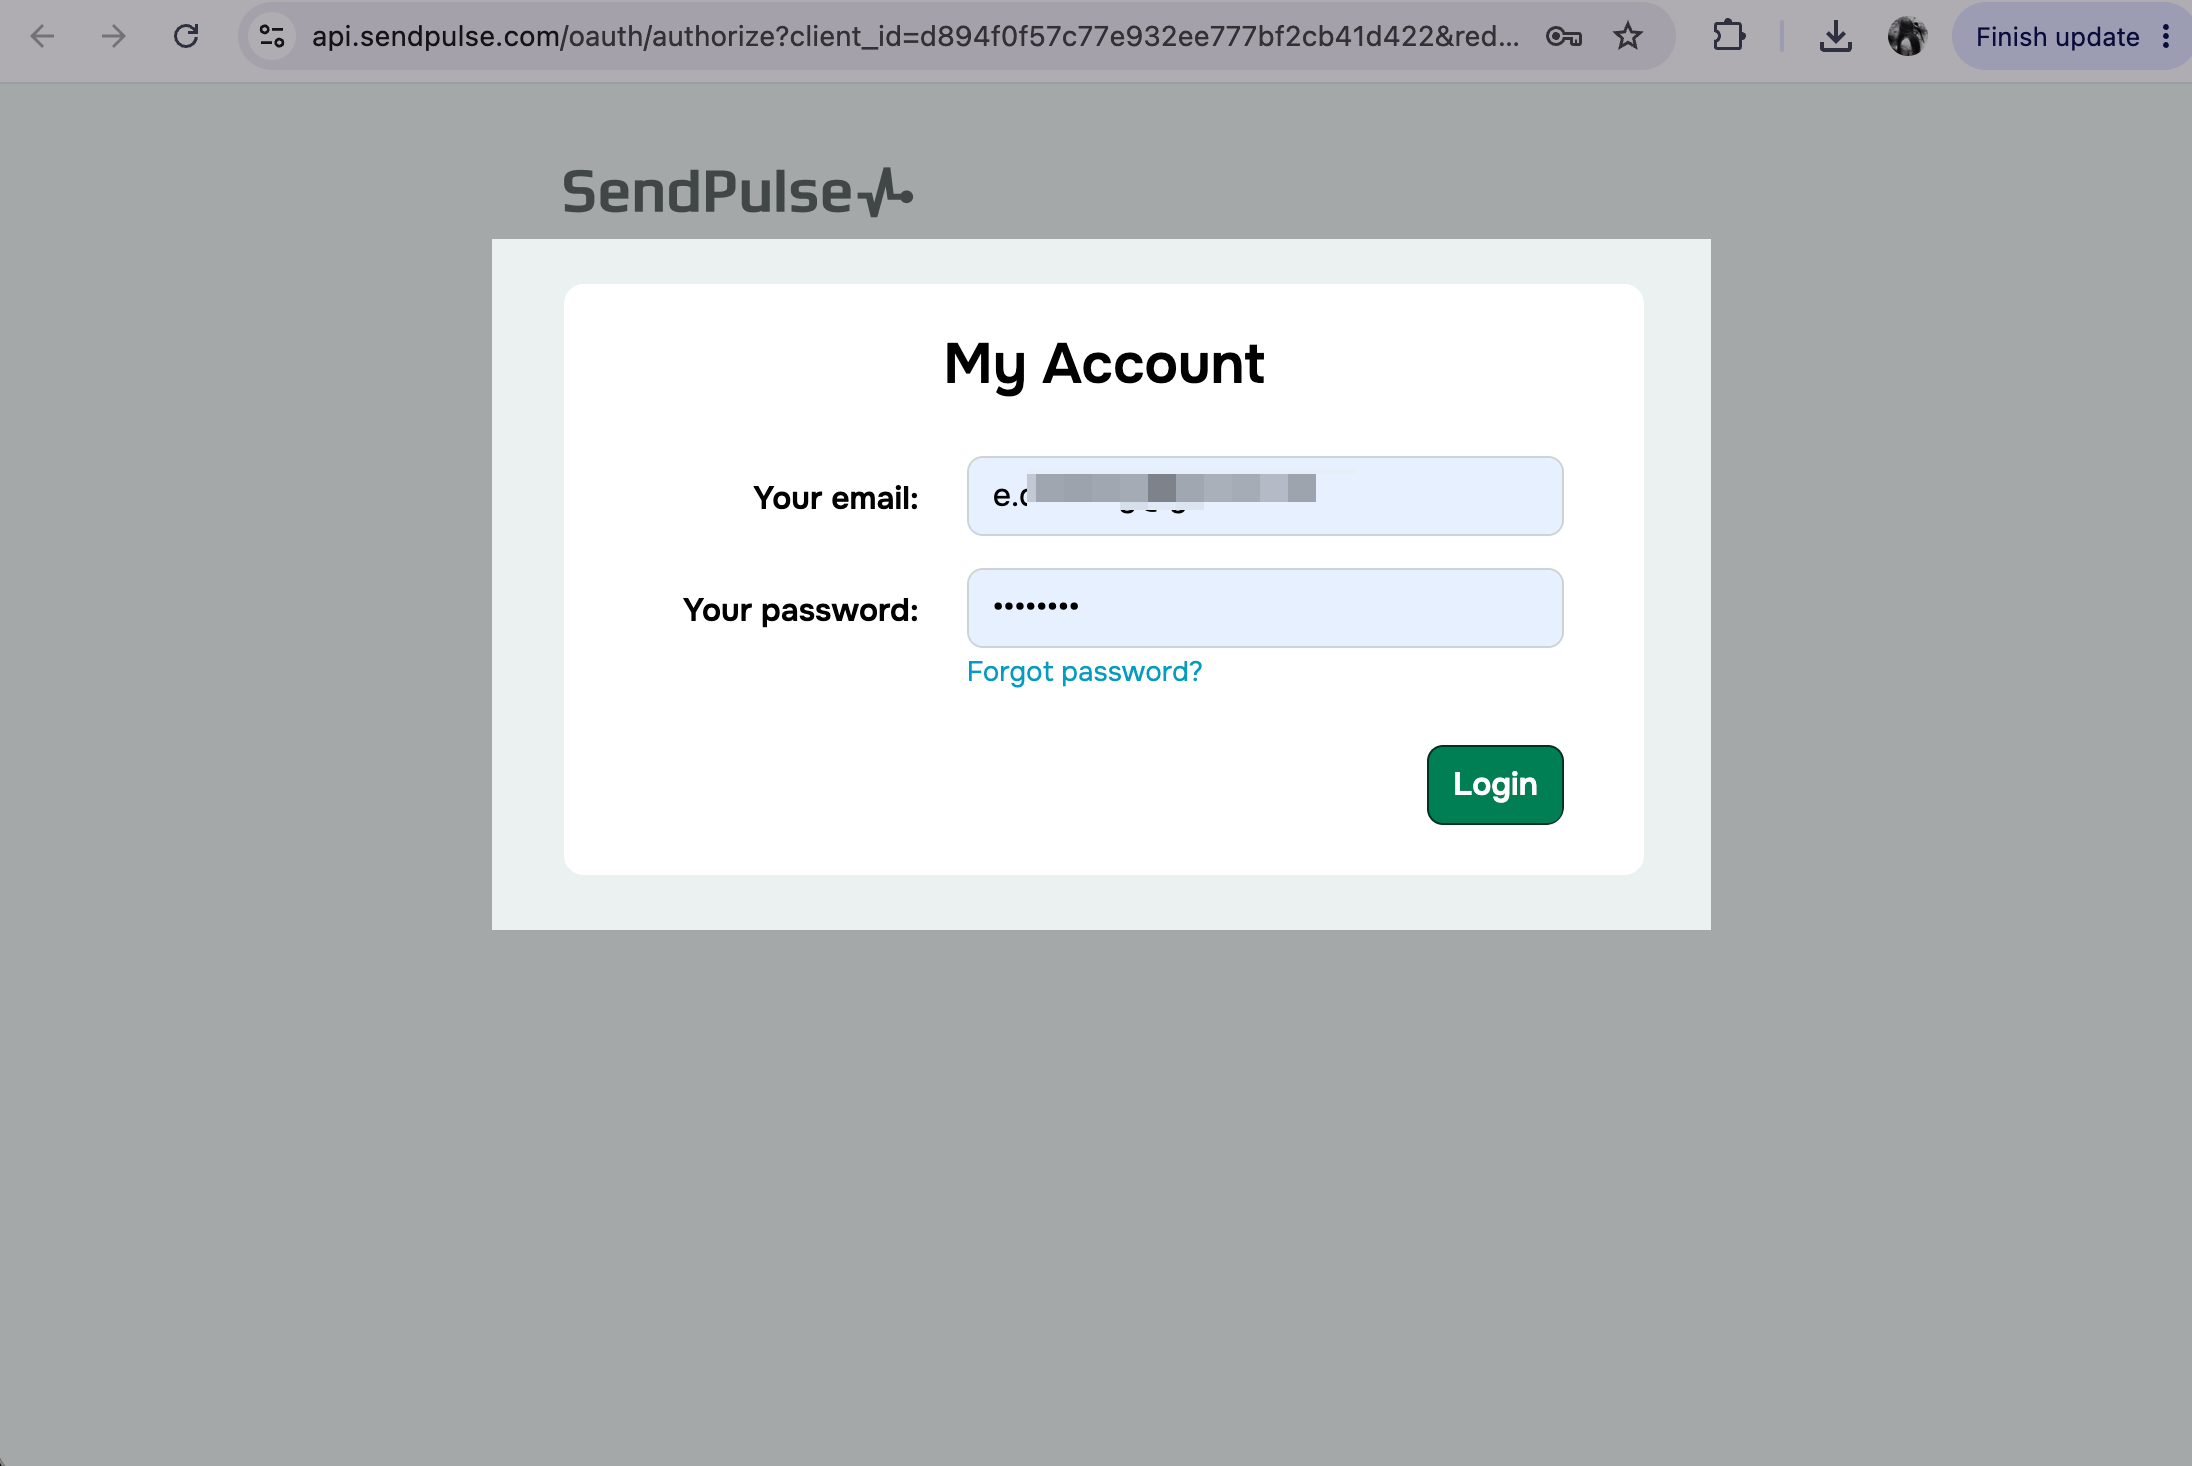
The SendPulse authentication page will be opened in your browser. Enter your login credentials and click Login.
Run actions through MCP
Once you’ve connected the MCP server, you can send messages and take other actions in your SendPulse account using tools.
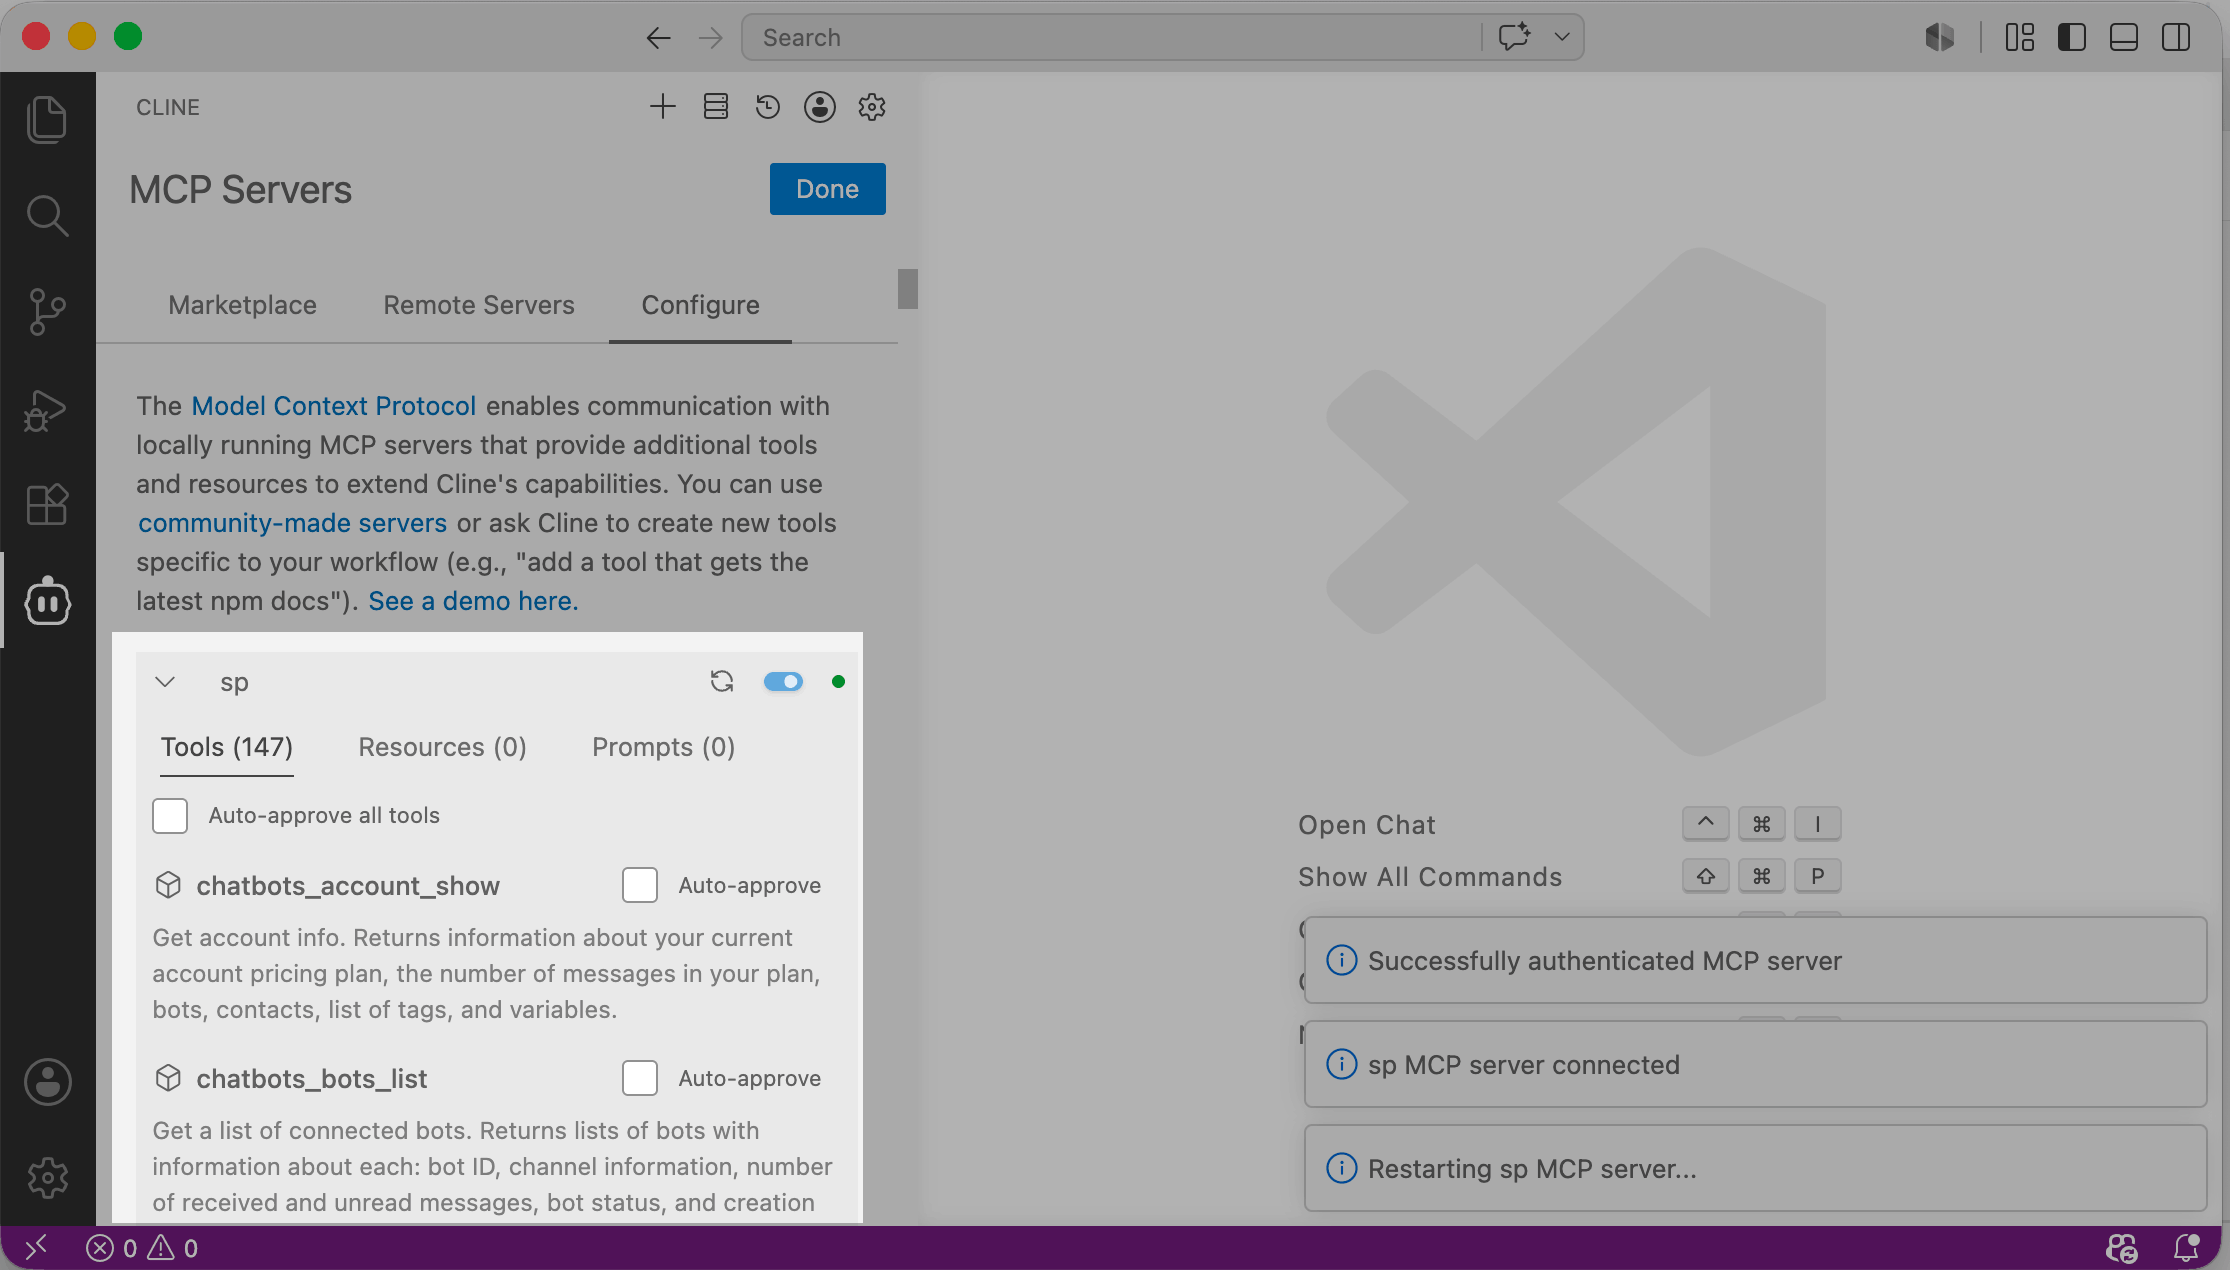
Next to the sp MCP server, you can view available tools, tool descriptions, and required request parameters. To deactivate or activate a tool, use its checkbox.
Read more: List of MCP tools.
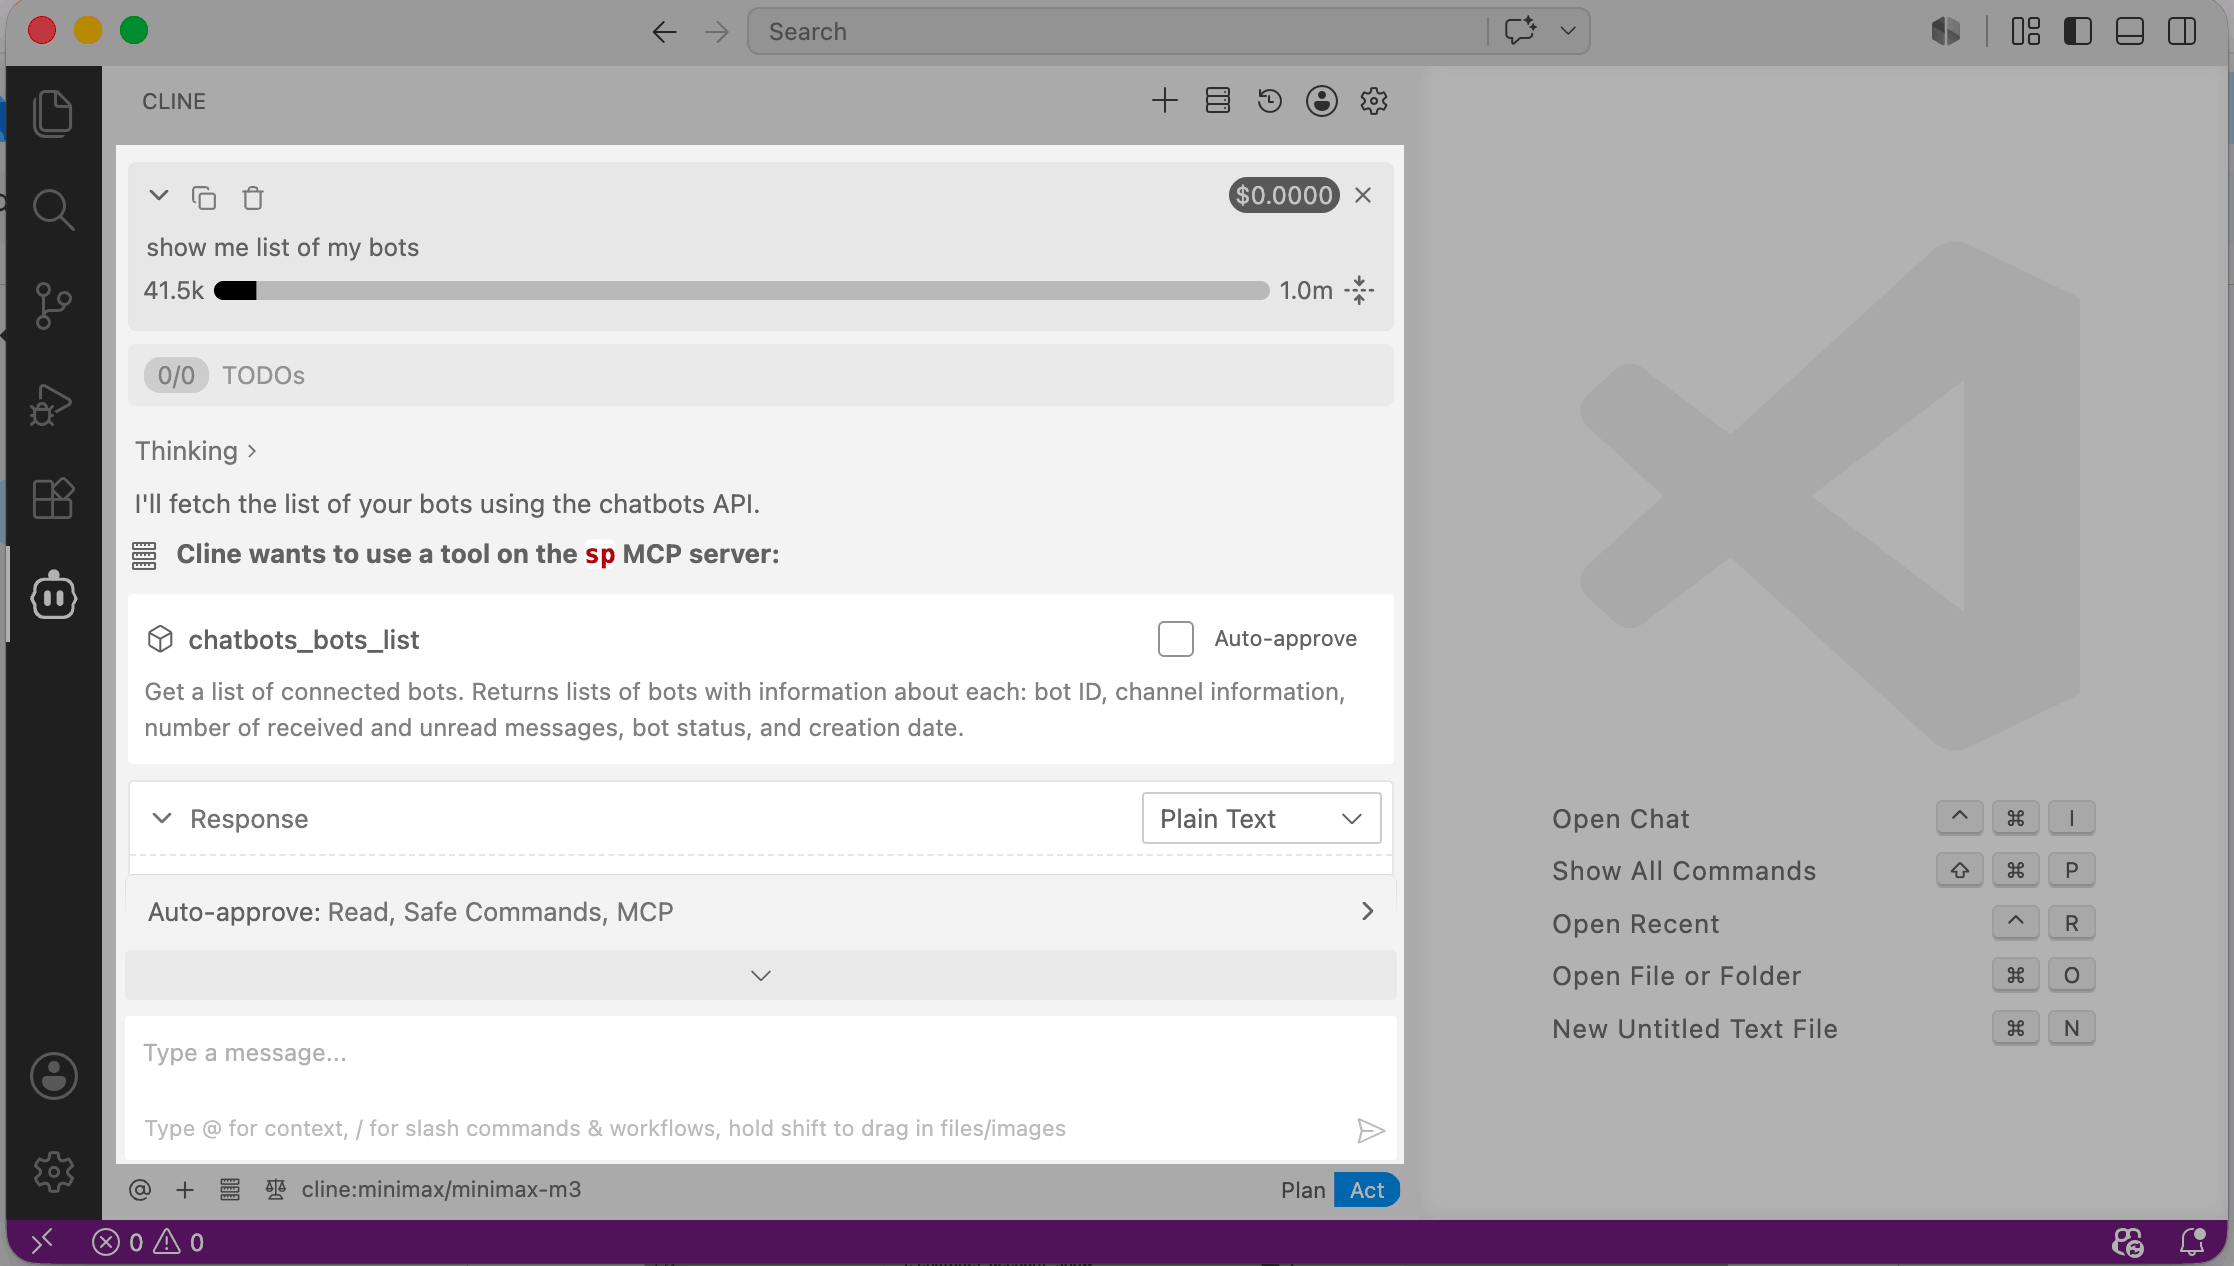
To go back to the chat, click Done. In the chat, enter your request using natural language and send it. If the command is successful, the AI agent will show you the tool it used and the information you asked for. If you requested an action, it will show the action status.
Read more: Chat with your AI assistant.
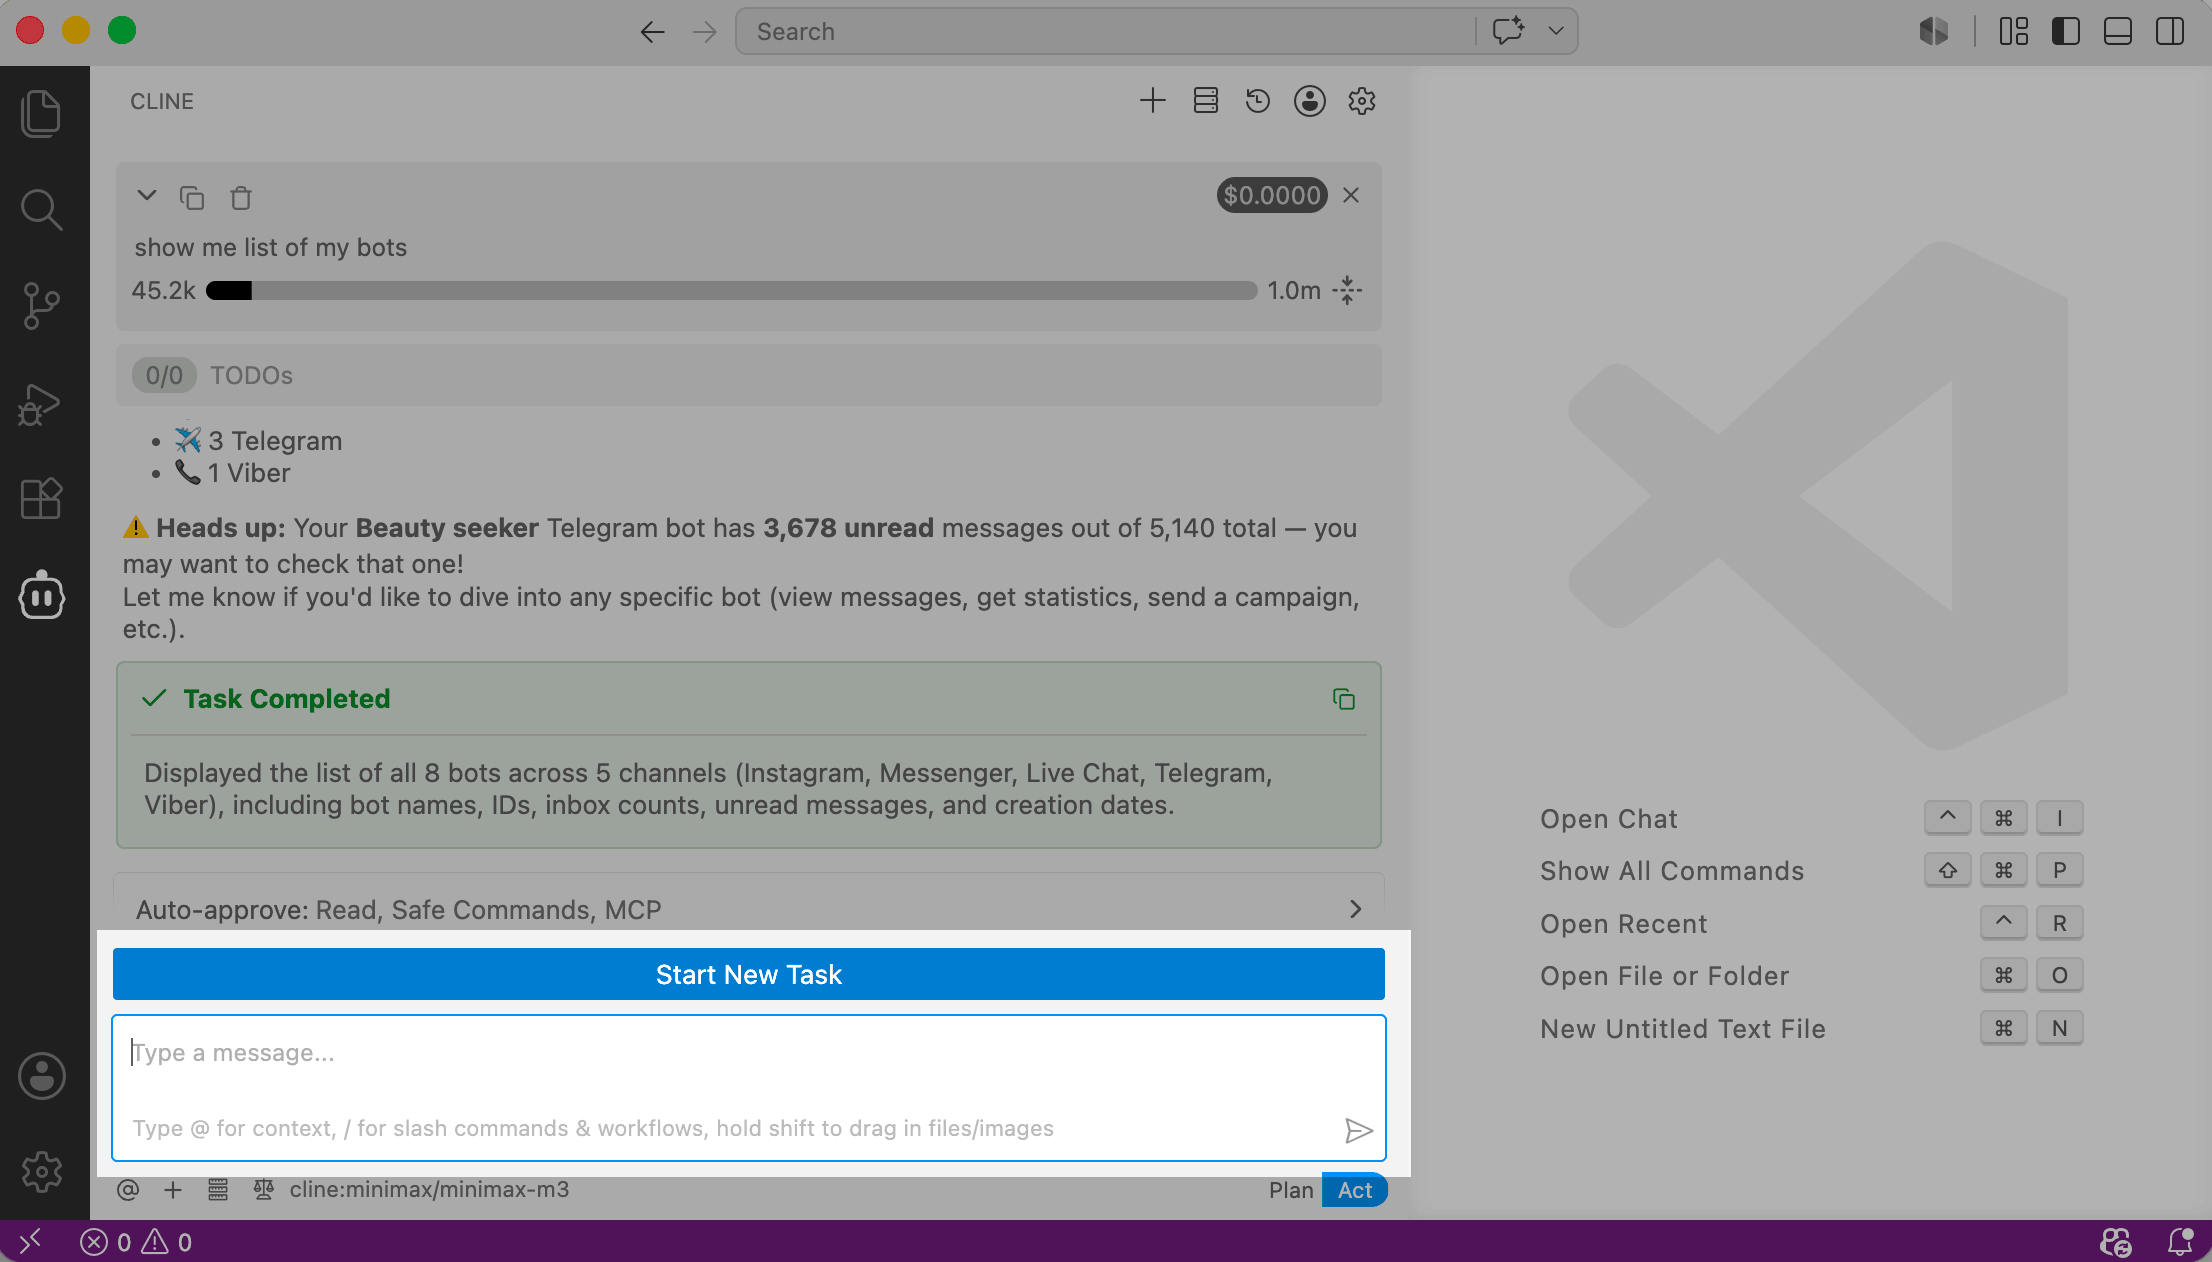
To continue, type in a new message. To start a new task and remove context, click Start new task.
Last Updated: 10.06.2026
or