Сonnect SendPulse's MCP server to Cursor
Cursor is an AI-powered code editor that supports MCP integrations. Once you connect SendPulse's MCP server to it, you will be able to manage your SendPulse account directly in Cursor's AI assistant using natural-language requests.
Let's talk about how to connect SendPulse's MCP server to Cursor.
To learn more about SendPulse's MCP server and how it works, see MCP basics.
Add SendPulse’s MCP server
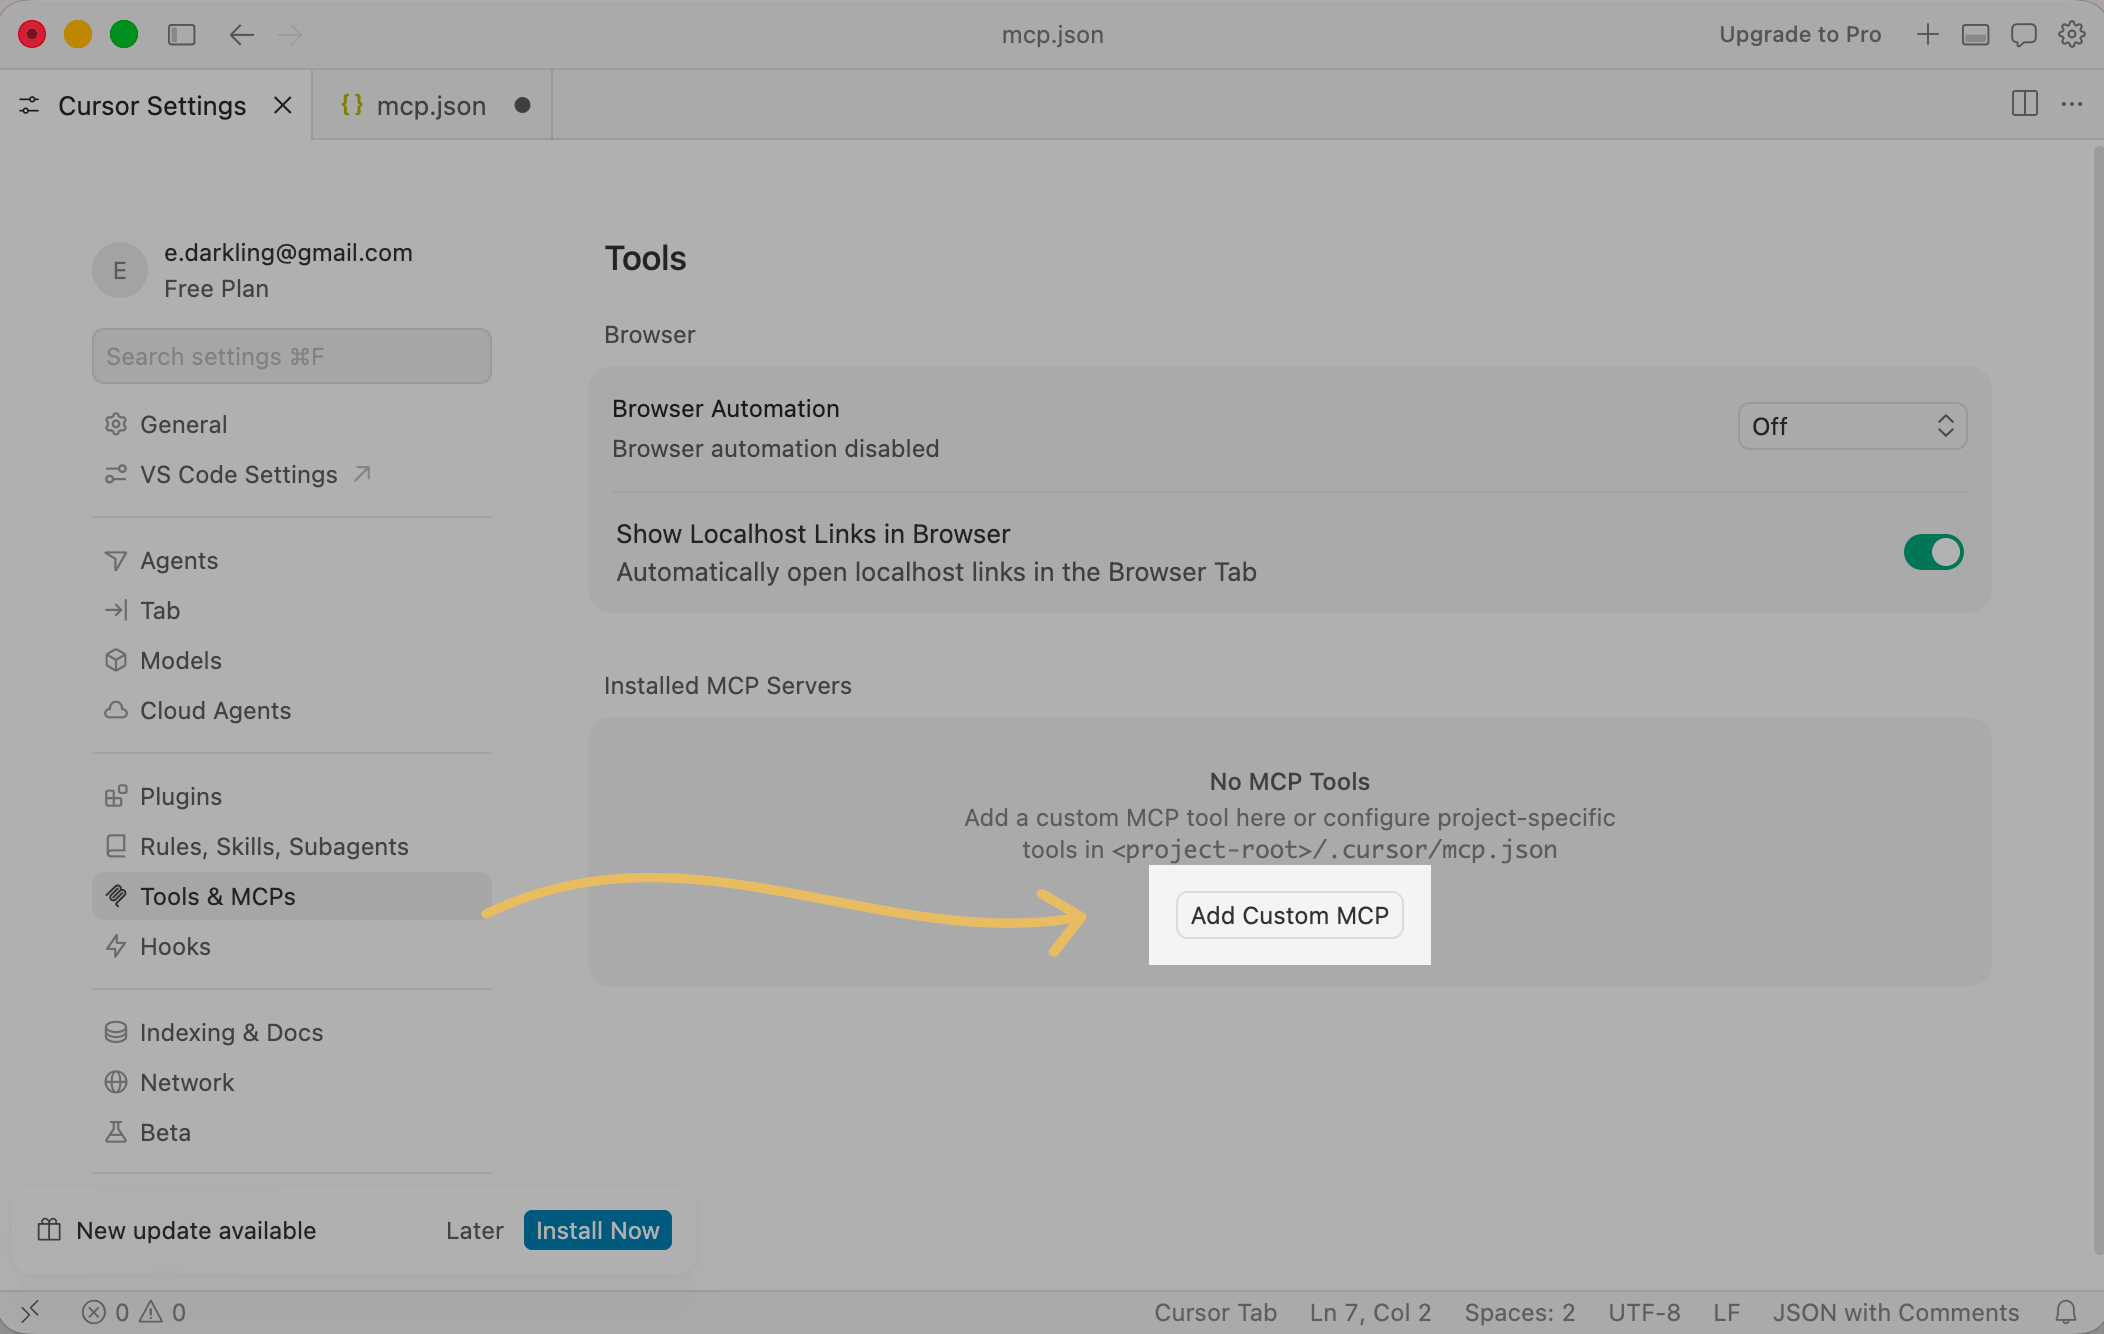
In the Cursor app, click the settings icon in the upper right corner to go to your settings. Go to Tools & MCPs and click Add Custom MCP.
In the new tab that appears, paste the code below:
{
  "mcpServers": {
    "sp": {
      "url": "https://mcp.sendpulse.com/mcp"
    }
  }
}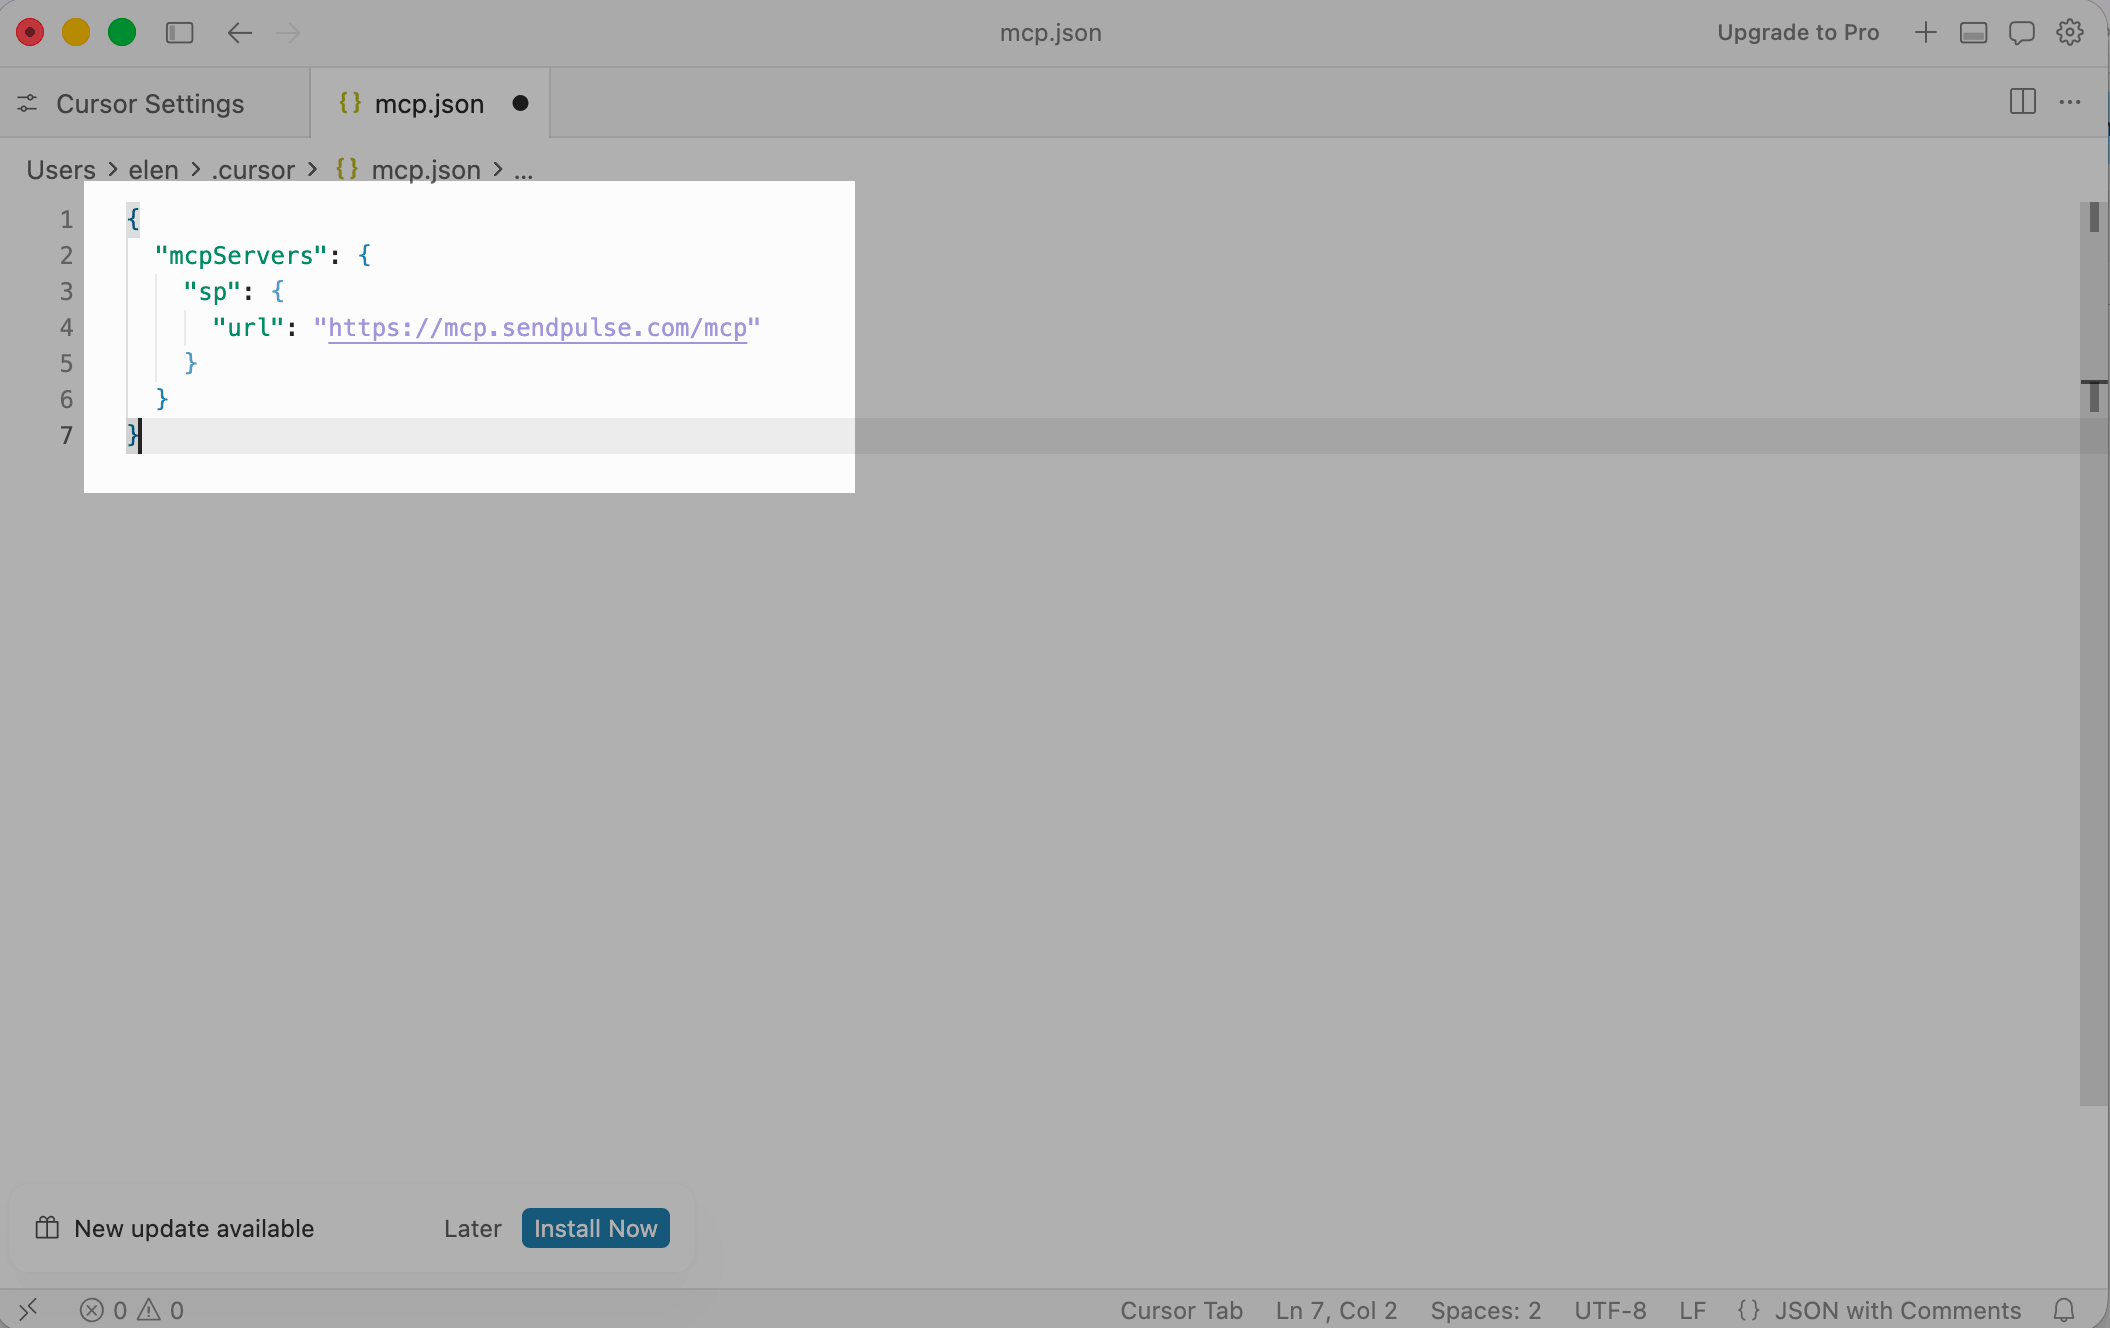
To save the changes, close the file and select Save.
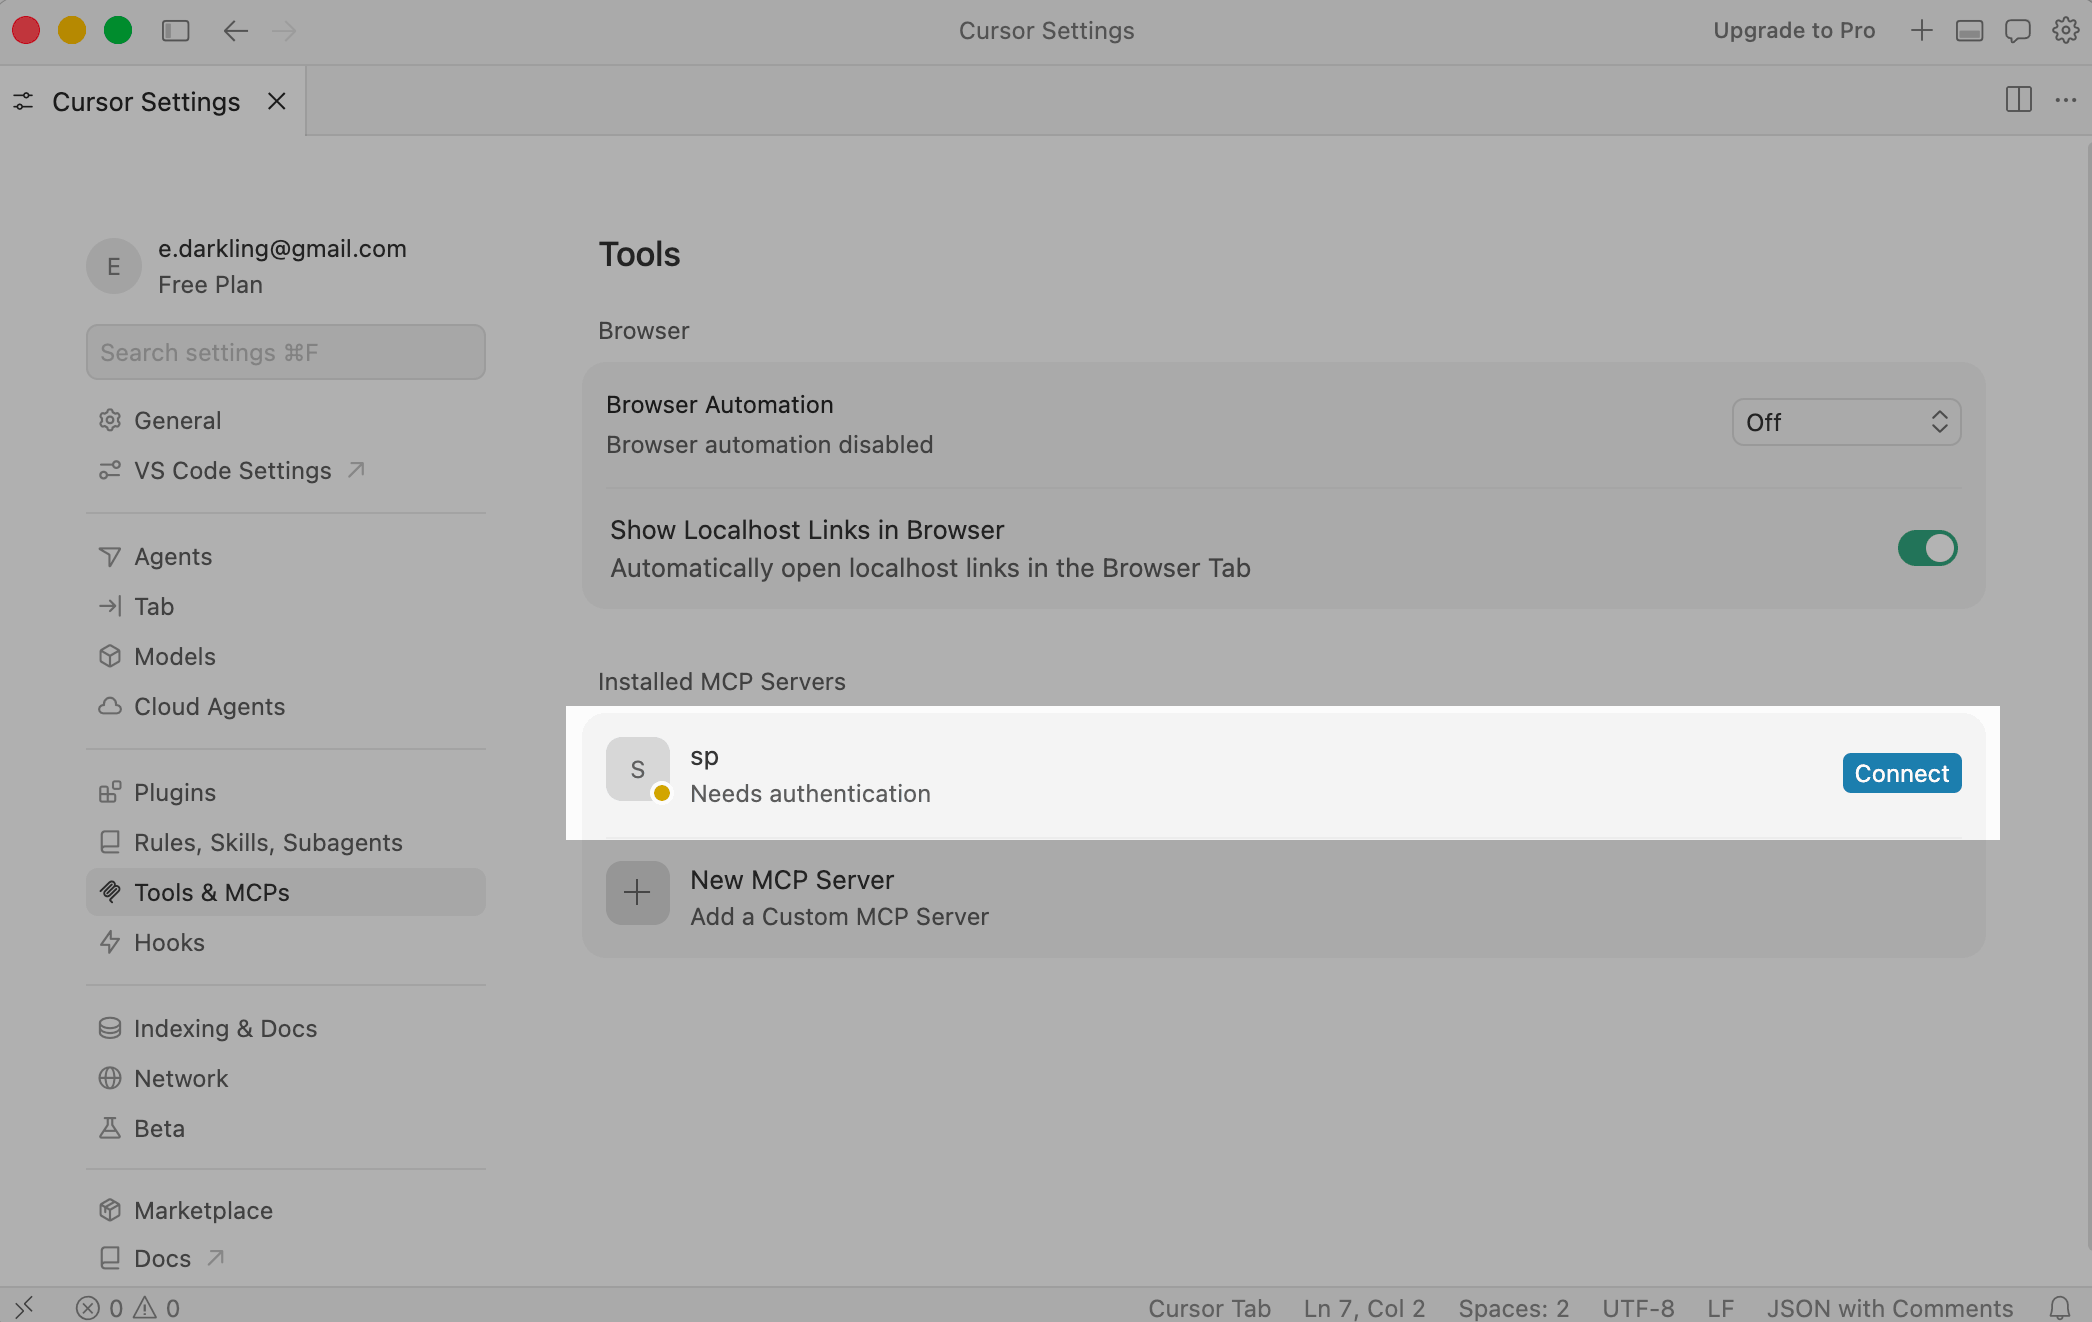
Once you save the changes, you will be redirected to the MCP settings. Next to the sp server, click Connect.
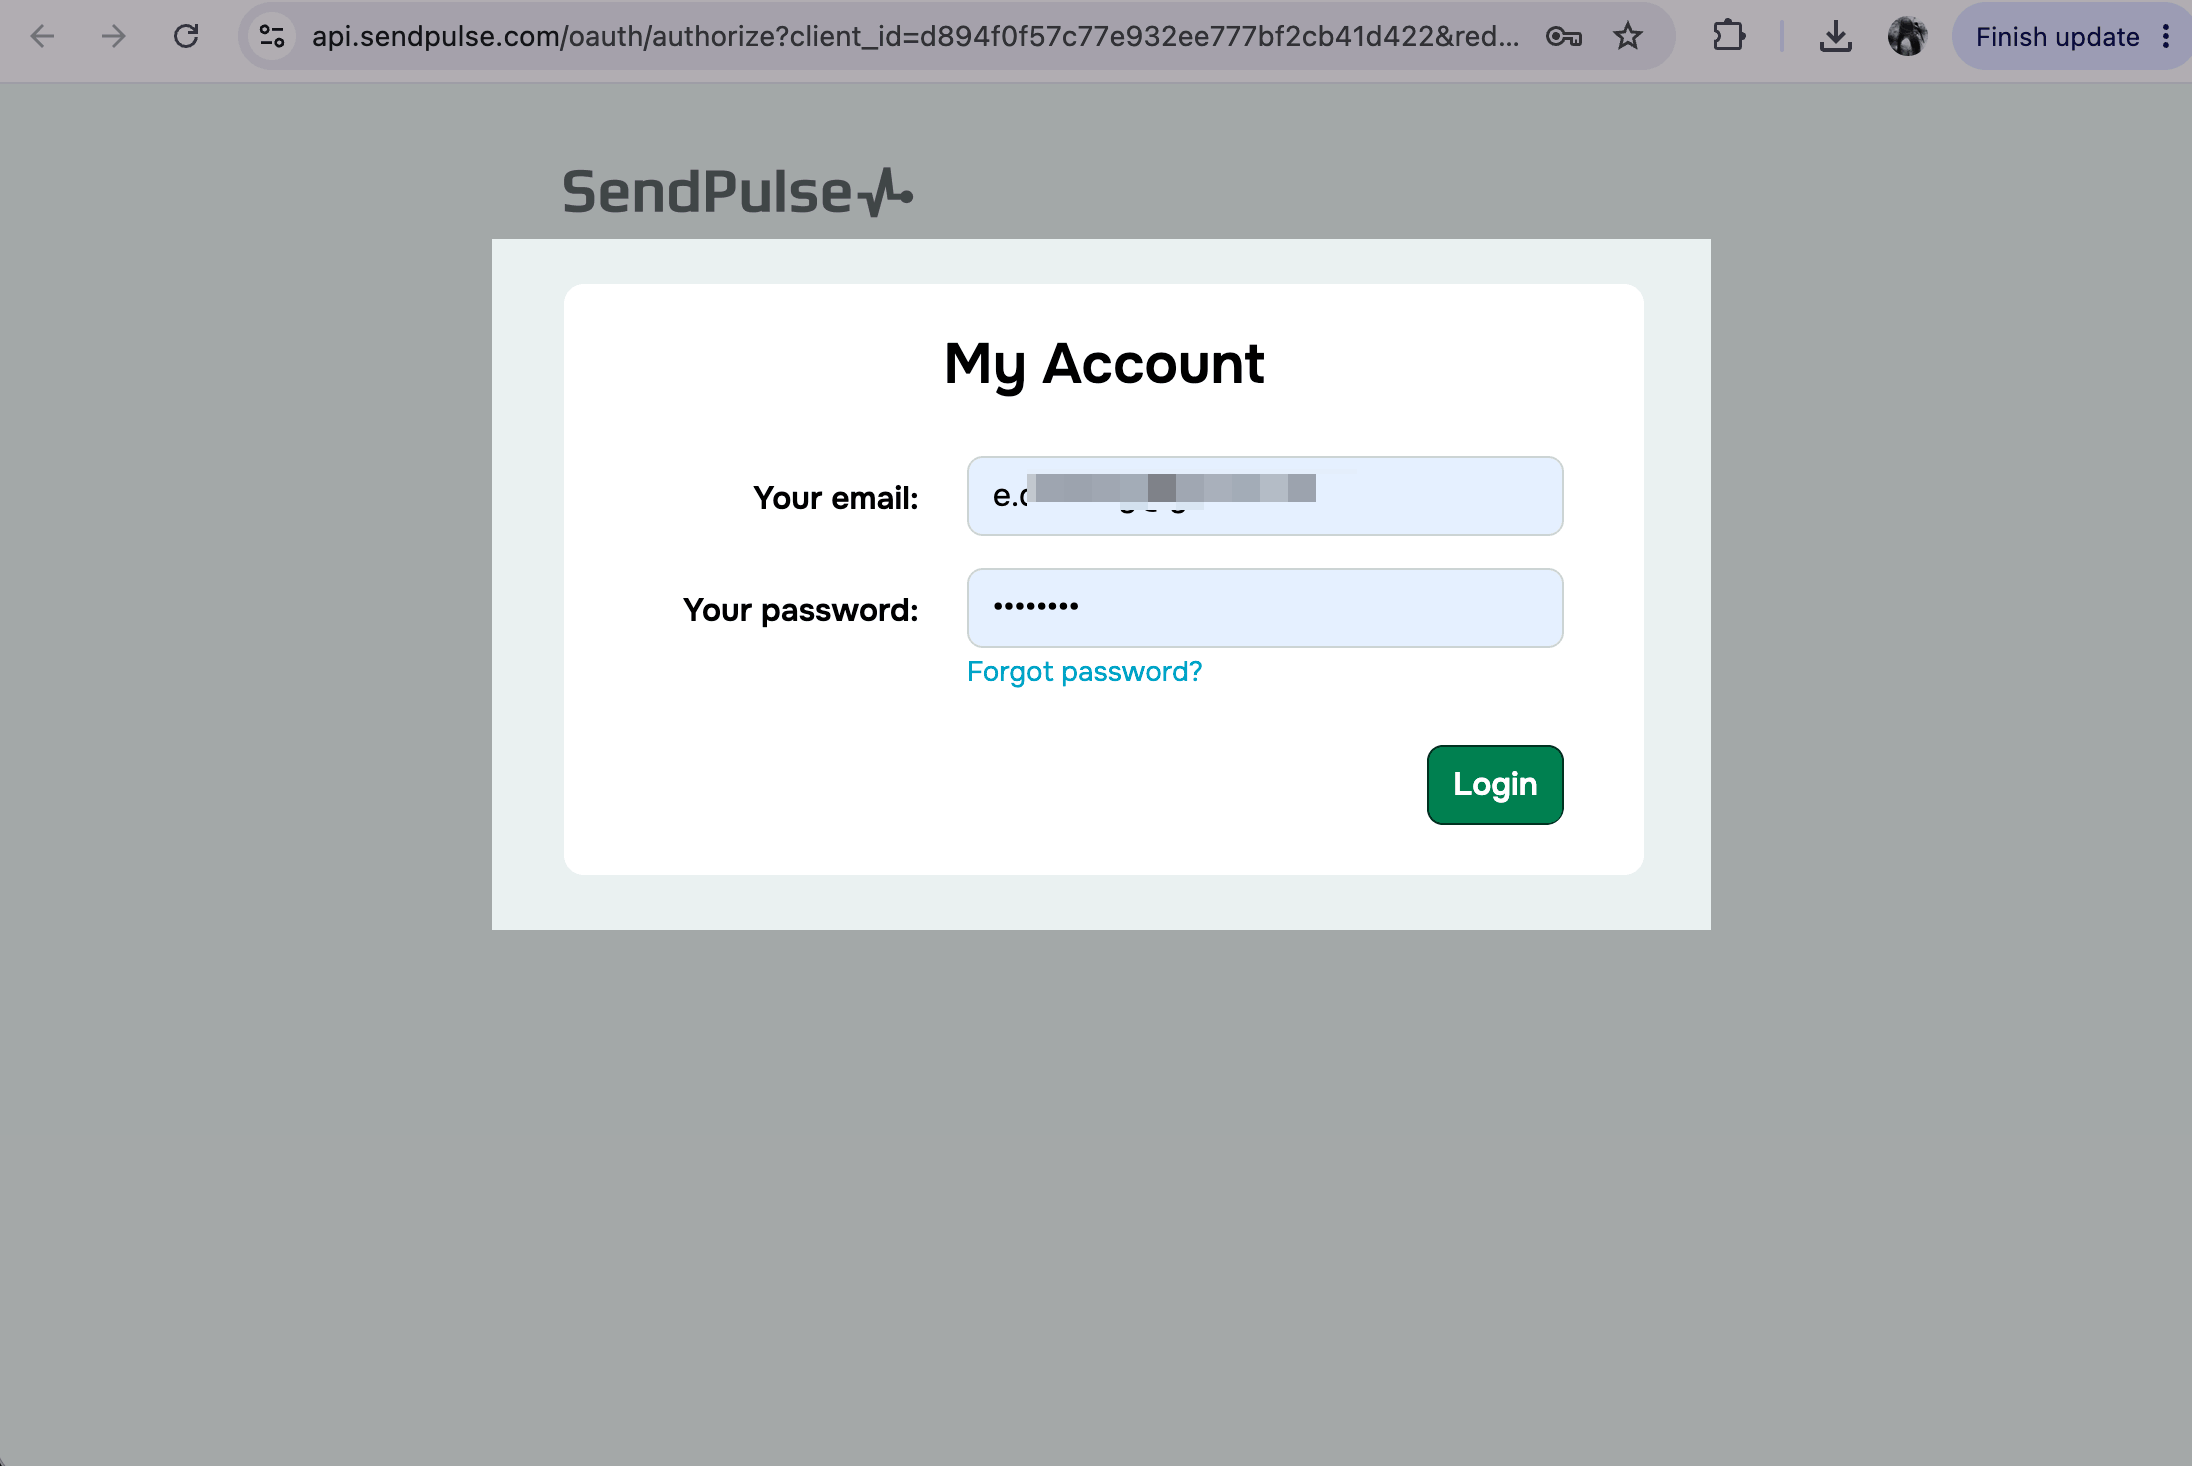
The SendPulse authentication page will be opened in your browser. Enter your login credentials and click Login.
Run actions through MCP
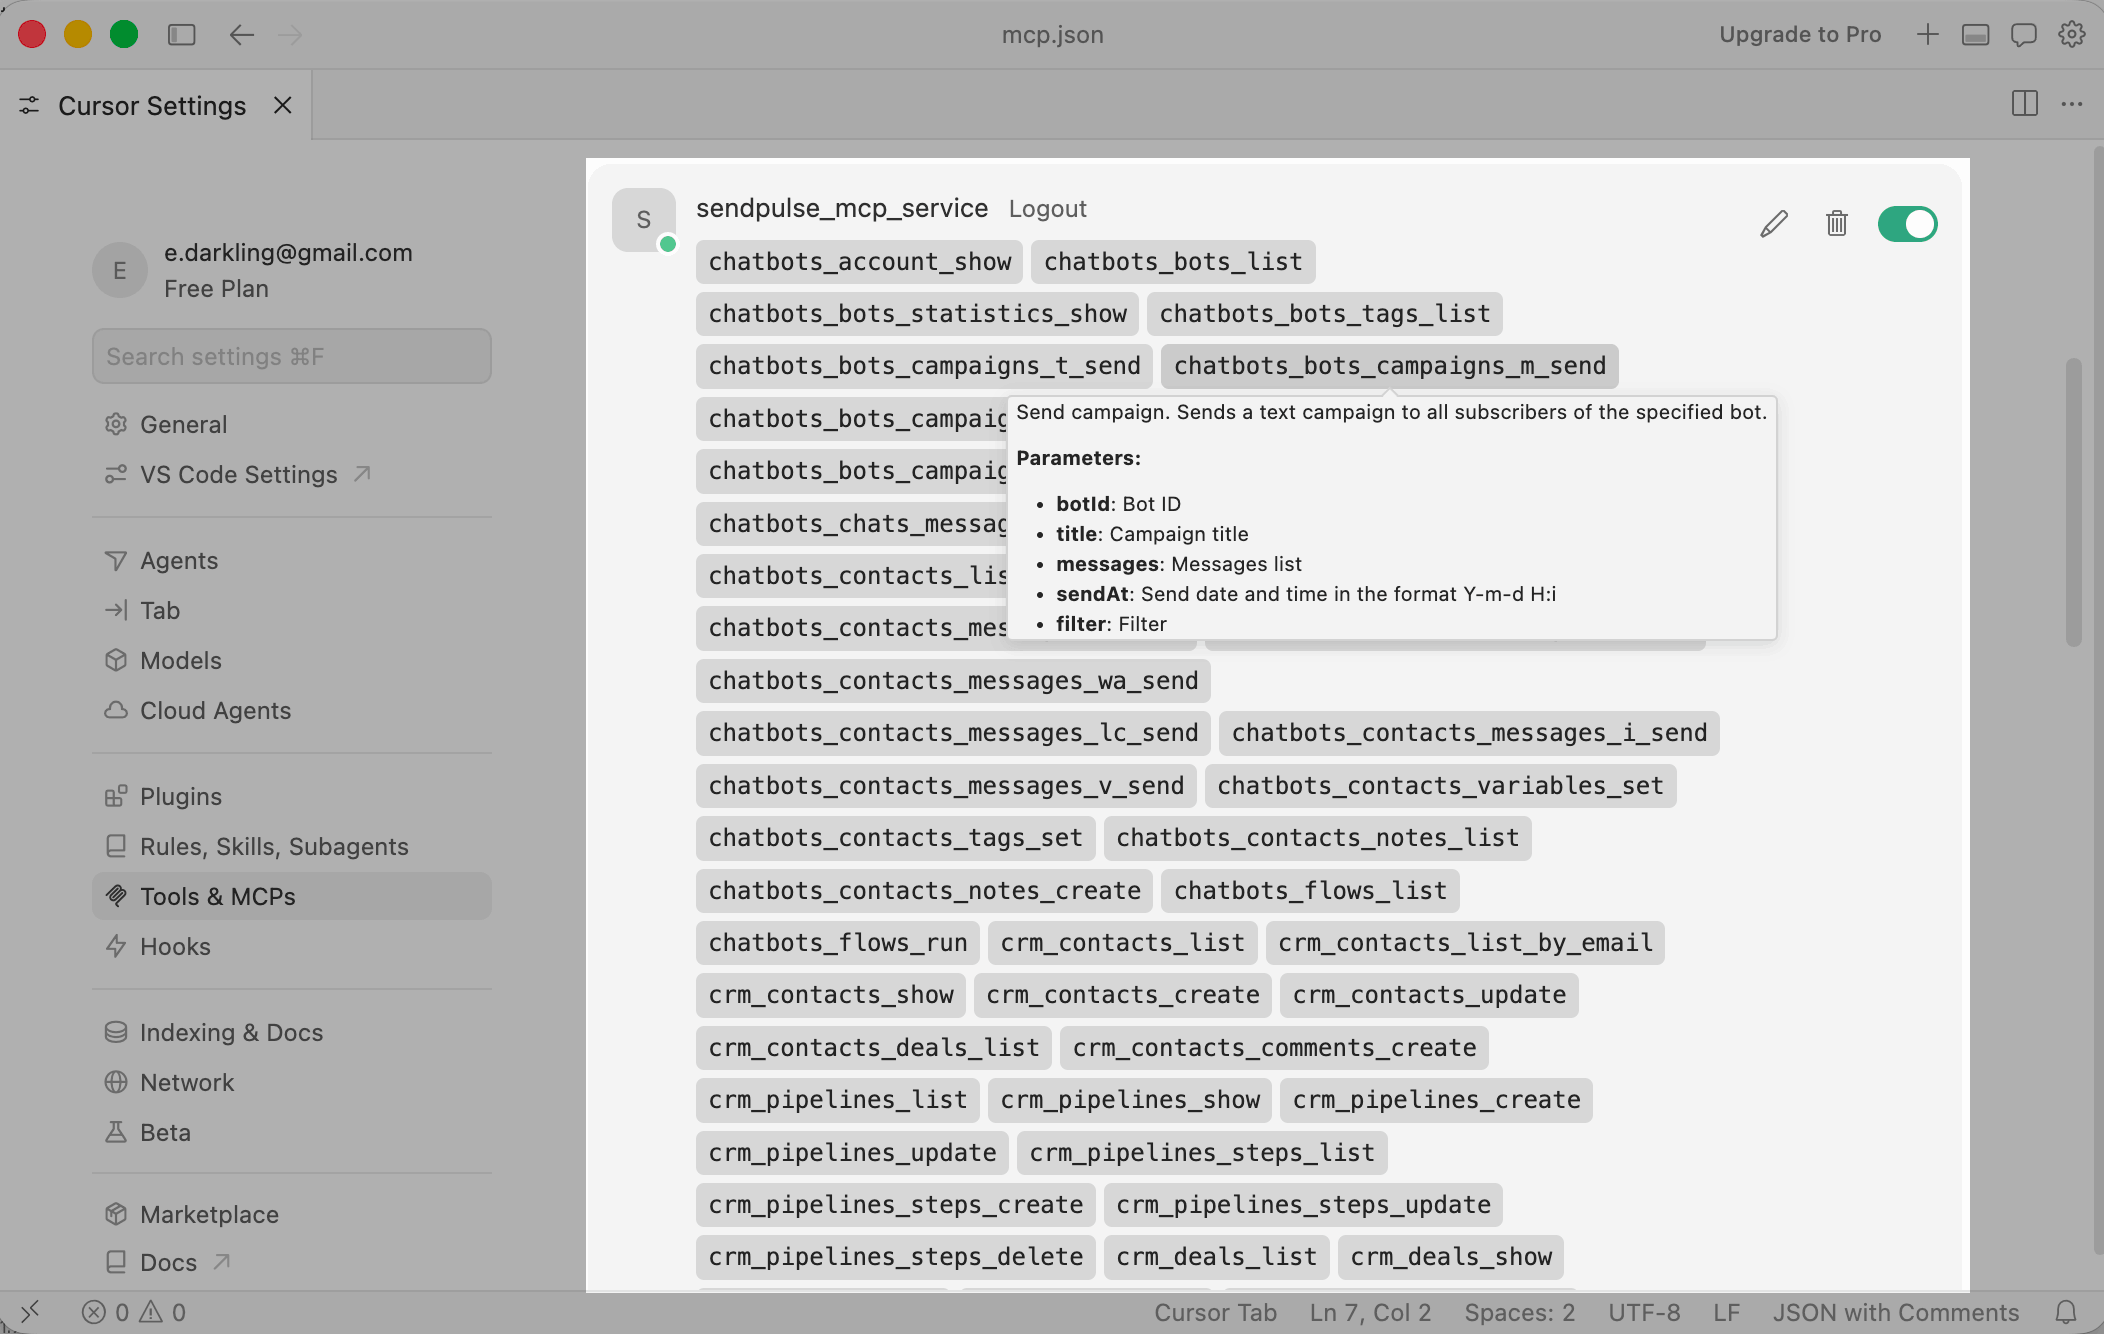
Once you’ve connected the MCP server, you can send messages and take other actions in your SendPulse account using tools.
To see available tools, check the list below. To view a tool's description and required parameters, hover over its name.
Read more: List of MCP tools.
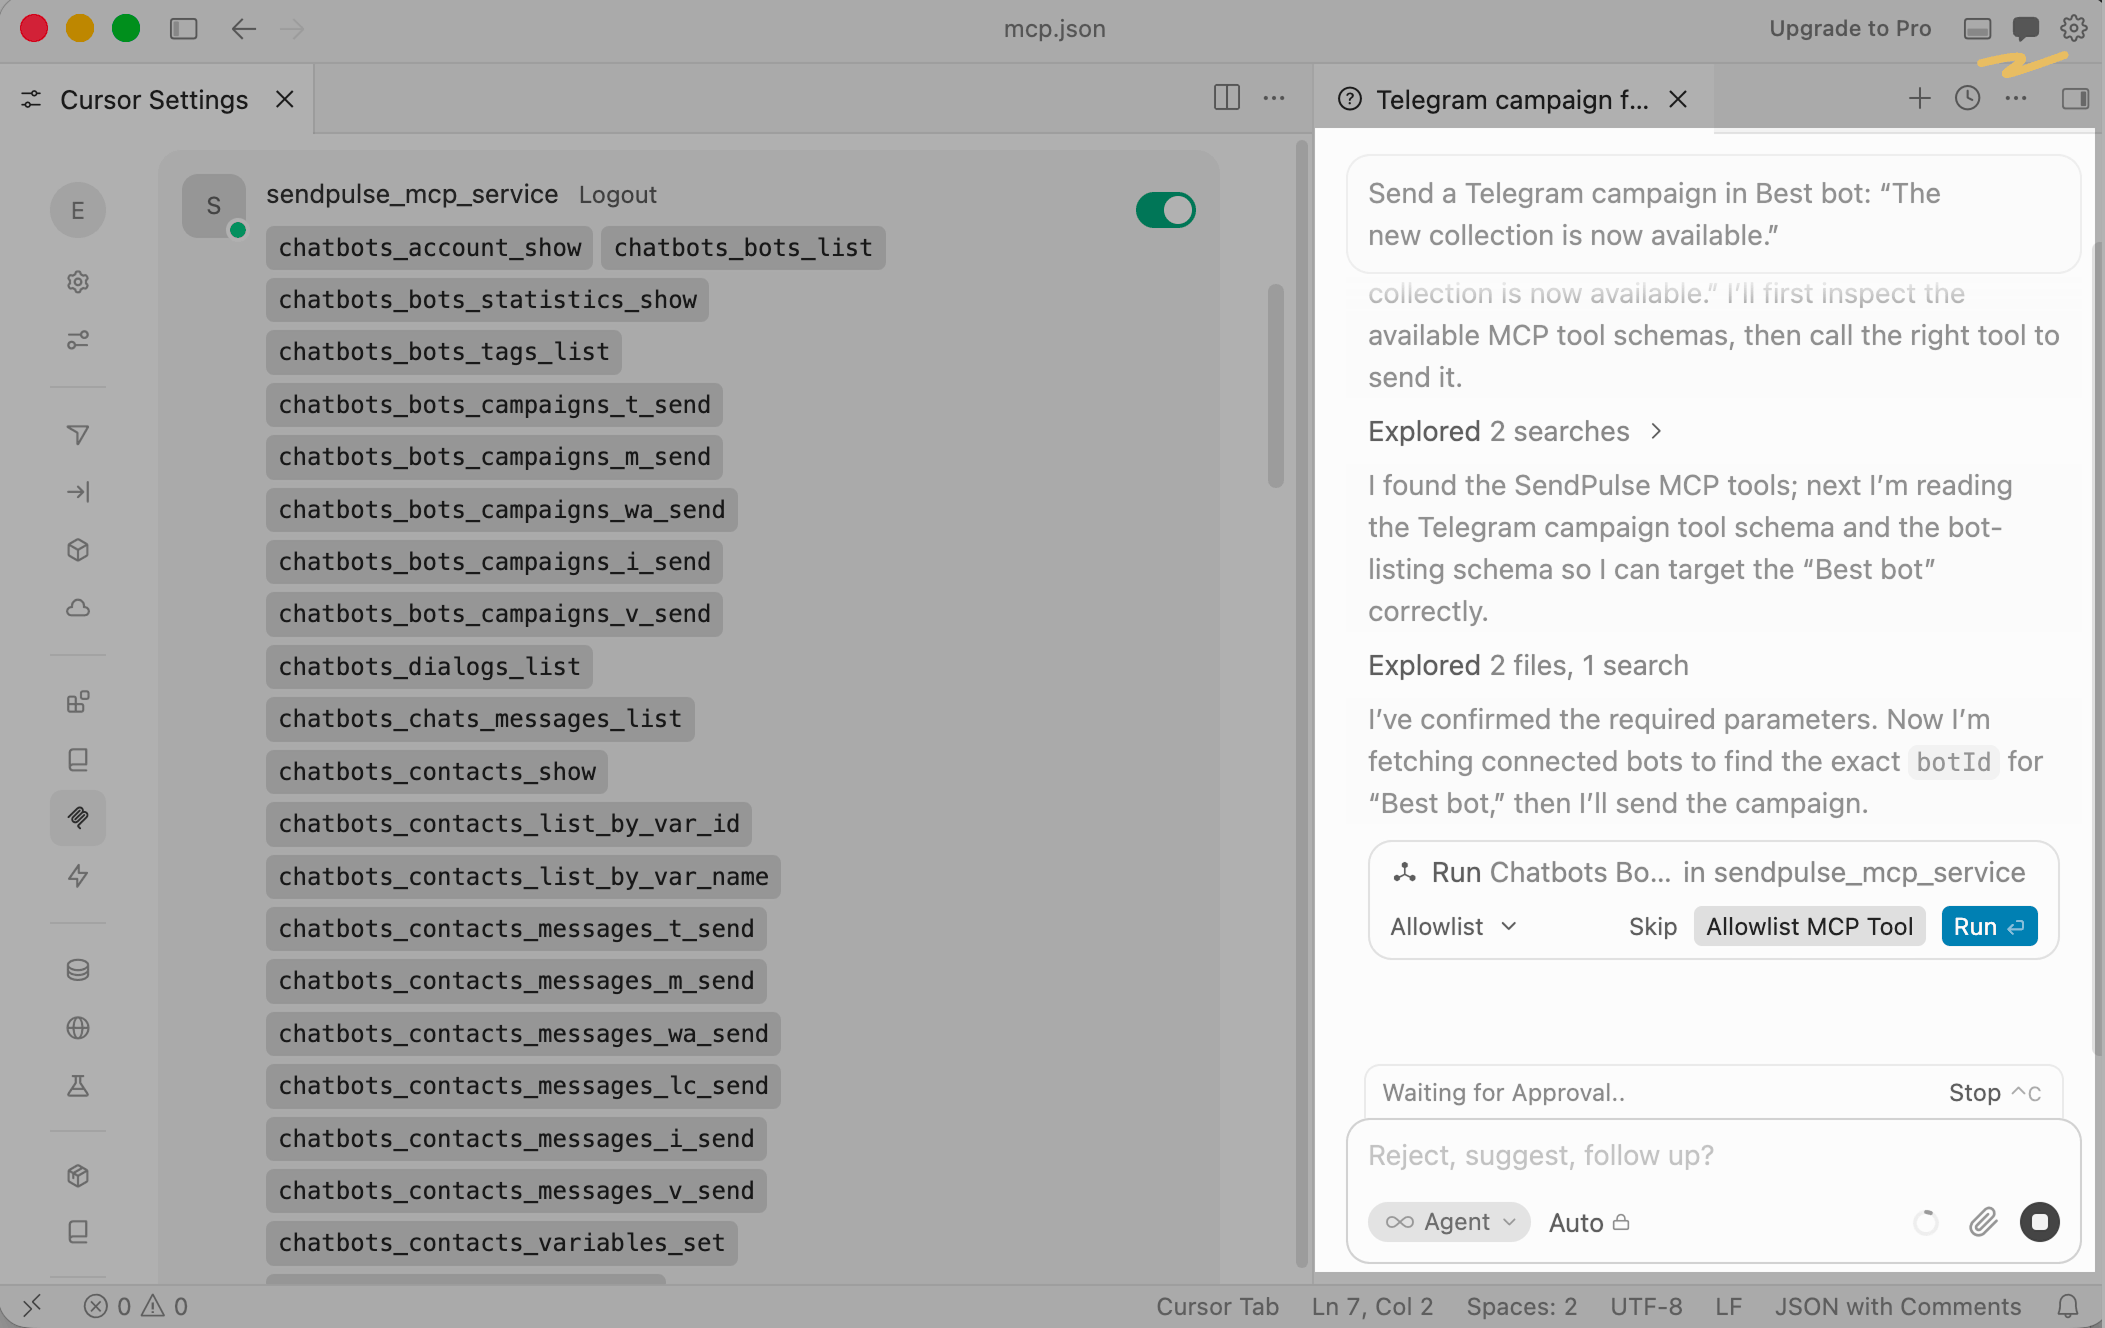
To get started, click Toggle Agents in the upper corner. In the new tab, enter your request using natural language. The AI assistant will then name the tool it plans to run. If the selected tool is appropriate, click Run to let it run the action in your account.
Read more: Chat with your AI assistant.
Last Updated: 10.06.2026
or