The Payment element in bio link page builder
With the SendPulse bio link page builder, you can add a payment button to your bio-link to implement one-click payments for your products.
After clicking on the button, users will be redirected to a payment page, where they enter their card data and pay for the goods. The money will be transferred to the account of your payment system.
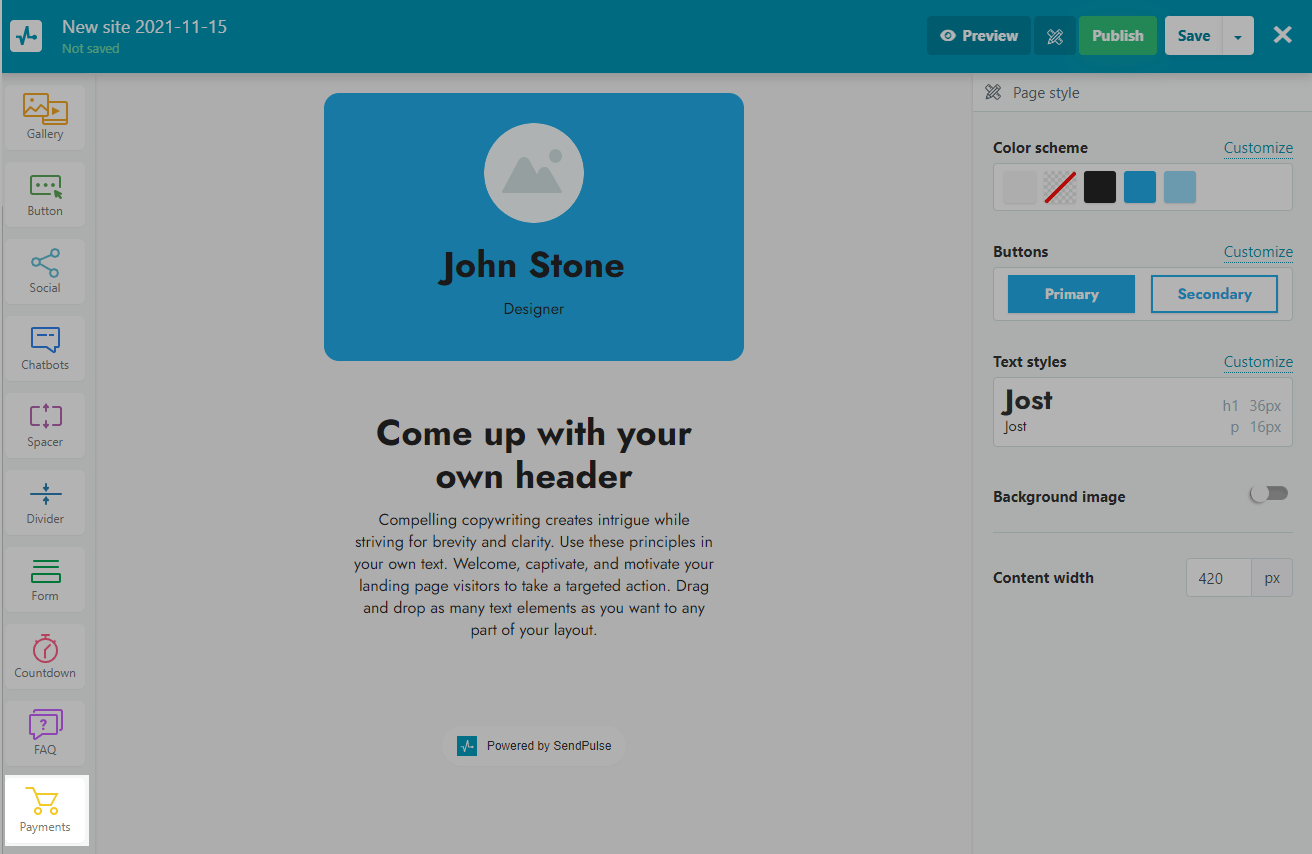
Drag and drop the Payments element from the left panel of the bio link page builder right near your product description element.
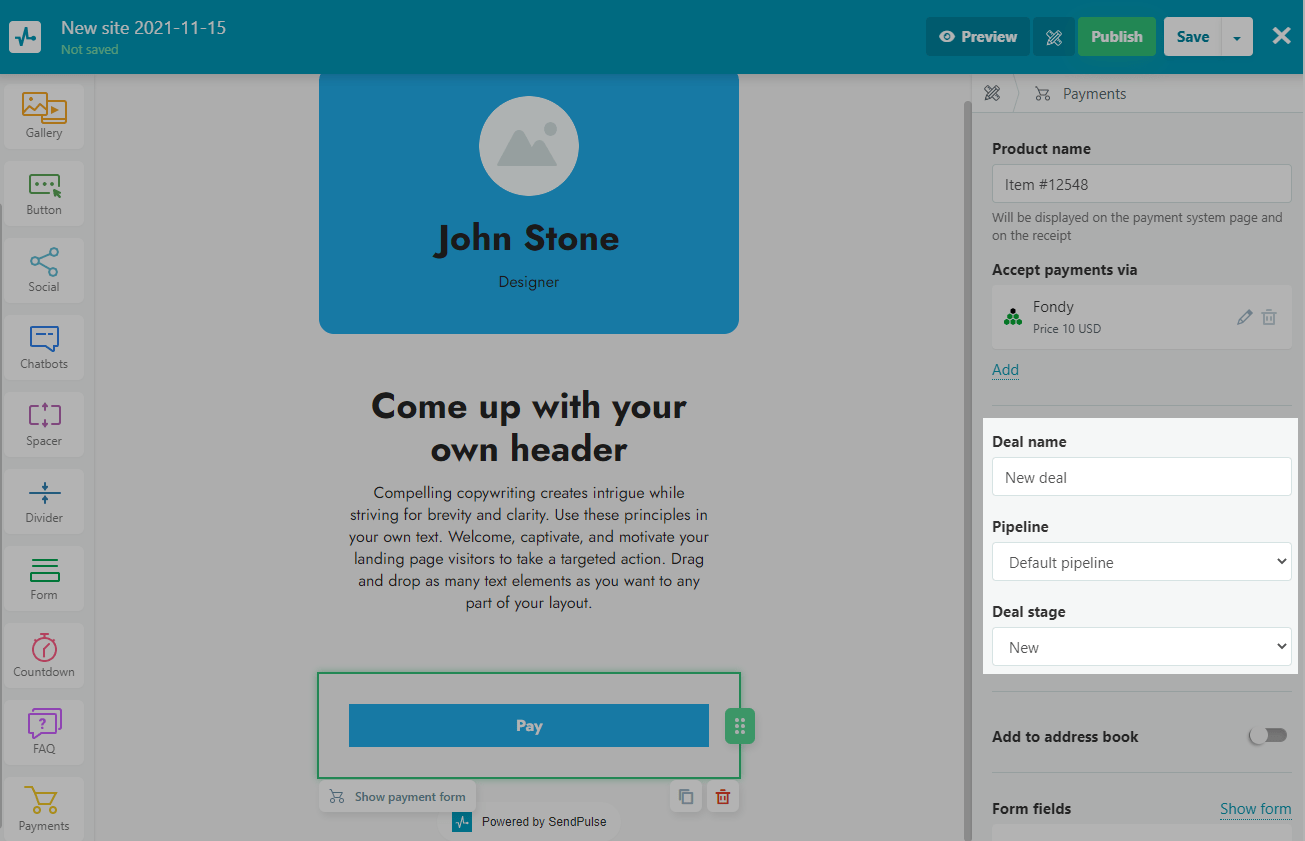
Enter product name
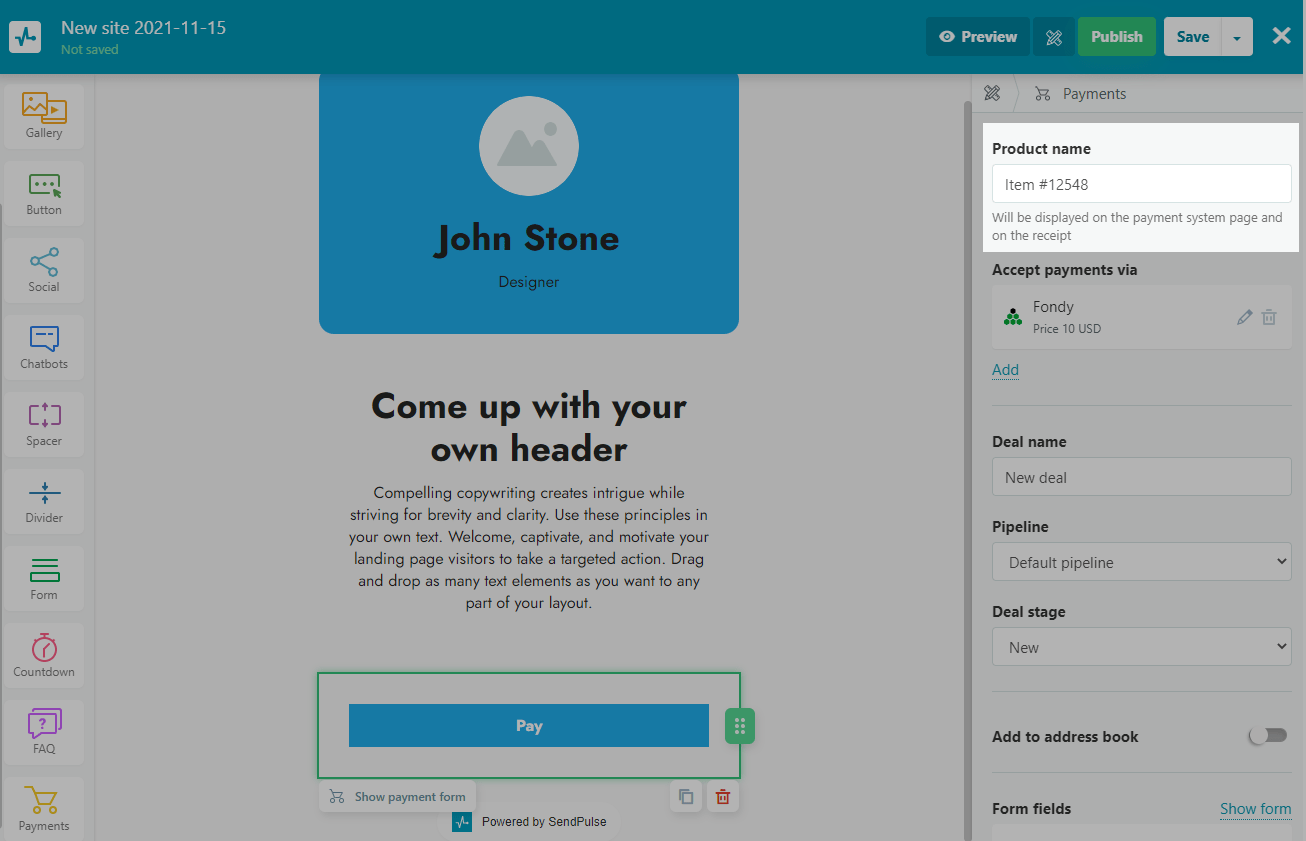
Enter the name of your product in the right panel. It will be displayed on the payment page of your payment system and the receipt.
Select your payment method
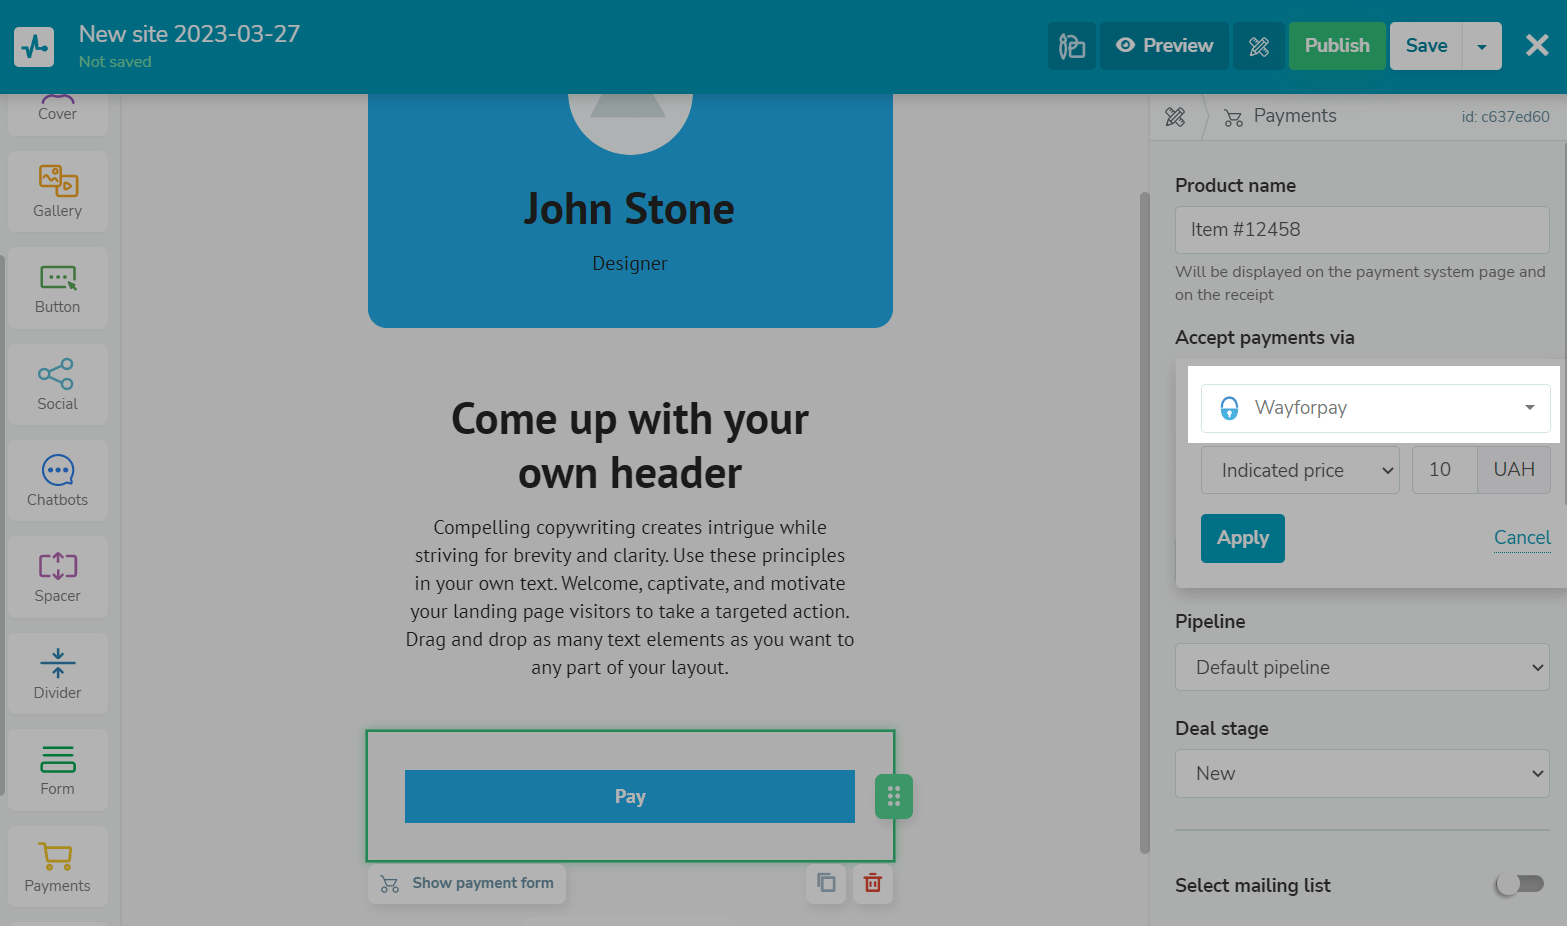
Select a payment system to receive payments.
Read more about how to connect different payment methods in the Accept Payments section.
Add a payment amount
Select a payment type (indicated price or minimal price) and amount.
To choose or change the currency you accept, go to Account settings > Accept payments, and next to your payment method, go to merchant settings, and choose a currency.
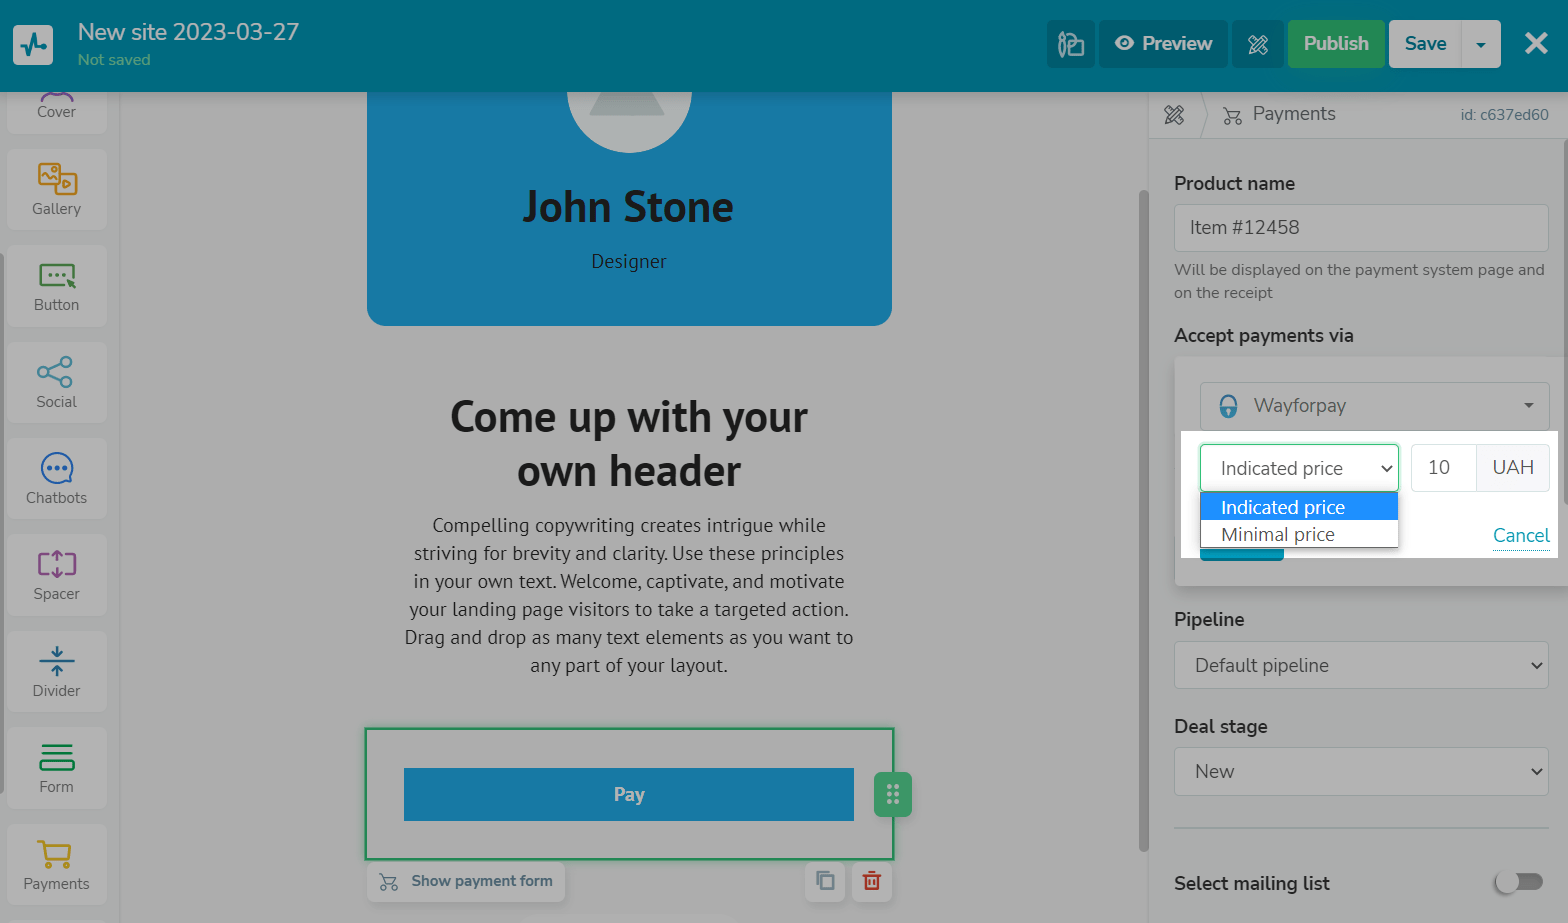
A fixed-price payment will be considered successful if a user paid the full specified amount. A minimal-price payment will be considered successful if a user paid any amount that is equal to or higher than the minimum payment amount.
You can use the Minimal price payment type for fundraising and donations.
Set up integrations with other services
Add deals to your CRM
You can also enter the name of your deal, select the pipeline where your automatically created deals will be saved, and select the status of your deal based on its payment status. By default, your deal will be added to the first stage of your first pipeline.
You can also transfer UTM tags to your CRM contact cards if a visitor clicks a UTM link and makes a payment on your website.
Read more: How to transfer UTM tags from website subscription and payment forms to CRM.
Also, you can create campaigns based on payment status. To do this, in CRM, allow to create deals after payments, and in A360, select the Create deal start trigger and the Payments deal source.
Read more: How to send a message triggered by a CRM event.
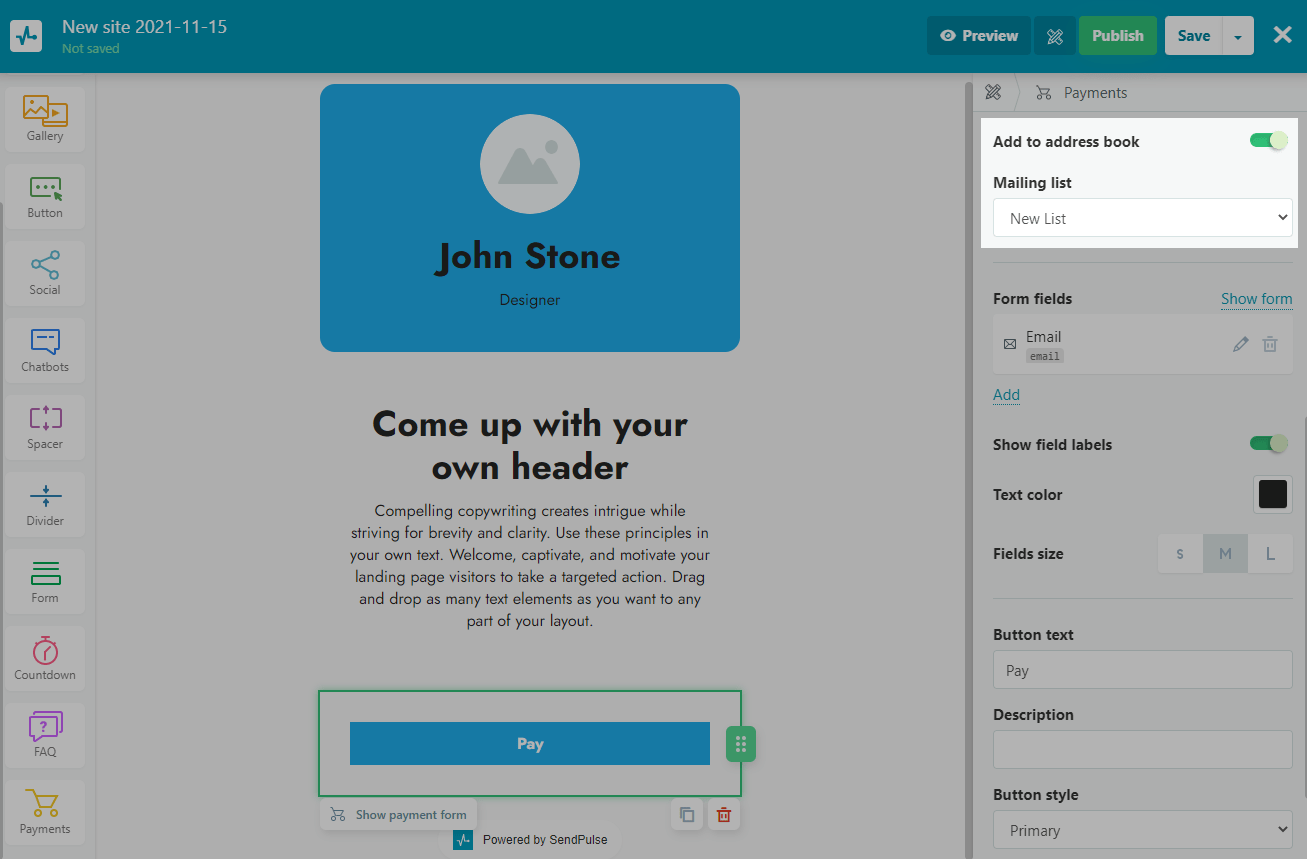
Add contacts to Email service
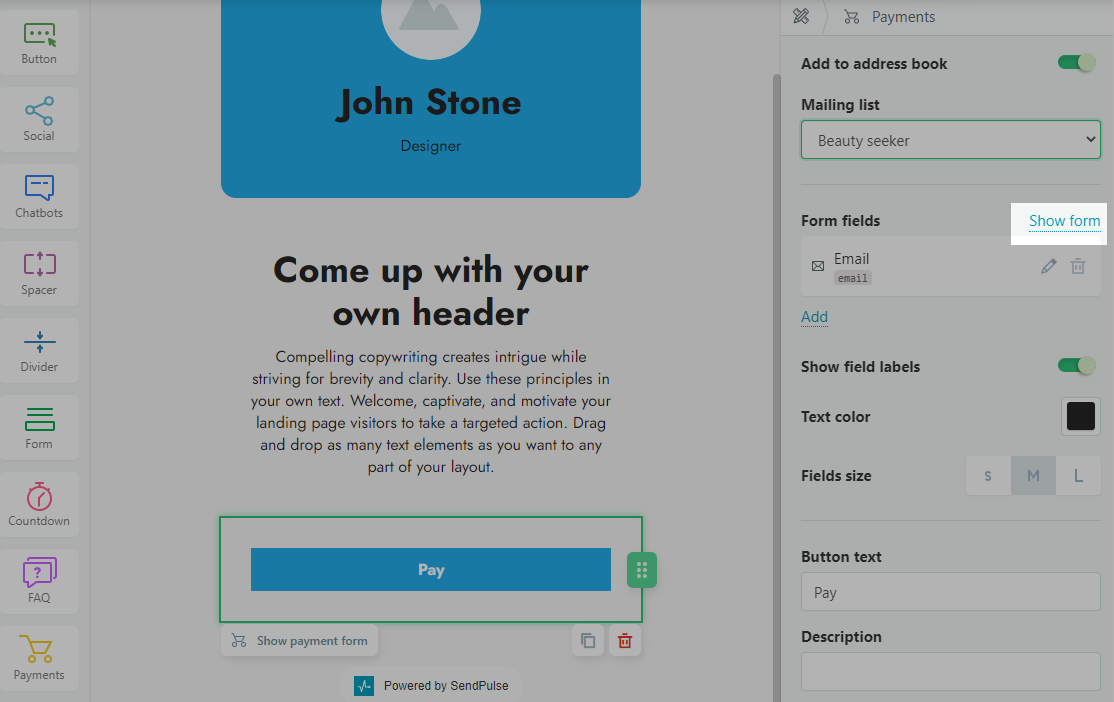
You can add contacts who have filled out the paid form to your mailing list and send them payment notifications and other messages using Automation360. To do this, turn on the Add to a mailing list toggle, and select a mailing list.
Read more: How to create an automation that starts when a subscriber is added to a mailing list.
Your mailing list includes contact data of users who have completed a payment successfully. Users who shared their personal data but did not make a payment will not be added to your mailing list.
Set up a payment form
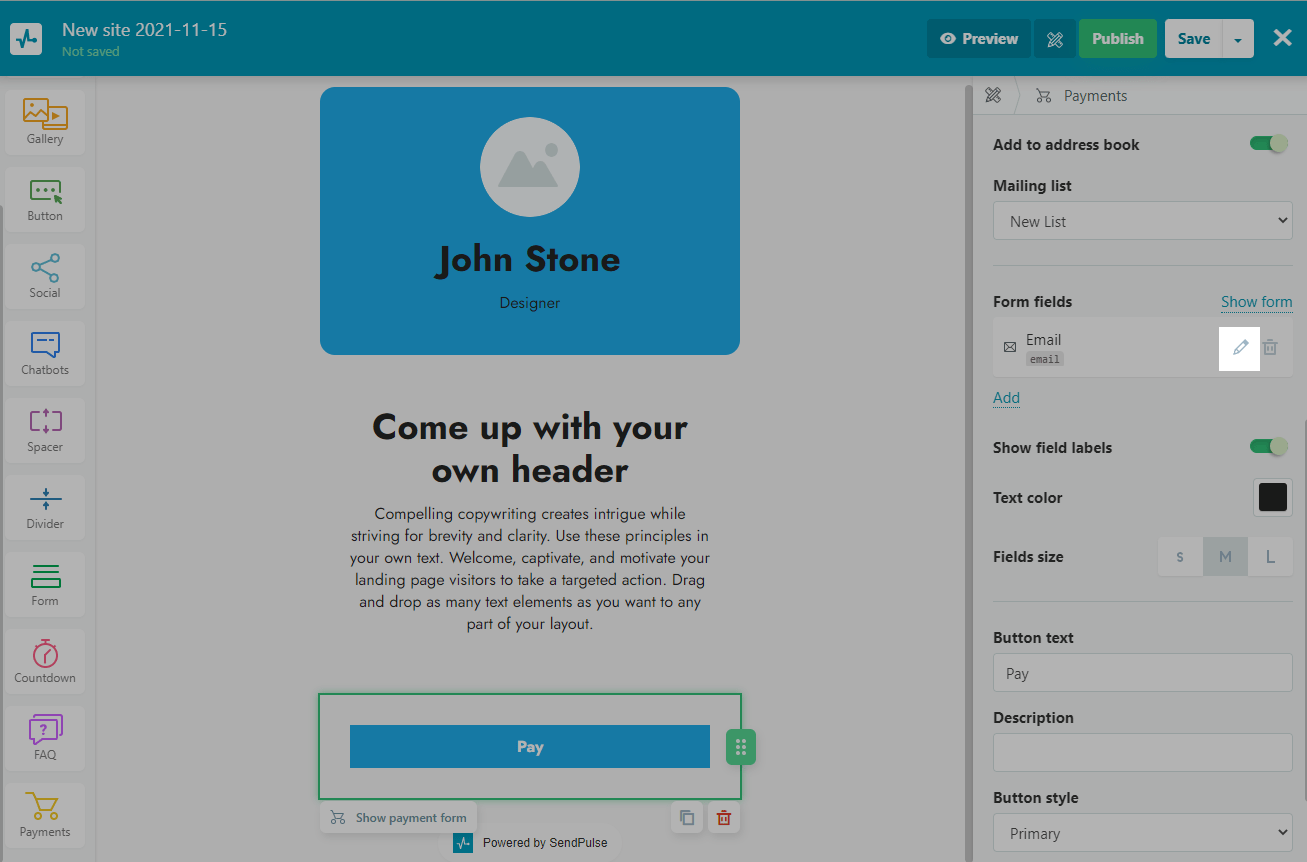
Customize your form fields
Add new form fields or customize your existing ones by clicking on the pencil icon.
Note that the Email field is a required field – you can not delete it.
Select the field type and enter the name of the field.
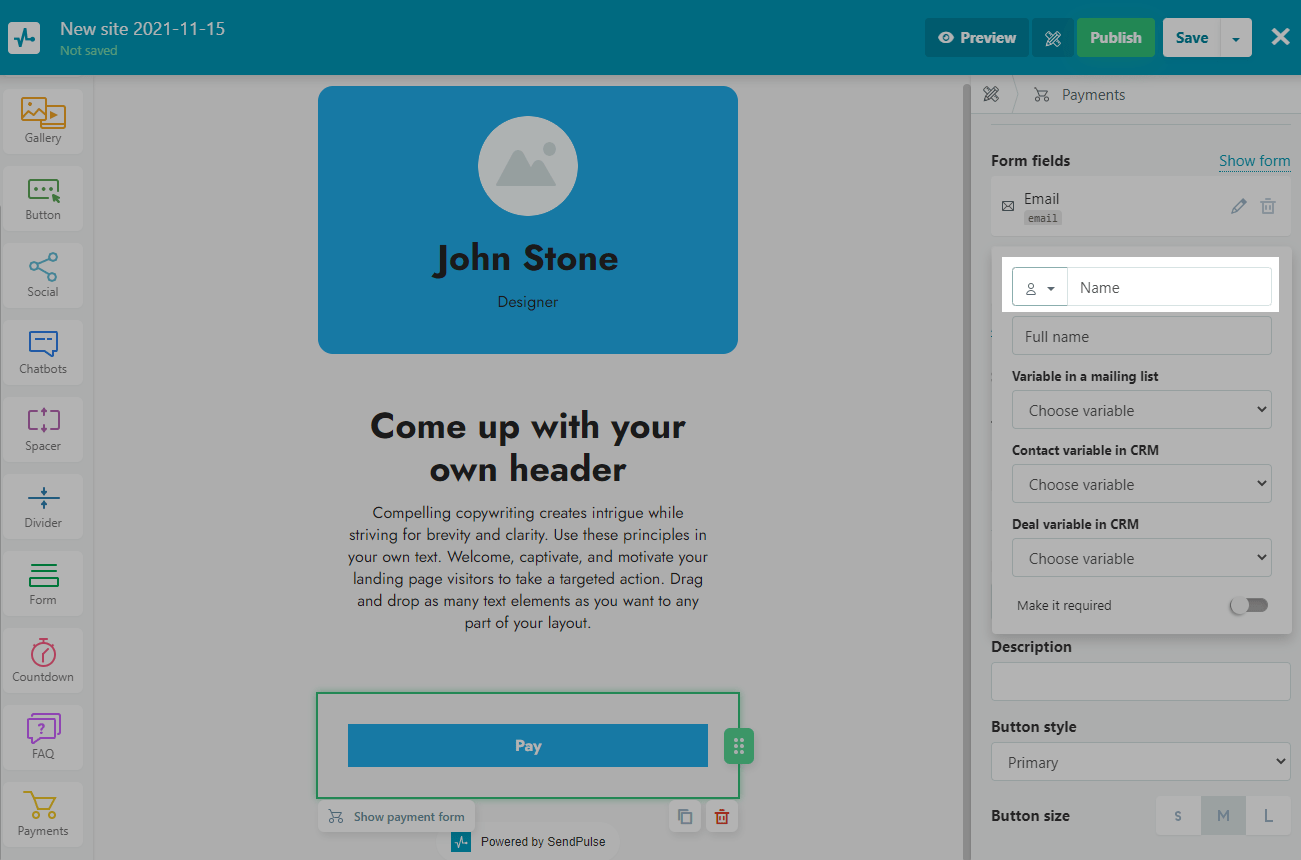
Enter a hint for the field in the placeholder.
Check if the field is required. If it is required, the user data will not be sent until they fill in all the required fields.

Save field values to variables
The data of those who have paid for your product will be transferred to the selected variables.
Select the variable in your email service you want to save the field value to.
Note that all field values are passed to a variable of the String type.
The values of the Email and Phone fields are saved in the standard system variables of email and phone.
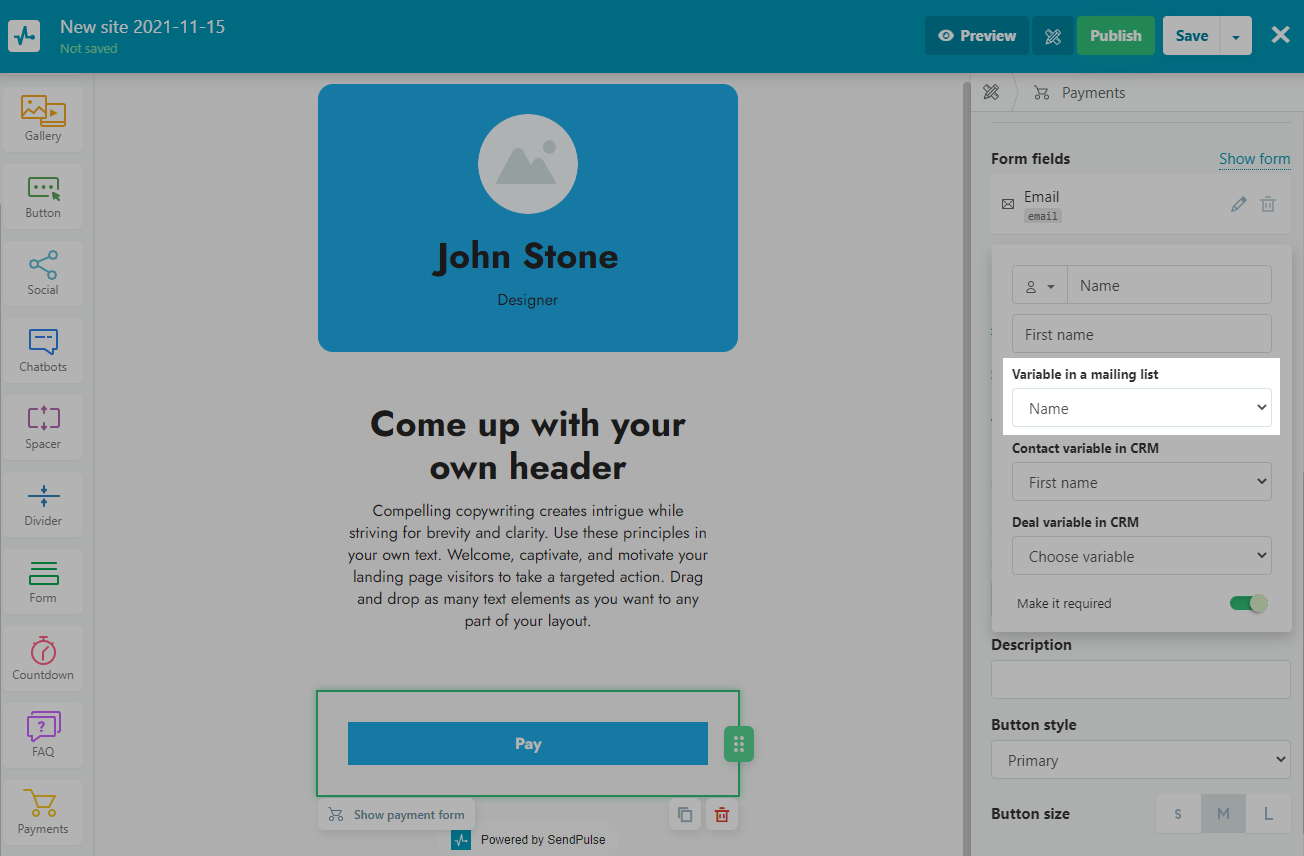
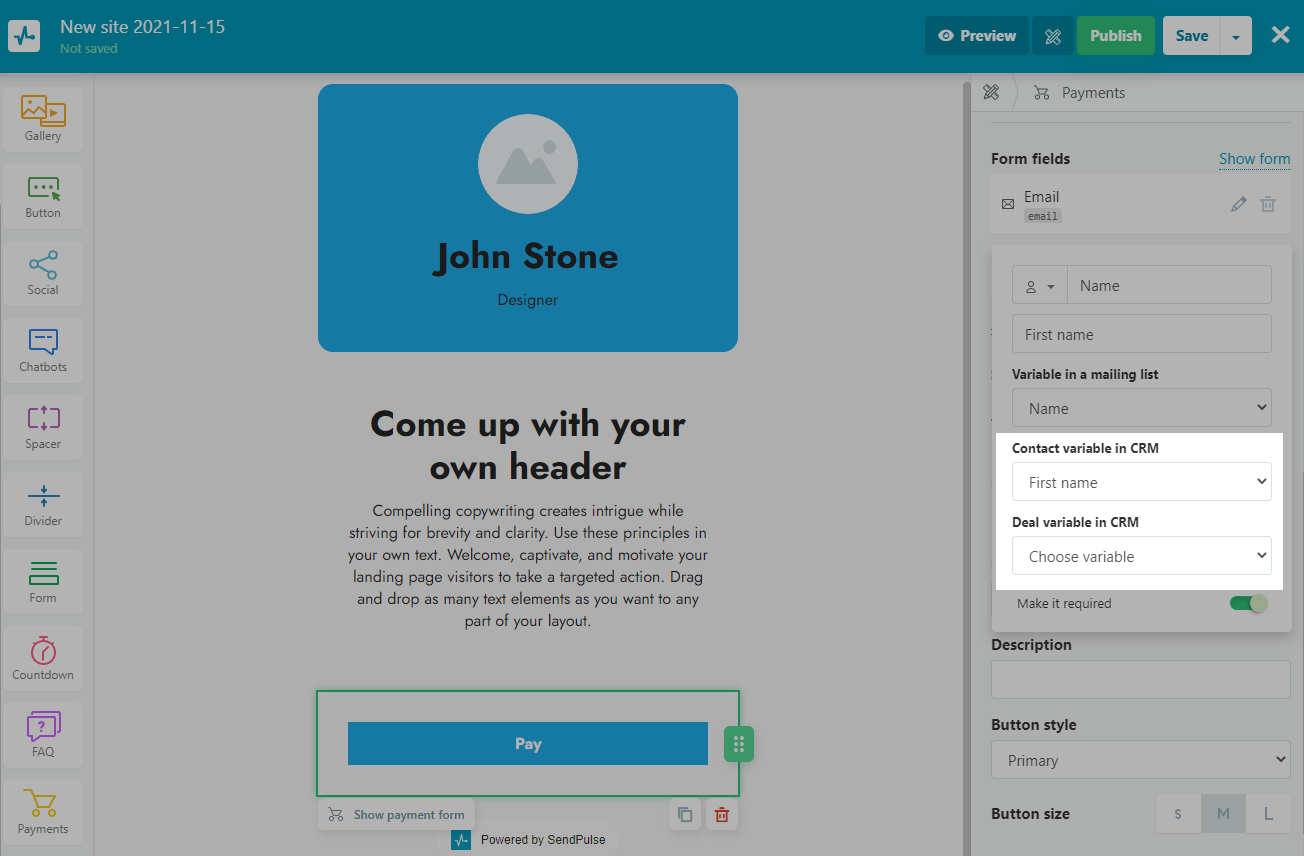
Select which contact and deal fields in the CRM you want to save the field value to.
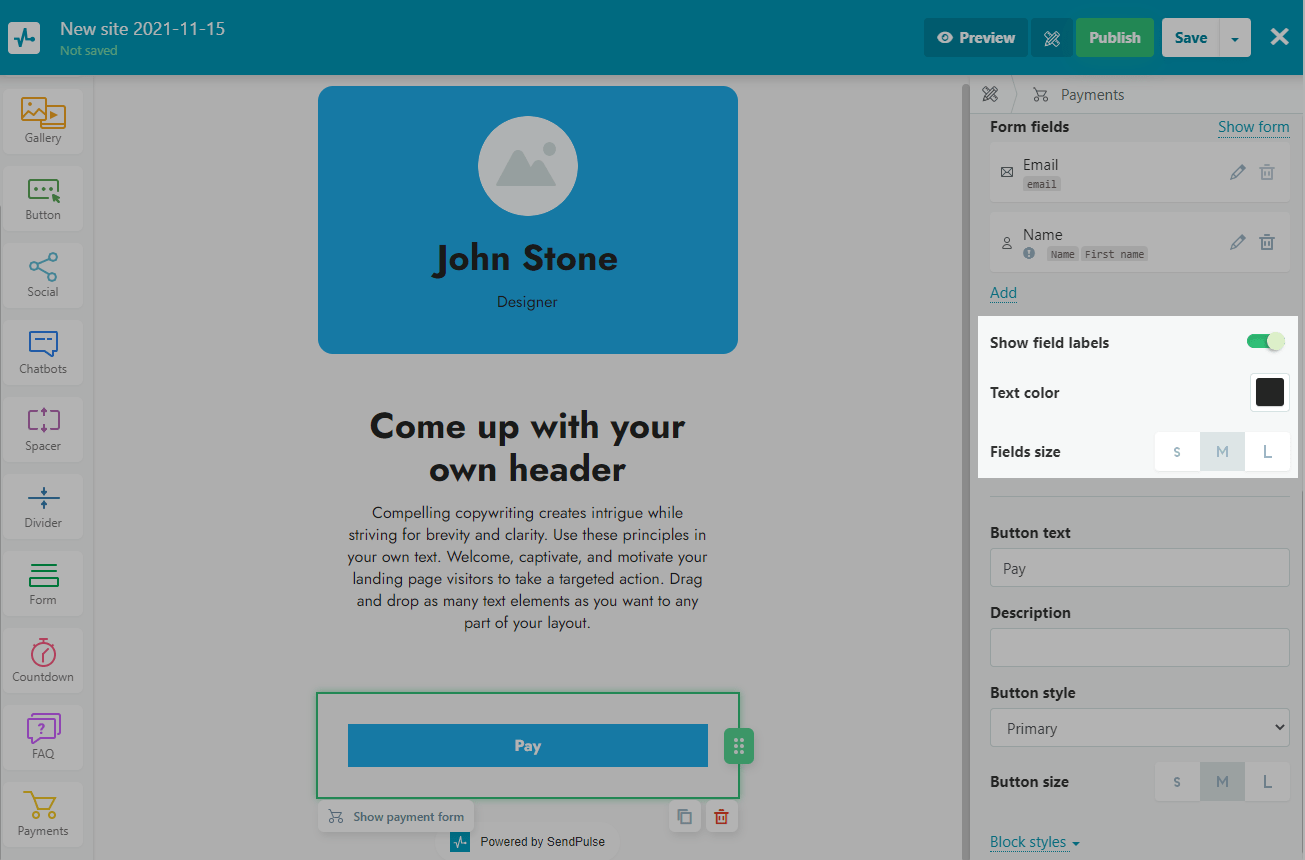
Customize the appearance of your form
You can customize the appearance of your form by altering its text color and field size. You can also hide your field names.
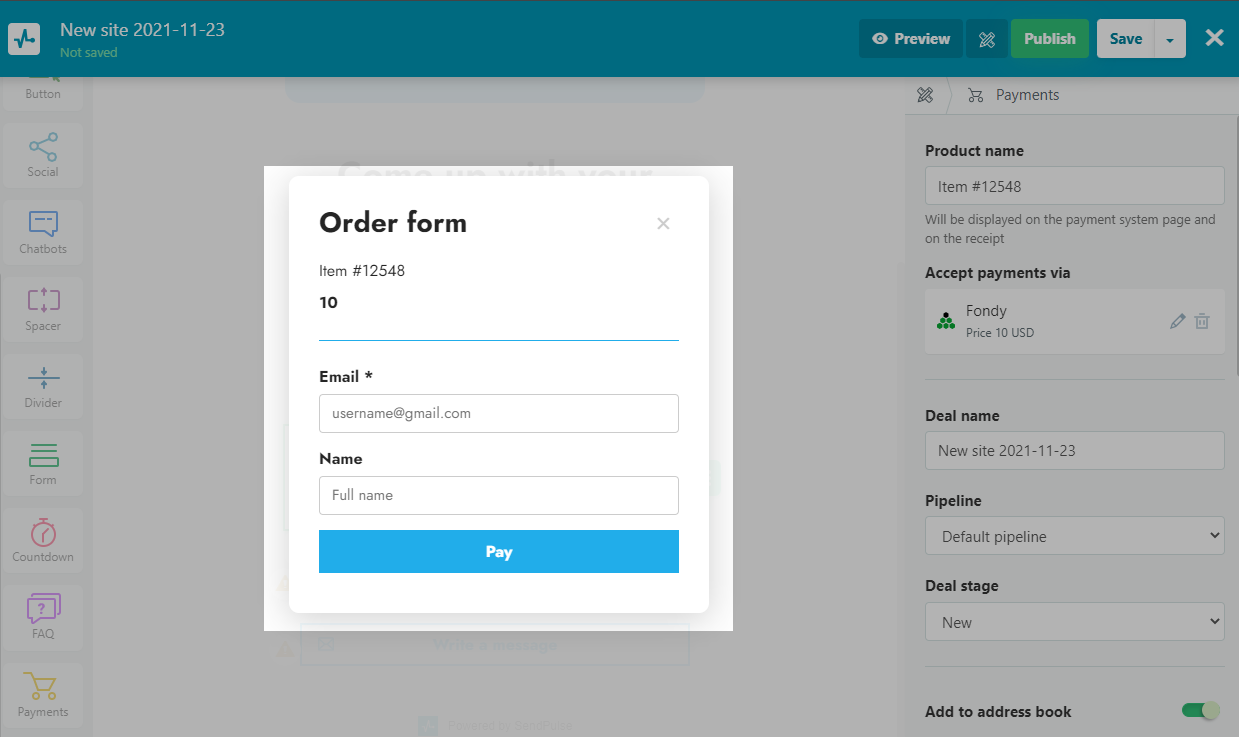
Check how users sees your payment form
To view how your payment form will look like for those who click "Pay,” click Show Payment Form.
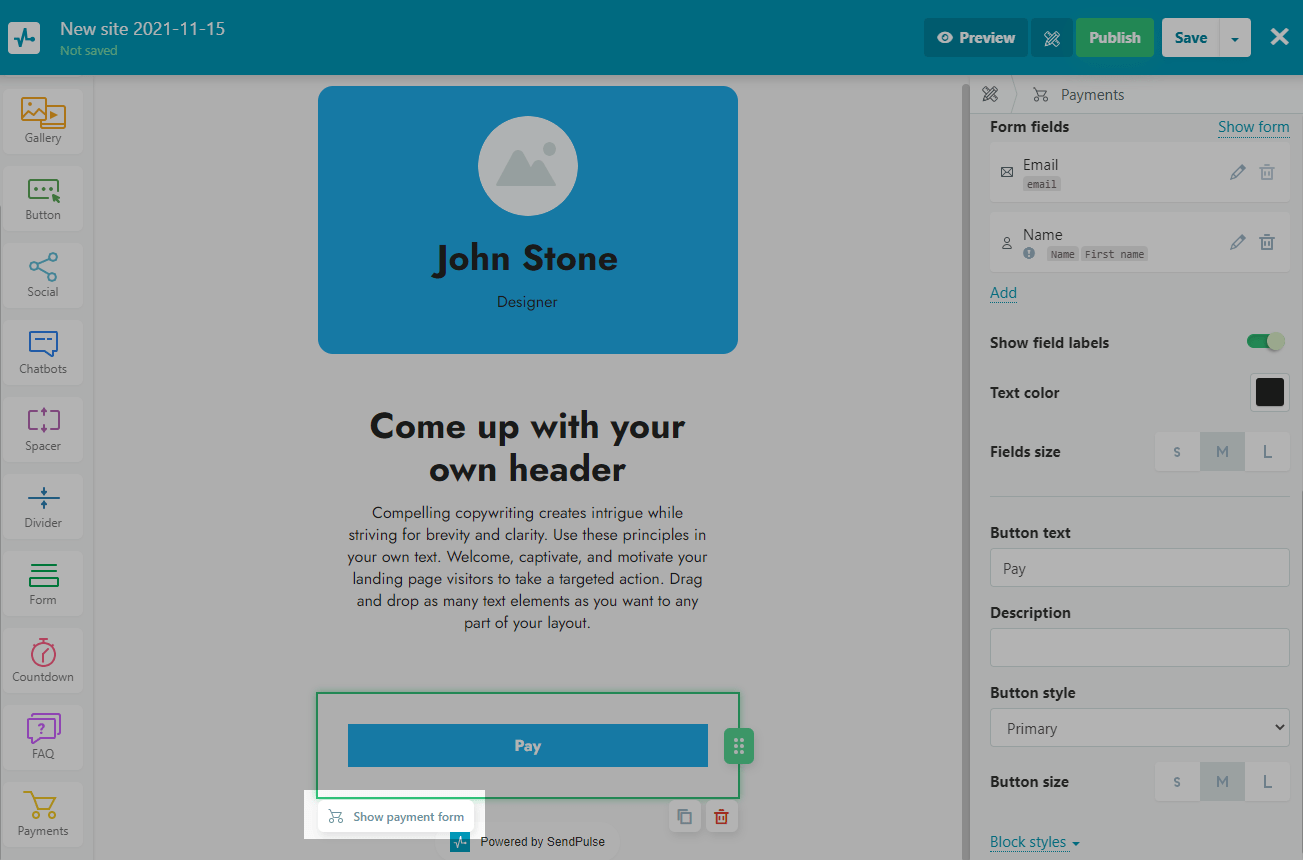
You can also go to view the form by clicking on the Show form button in the right panel next to the form fields.
You can check the data you configured in the editing panel of the block: the name of your product and its price, and fields for entering customer contact data.
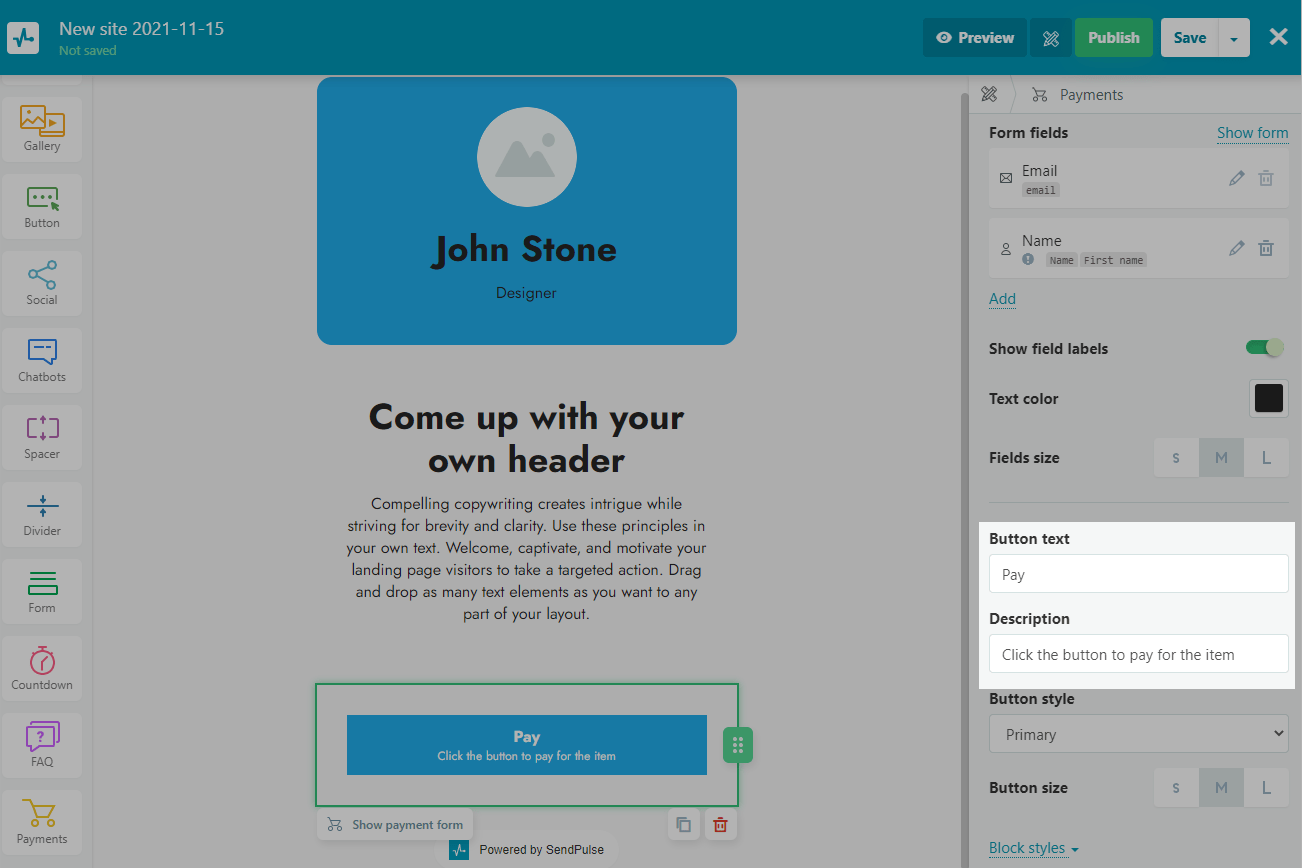
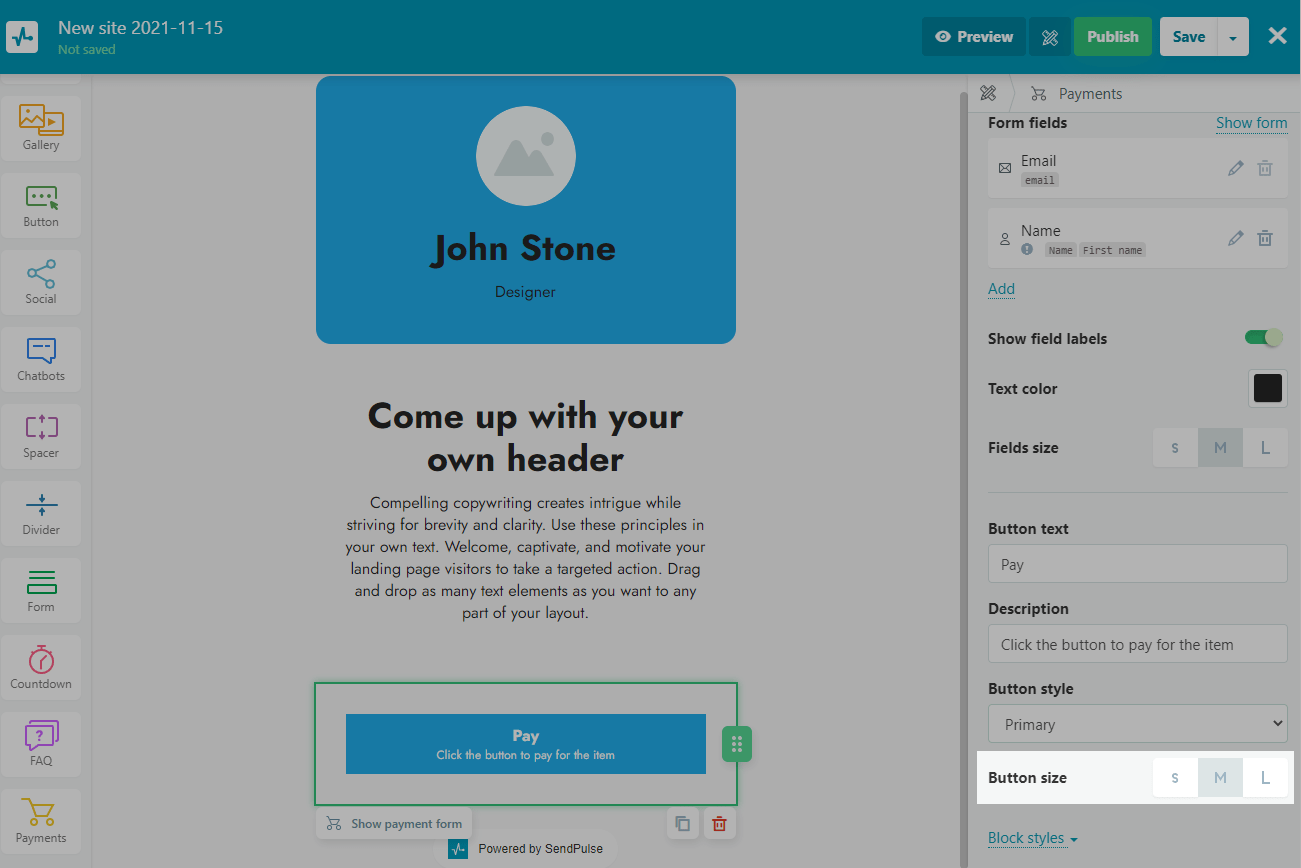
Configure your payment button
Enter your text and description to be displayed on the button.
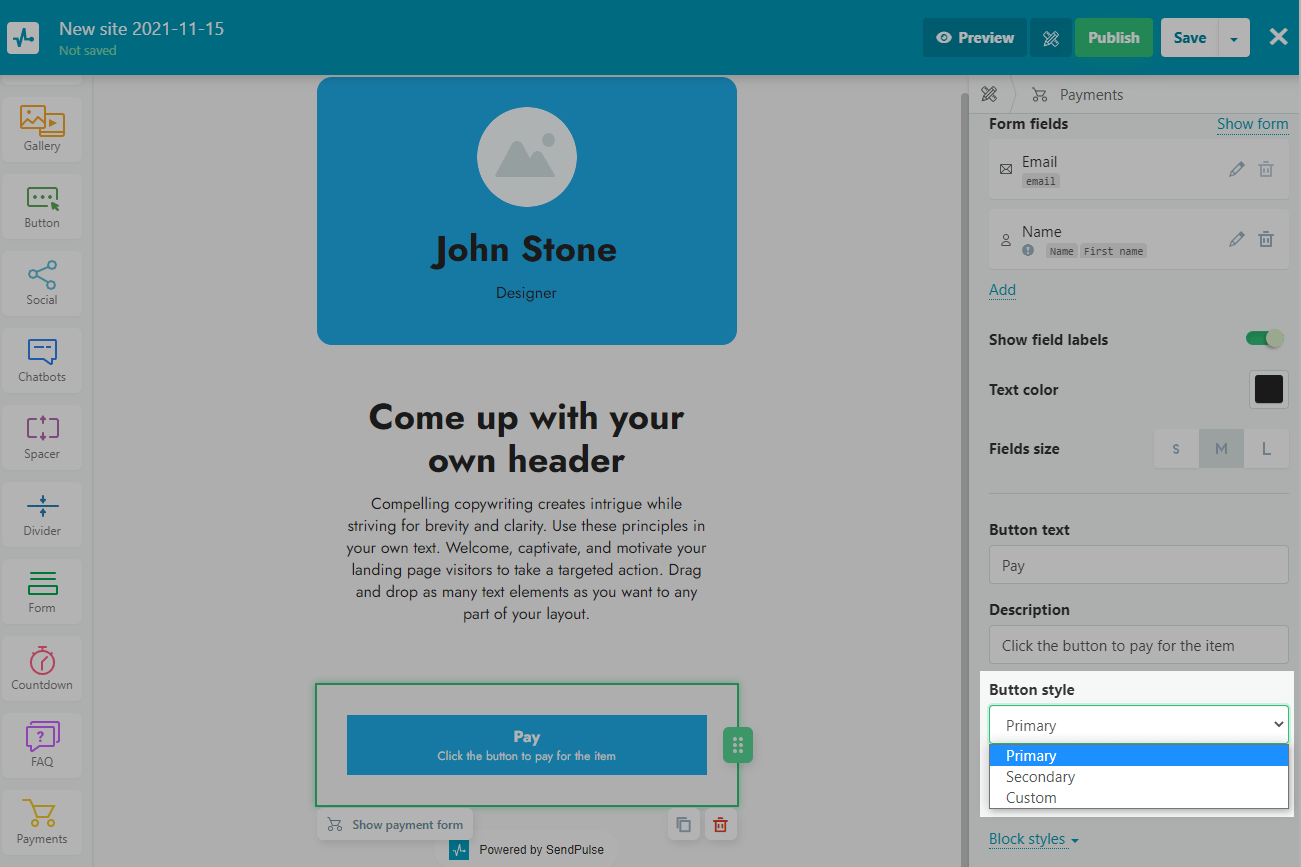
Select your button style: primary, secondary, or customizable.
Specify the size of the button.
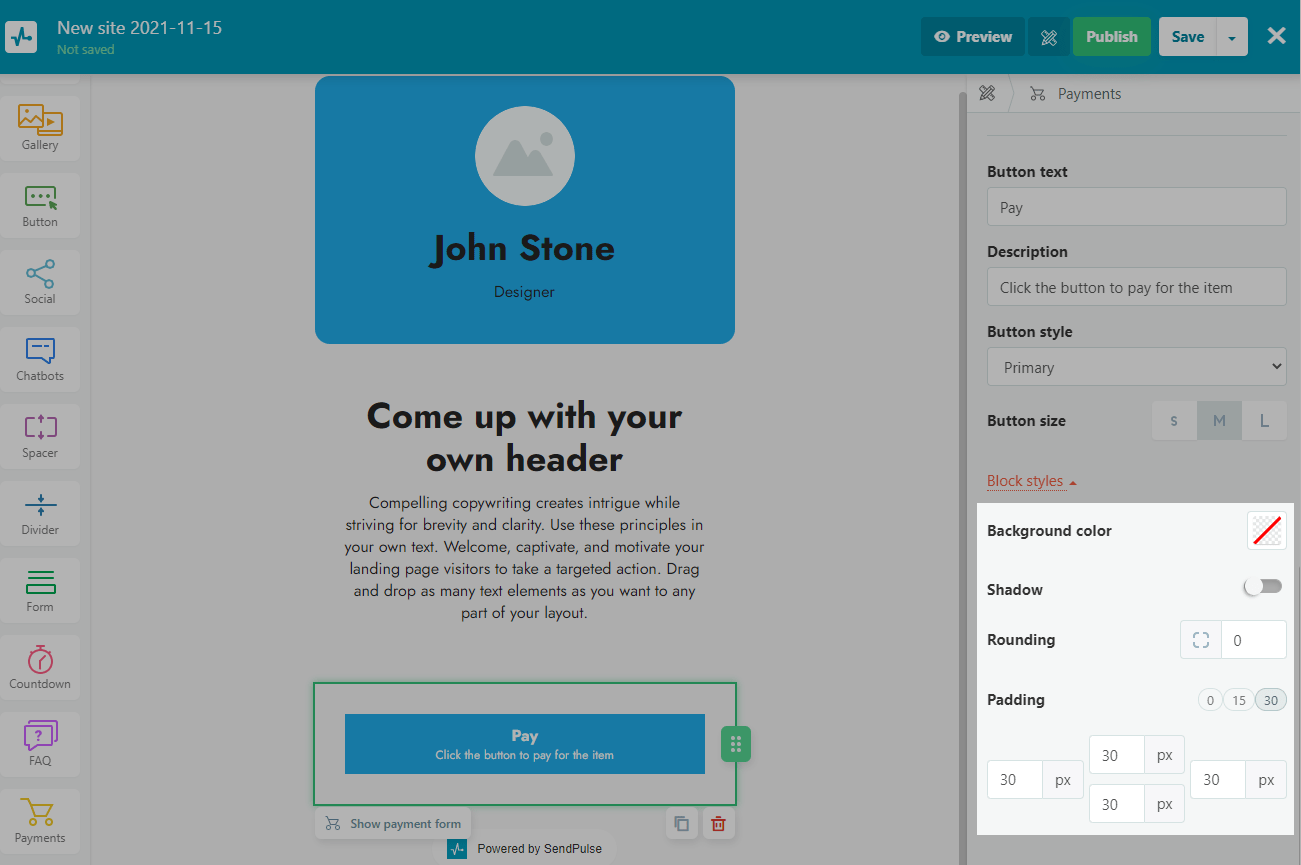
Customize the appearance of the Payments element
You can customize your block styles within each element: background color, shadow, rounding, and indentation.
Finish widget configuring
Before closing the builder, check that your widget settings are correct.
If you haven't filled any field, it will be highlighted red in the widget settings and a warning sign will appear in the builder. Form with unfilled fields won't work.
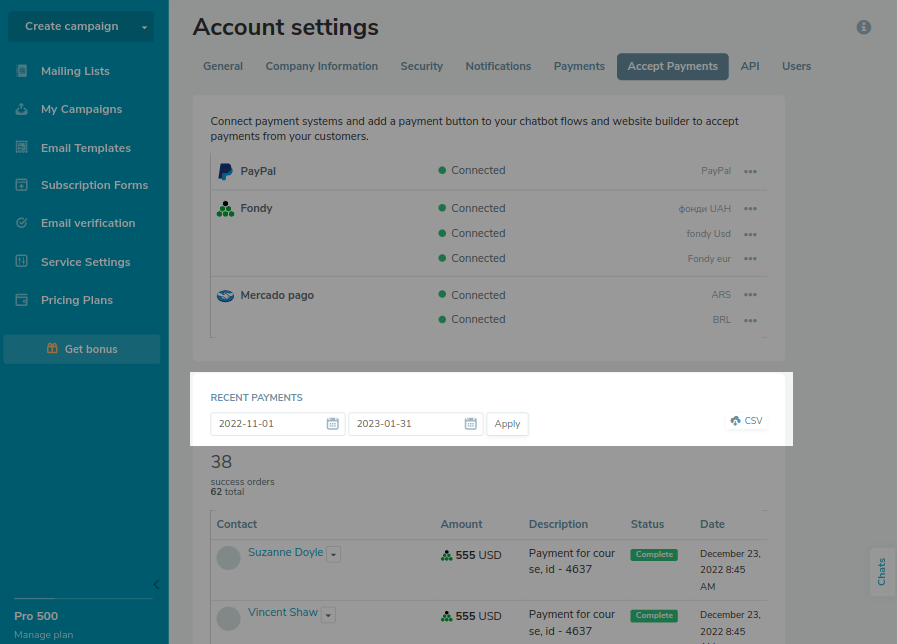
How to view payment history
You can also view and export your payment history as a CSV file in the Account Settings > Accept Payments tab. You will see payment details: username, product name, price, date of last status change, and payment status.
All payment statuses are given by the selected payment system. For more information, we recommend contacting the support of the payment system.
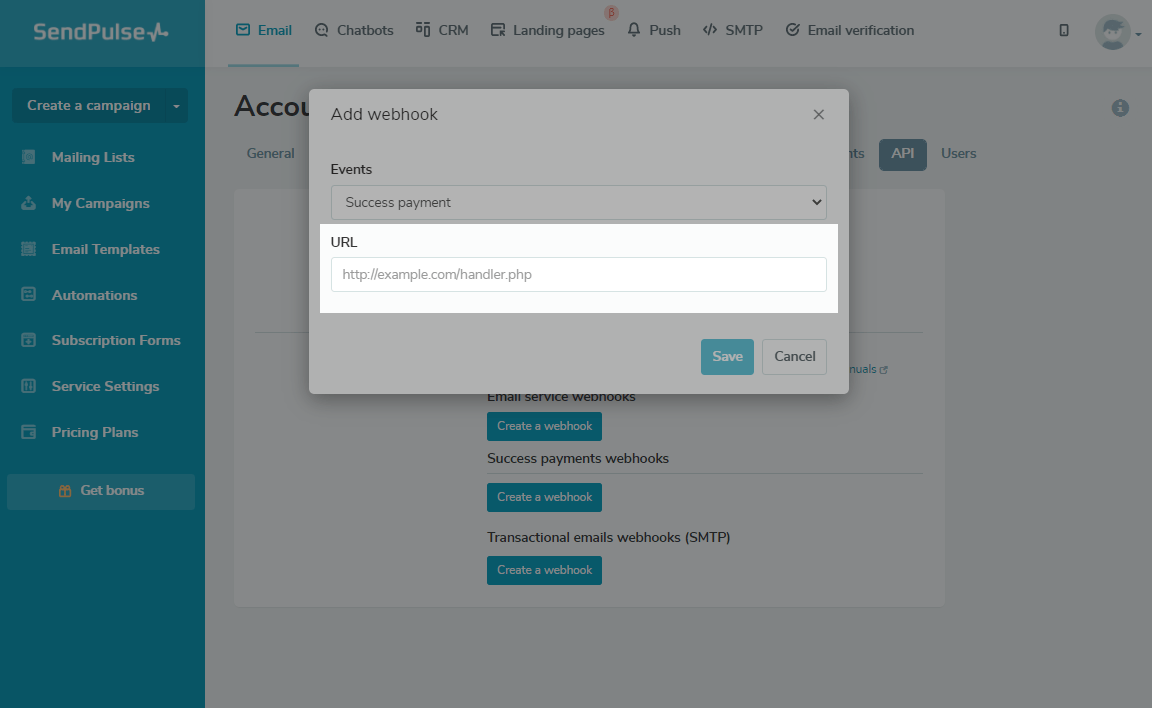
How to send a successful payment webhook
You can also send webhooks to your system notifying that the users have successfully paid for your products.
Go to Account Settings in the API tab. Under the Successful payment webhooks section, click Create Webhook.
Paste the URL you want to send the event to.
An example of the webhook structure you can receive:
{
   "timestamp":1644590834,
   "version":"1.0",
   "event":"payment_order",
   "order":{
      "totalCost":12,
      "status":200,
      "customerName":"User",
      "service":2,
      "paymentMethodType":7,
      "Variables":[
         {
            "valueType":1,
            "name":"String",
            "value":"Hello World"
         },
         {
            "valueType":2,
            "name":"Number",
            "value":"55684213"
         },
         {
            "valueType":3,
            "name":"Date",
            "value":"2022-02-25"
         },
         {
            "valueType":5,
            "name":"Phone",
            "value":"+38063456228"
         },
         {
            "valueType":6,
            "name":"Email",
            "value":"user@sendpulse.com"
         },
         {
            "valueType":7,
            "name":"Link",
            "value":"http://sendpulse.com"
         }
      ],
      "number":1618,
      "currency":"BRL",
      "contactId":"7a505f4293dffcd7100f8f0004214892e4cf5618307908edf465042075d5c30",
      "updatedAt":"2022-02-11T14:47:14+00:00",
      "type":2,
      "id":"a3704313-8c0b-0000-b195-c6b84242f0e2",
      "createdAt":"2022-02-11T14:47:13+00:00",
      "description":"Apple MercadoPago"
   }
}
Last Updated: 08.08.2024
or