Campus panel basics
Online schools, training centers, and mentors often teach people to use SendPulse tools. Campus helps them do just that: students create their accounts from your invitation, you activate paid plans for them for the duration of the course, and you review their assignments in their own accounts.
Take a digital marketing school enrolling a group of students. Through Campus, the school invites them to create a SendPulse account or link an existing one for the duration of the course. Instructors then log in to student accounts in one click, without login credentials.
Let’s talk about how to set up the Campus panel, invite students, and manage their data.
What is a Campus
Campus is a dedicated section of your SendPulse account for anyone who teaches people to use SendPulse tools, including online academies, universities and colleges, educational platforms, mentors, and online course creators. You can get access to Campus after you submit a request and SendPulse approves it.
In the Campus panel, you can:
- Invite students to create SendPulse accounts.
- Create registration pages that several students can use to sign up.
- View registered students and log in to their accounts to review assignments.
- Organize students into schools and courses with folders and subfolders.
Students added to Campus receive paid plans for the selected tools and complete their assignments in their own account. When the course ends, they keep using their SendPulse account for their own needs, and they can revoke Campus access to it.
Campus removes students automatically after 6 months, unless you remove them earlier.
Get access to Campus
To use Campus, submit a request and wait for it to be approved.
Submit your request in the form on the partner program page for educational institutions. The SendPulse partner team reviews requests and then contacts you at the email address you provided.
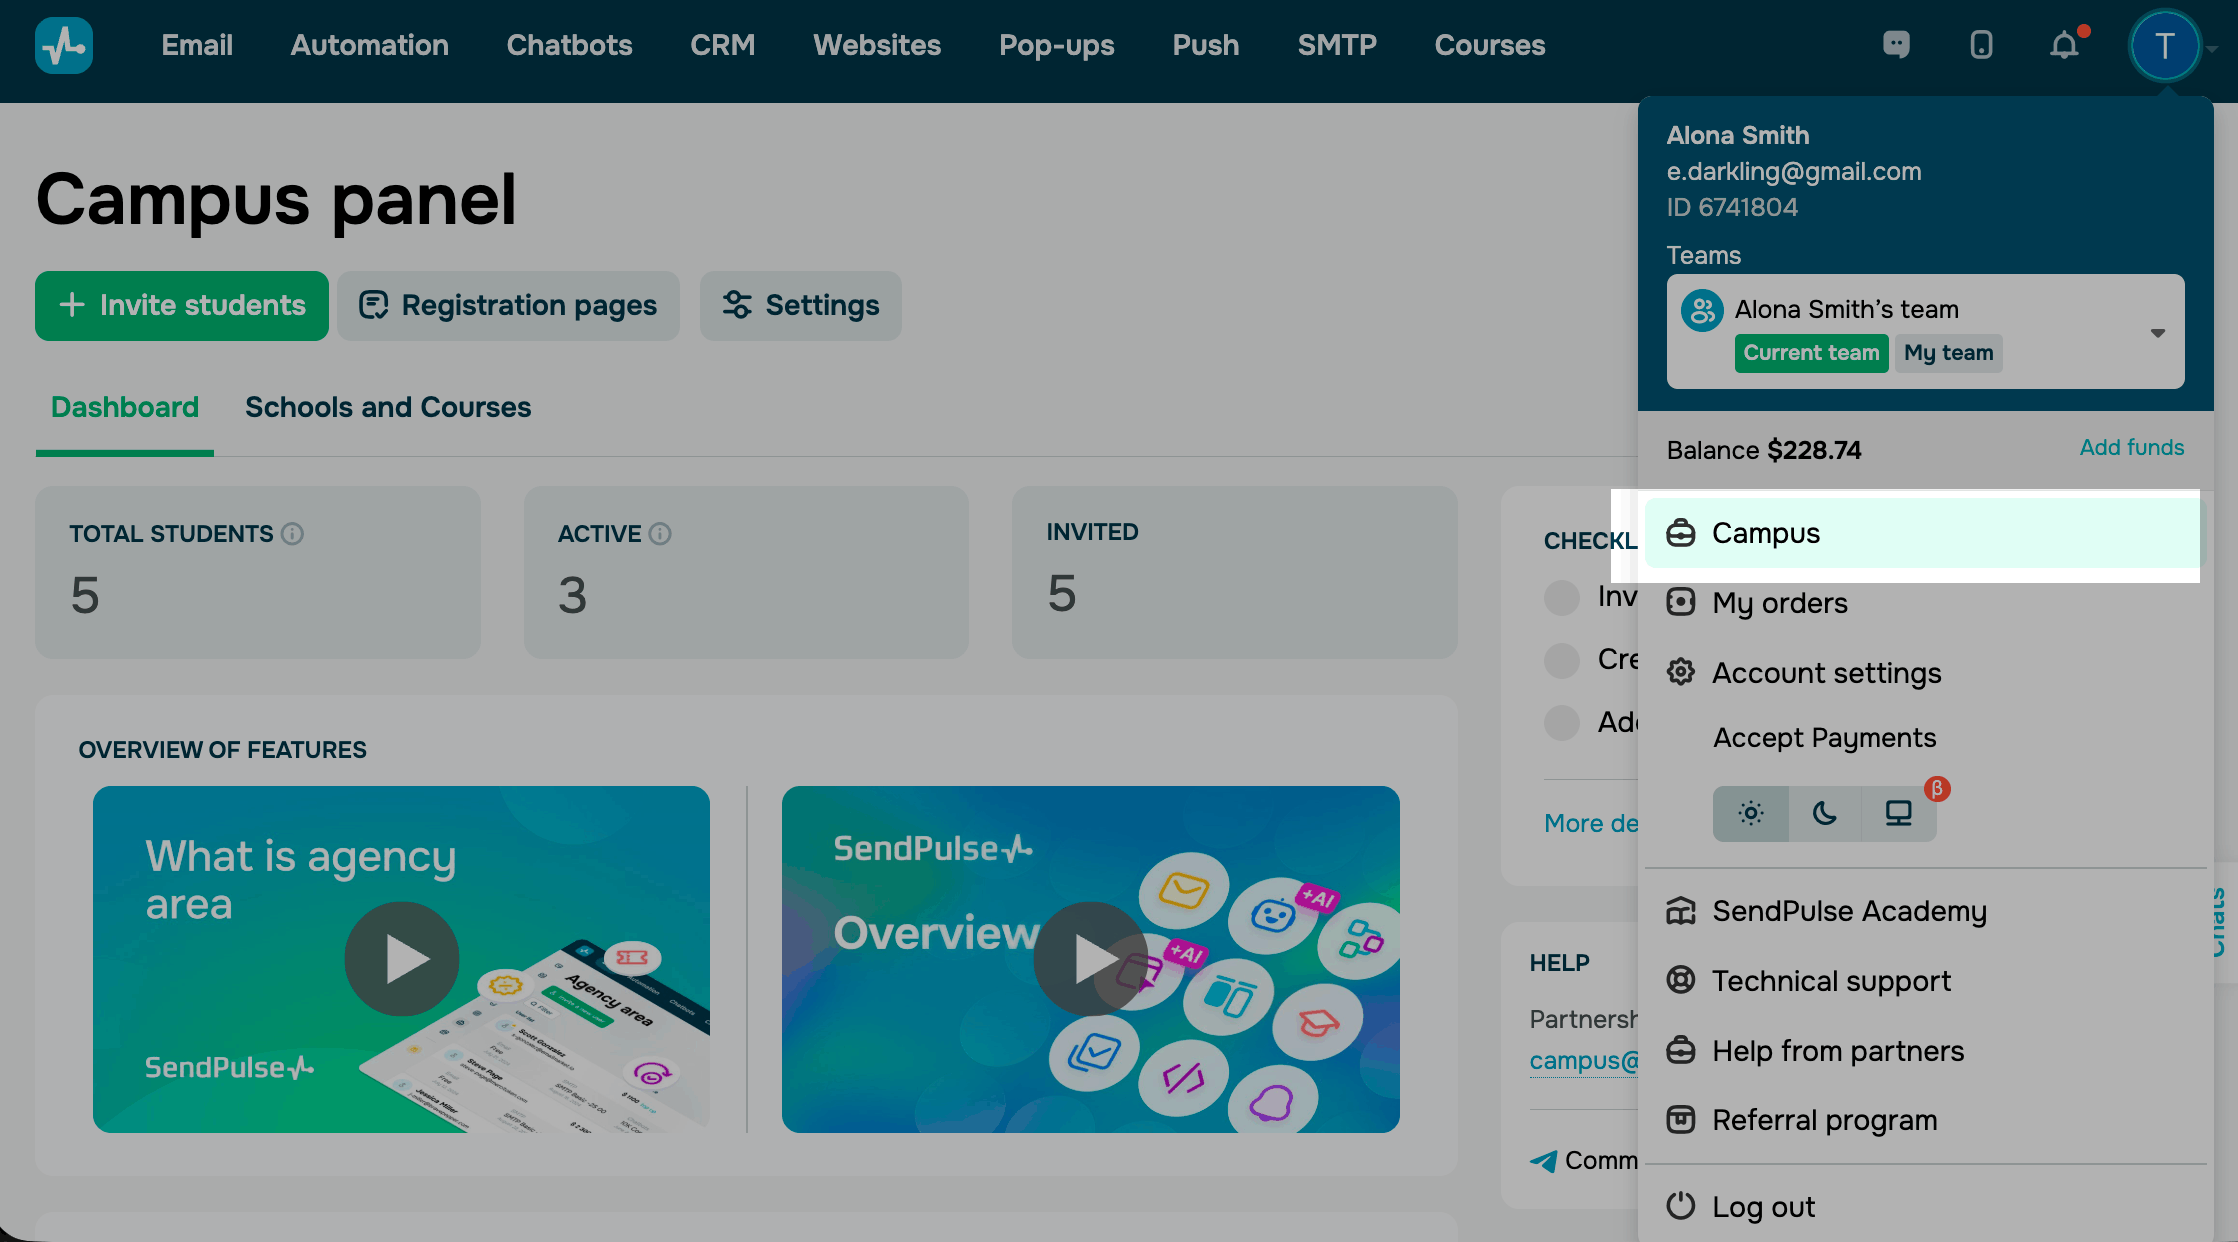
Once your request is approved, the Campus panel appears in your account. To access Campus, click your profile picture and select Campus.
Set schools and courses structure
Schools and courses organize student data in the Campus panel. A school works as a folder, and a course as a subfolder inside it. Before you invite students, decide which course you will invite them to.
When you get access to Campus, it creates your first school and first course, so you can start inviting students right away. Depending on your needs, you can add a course for each group within one school or use schools to separate study programs. Existing schools and courses can be renamed.
To create a school or a course, go to the Schools and courses tab, click + Add, select School or Course, and enter a name.
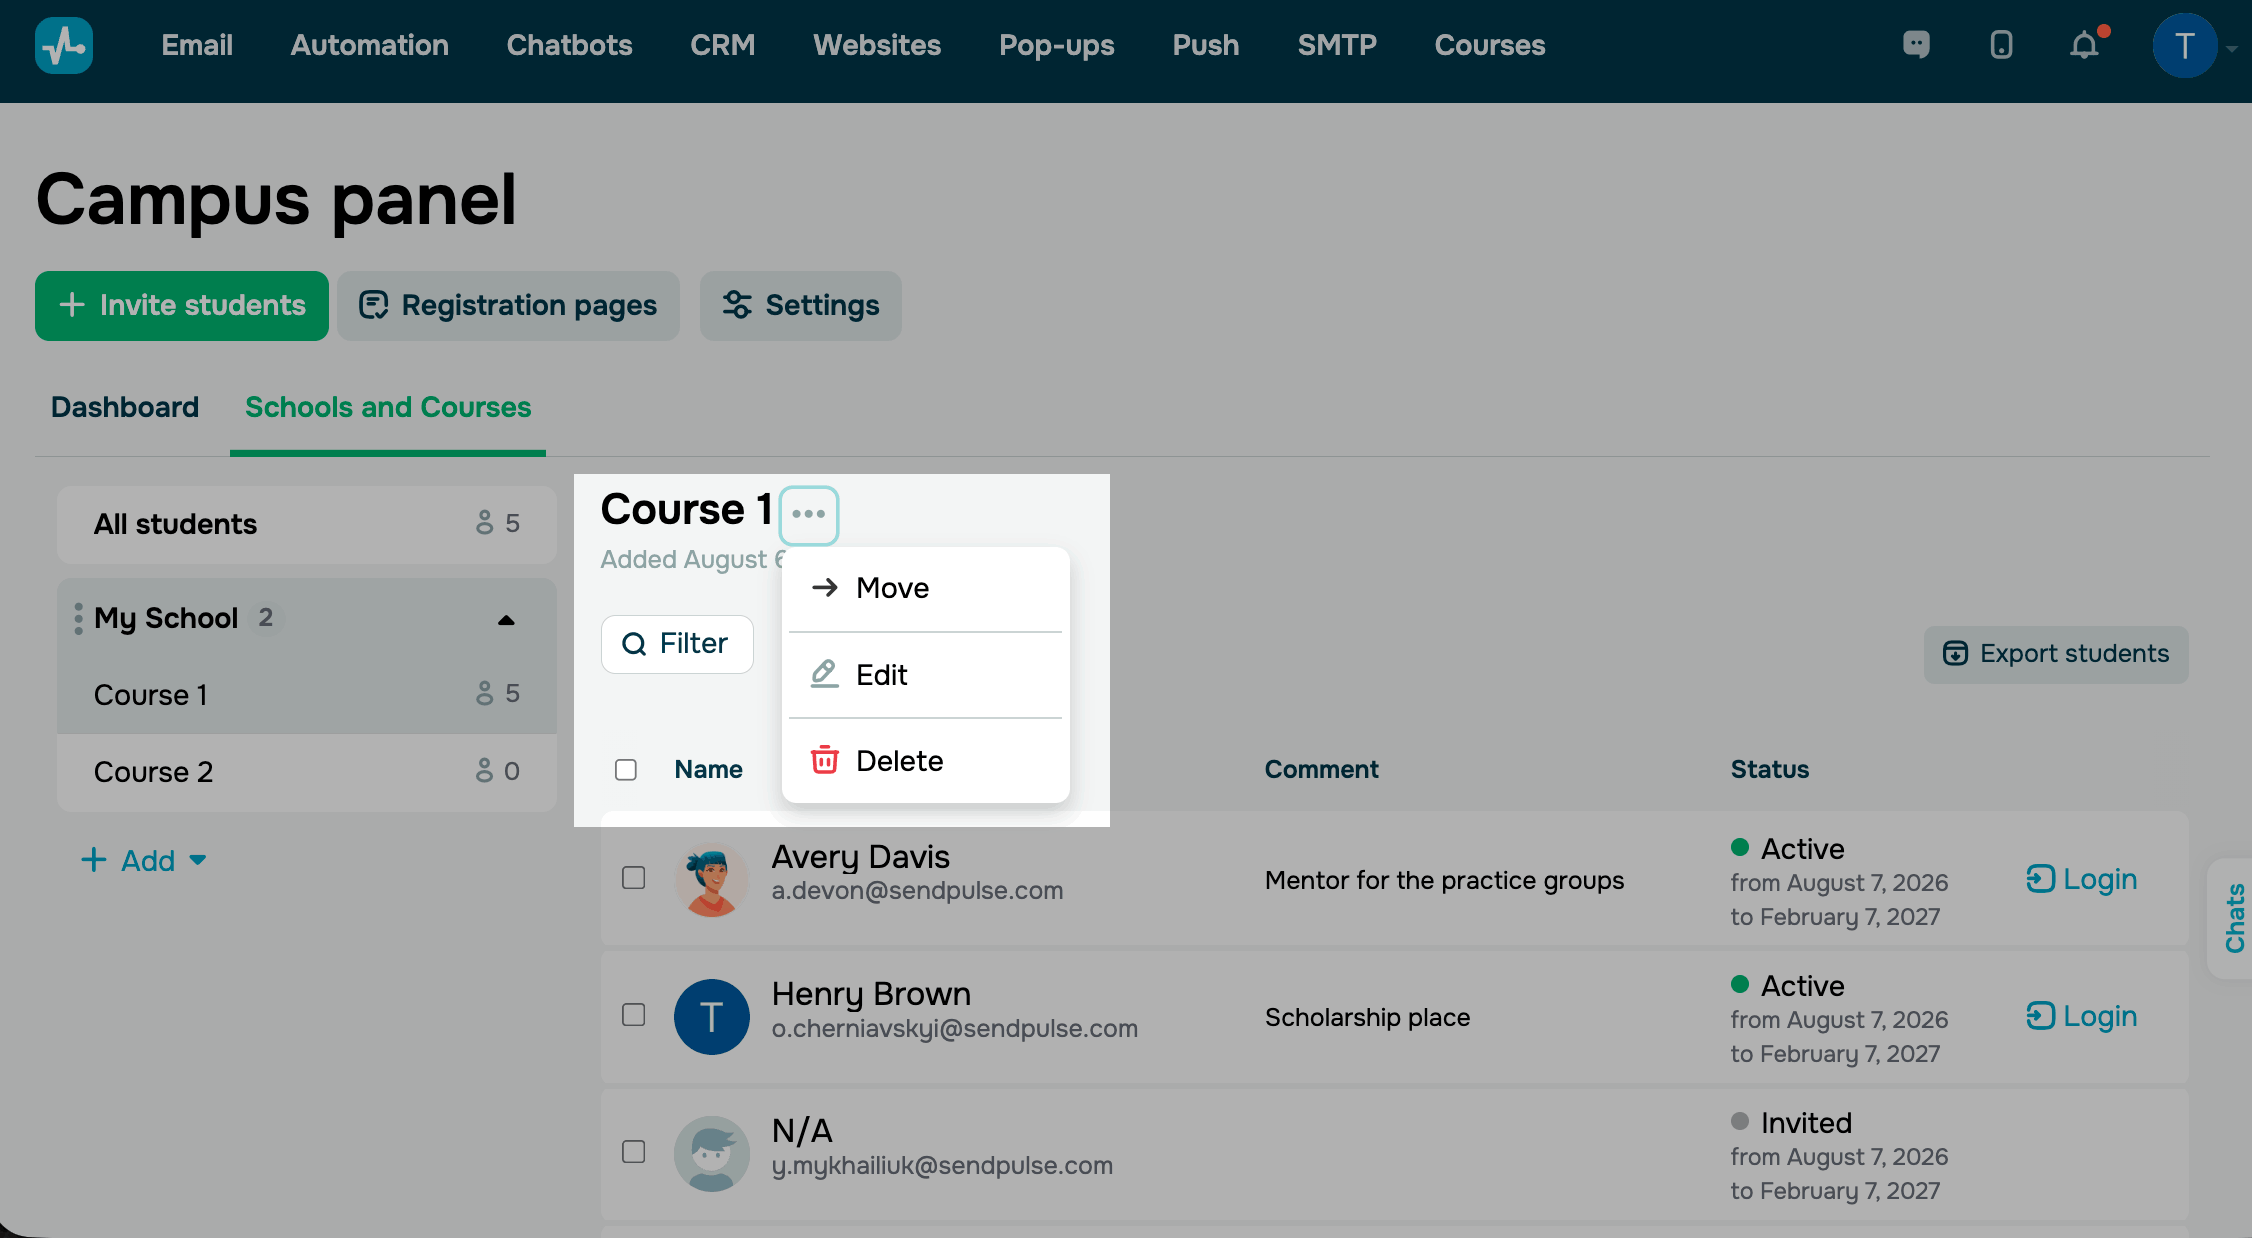
To manage a course, open it, click the three dots next to its name, and choose one of the actions:
| Move | Moves the course, along with its student list, to another school. |
| Edit | Changes the name of a school or course. |
| Delete | Deletes the course, along with its student list, from Campus. |
To rename a school, click the three dots next to it, select Edit, and enter a new name.
Add students to Campus
A Campus student owns their SendPulse account, which is linked to your Campus. Invite a student manually, add multiple students at once, or give them a link to a registration page where they enroll on their own.
Send an invitation email to students
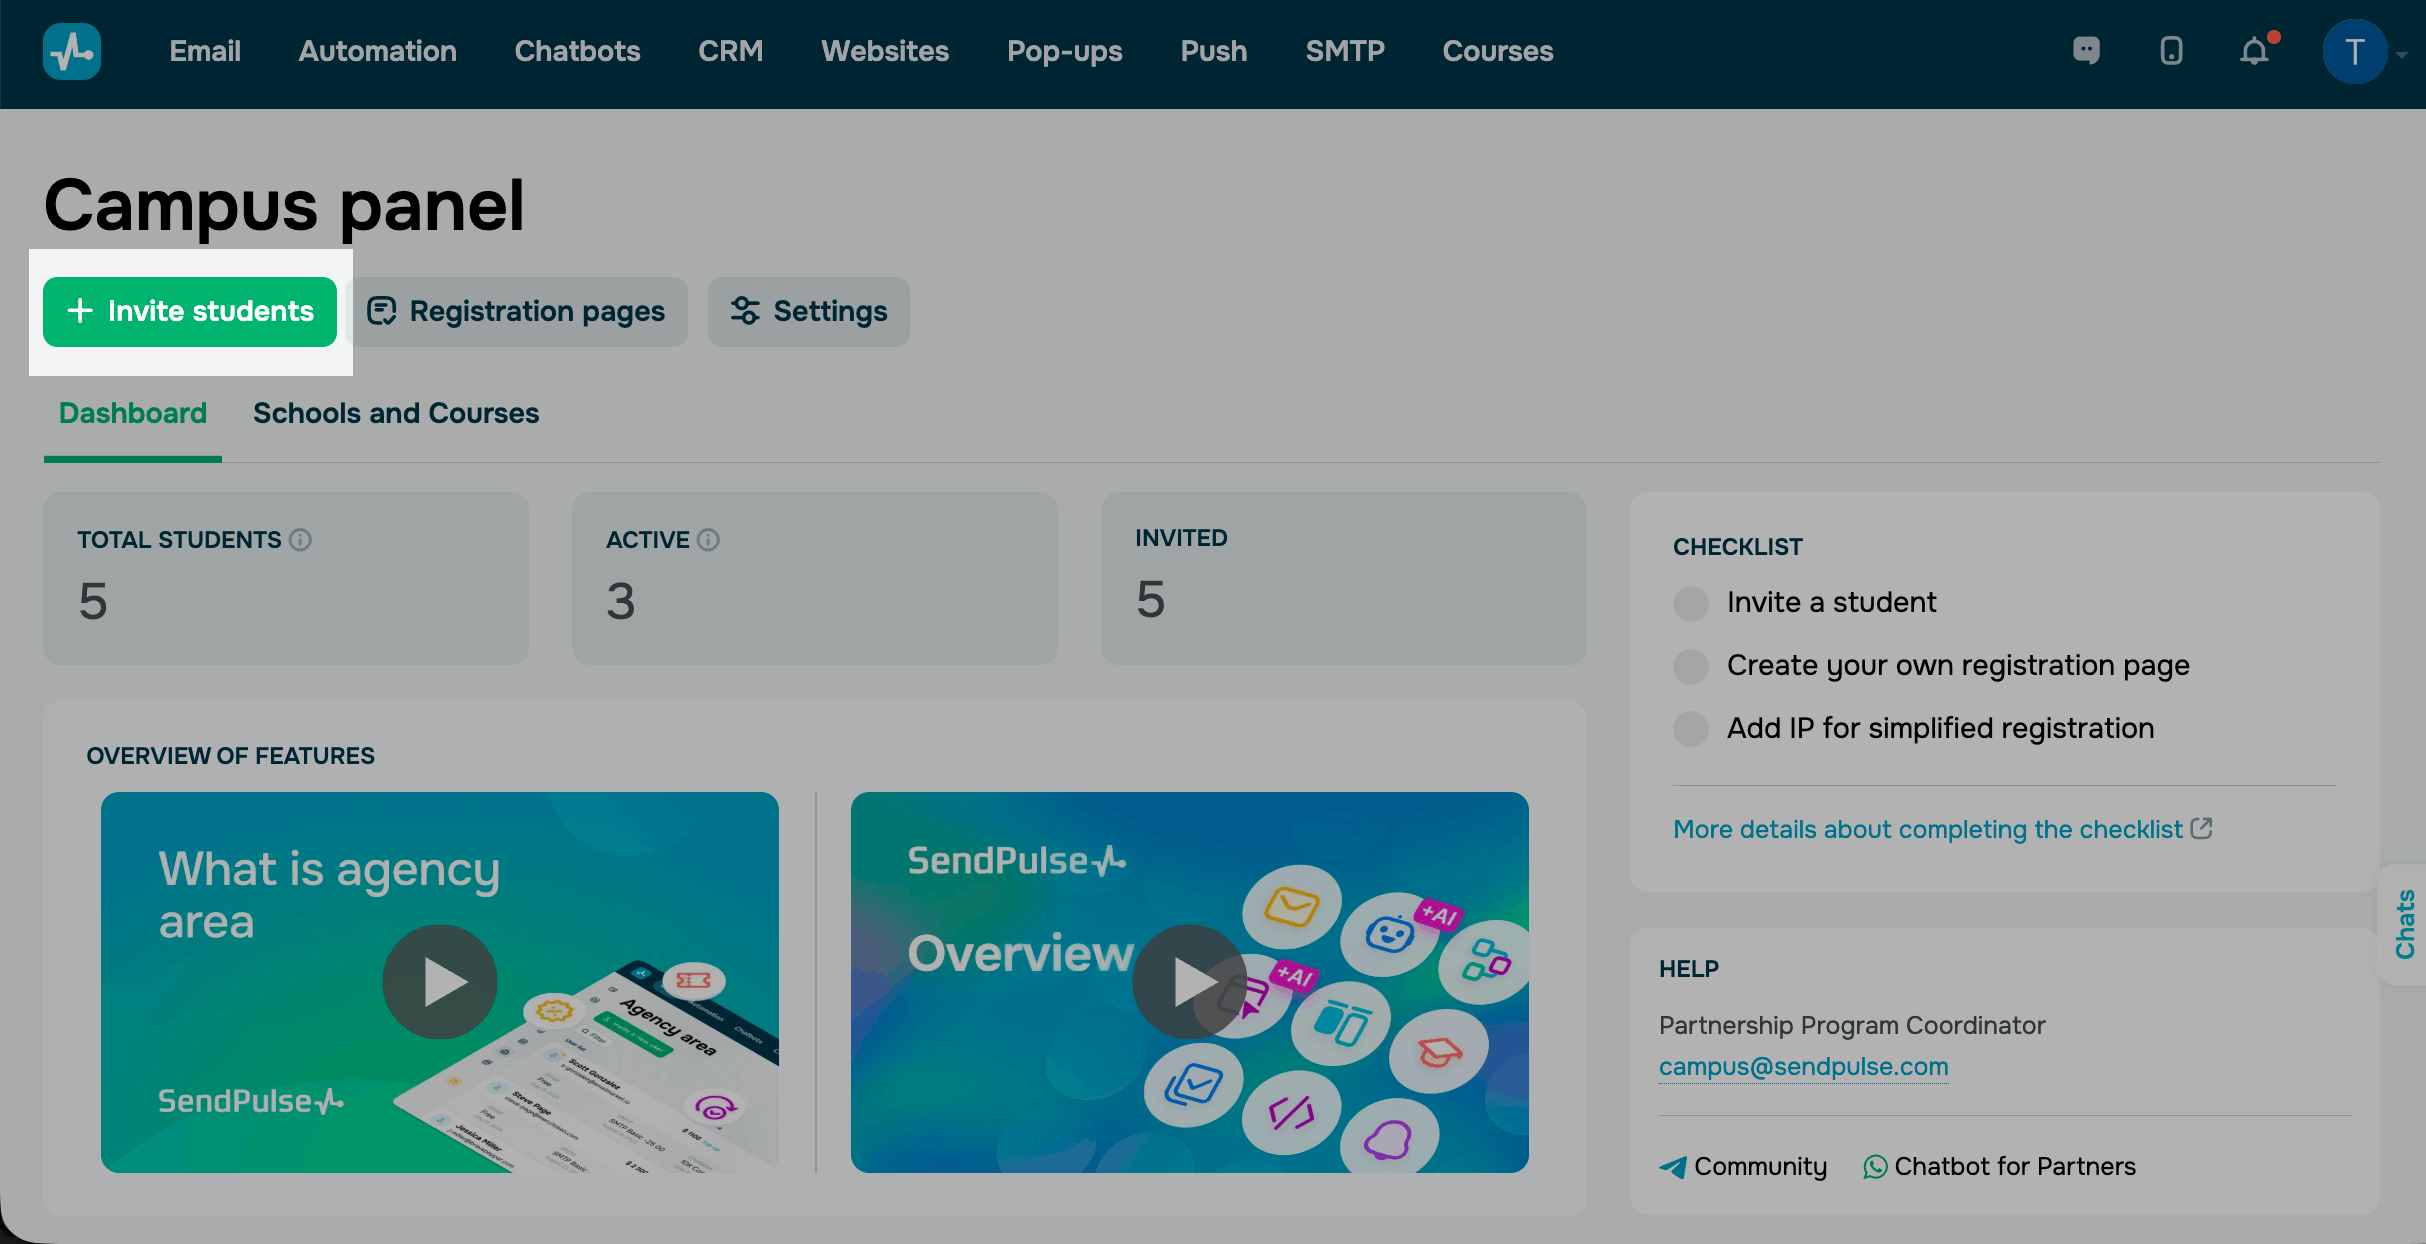
To invite students by email, go to the Campus panel and click + Invite students.
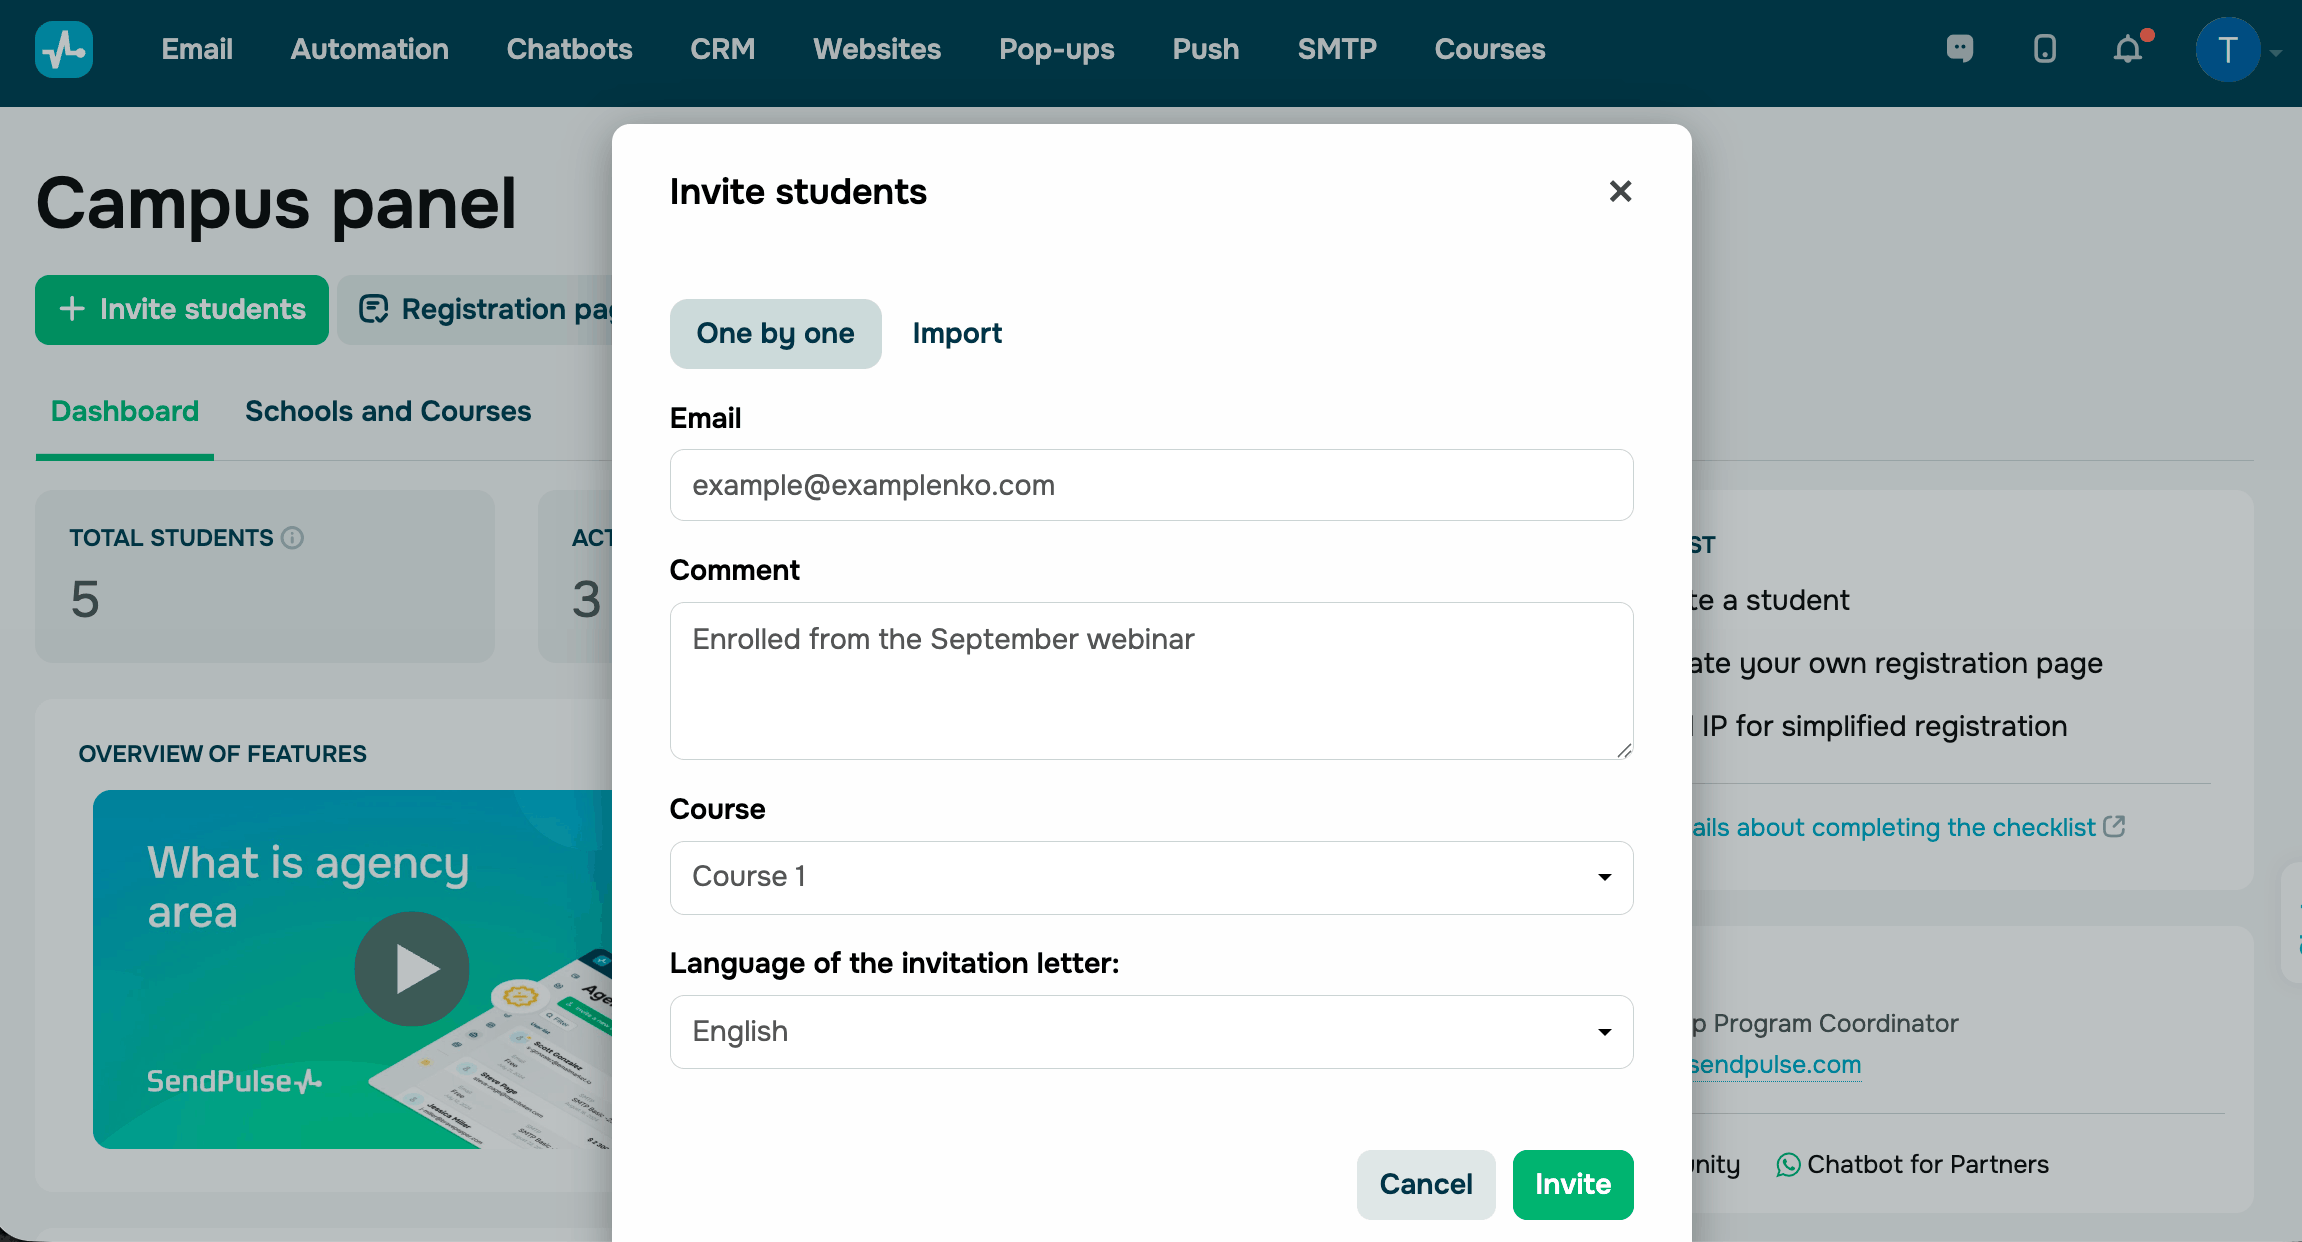
On the One by one tab, fill in the fields:
| The email address to send the invitation to. | |
| Comment | A note about the student that will be added to their record. |
| Course | The course to enroll the student in. |
| Invitation email language | The language the student receives the email in. Your account language is chosen by default. |
To add several students at once, go to the Import tab and enter their addresses and comments. Enter each student's data on a new line, and separate the email address and the comment with a comma or a semicolon.
Once you've filled in the fields, click Invite. The student receives an email and appears on Campus as Invited. After they accept the invitation, the status changes to Active.
If the student already has a SendPulse account, they receive an email requesting access to that account. If they don't, they receive an email inviting them to create one.
When you add a student to Campus, they receive the plans approved by your partner program coordinator for the duration of the course. If the student already has a paid plan in the selected tool, the Campus plan is not activated.
Create a registration page
A registration page is a dedicated page on the campus.sendpulse.com domain where students register and are enrolled in a course right away. Use it to let students register themselves without collecting their email addresses.
When you set up Campus, it creates your first registration page. To get started, publish it. To add another page, go to the Campus panel, click Registration pages, and click Add page.
Read more: Create a Campus registration page.
Add IP addresses for simplified registration
SendPulse limits the number of accounts that can be registered from the same IP address at the same time. During training, this limit can prevent students from registering when a group uses the same computer lab or office Wi-Fi.
In your Campus settings, add the IP addresses that allow simultaneous registration. For example, add the classroom's external IP address before a group's first session, and all students will be able to register within a few minutes without being blocked.
First, find the external IP address of the network your students will register from. This is the address that external systems see, not a computer's local address. Check it using any IP lookup tool from that same network.
Go to the Campus panel and click Settings. In the Allowed IPs section, click Add IP address, enter the address in the IP address field, click Add, and then click Save.
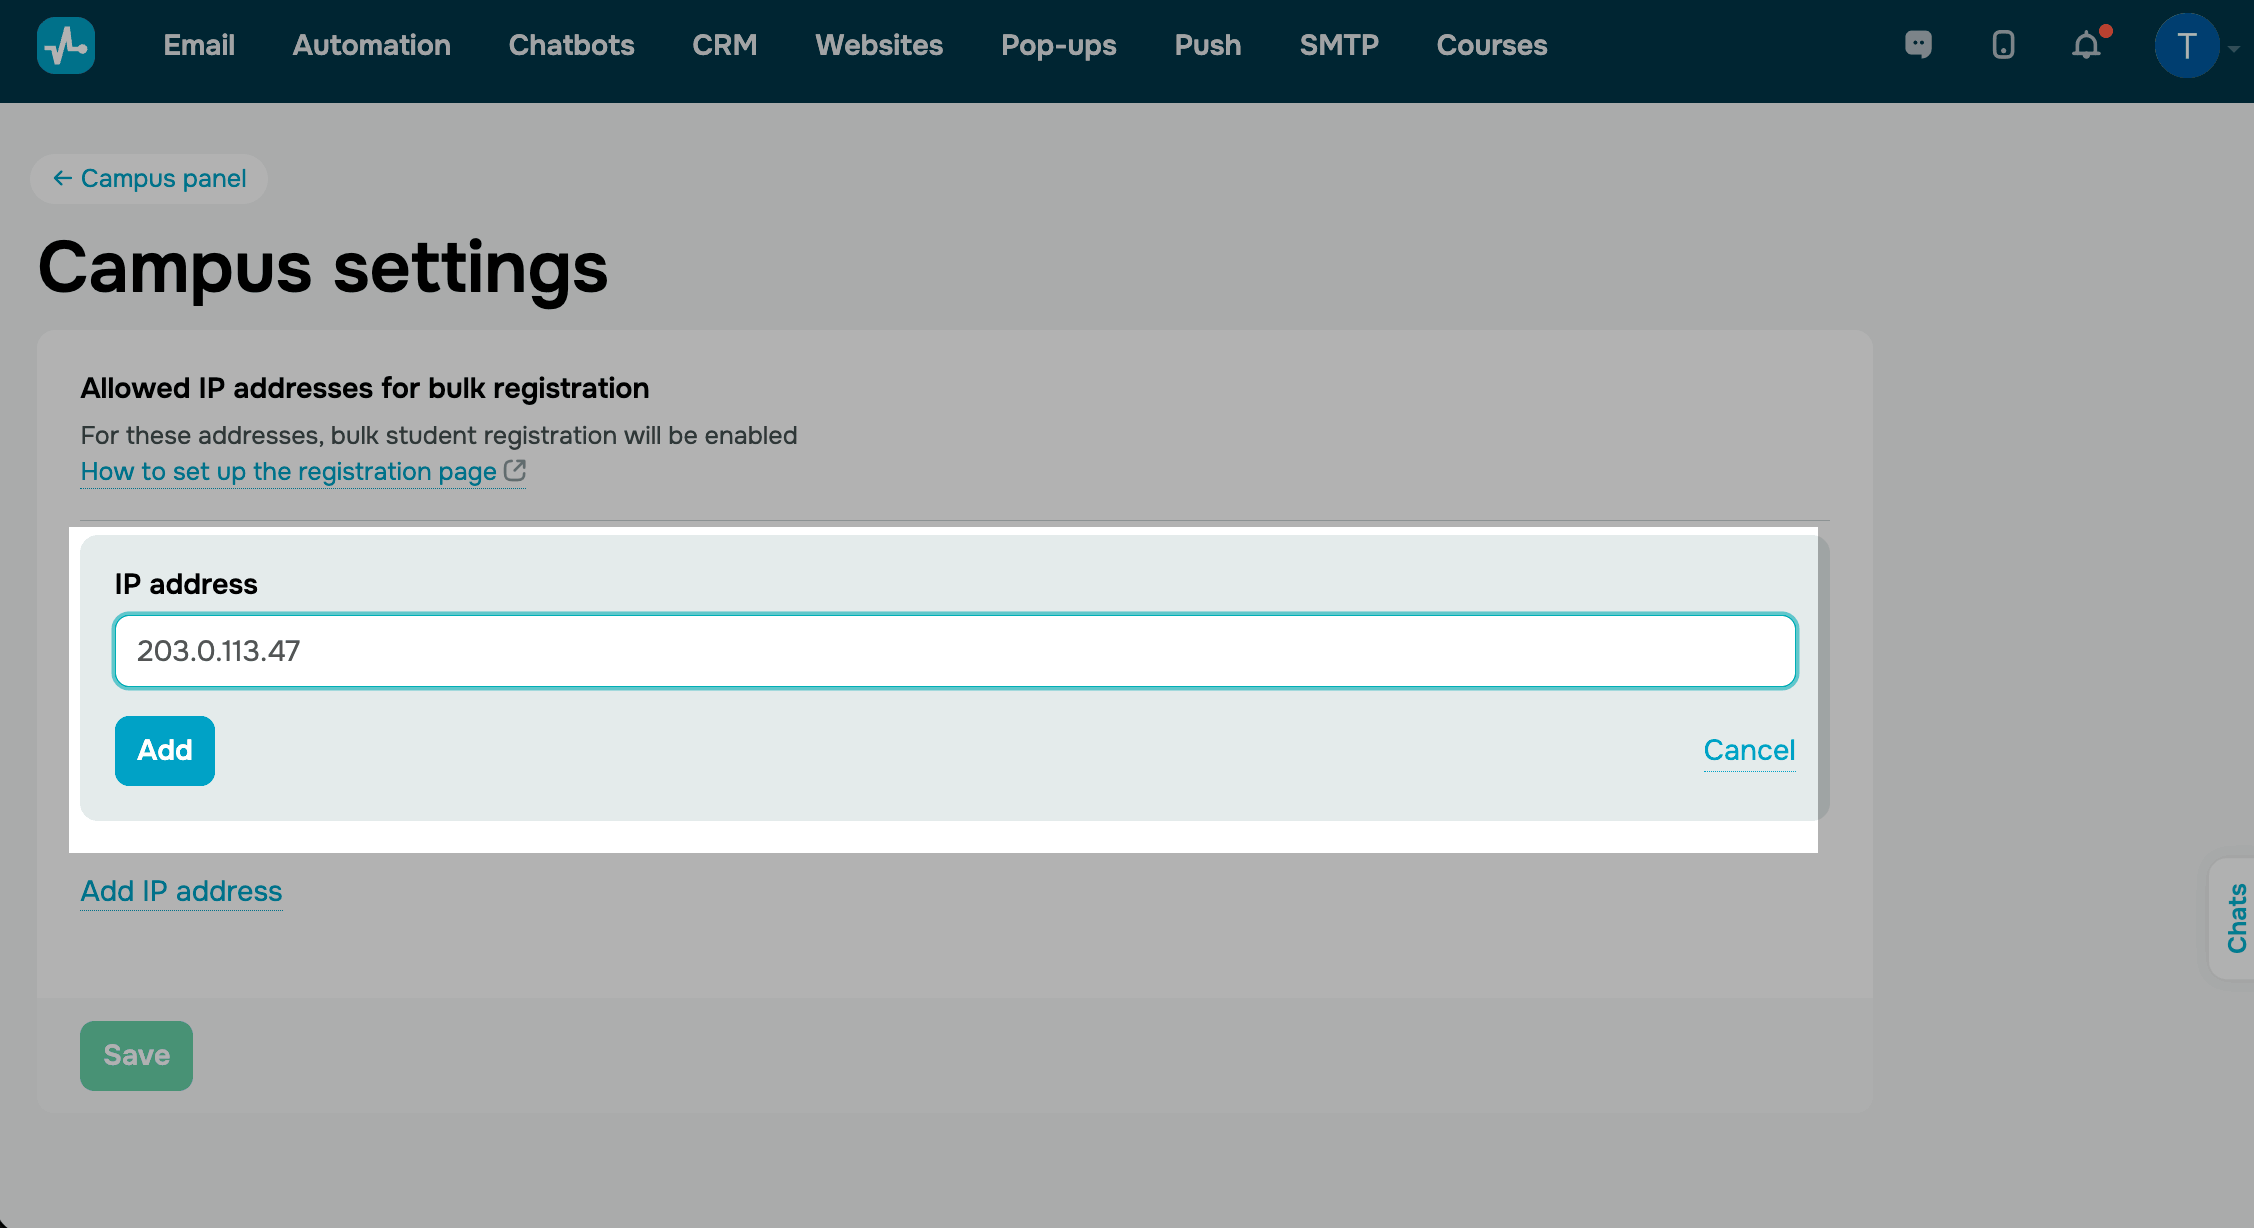
Students can still register from other IP addresses, but standard simultaneous registration limits apply.
When training in a classroom is over, remove its address from the list, and registrations from that network will fall under the standard limits again. Click the trash can icon next to the address and click Save.
View students
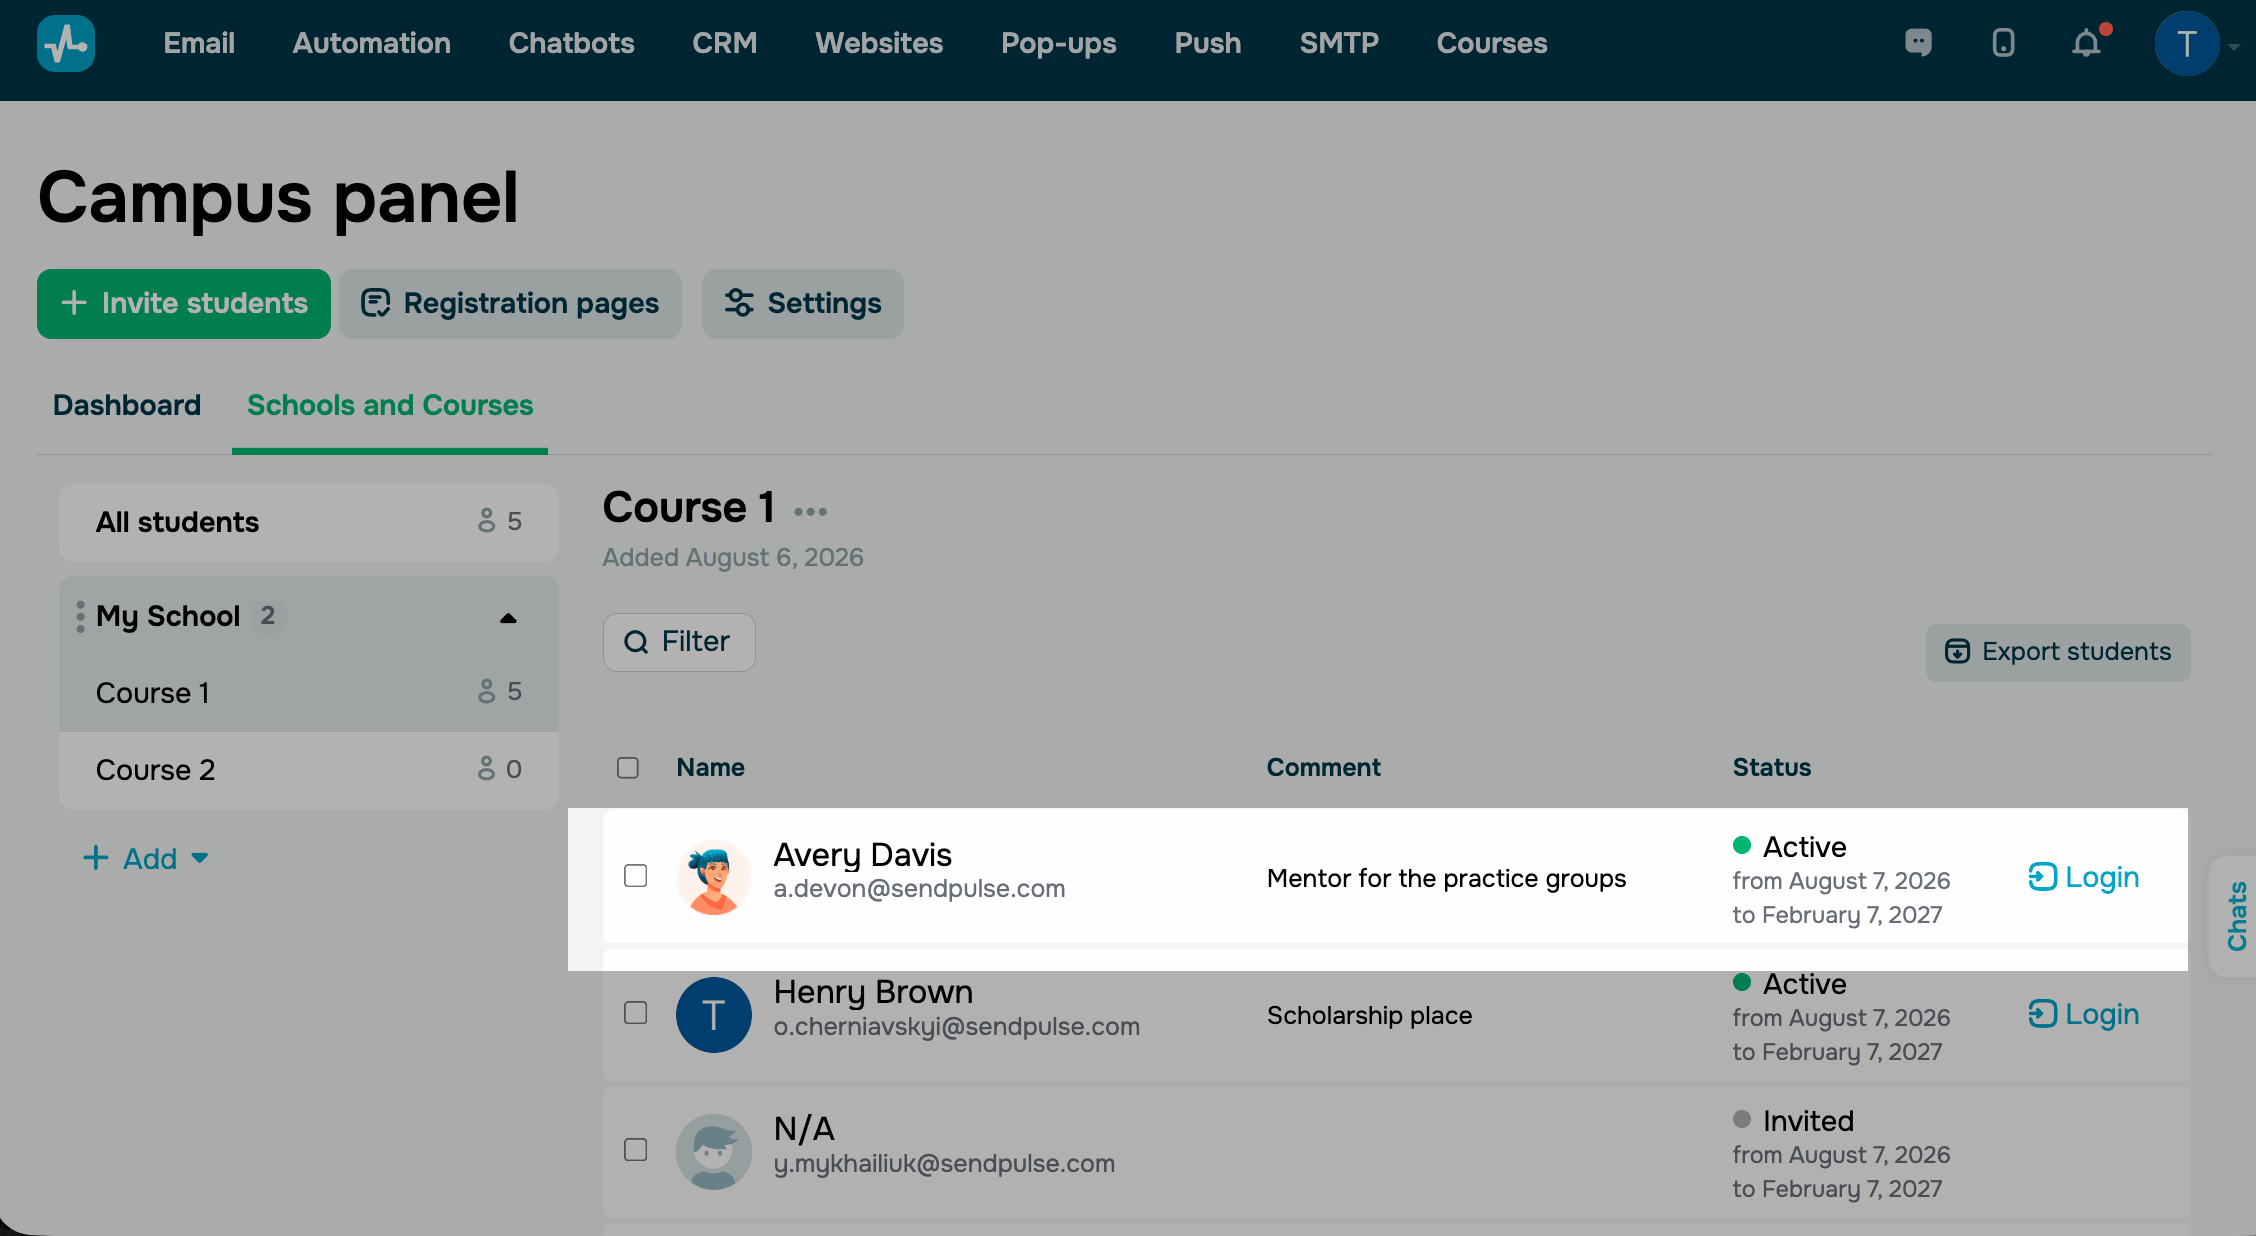
In Campus, you can see the students you added and log in to their accounts. To open the list of students, go to the Schools and courses tab and choose a course.
Campus shows the All students item with schools and courses inside it, as well as the number of students. To add a new school or course, click + Add.
To find a student by name or email address, click Filter and enter their contact details. To save a course's student list to a file, click Export students.
You can view the following data about each student:
| Name | The student's name and email address. If the student hasn't created an account yet, the column shows N/A. |
| Comment | The note you added when you invited them. |
| Status | The student's status (Invited or Active) and how long they remain linked to your Campus, including the start and end dates. |
To review assignments in a student's account, click Log in next to an Active student.
 Last Updated: 10.08.2026





or