Use the Campus checklist
The checklist shows whether you are using everything Campus offers.
Suppose you have just connected Campus and are planning your first student group. The checklist shows what to do next, such as first invite a student, create a registration page, and add the classroom's IP address before the first session.
Let’s talk about how to use the Campus checklist.
View the checklist
The checklist is available to all partners on Campus.
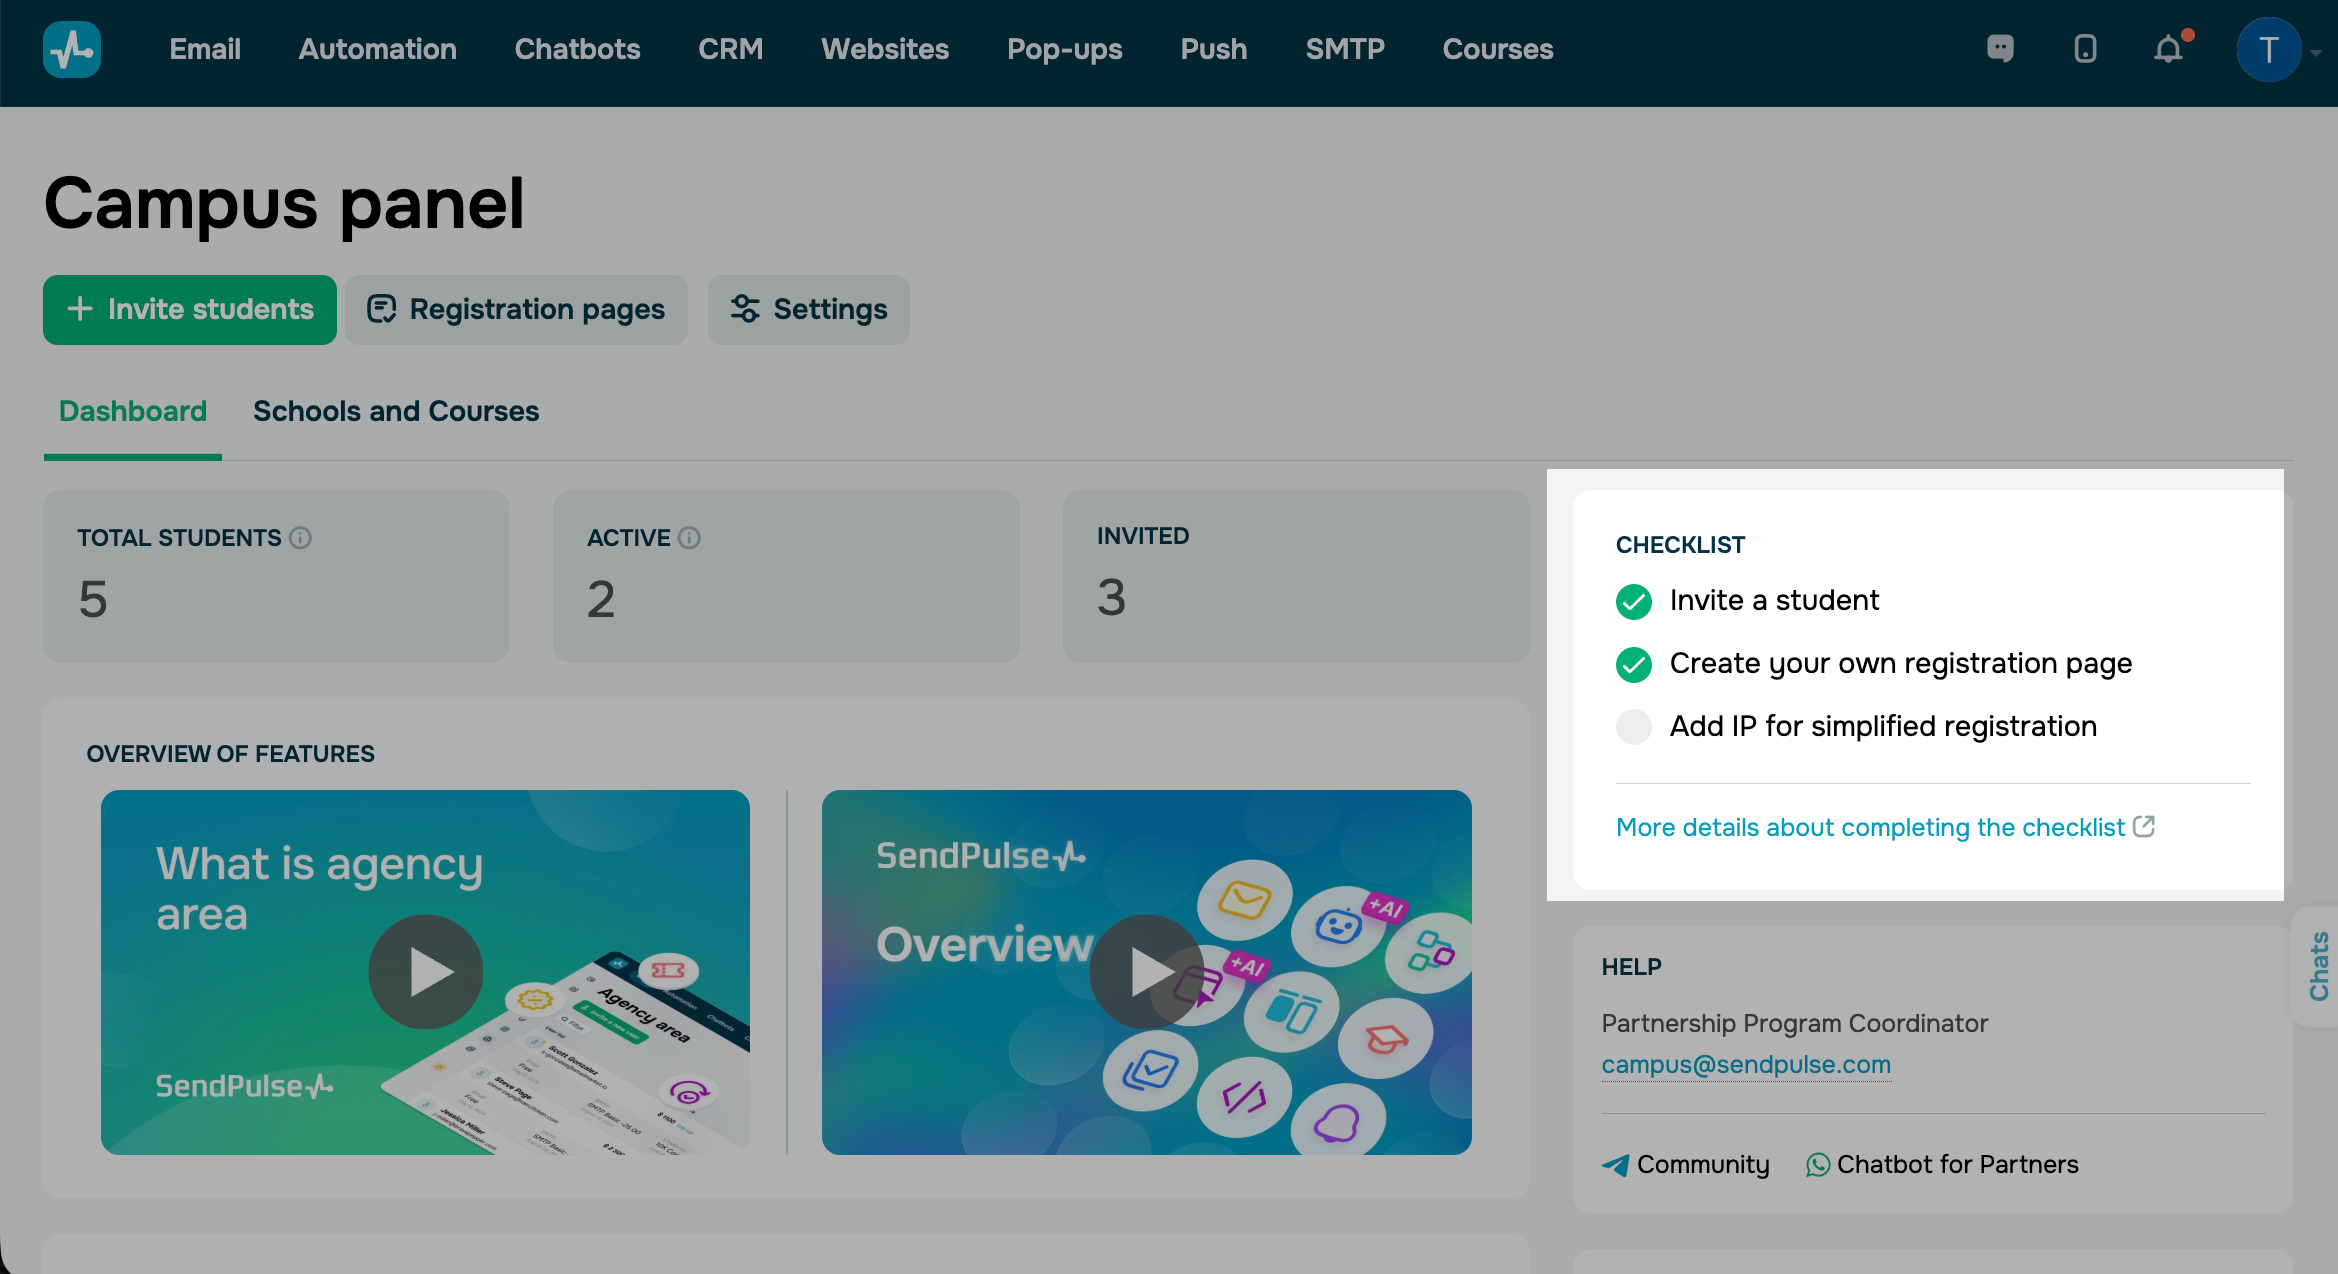
To find it, go to the Campus panel in your account. The Dashboard tab shows the Checklist section.
Complete the items
Campus marks completed items automatically. Each item links to the article that covers it in full:
| Invite a student |
Click + Invite students, enter an email address, and choose a course. The item is completed once you send your first invitation. Read more: Send an invitation email to students. |
| Create your own registration page |
Click Registration pages and then Add page to create a page on the campus.sendpulse.com domain, where students can register on their own and are enrolled in your course. The item is completed once you publish your first page. Read more: Create a Campus registration page. |
| Add IP addresses for simplified registration |
Click Settings and add the classroom's external IP address in the Allowed IPs for bulk registration section. This allows students to register at the same time from one network without being blocked. The item is completed once you add your first IP address. Read more: Add IP addresses for simplified registration. |
 Last Updated: 10.08.2026





or