Create a form
Use the Form element in a course to collect structured responses from students.
You can request contact details, gather feedback, learn more about your audience, or ask students to upload files for review.
Let’s talk about how to add a form to a course and set it up.
Add a form
In the course builder, click the arrow next to Add lesson and select Add form.
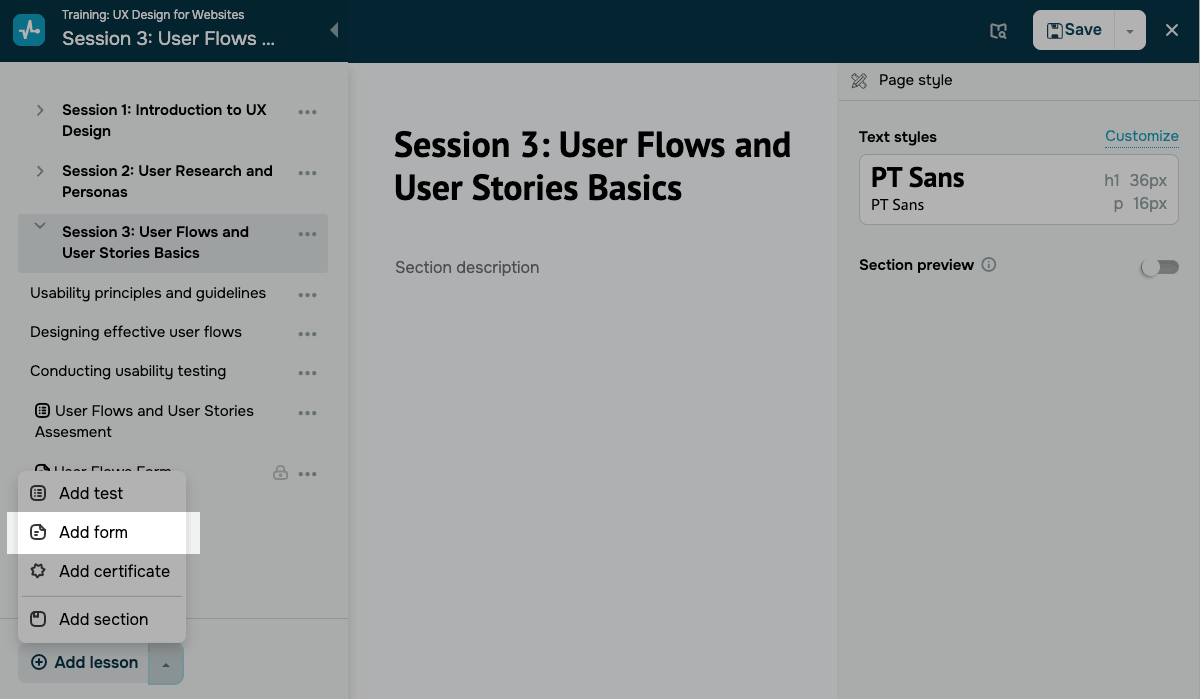
The builder creates a new form with a default question.
Add a question
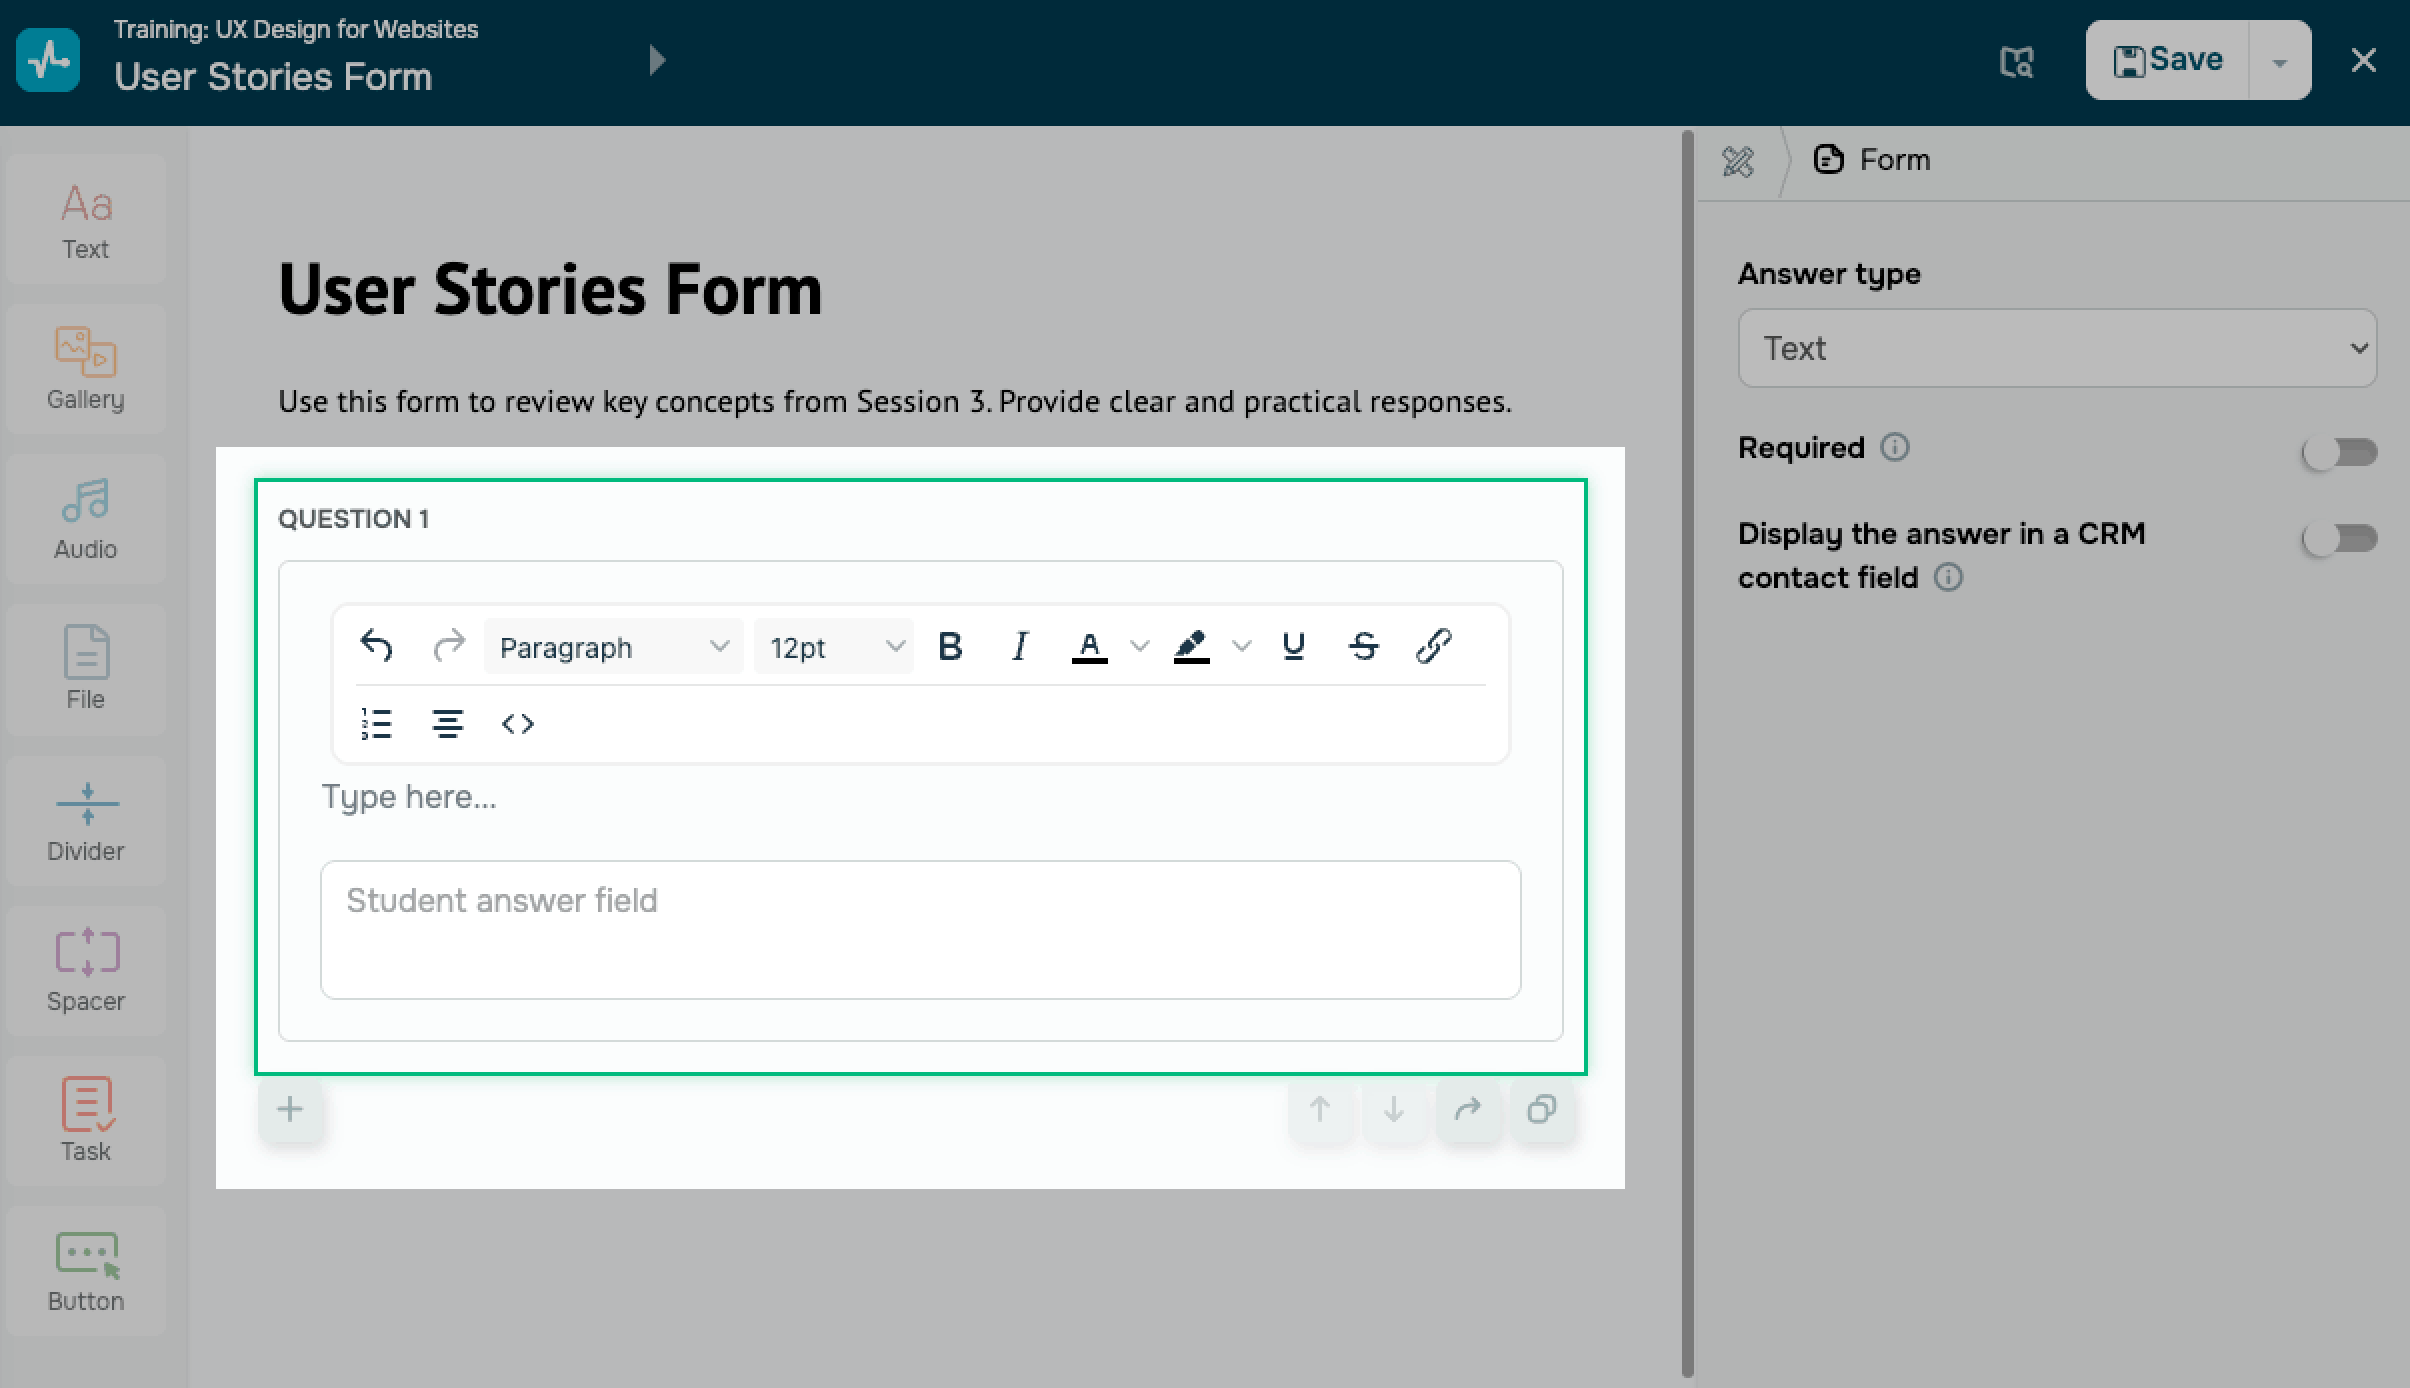
Click a question to edit it. In the question field, enter your question text. Use the formatting toolbar above the field to format your question text.
To add more questions to your form, click the Add a question icon.
Manage questions
To manage a question, use the following action icons:
| Move up | Moves the question higher in the form. |
| Move down | Moves the question lower in the form. |
| Copy to another form | Copies the question to another form in your courses. |
| Duplicate | Creates a copy of the question in the current form. |
| Delete | Removes the question from the form. |
Set an answer type
Select a question in the panel on the right in Answer type choose an option. The answer type controls what students see and which settings you can configure for each question.
To make a question required, turn on the Required toggle.
Text
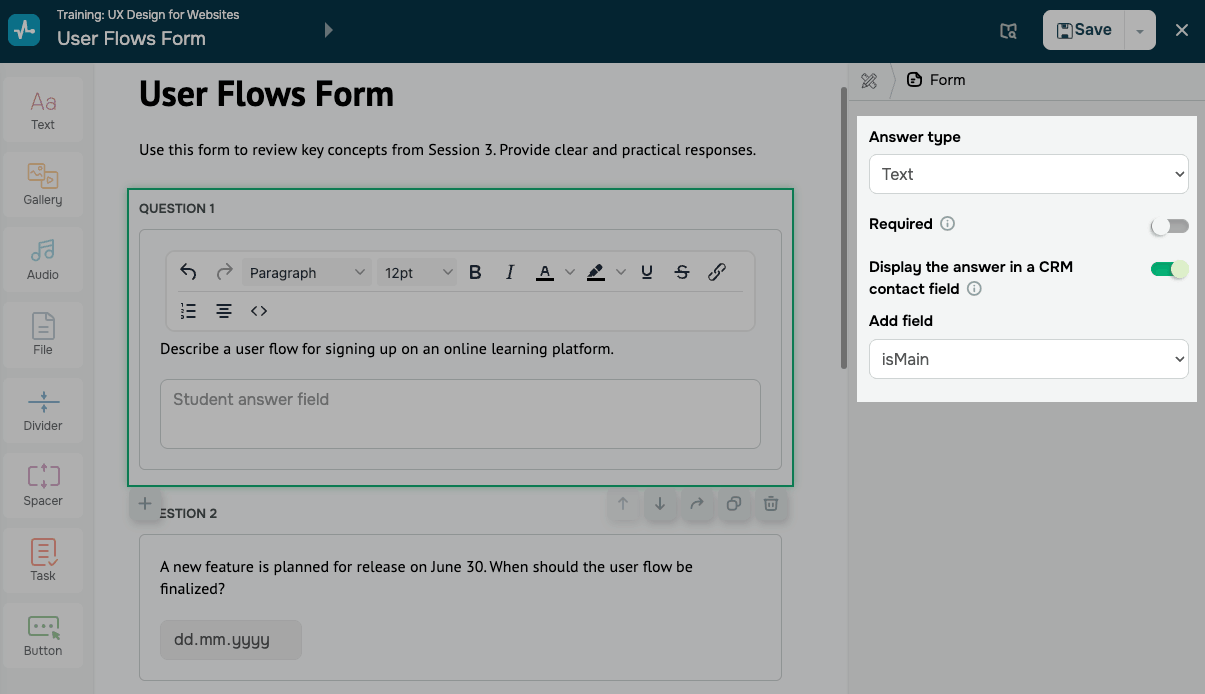
Text collects free-form responses.
To save the student’s response to the CRM system, turn on the Display the answer in a CRM contact field toggle. In Add field, select the CRM contact field where the system should save the value.
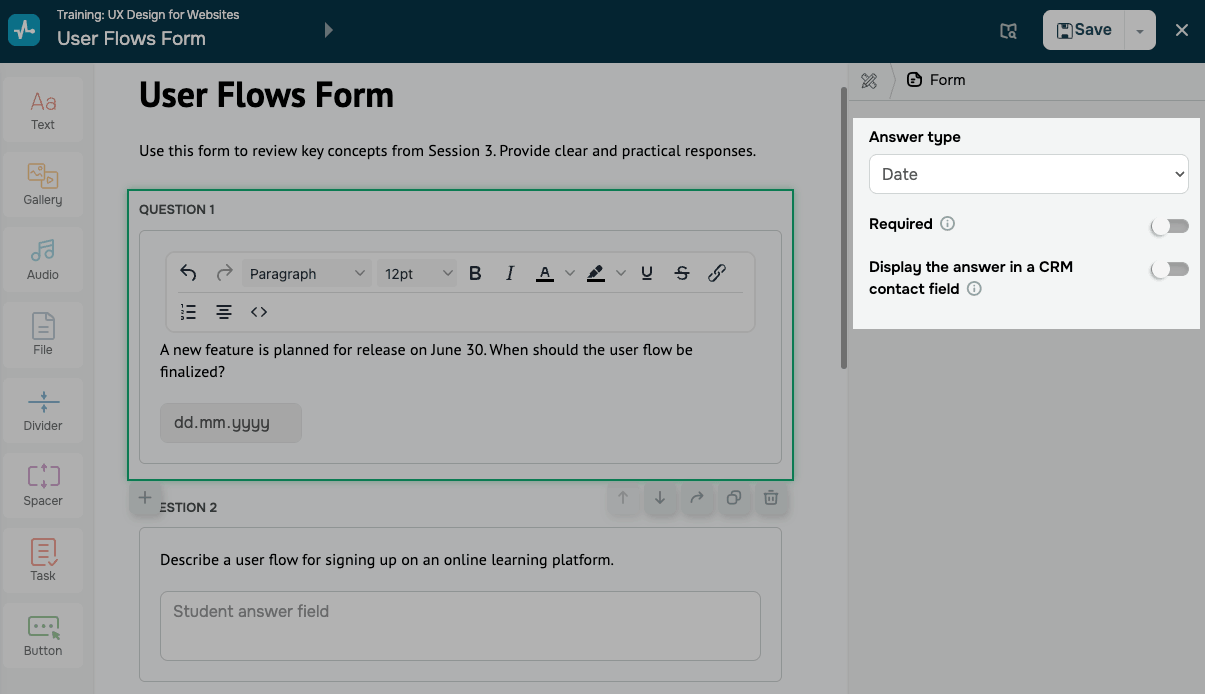
Date
Date collects date responses. For example, you can collect your students' important dates to provide them with special offers.
To save the student’s response to the CRM system, turn on the Display the answer in a CRM contact field toggle. In Add field, select the CRM contact field where the system should save the value.
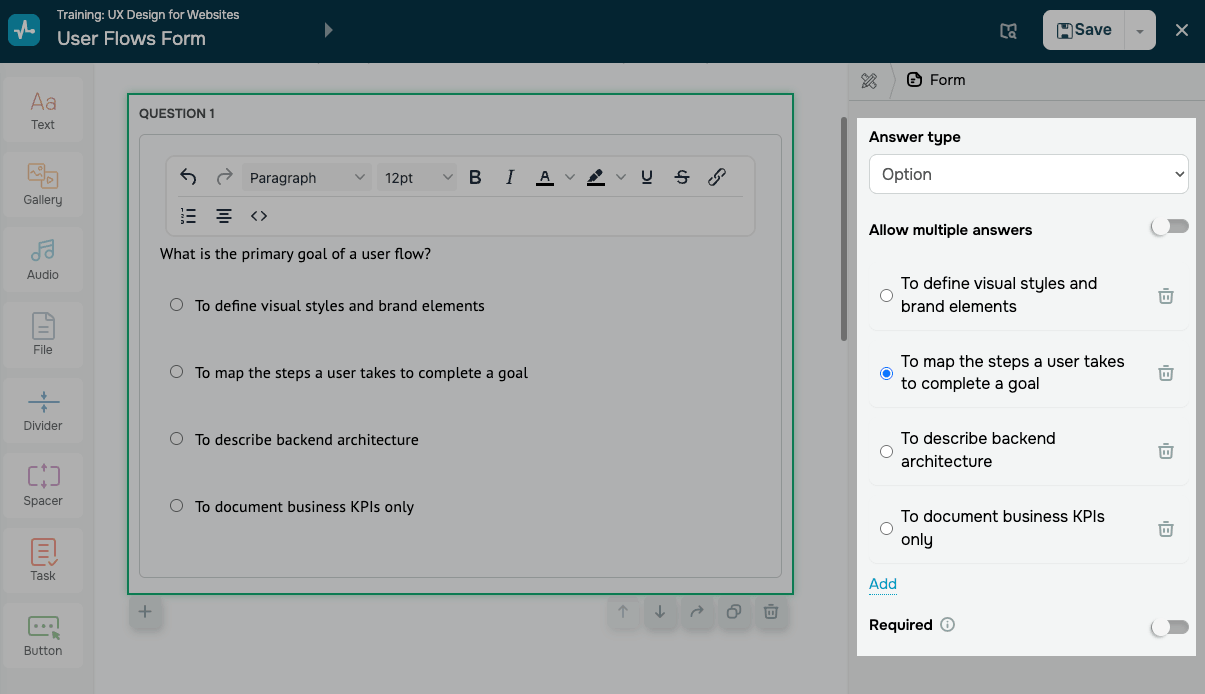
Option
Option collects one or more choices from a list of options.
To allow students to select more than one option, turn on the Allow multiple answers toggle.
When you add a new option, enter your option text in the input field.
To add a new option to the list, click Add. To delete an option, click the Trash can icon.
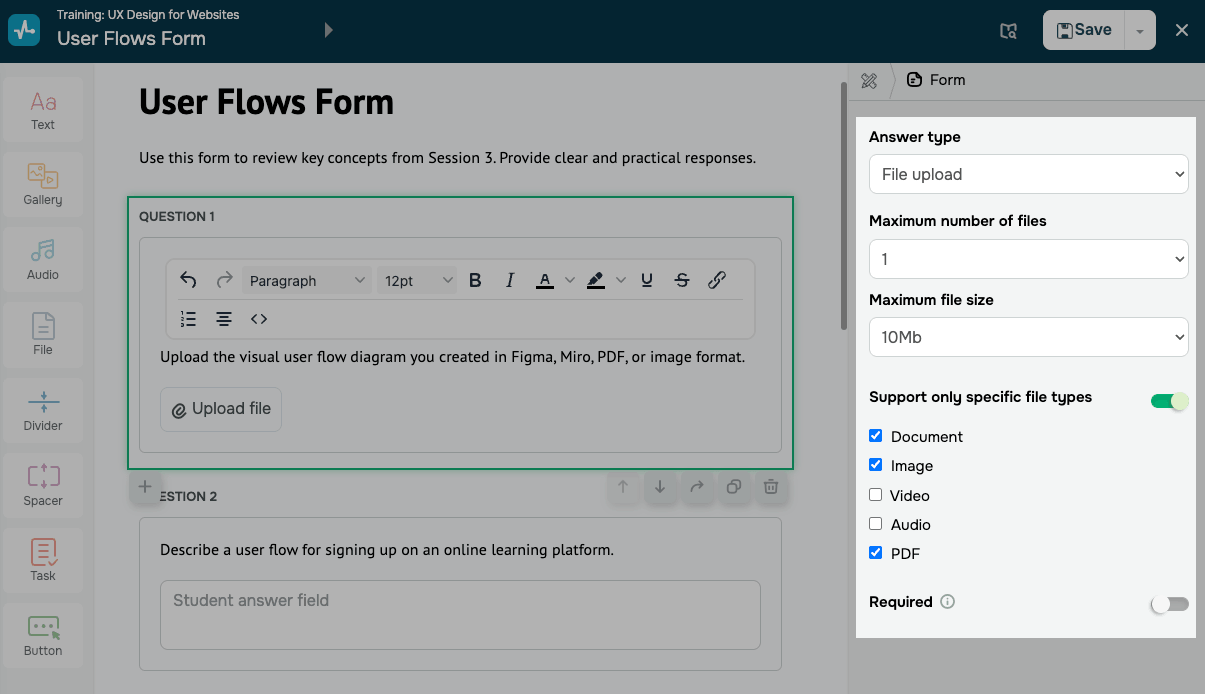
File upload
File upload collects one or more files.
Configure each question using the following settings:
| Maximum number of files | Limits how many files a student can upload for a specific question. |
| Maximum file size | Limits the size of each uploaded file. |
| Support only specific file types | Accepts files only in the selected formats.
Turn on the toggle and select a file type, including document, image, video, audio, and PDF. |
SendPulse saves uploaded files in your account storage. You can view and manage them in the file manager.
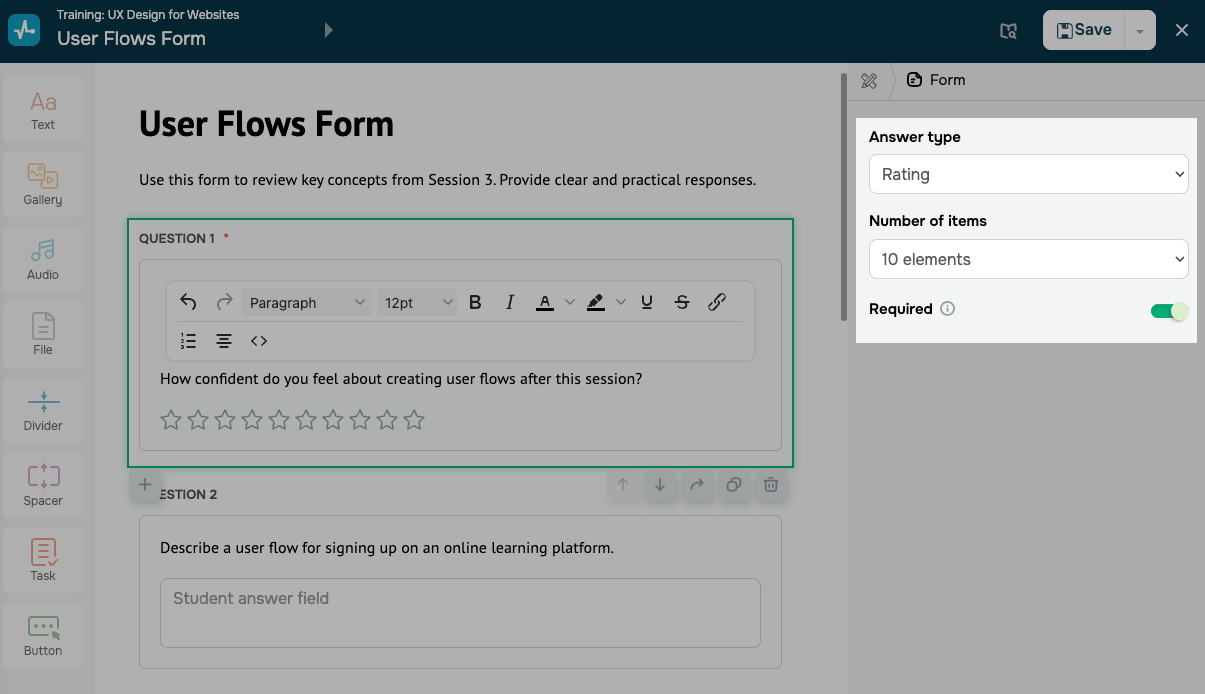
Rating
Rating collects ratings on a numeric scale. For example, you can collect your students' reviews to see how they are satisfied with your course program, teachers, etc.
To set how many rating points appear on the scale, select an option in Number of items.
Once you finish setting up the form, click Save in the upper-right corner of the builder. You can view student answers in Analytics tab and in the CRM contact card.
Last Updated: 20.02.2026
or