Set form access
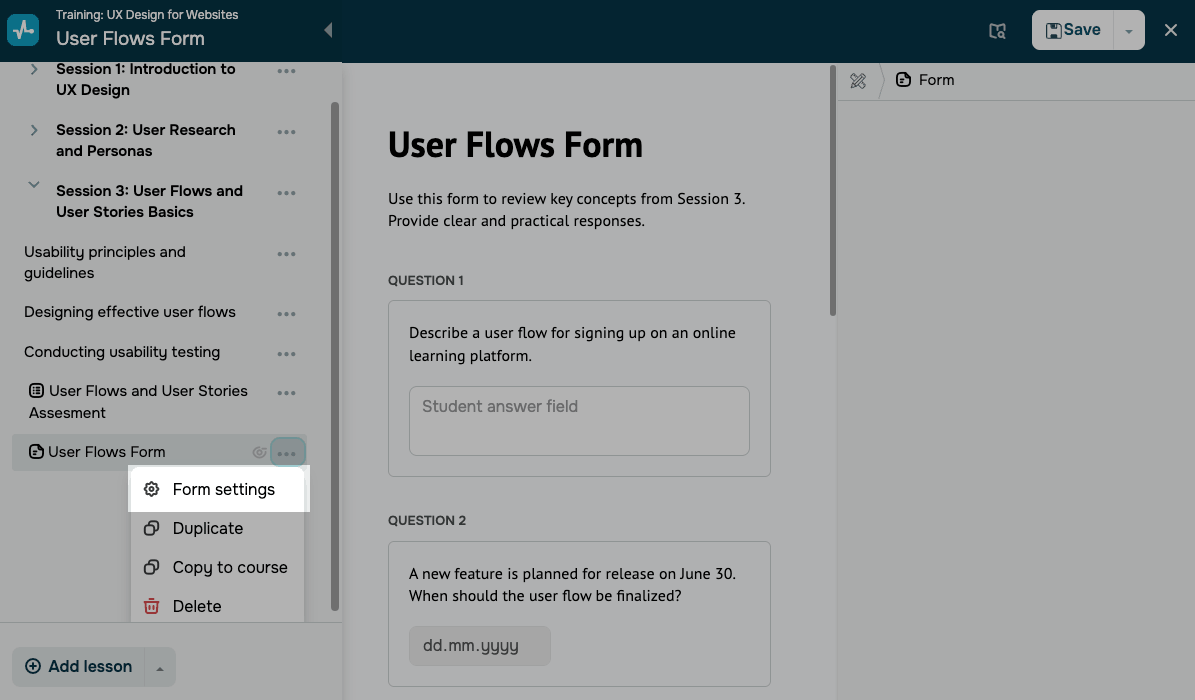
Go to the course builder, сlick on the top left panel to expand the list of lessons, and select Form settings from the drop-down menu of the desired form.
Let's talk about how to update form access settings and make it visible to students.
Form access options
If you add a new form to a running course, its access will be automatically set to Closed. To make your form available, go to its settings.
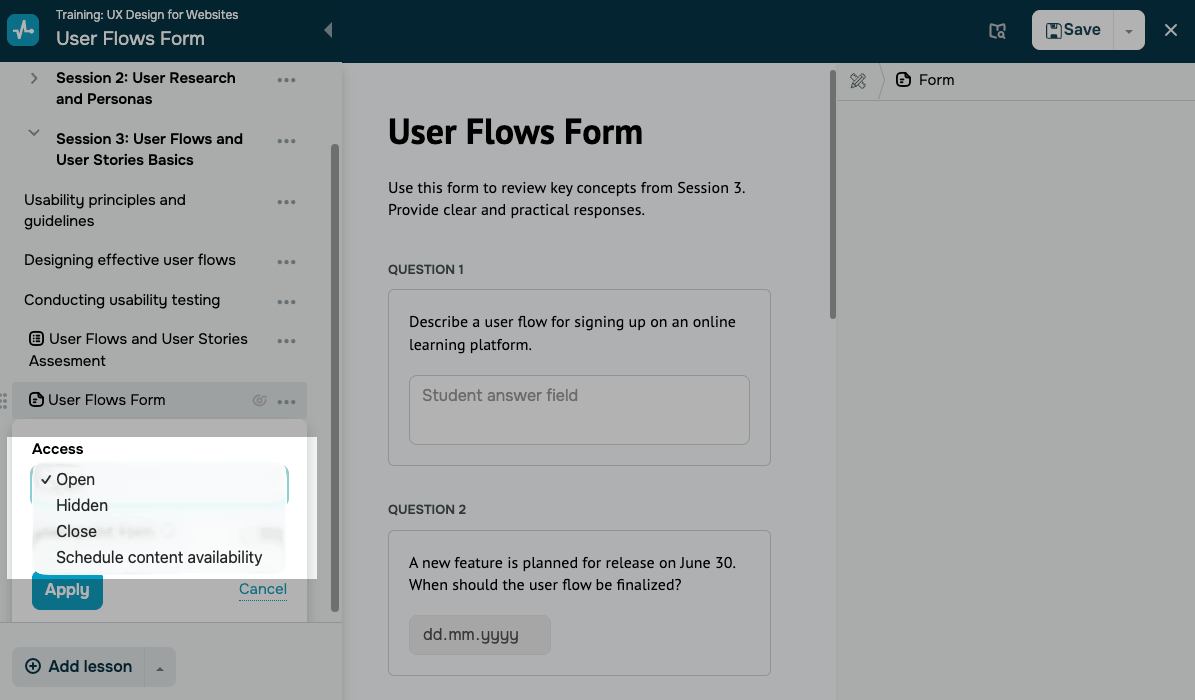
In the Access field, select a form availability option:
| Open | If your course is non-sequential, students will be able to take the form right away. If it is sequential, they will need to reach the required course section to take the form. |
| Hidden | Students cannot take the form. However, instructors can view and edit it in the course builder and instructor accounts. The form will not impact students' course completion and scoring. |
| Close | Students cannot take the form. It will appear with the Close status in your course program, unlike forms with the Hidden status. |
| Schedule an opening | Students can take the form on a scheduled date and time. |
You can select from the following scheduling options:
| On a date | The form will be available on a selected date and time.
Select a date, time, and timezone. If you select a past date, your form will be marked as |
| In | The form will be available after the previous test launch.
Enter the number of days for which the system should wait after the previous test launch to make your next form available. This option is available only if you have scheduled your previous test. |
Scheduled form opening will appear in the Calendar tab of instructor and student accounts with paid pricing plans.
Checkpoint form
To ensure that students cannot proceed in your course until they pass a form, you can turn on the Checkpoint form toggle.
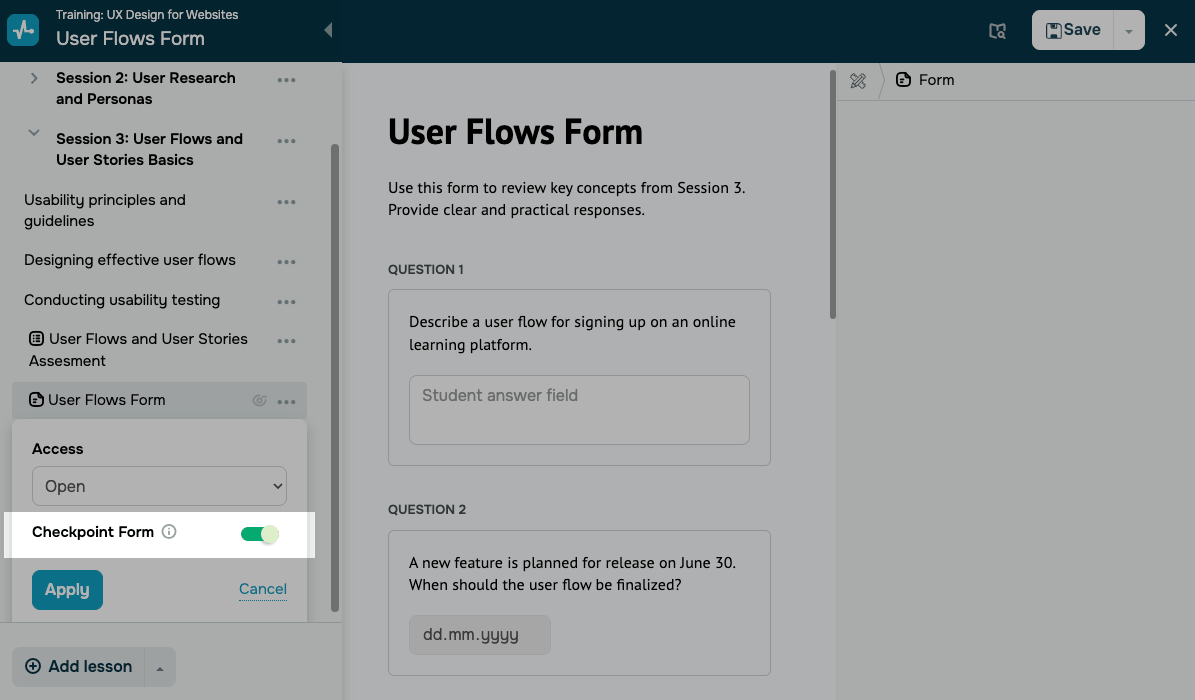
Once you configure all the required settings, click Apply.
Last Updated: 24.02.2026
or