How to add a site to send push notifications
A push notification is a message from a website that pops up on a user’s device. You can use these notifications to inform site visitors about news, sales, order statuses, and other important events.
In this article, we'll look at how to add a site to send push notifications, set up a subscription request, and add code to your site.
Add a site
Go to the Push section, and click Add new website.
Select a site protocol, and enter a link to your site.
Pages of sites with domains created with a dot . are considered separate sites and must be added separately. Site pages with domains created with a slash / are considered pages of a single. After installing the script and collecting subscribers, you can divide the audience using segmentation.
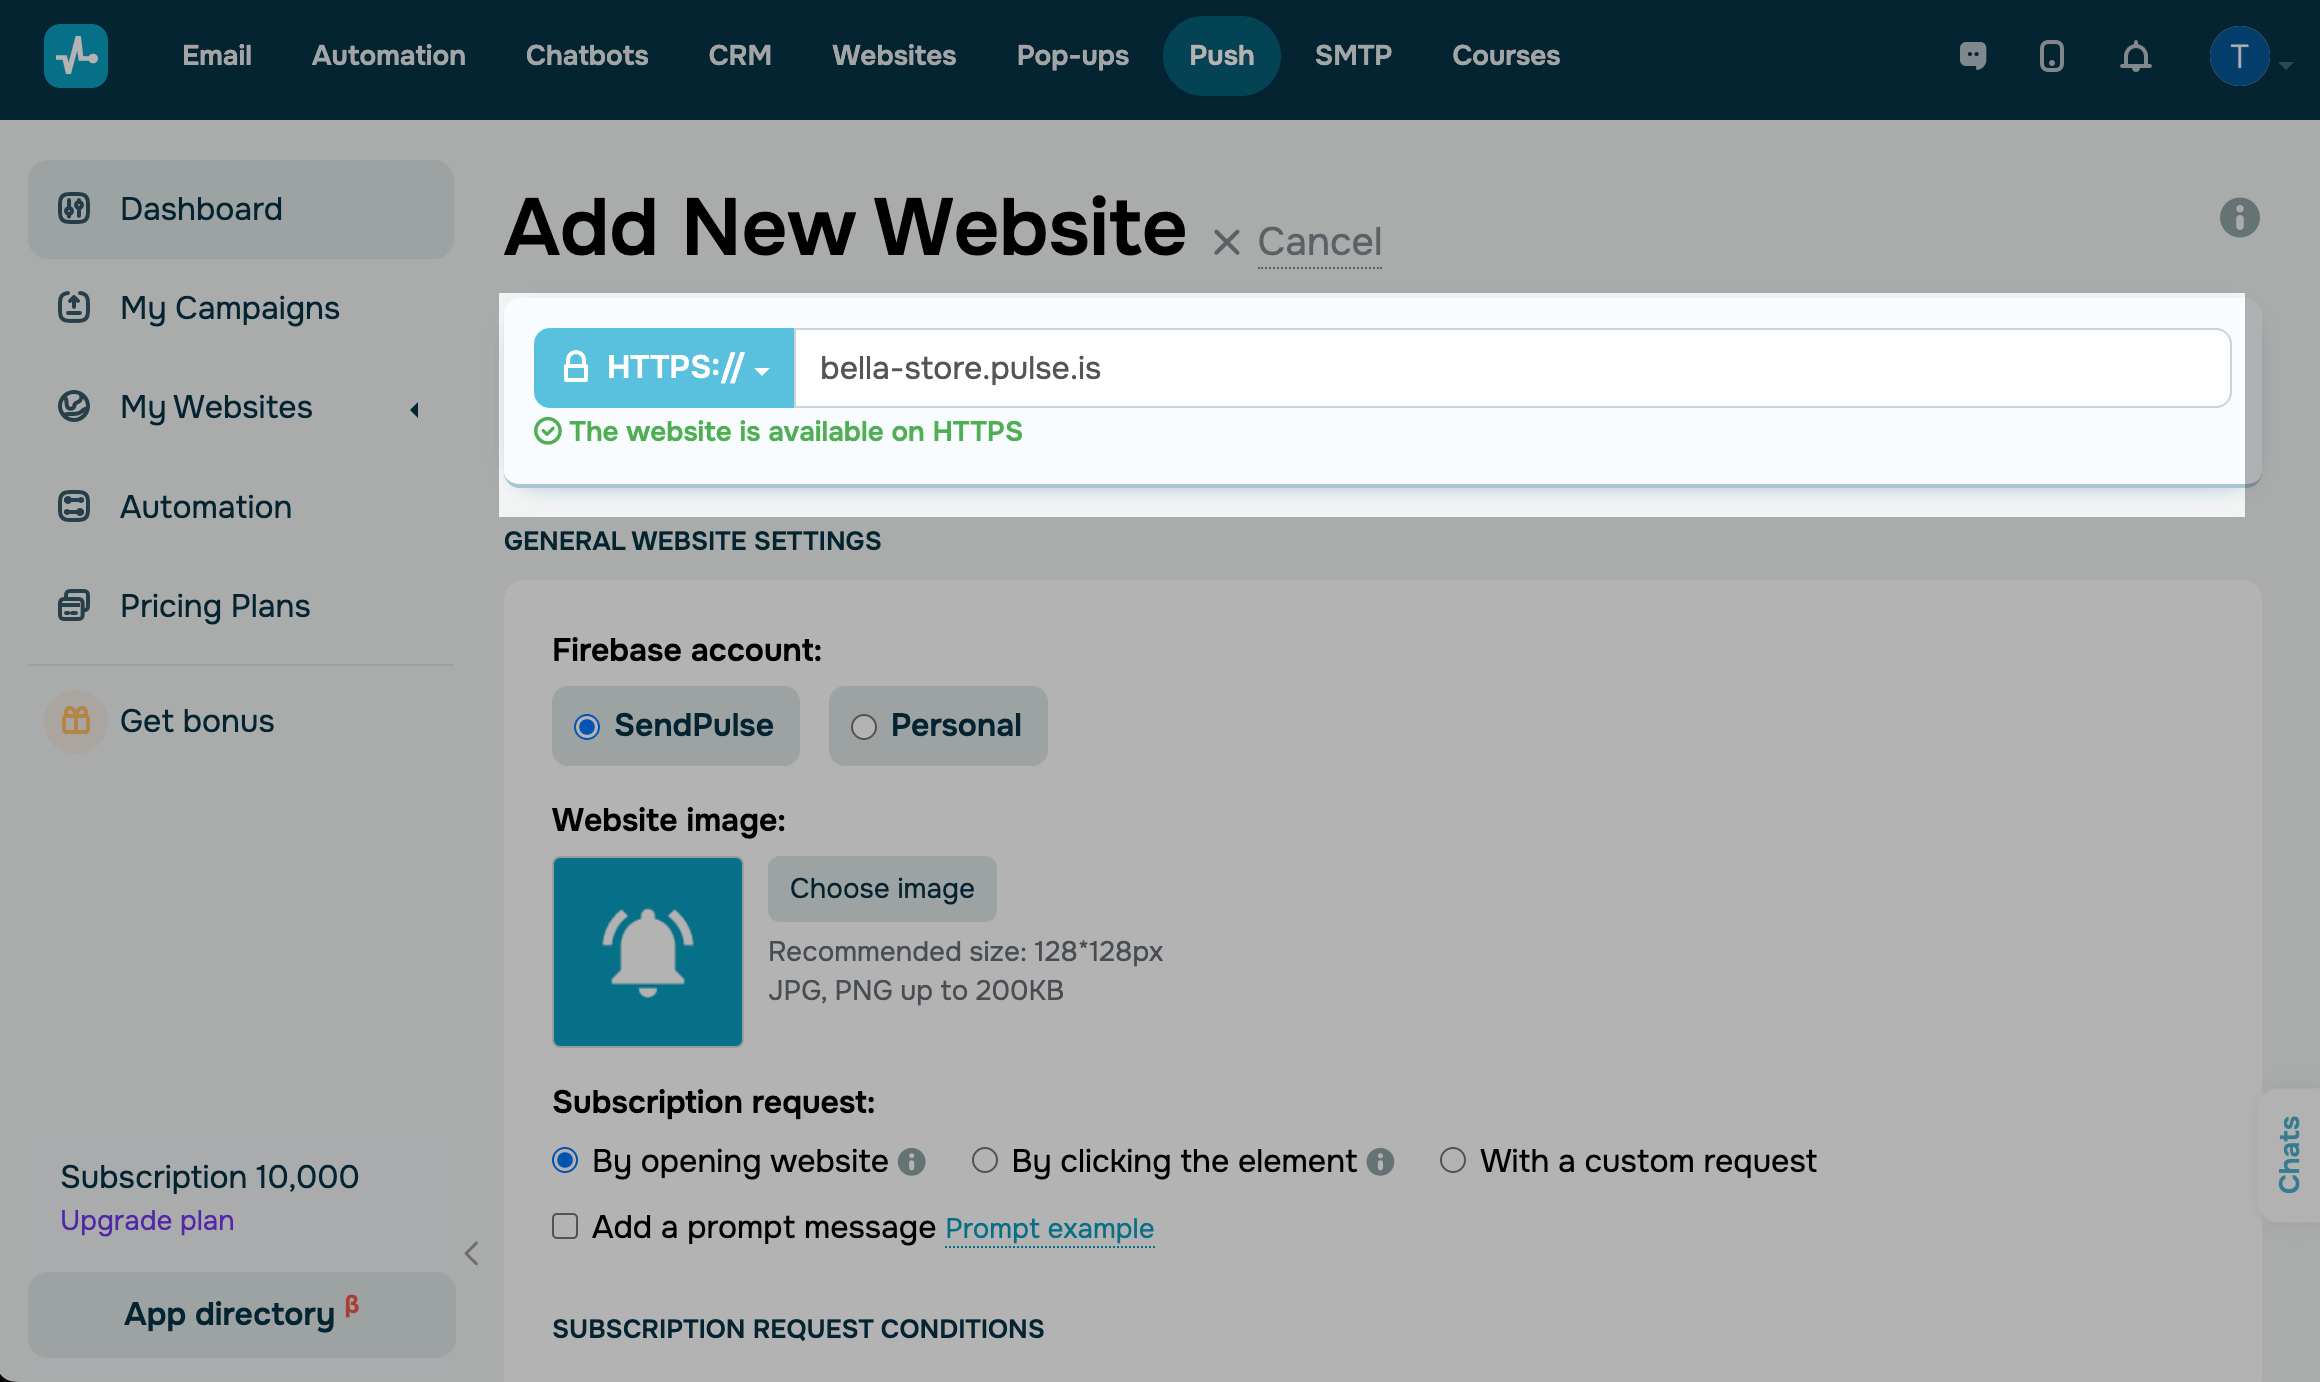
Select a Firebase account type to collect analytics:
| SendPulse | Connects a SendPulse account to Firebase. |
| Personal | Connects your own Firebase account.
Learn more: How to connect your Firebase account. |
In the Website image select an image to display in your subscription request.
The image will only be displayed for the custom subscription request and during sending campaigns.
Customize a subscription request
Select the condition for displaying the subscription request:
| By opening the website | The subscription request will be displayed right after a visitor opens your site.
Specify the condition for displaying the request. You can also hide push notifications on mobile devices and add a prompt message. |
| By clicking the element | The subscription request will be displayed right after a visitor clicks a link or a button
Copy and add the |
| With the custom request | The subscription request will be displayed right after a visitor confirms their subscription using the custom subscription request.
Select the display type: default, lightbox, topline, Safari-like, or floating button. Customize your block appearance and placement. |
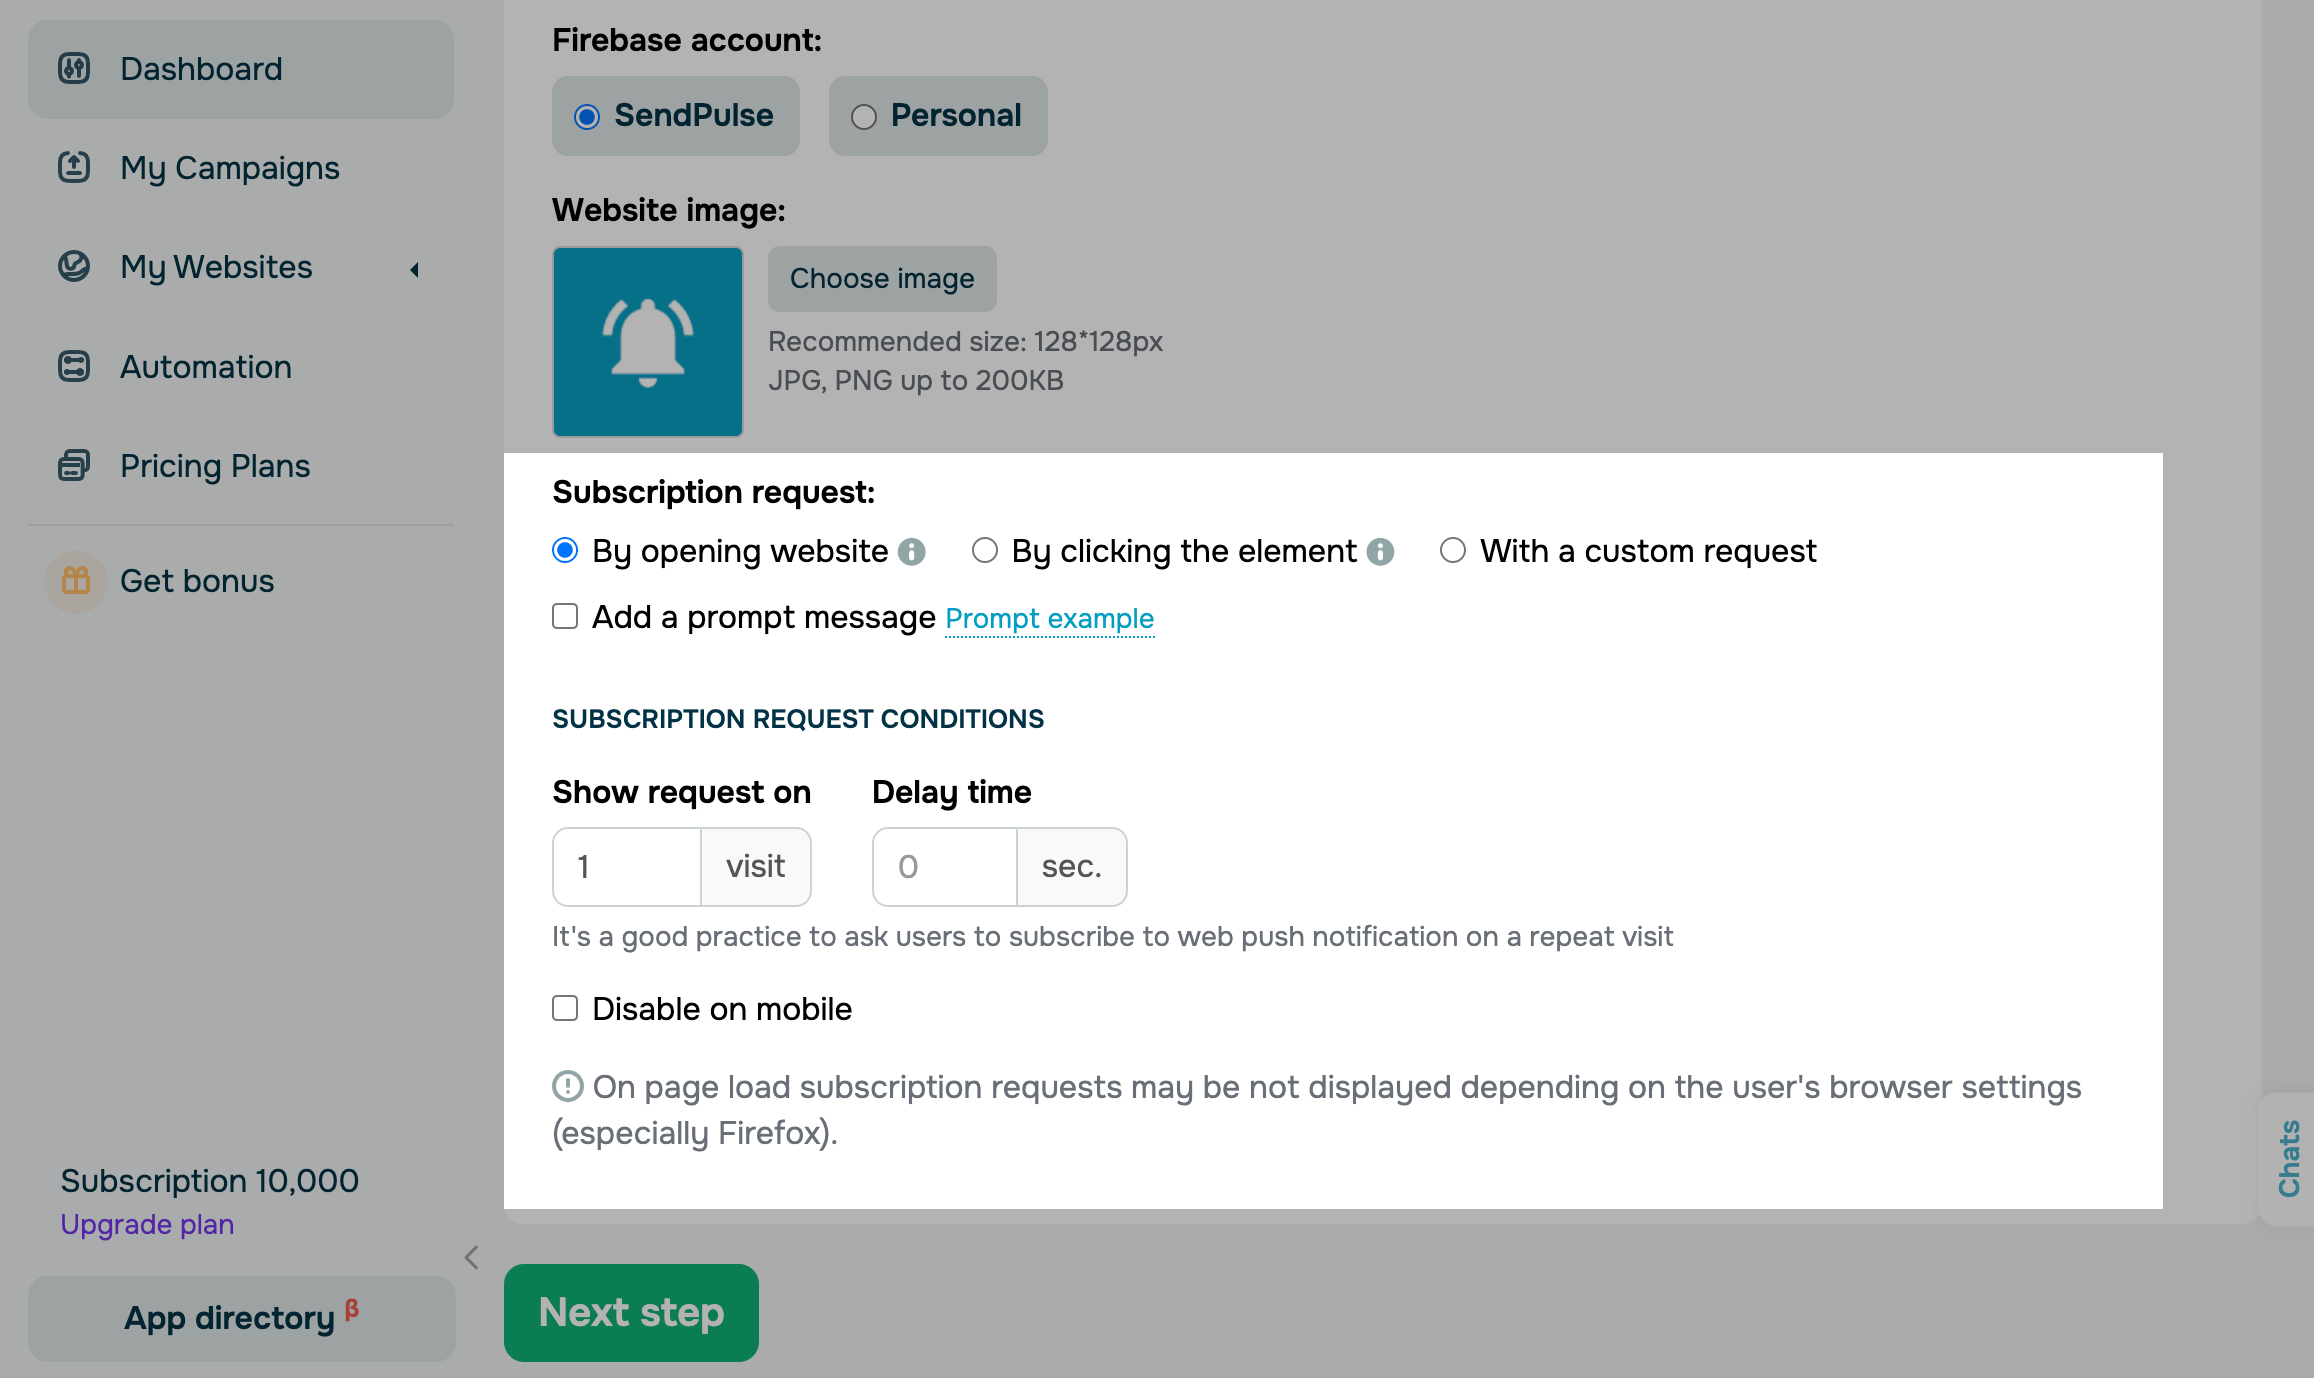
Click Next step.
Add code to your site
Next, you will see a script and installation files needed to enable web push notifications.
If you are using a SendPulse-powered website or plugins, you only need to copy the script from the first field and paste it into the corresponding settings field.
If you are using a third-party website and don't use SendPulse plugins, copy the script and add it to your source code before the </head> tag. Download the installation files and upload them to your website's root directory (root or /).
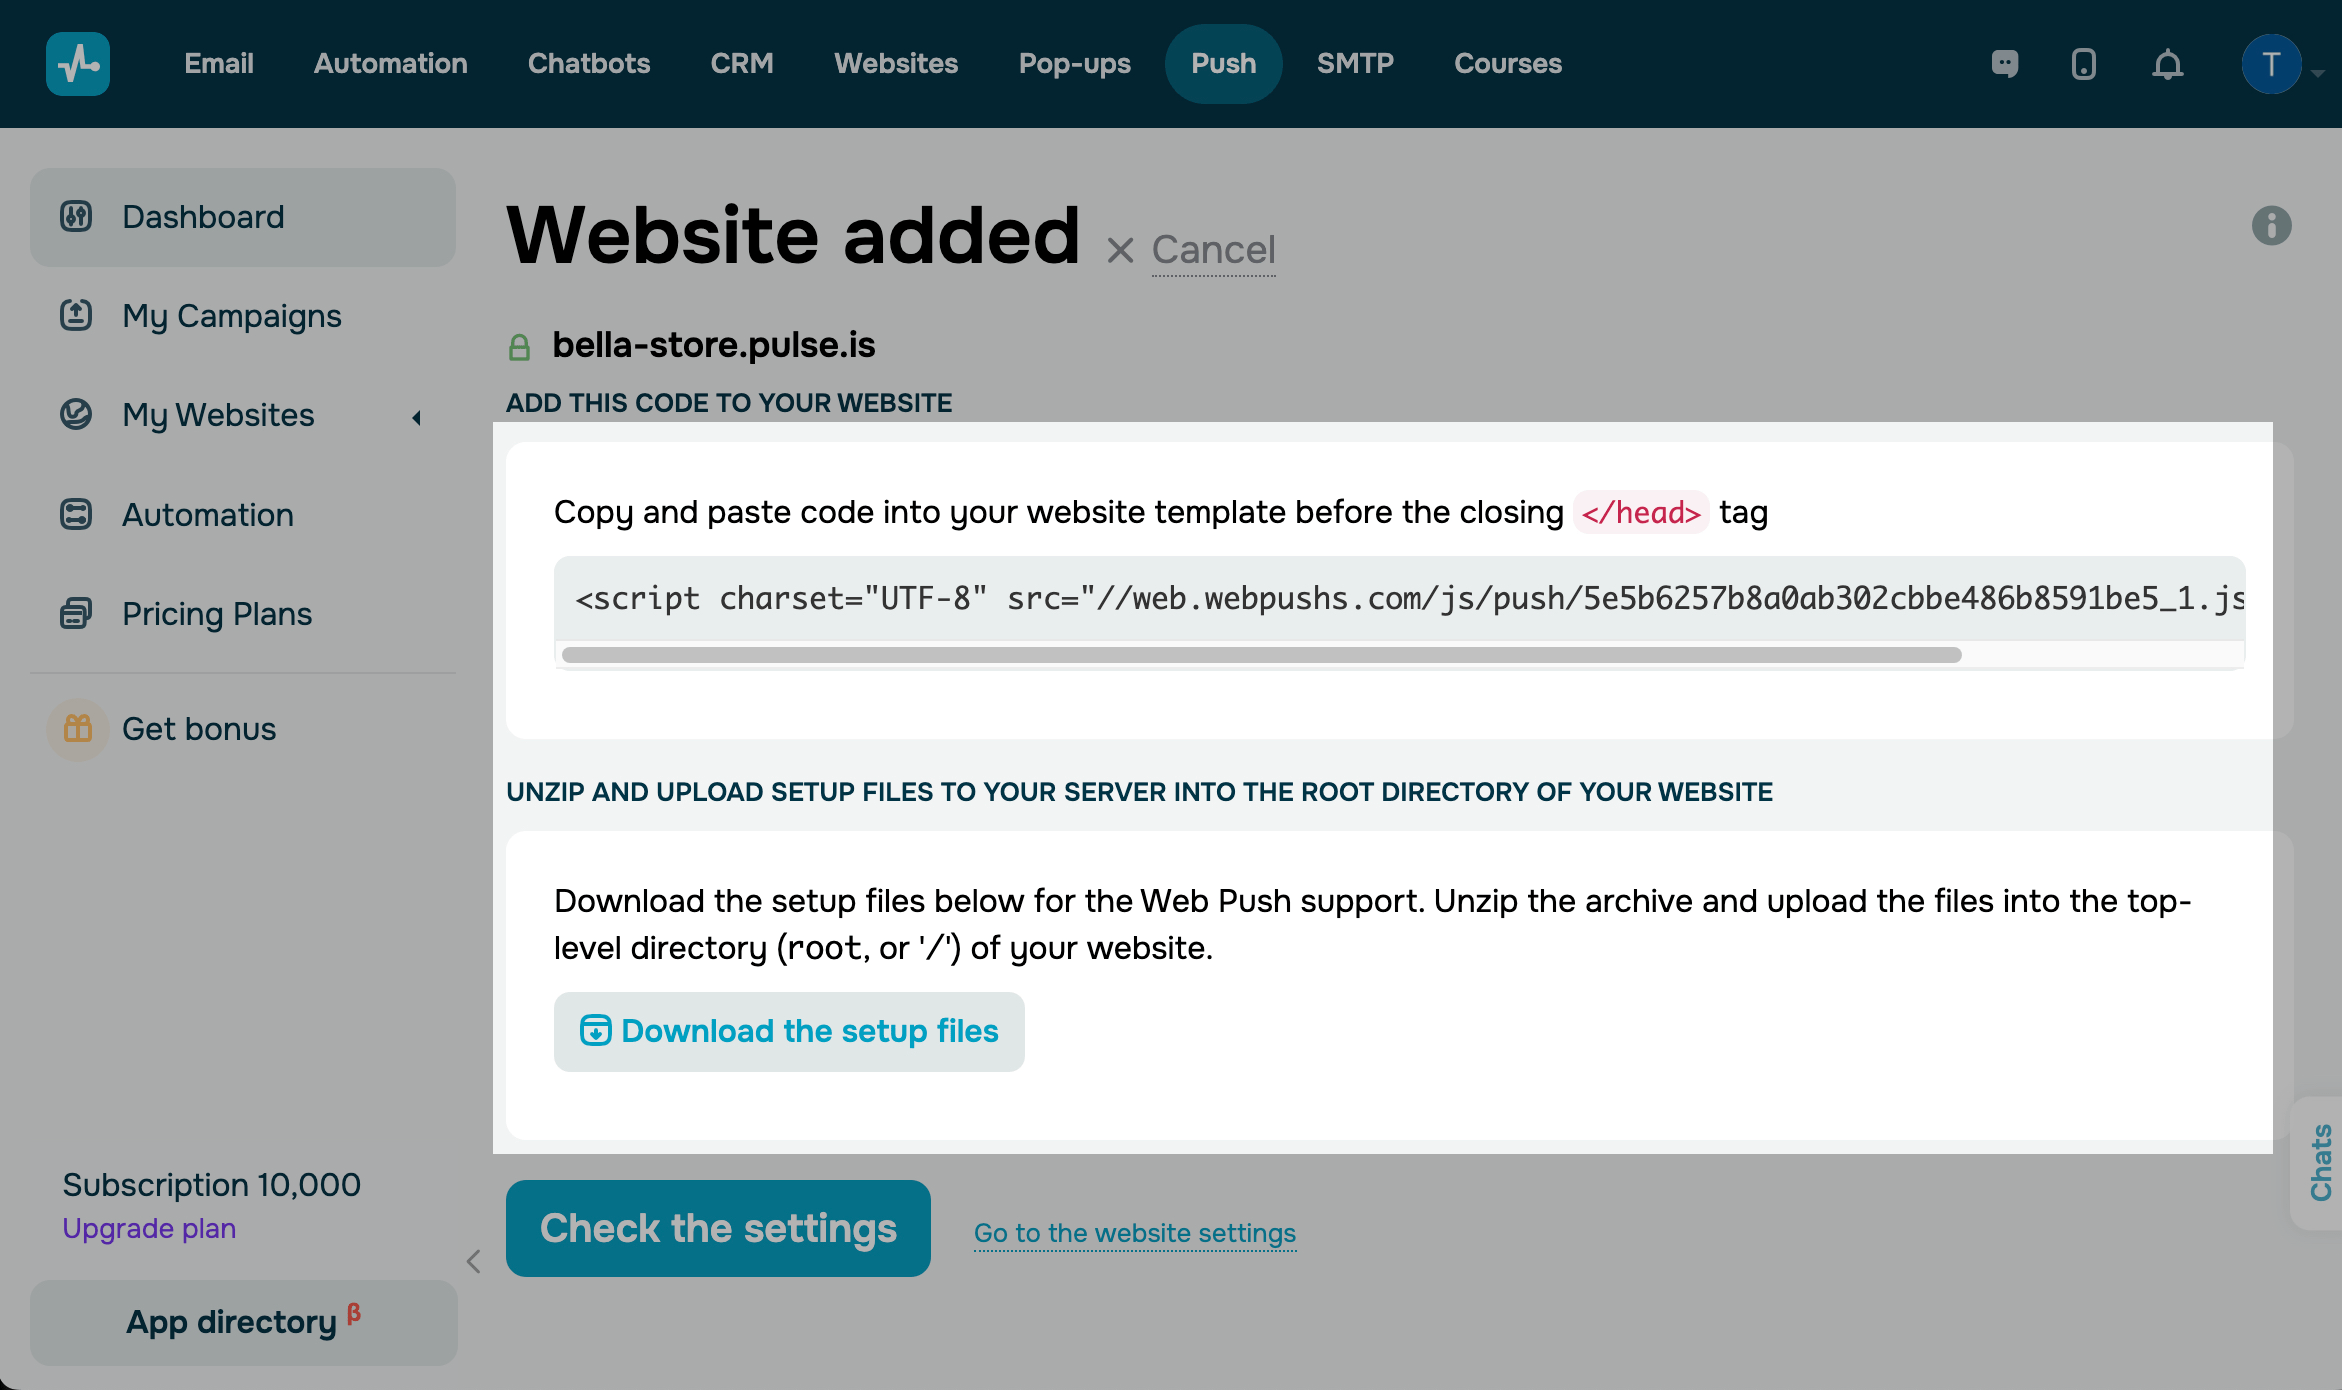
To configure the integration later, close the window. You can access web push notification settings in Site Settings > Site Integration.
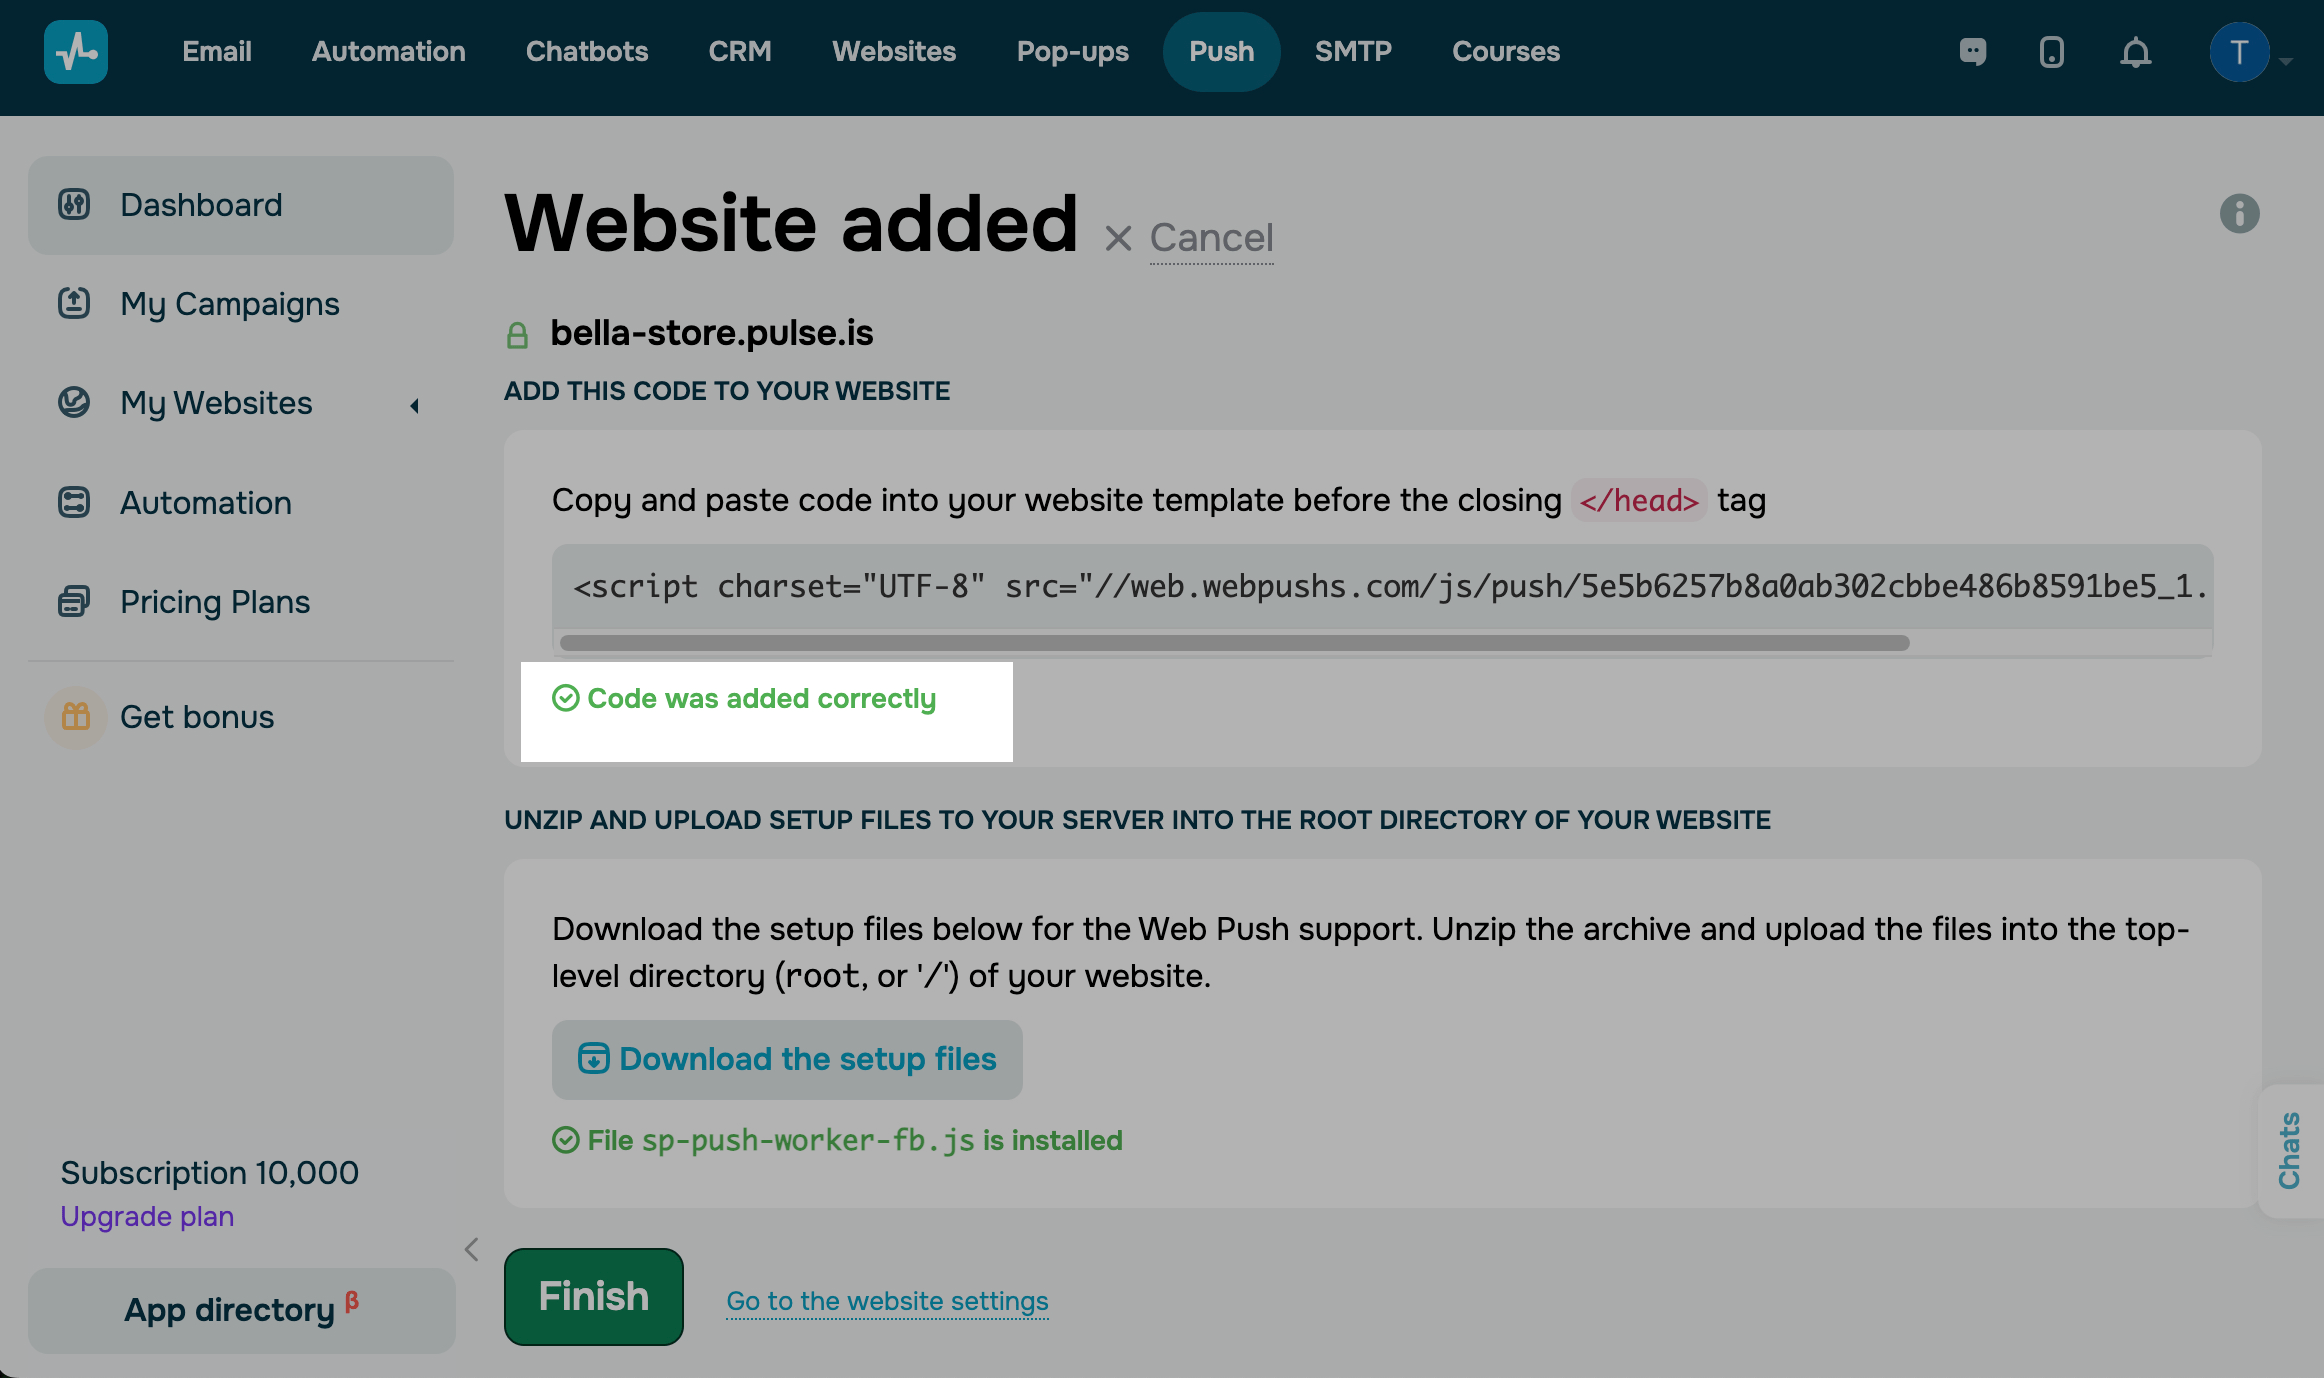
Check the installation status
If you haven’t closed the setup window, click Check the Settings. You will see a green checkmark if you have added the script correctly.
Note that it may take some time for the server to recognize the script after installation.
If you have closed the setup window, go to Site Settings > Site Integration and click Check the Settings.

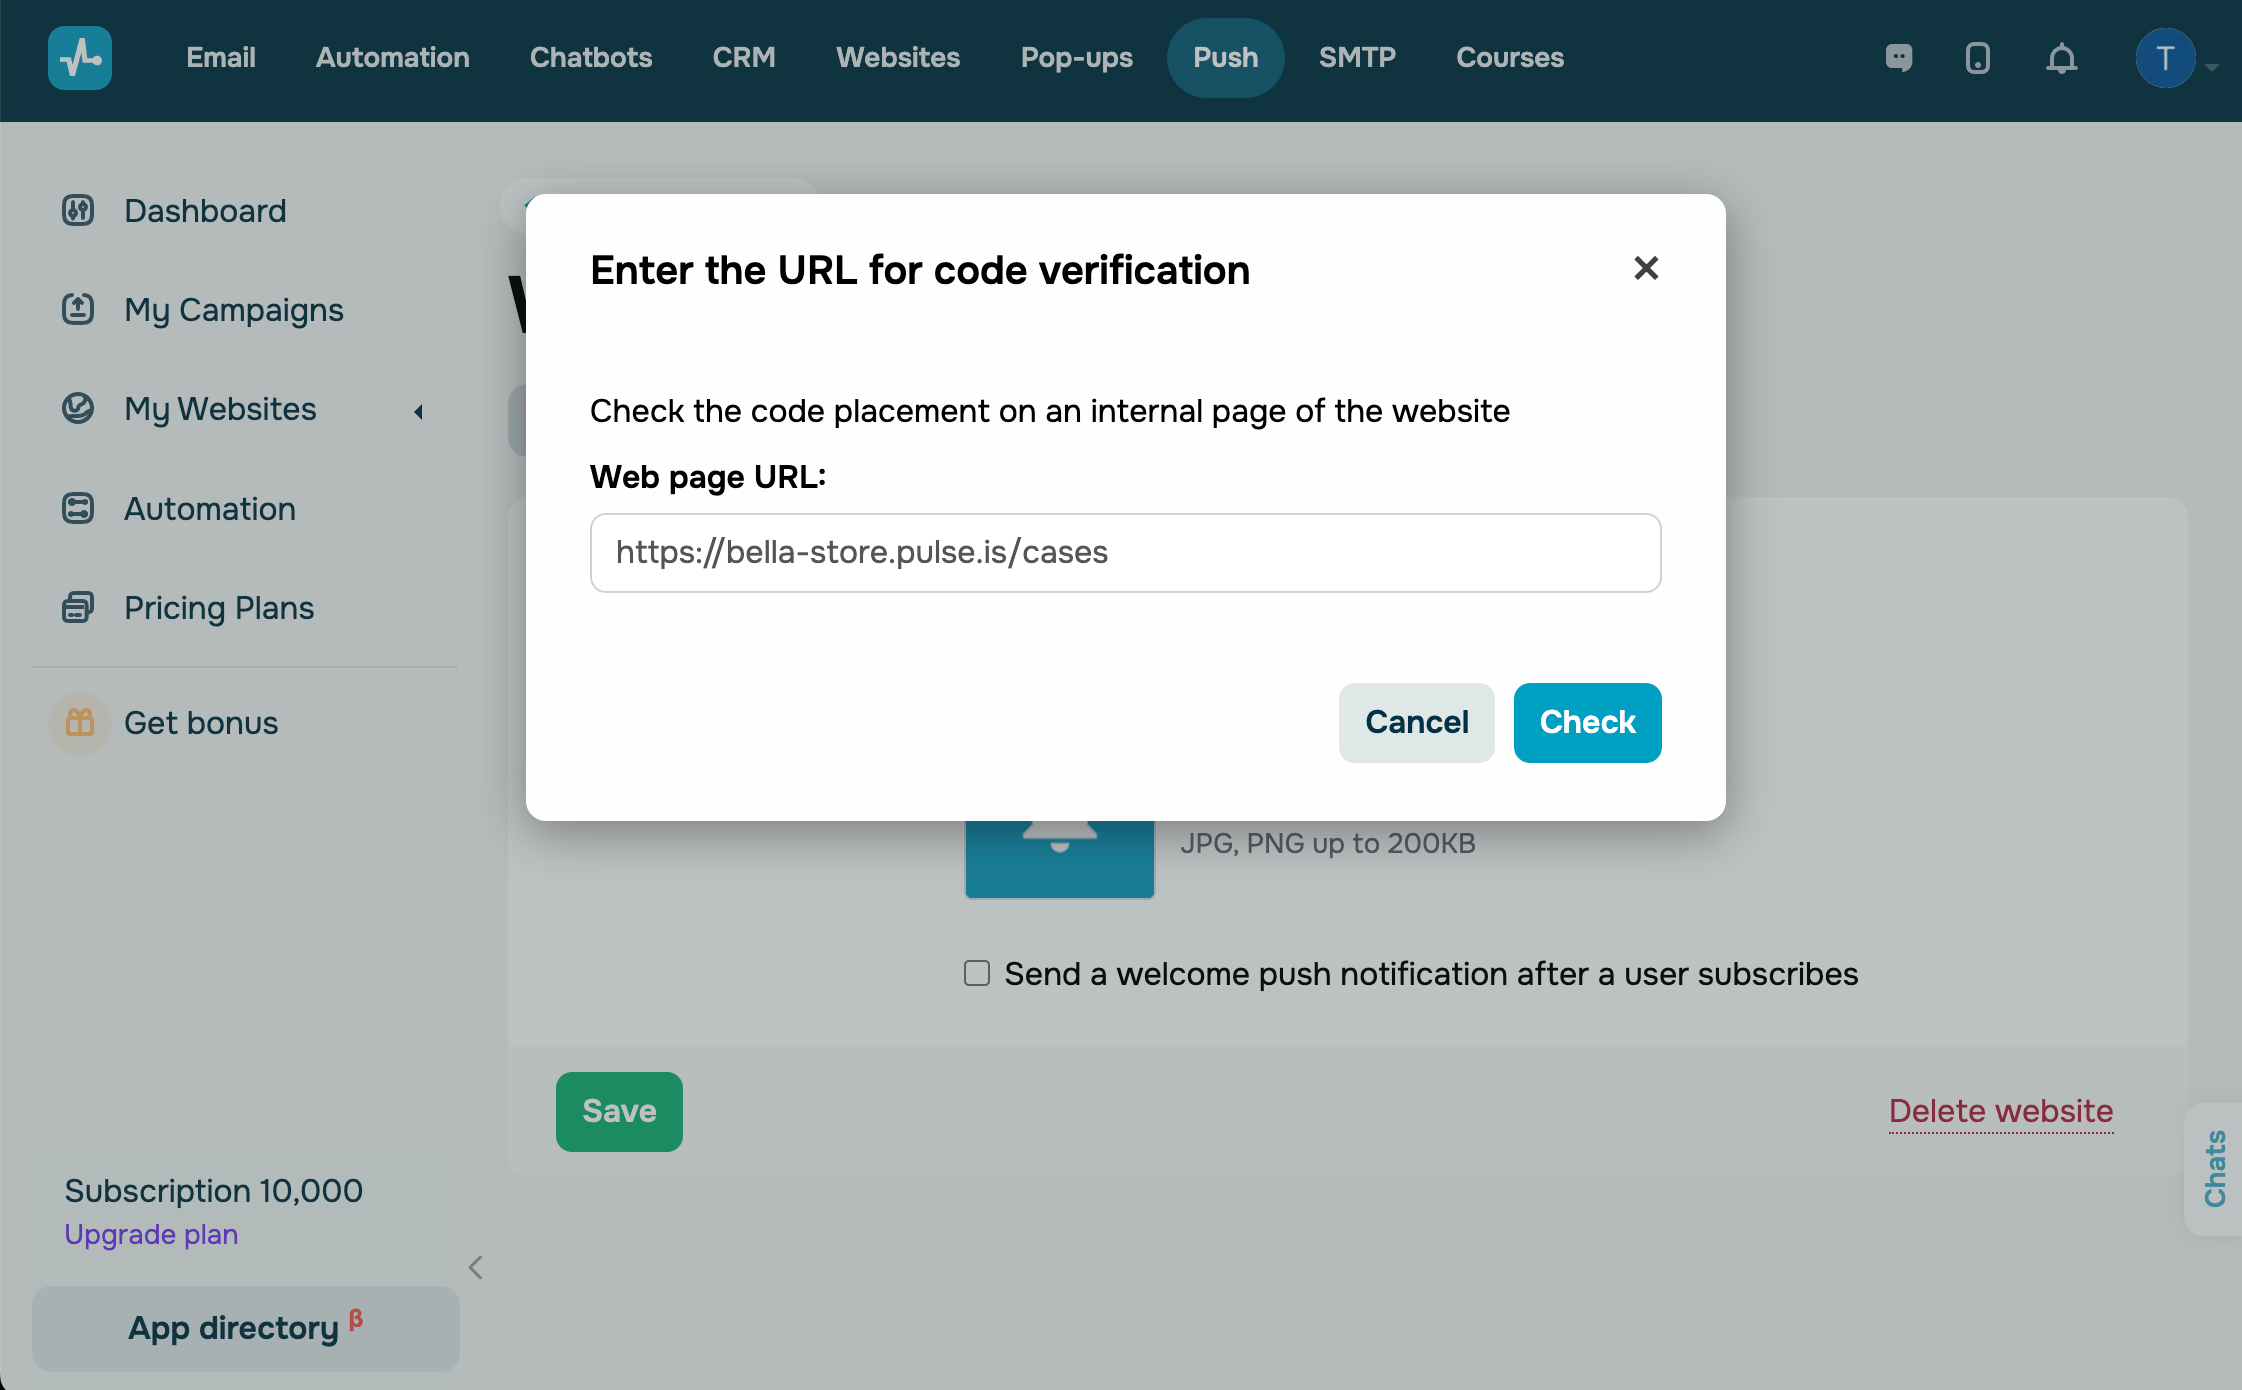
If you installed the script on a separate page, then to verify the code, you need to specify this page in SendPulse. Go to Site settings > General settings tab, and click Specify a page to check. In the next window, specify this page and click Check.
Once your website is connected and the subscription request appears, you can start collecting subscriber data and send campaigns and automated messages.
Last Updated: 26.11.2024
or