Use smart personalization in emails
Smart personalization helps you create more effective campaigns. You can address subscribers by name, as well as customize the email text for individual cities or countries.
In this article, we'll show you how to set up email personalization in the subject and body of your email.
What is personalization
Personalization involves including subscribers’ personal data into your emails to make them relevant to each user.
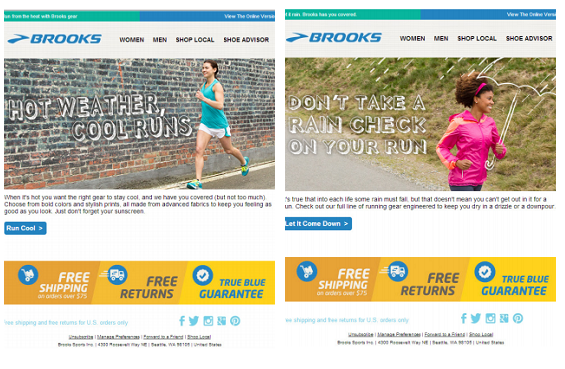
In the Brooks campaign example, emails are personalized using subscribers’ location.
What is smart personalization
Smart personalization means including subscribers' personal information into your emails by certain criteria. Subscribers will receive different information based on the available data in your mailing list.
With SendPulse, you can use the following personalization criteria:
| Empty | The variable has an empty value and contains no data. |
| Equal | The variable contains the exact value you will enter. |
| Not equal | The variable does not contain the exact value you will enter. |
| Contains | The variable contains a partial match to the value you will enter. |
| Does not contain | The variable does not contain a partial match to the value you will enter. |
| Starts with | The variable contains the value you enter at the beginning of the variable. |
| Ends with | The variable contains the value you will enter at the end of the variable. |
| More | The variable contains a value that is bigger than the number you enter. |
| More or equal | The variable contains a value that is bigger than or equal to the entered number. |
| Less | The variable contains a value that is less than the entered number. |
| Less or equal | The variable contains a value that is bigger than or equal to the entered number. |
The service supports the IF and ELSE logic operators when working with personalization criteria.
IF |
Used if the variable value matches the criterion. |
ELSE |
Used if the variable value does not match the criterion. |
How to use smart personalization
You can use smart personalization in the subject line and body of your email.
In the email subject line
Start creating a campaign. In the Information About Campaign section, select the mailing list. After that, a variable selection button will become active in the Subject line field.
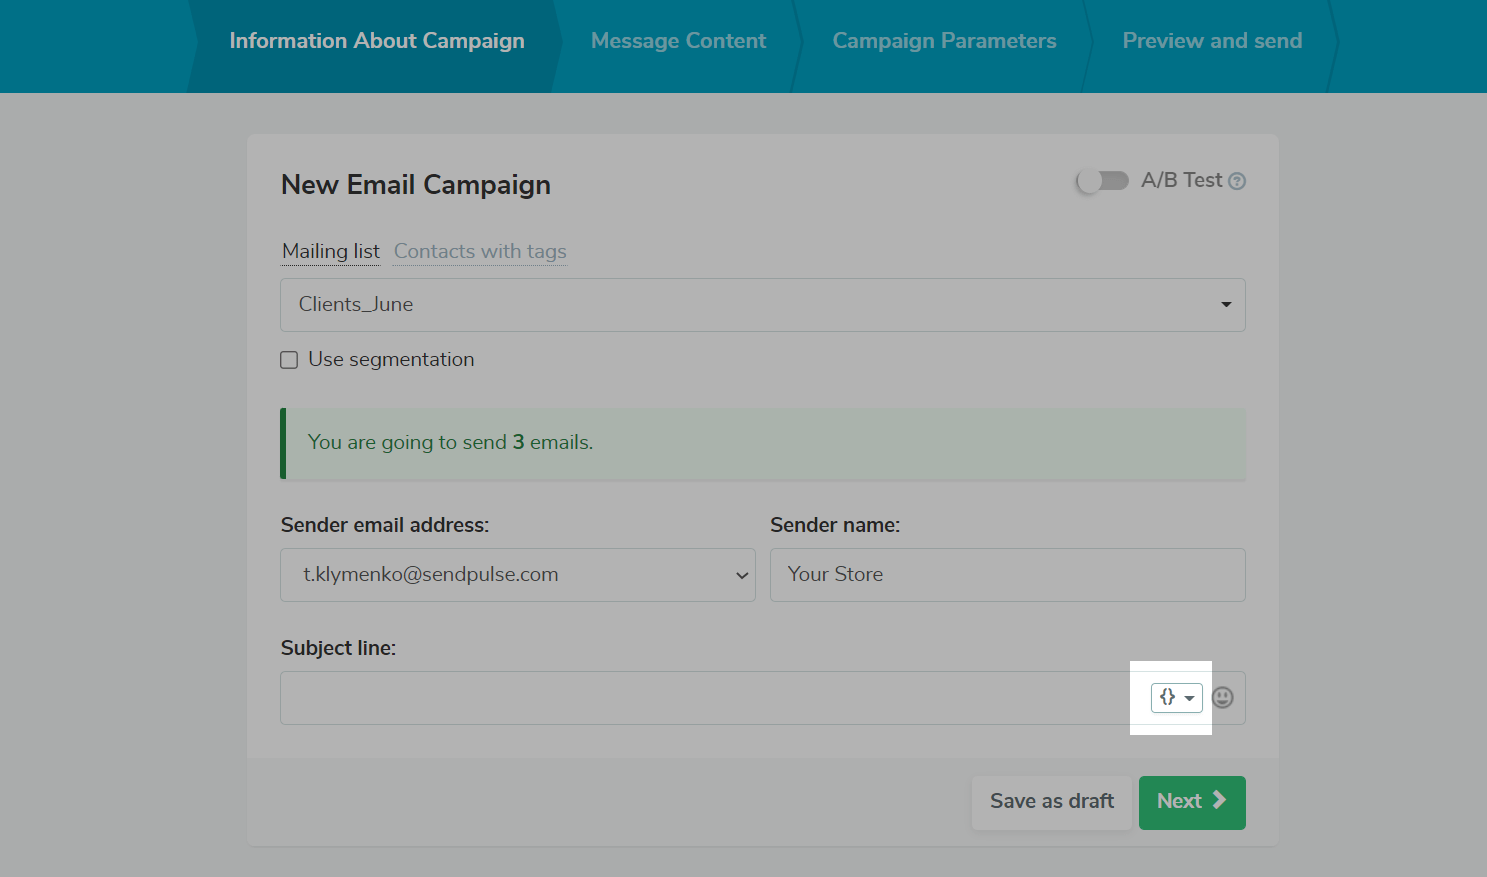
Click the variable selection button.
In the opened menu, go to the "Add criteria" tab.
Select the variable, and set the criterion using which the subject line will be personalized.
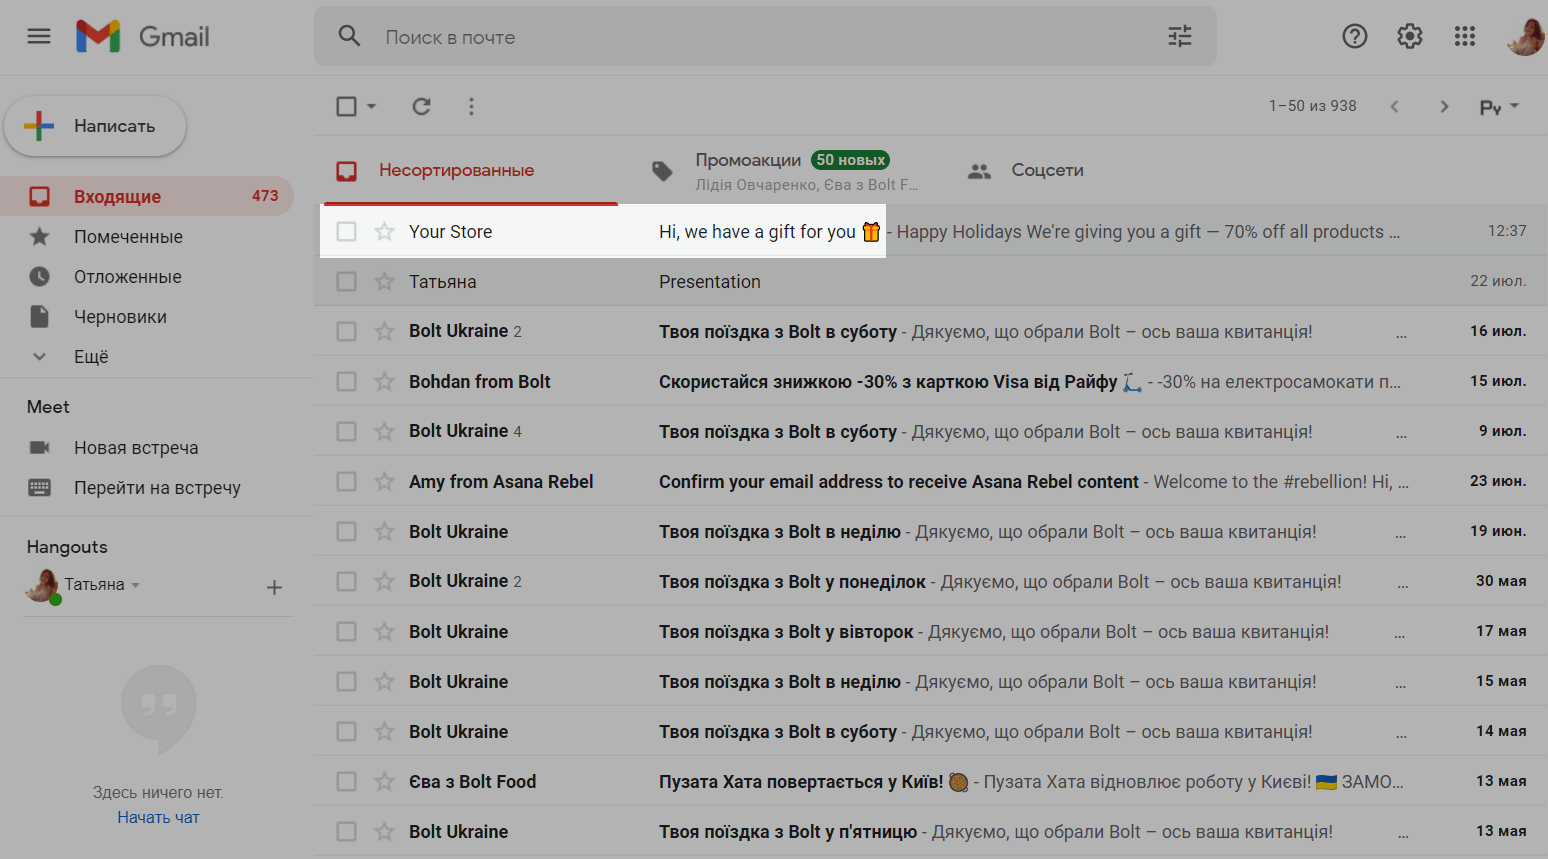
Example: if the value of the {{name}} variable is empty, use the ”Hi, we have a gift for you” text. Otherwise, use the ”{{name}}, we have a gift for you” text.
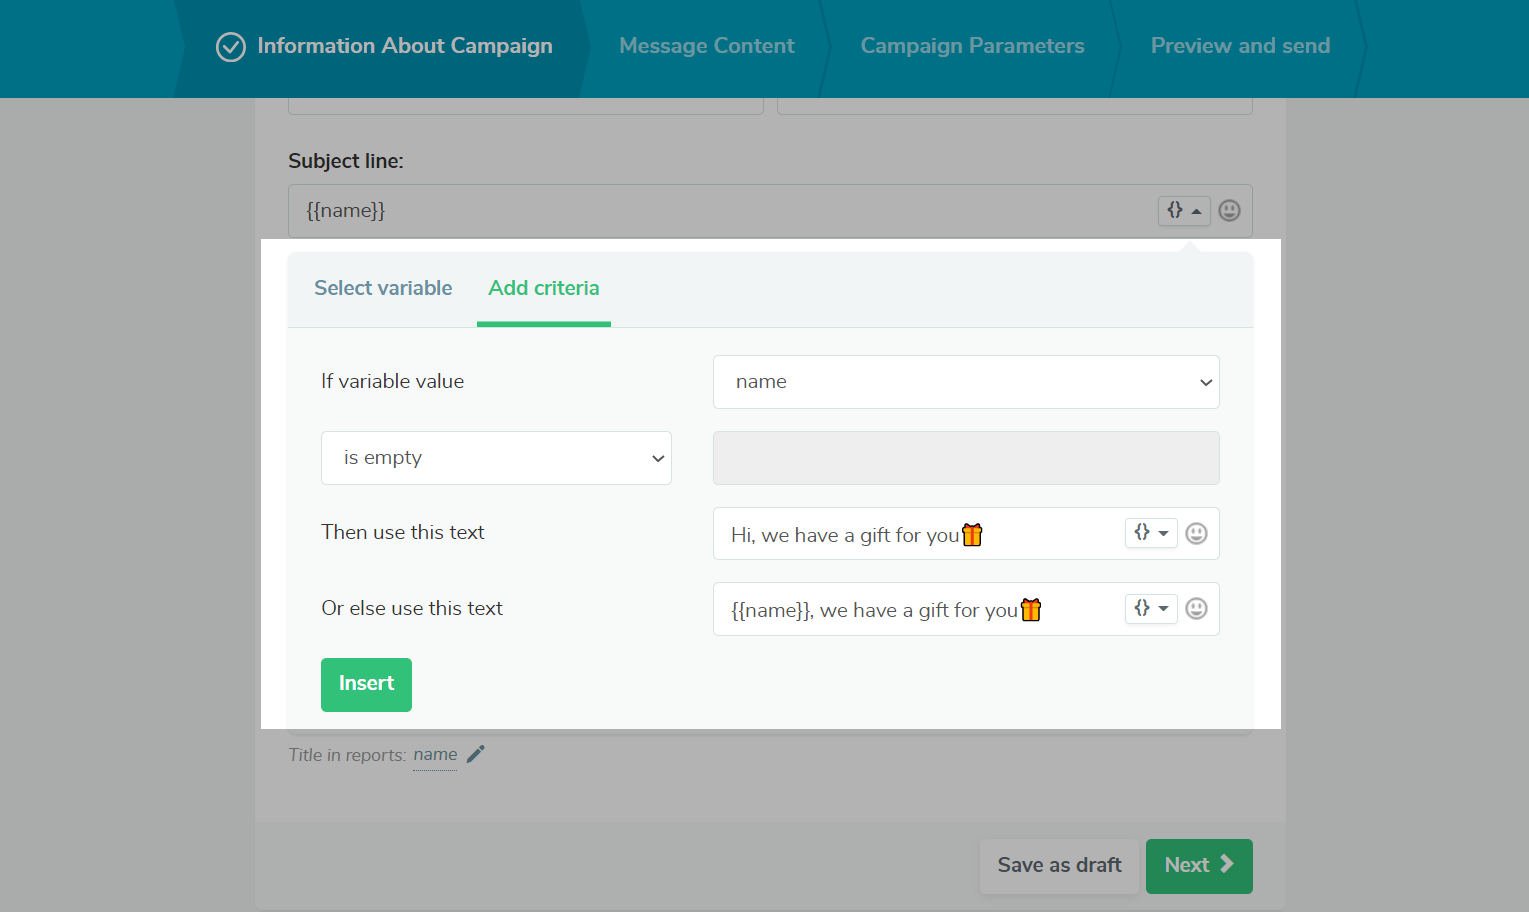
Click Insert to save your settings.
If you use smart personalization in the subject line, you only need to insert the criterion itself in the subject line, which is not recommended to manually edit and add text.
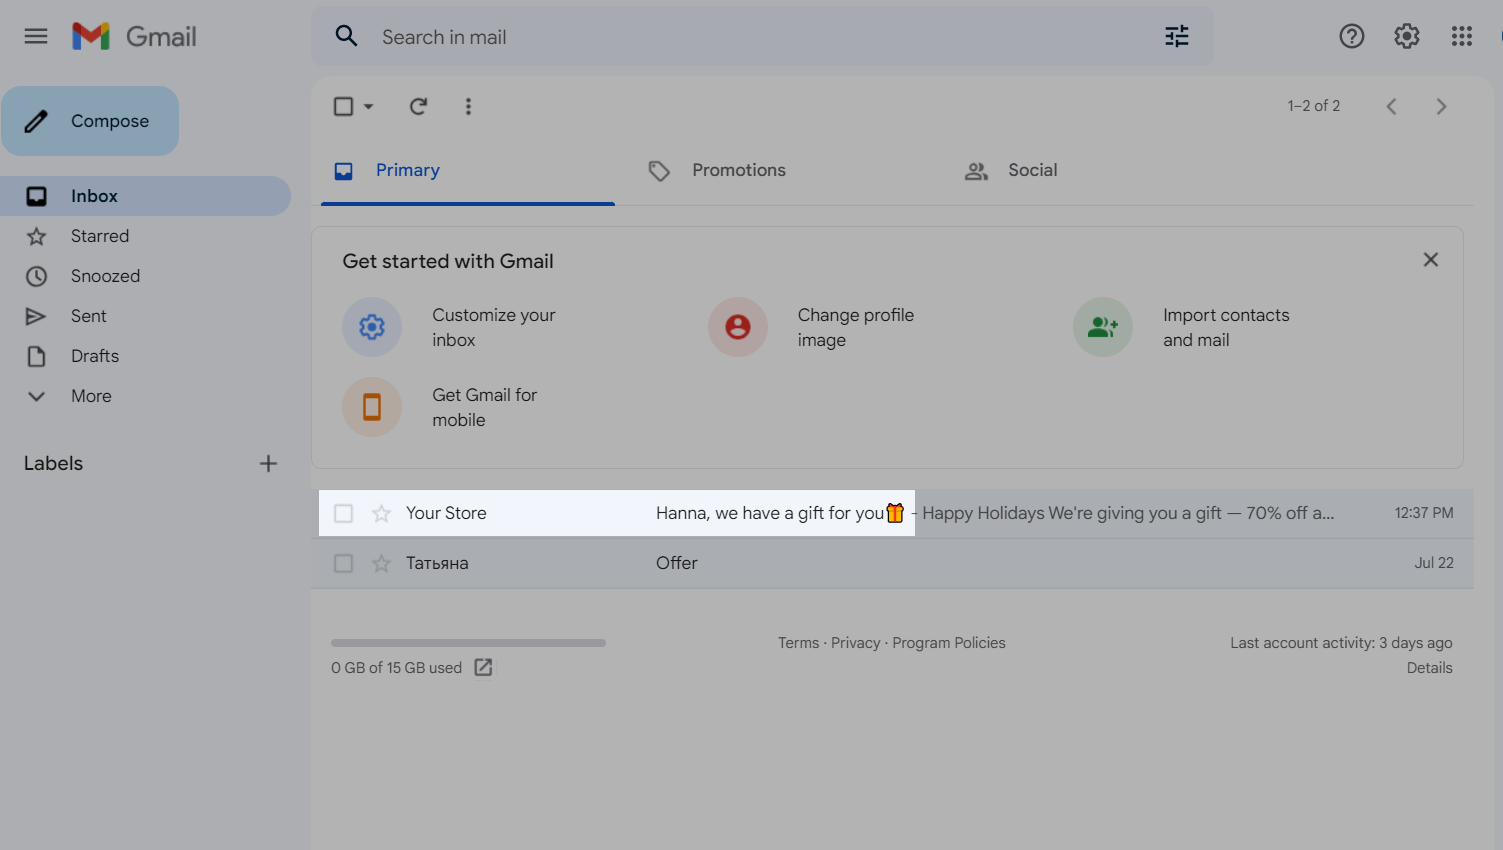
If there is some data in the {{name}} variable, the subject line will look to your subscribers like this:
If there is no data in the {{name}} variable, the subject line will look to your subscribers like this:
In the email body
You can add a criterion to the body of your email when you are creating the campaign. You can do this using ready-made templates or in the visual builder and the HTML editor.
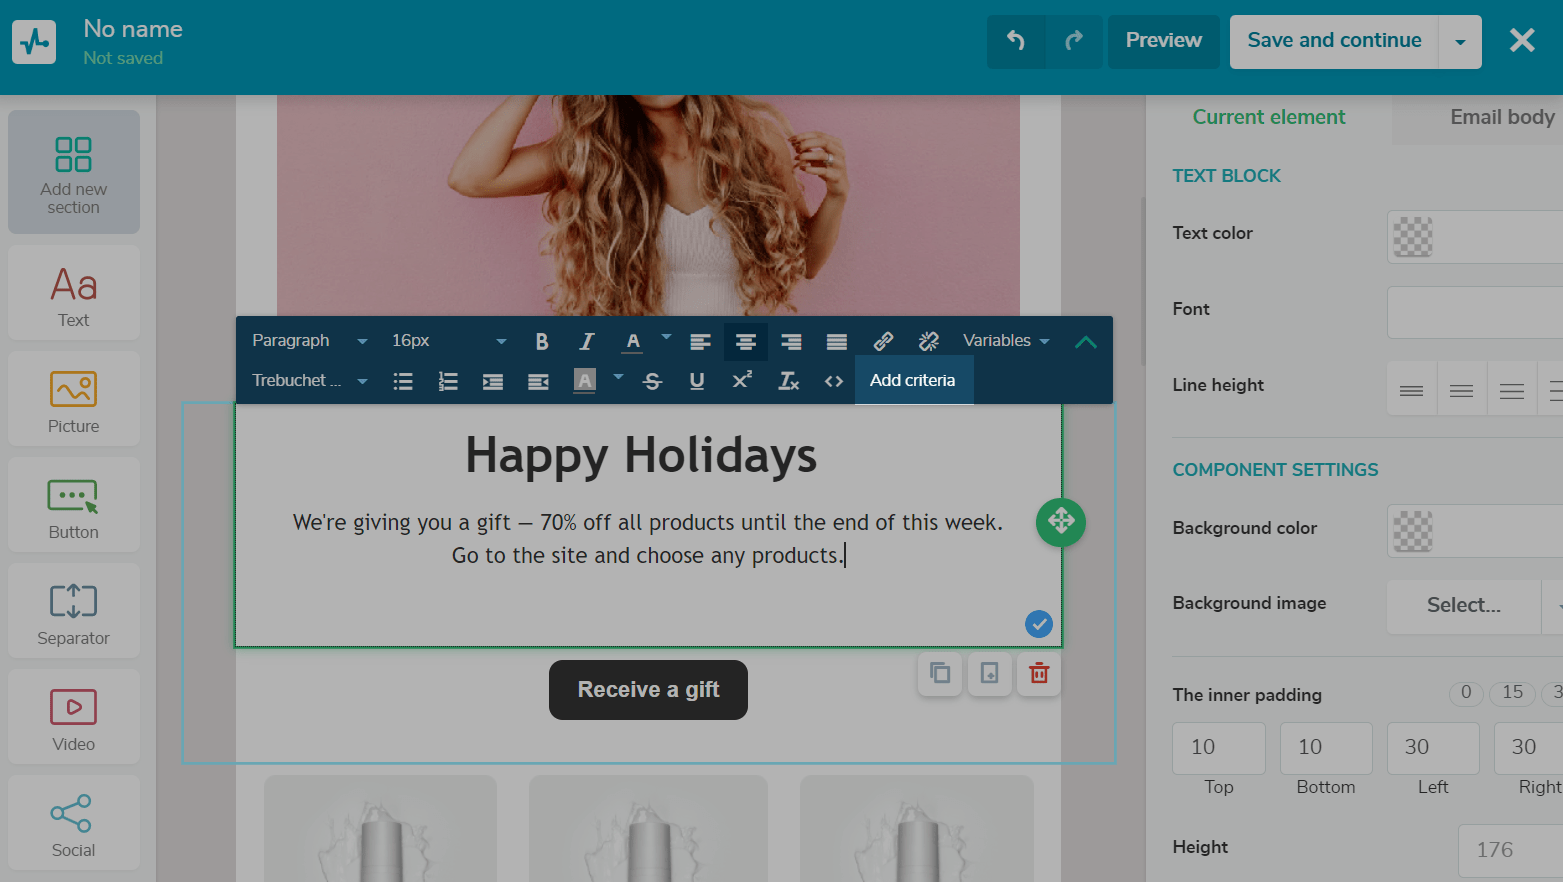
Place the cursor in the required place in the template, and select the Add criteria option in the toolbar.
Select the variable, and set the criterion using which the email body will be personalized.
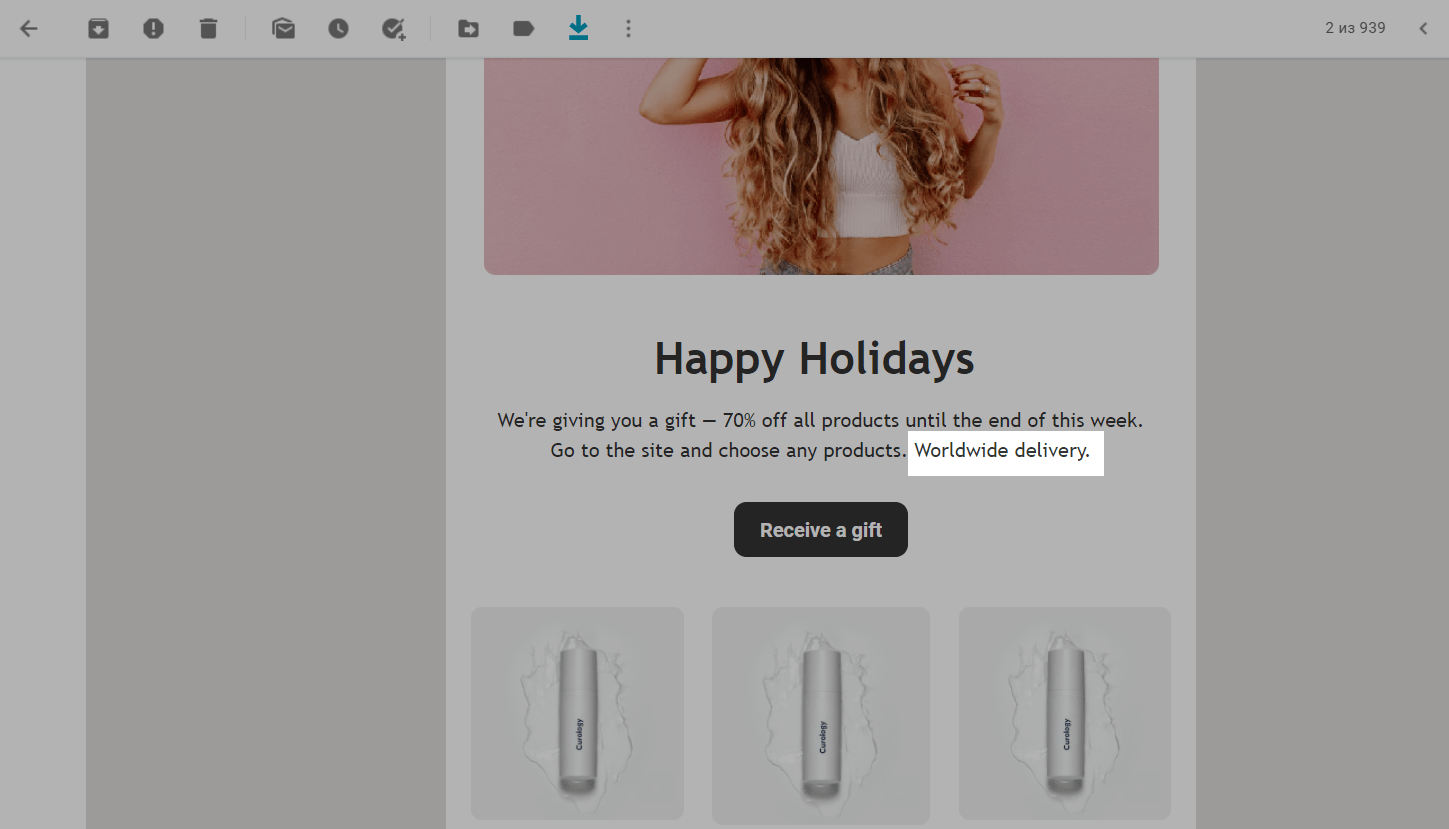
Example: if the value of the {{Location}} variable equals Dublin, send the Delivery in Dublin is free text. Otherwise, use the Worldwide delivery text.
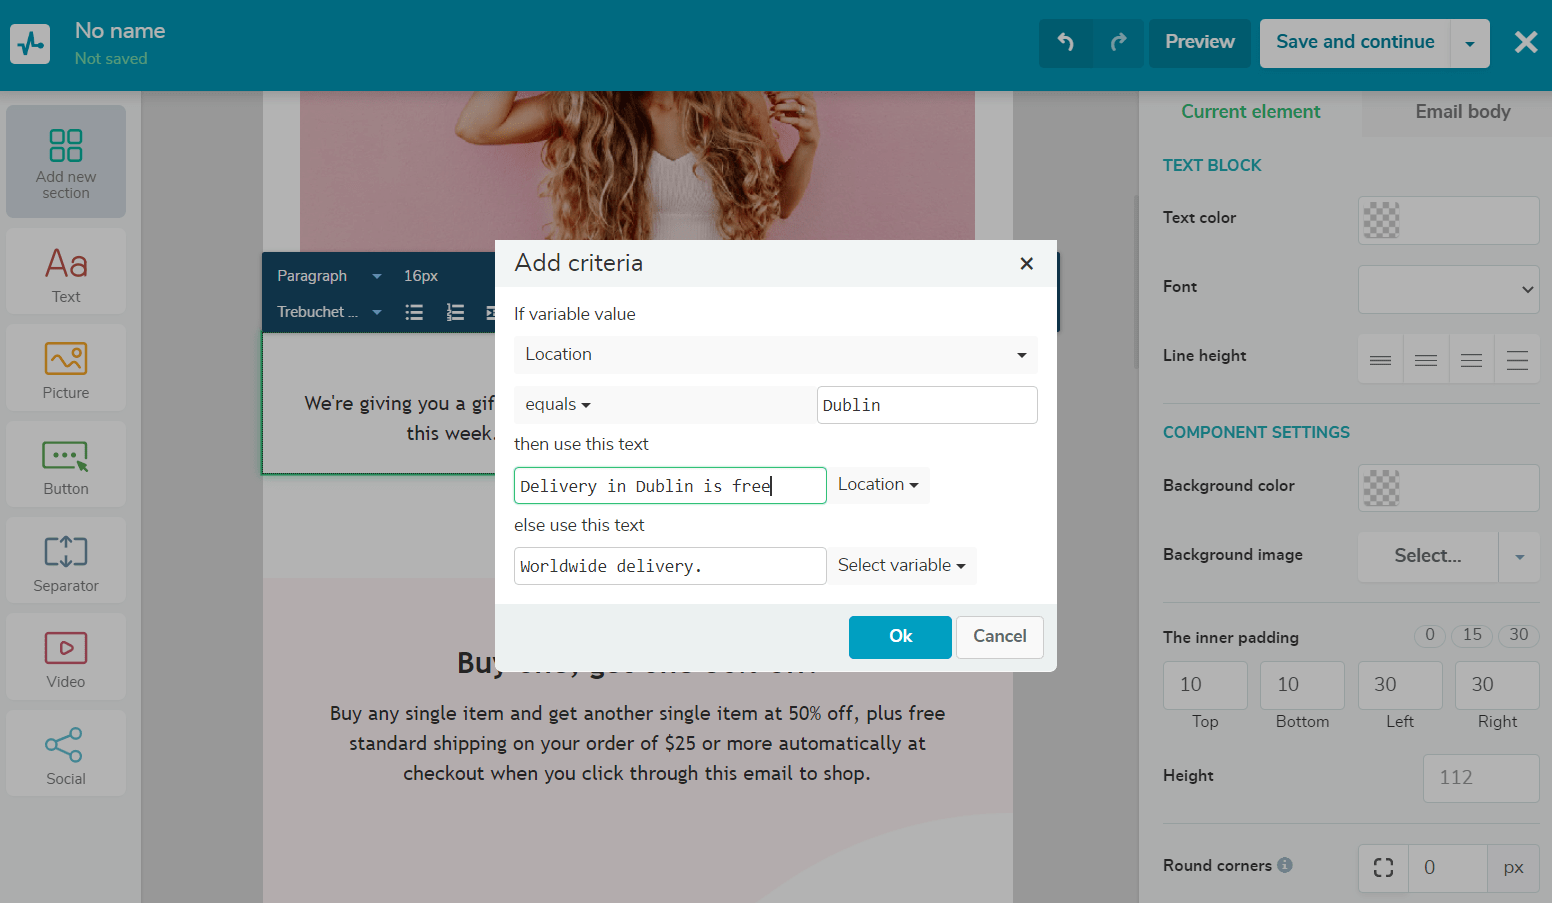
Click Ok to add the criterion to the email template.
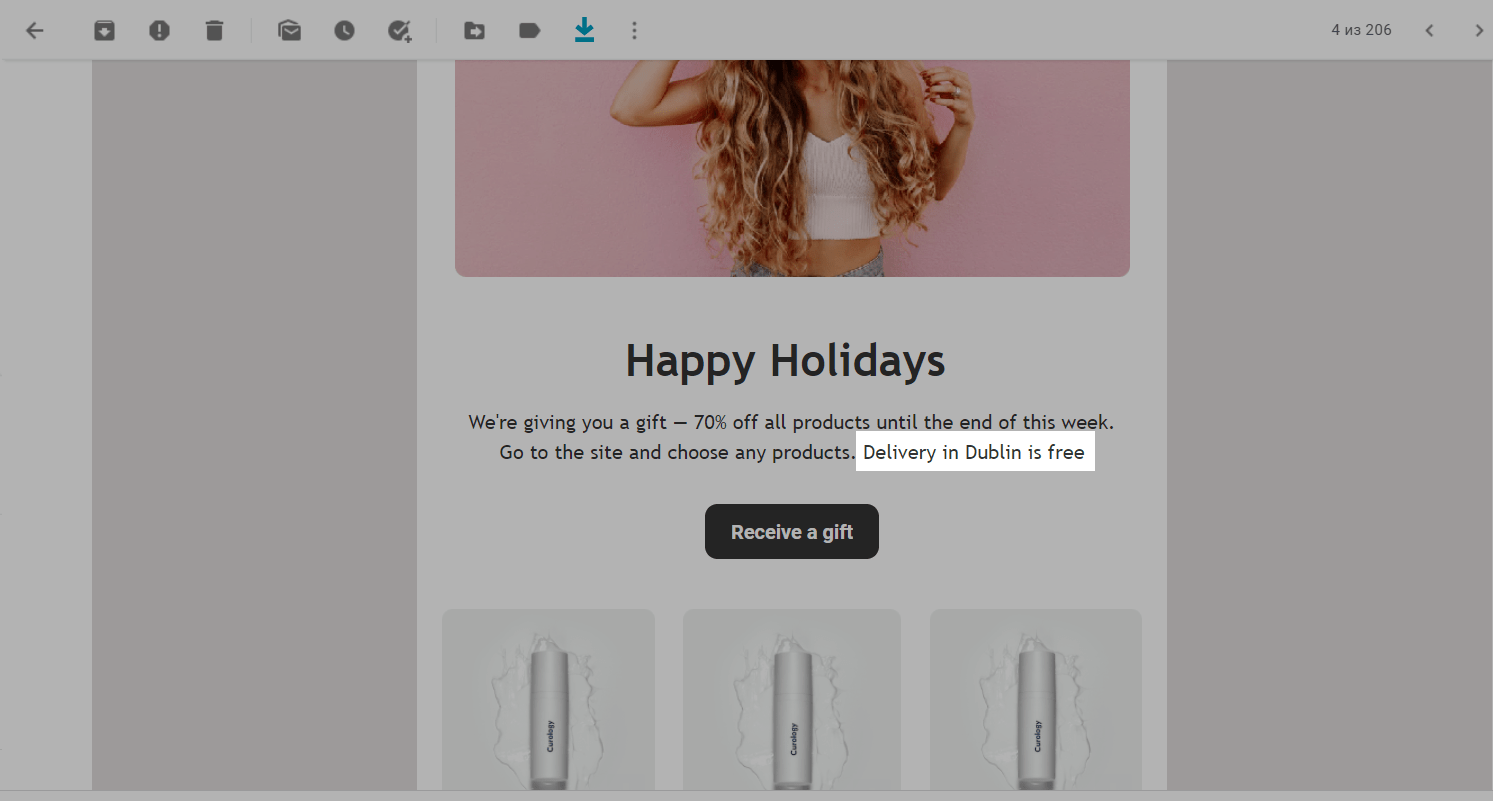
Subscribers who have the value of the {{Location}} variable that equals Dublin will receive this email:
Subscribers who have any city other than Dublin in the {{Location}} variable or an empty value will receive your email with a different text:
You can also include all the criteria in the email template manually, but it is important to do this correctly and not add extra spaces. You should also remember that variable names must be exactly the same as they are written in the mailing list using which you will send the campaign.
Examples of smart personalization
Send different email versions based on subscribers' location
Offer different delivery options: in Paris and other cities.
|[IF:{{location}}=Paris]|Free delivery in Paris|[ELSE]|Worldwide delivery|[ENDIF]|
Personalize your email based on gender
Take your subscribers’ gender into account when addressing them in your emails.
|[IF:{{gender}}=w]| {{name}}|[ELSE]|Mister {{name}}|[ENDIF]|
Translate your emails for subscribers from different countries
Display the email content in your subscribers' preferred language.
|[IF:{{language}}=en]| English text|[ELSE]|Polish text|[ENDIF]|
Add generalized texts if users’ personal data is missing
Include more generalized texts if some subscribers do not have values for a variable. So, for example, you could replace the {{name}} variable with Friends or other options if your subscribers’ names are unknown.
|[IF:{{name}}]|{{name}}, we have good news|[ELSE]|Friends, we have good news|[ENDIF]|Tailor your emails based on age/date of birth
Send different email versions to users of different age groups.
|[IF:{{birthdate}}<=40]|The New Year is coming, and it's time to prepare presents for your children|[ELSE]|The New Year is coming, and it's time to prepare presents for your grandchildren|[ENDIF]|Create dynamic emails
To send a dynamic email to an entire list of recipients, you can insert your customization criteria into the tabular layout of the template.
The IF part should come before the opening <table> tag, and the ENDIF part needs to come after the closing </table> tag.
|[IF:{{order}}=yes]|

<table width="500" border="0" cellspacing="0" cellpadding="0" style="max-width: 480px;" height="195">

<tbody>

<tr>

<td style="width: 480px;">

<div>Text or media information for the cell</div>

</td>

</tr>

</tbody>

</table>

|[ELSE]| |[ENDIF]|
This way, each subscriber will receive an email with different information based on the value of their contact variable.
When adding a table, you can insert blocks of substitute information between ELSE and ENDIF (if the variable value is not equal to the specified value, send this text). You can also add nothing between ELSE and ENDIF — this will allow you to simply hide or show the first block.
This method is an alternative to creating several templates for different recipient segments when sending bulk campaigns.
To send triggered emails, we recommend sending arrays via an event based on SendPulse’s ready-made templates. If you use these dynamic templates, SendPulse adds the required number of cells with information for each recipient based on the selected products.
Come up with the best personalization tactics for your business using your subscriber data, and increase the effectiveness of your campaigns.
Last Updated: 13.12.2023
or