Connect Google Analytics to your site
You can connect Google Analytics to analyze traffic on your site or bio link page and receive additional statistics for analysis.
To connect the service, you need to insert the Google Analytics metric ID into the SendPulse analytics settings. For an online store, you can insert an API secret and track completed payments for products.
In the article, we will go over where to find your metric IDr and the setting itself.
Create a new data stream
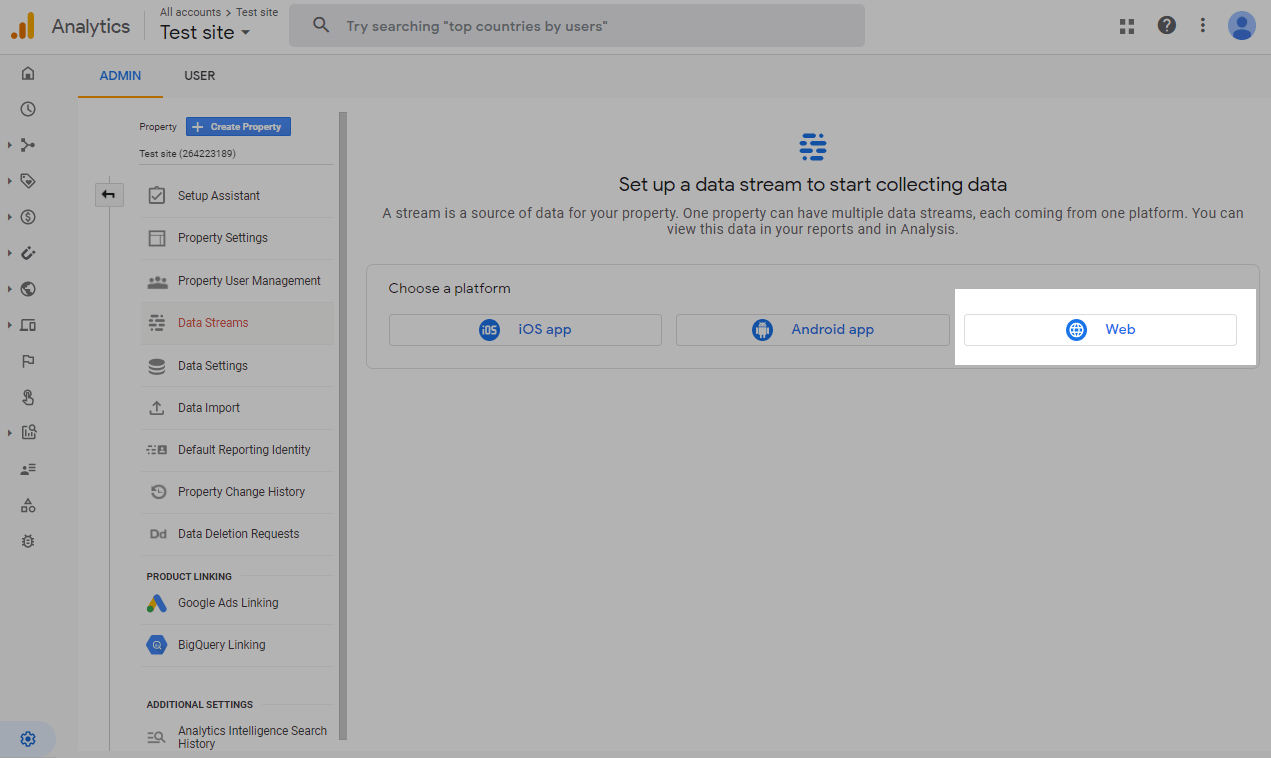
Create a Google Analytics account and go to the Admin > Property > Data collection and modification > Data streams. Add the Web data stream.
Enter the URL of the monitored site and its name.
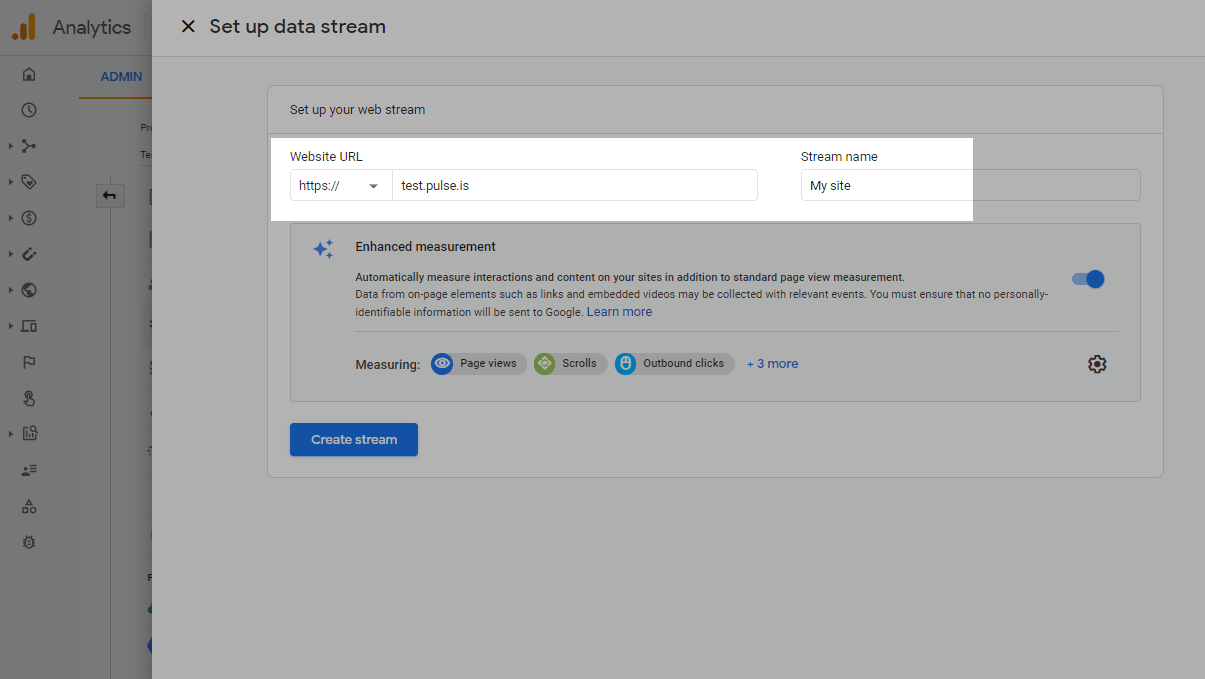
Click Create Stream.
Read more on how to set up Google Analytics for your site and how to create and customize a goal.
Get your data
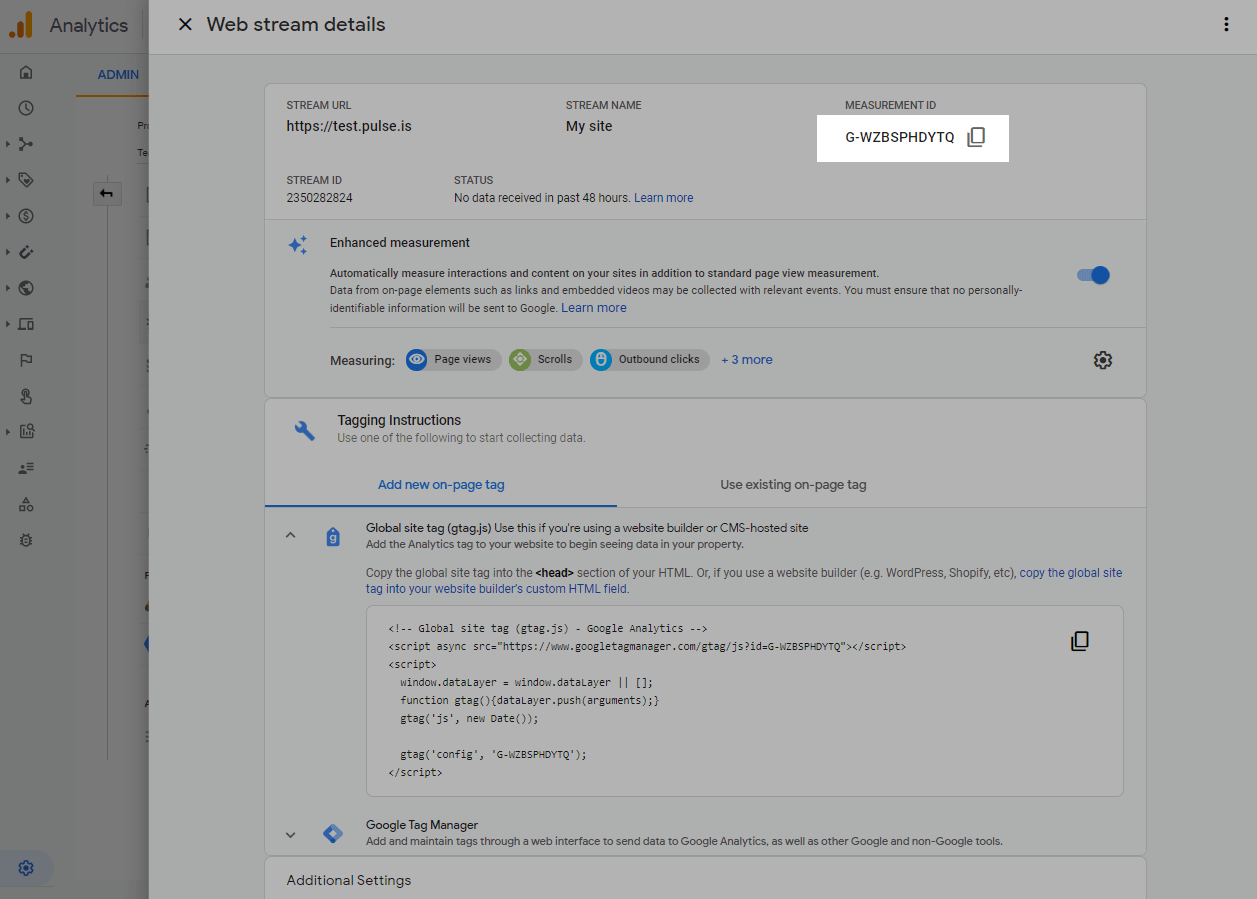
After creating a stream, you will immediately see the details for that stream.
If you've created one before, you can go back through Administrator > Data Streams and click on the created stream to open the details.
Copy the web stream ID.
To send cart events to analytics, get your API secret as well.
Go to the Data streams tab. Select a stream and go to Measurement Protocol API secrets.
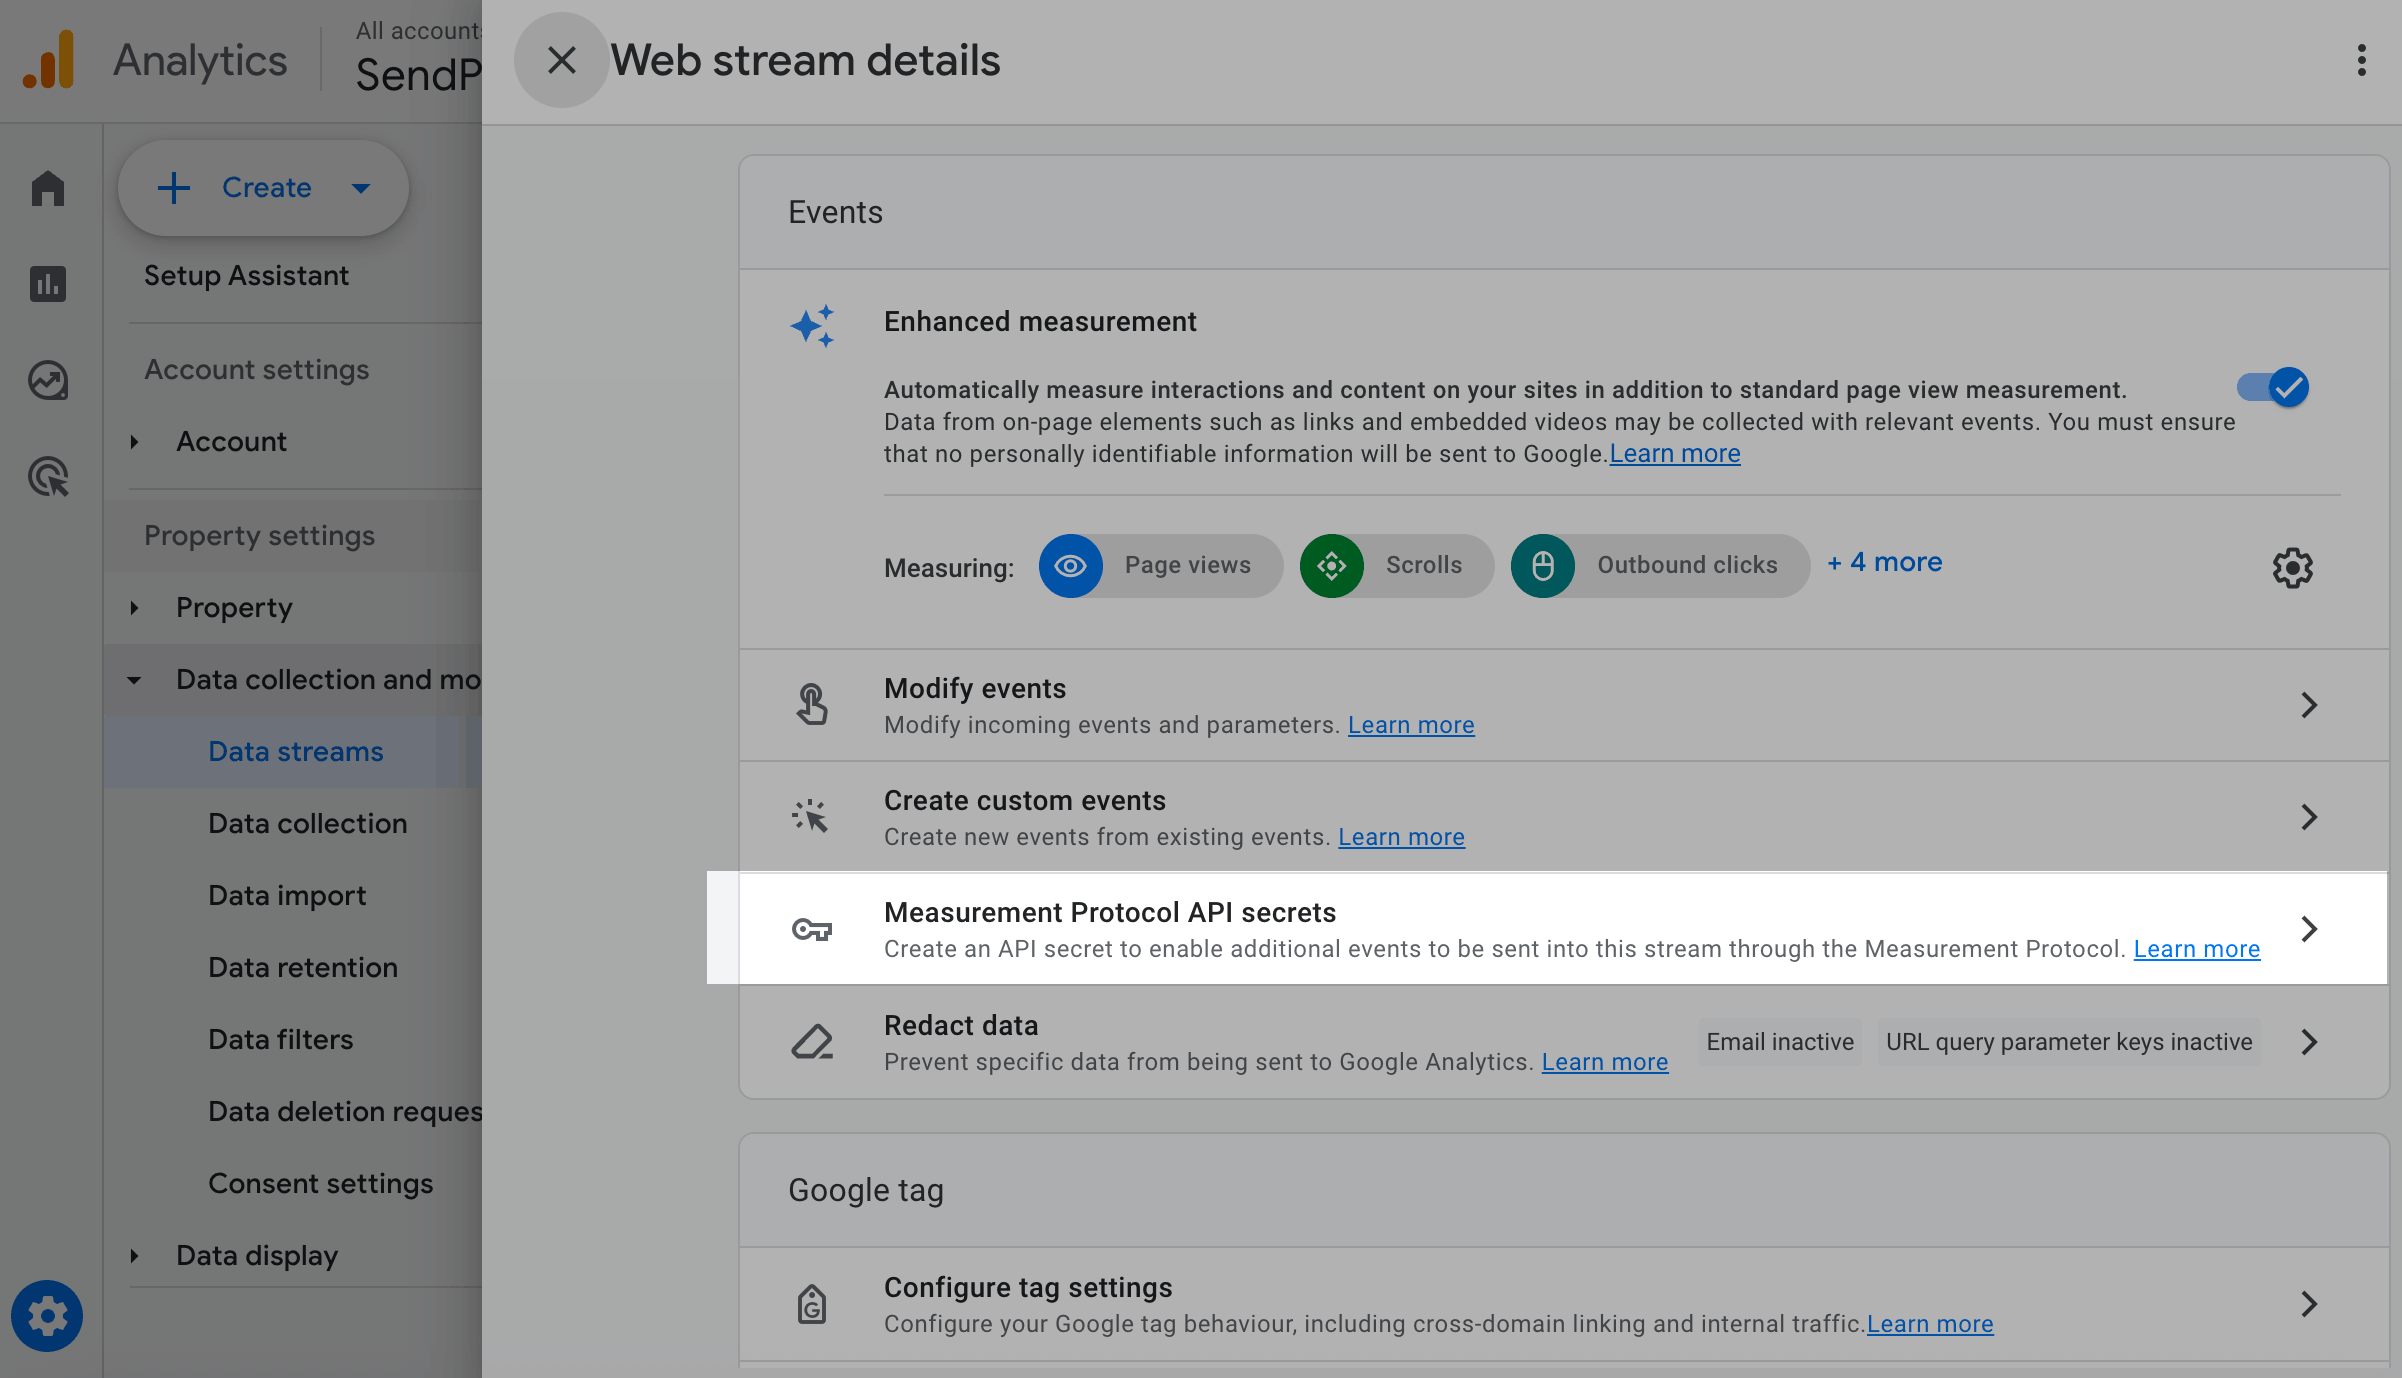
Click Create, enter your API secret’s name, and confirm the action. Copy the generated value.

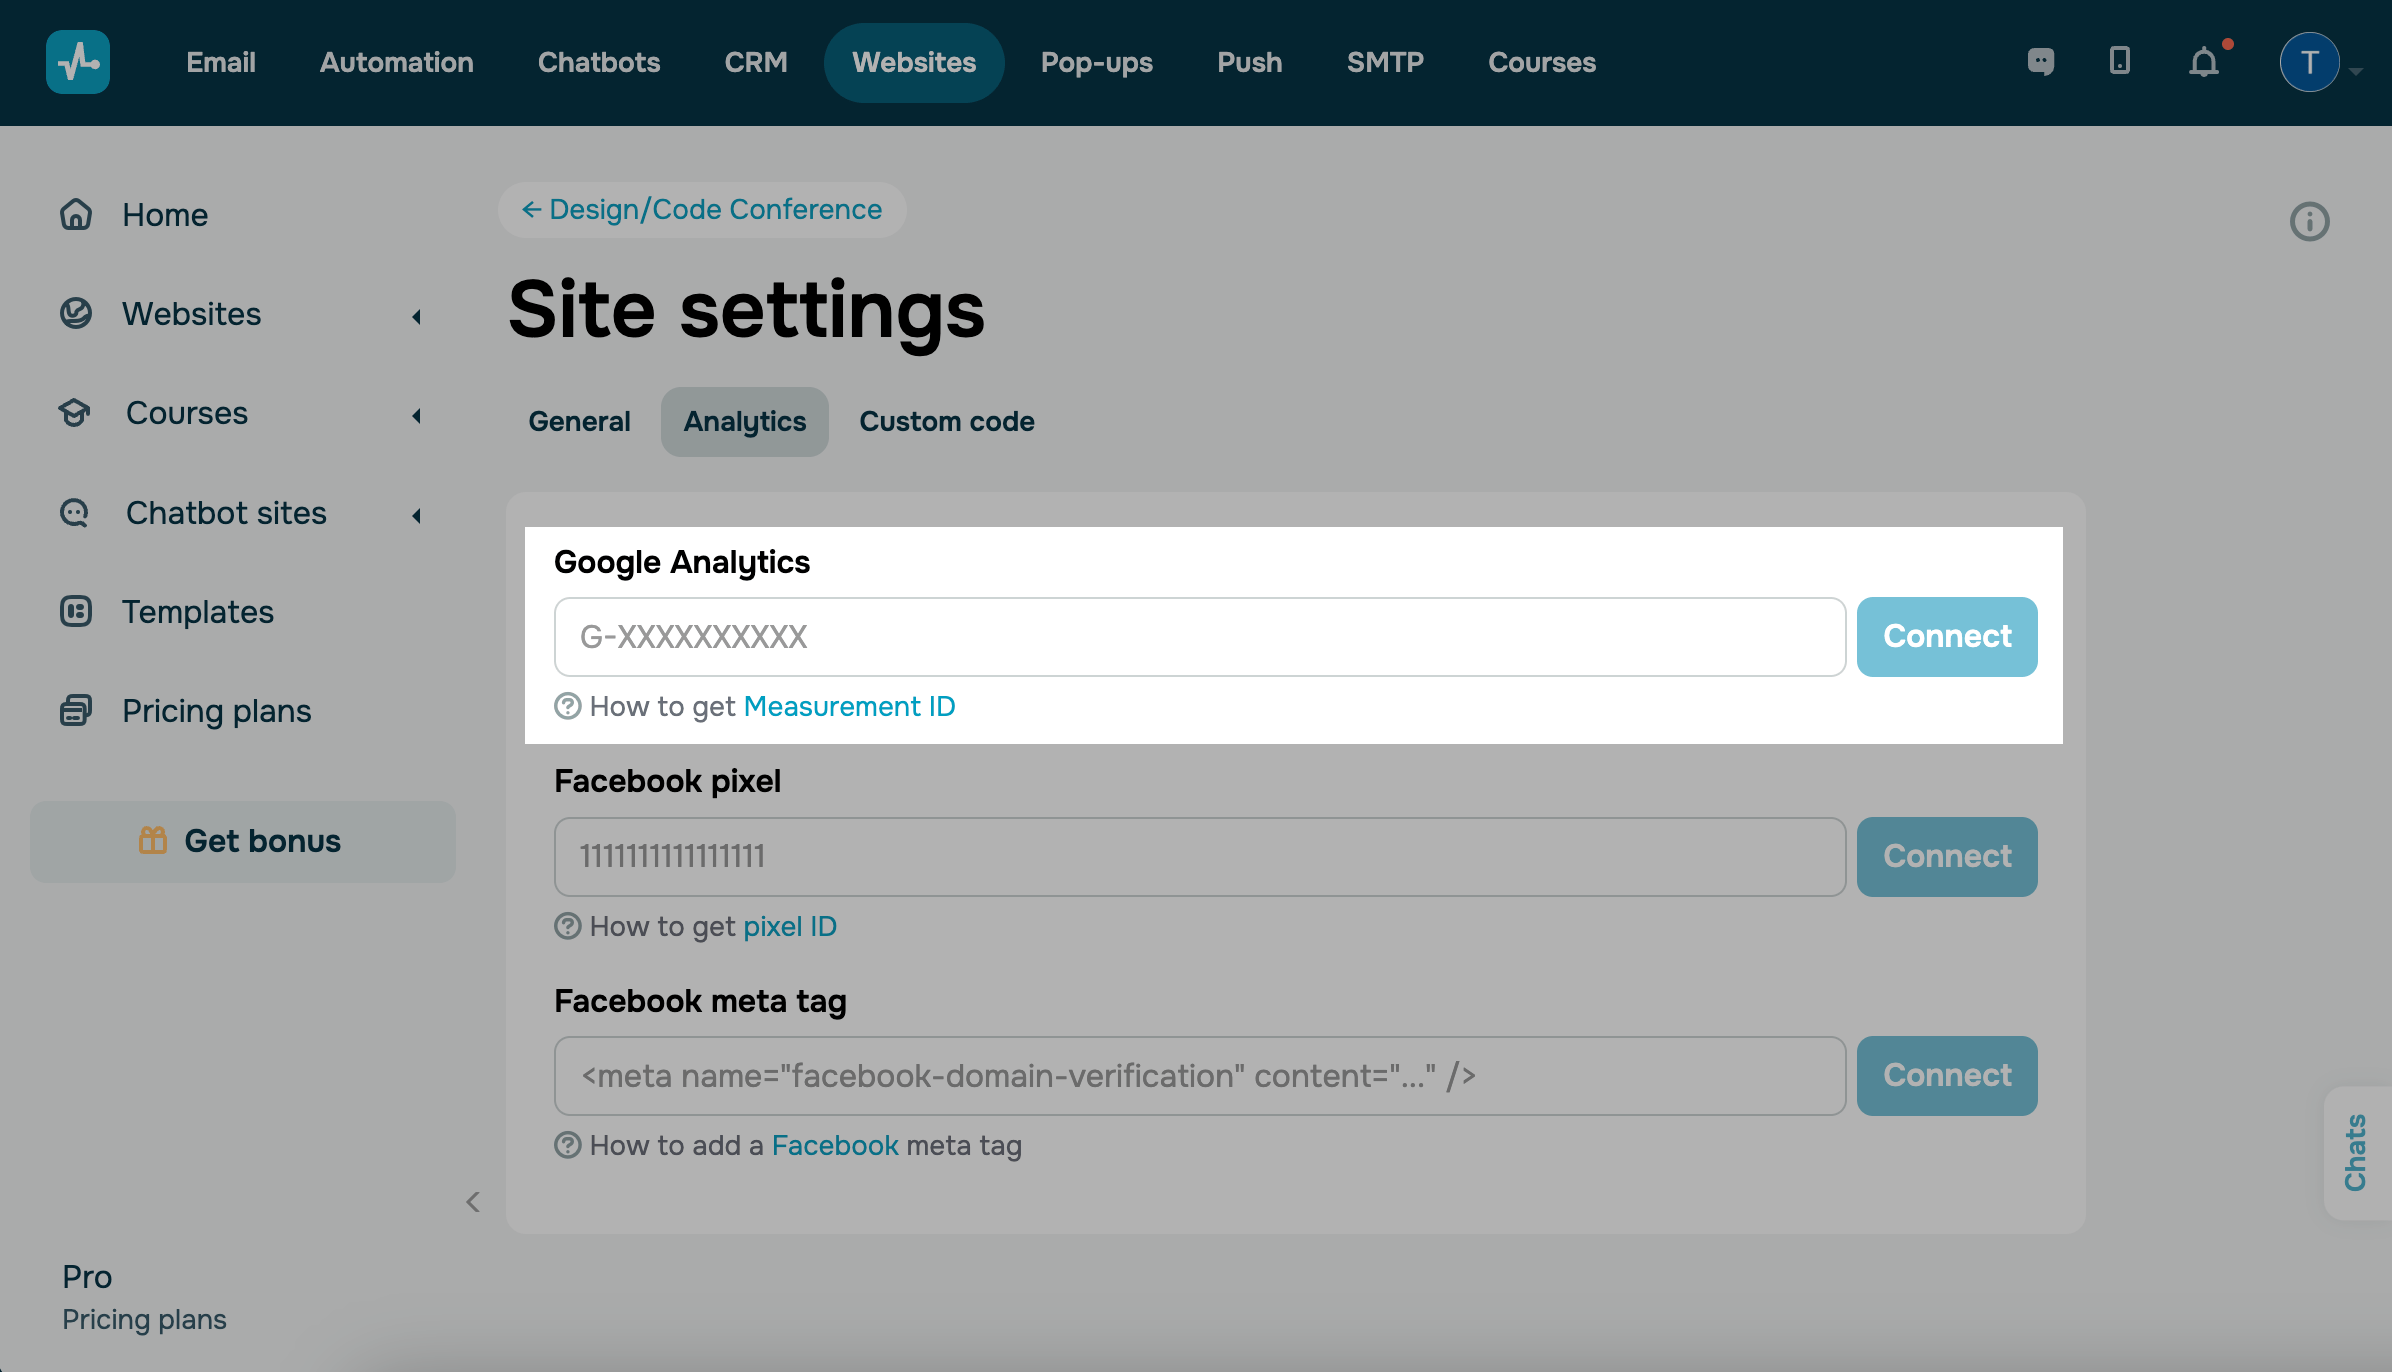
Insert your data into SendPulse
Go to the site or bio link page settings in the Analytics tab. Below Google Analytics, enter the ID and click Connect.
To track cart completed payments from your online store, add your API secret.
Transfer your goals
Once you connect your ID, you can transfer your goals from the following website widgets: Subscription Form, Course Authorization, Payment, and Button. With bio link pages, you can transfer goals from the Payments, Button, and Form elements.
In Google Analytics, a goal is a specific user action taken on a website (conversion), for example, clicking a button, making a purchase, or entering personal data. You can view them in the Events section of your analytics.
Read more in the Google Analytics documentation.
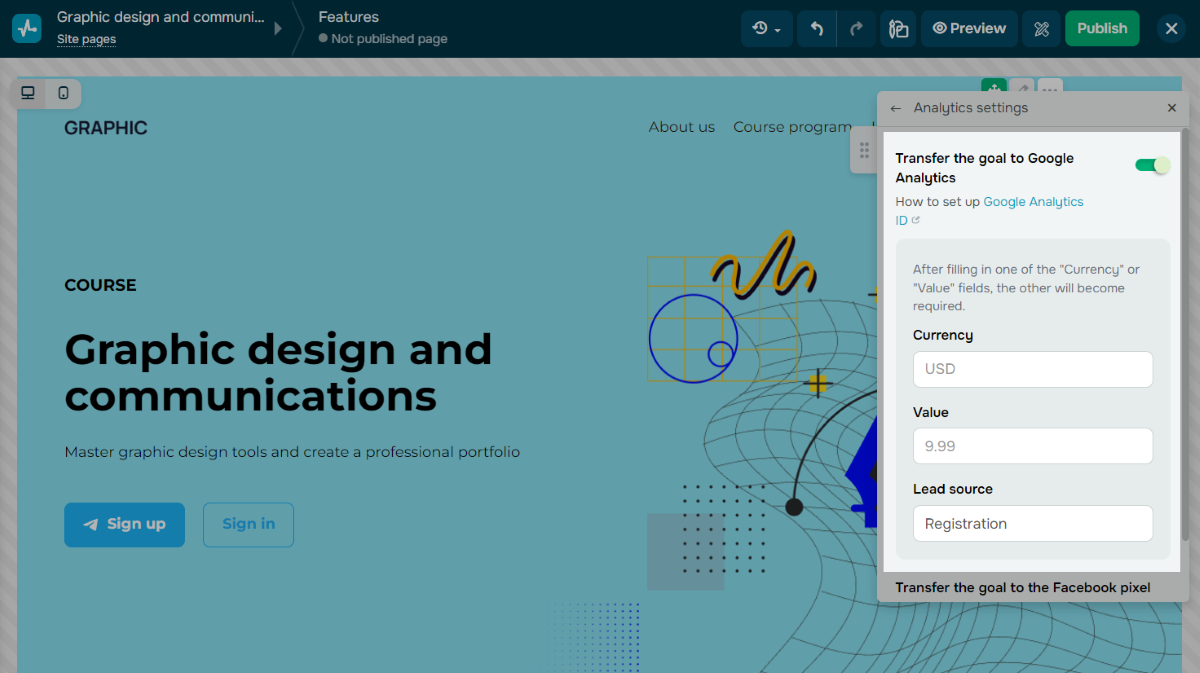
You can transfer goals from your SendPulse-based website automatically. Go to the website or bio link page builder, find or add the required widget, and click Analytics settings on the widget settings panel.

Turn on the Transfer the goal to Google Analytics toggle, and enter your data in the Lead source field — this parameter will be transferred to Google Analytics.
The Currency and Value fields are optional, but if used, both must be filled in.
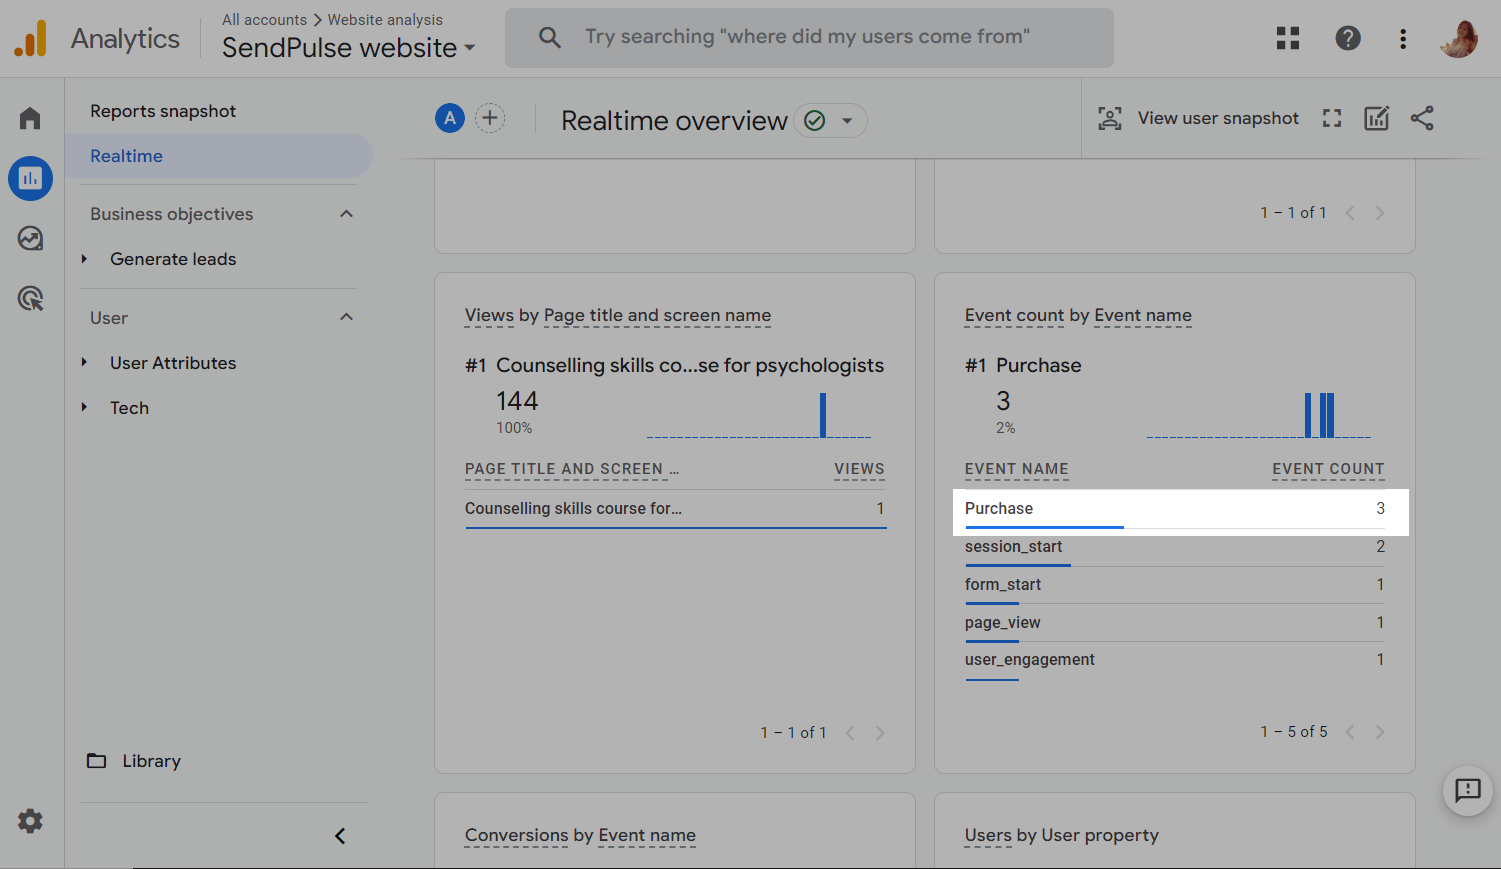
You can view your goal statistics in Google Analytics in the Events section. The information you enter in the Lead source widget field will be displayed as your goal parameter (e.g., a click).
Your goal name will appear as generate_lead for buttons, course signups, and application forms and as begin_checkout with the item goal parameter for payment widgets.
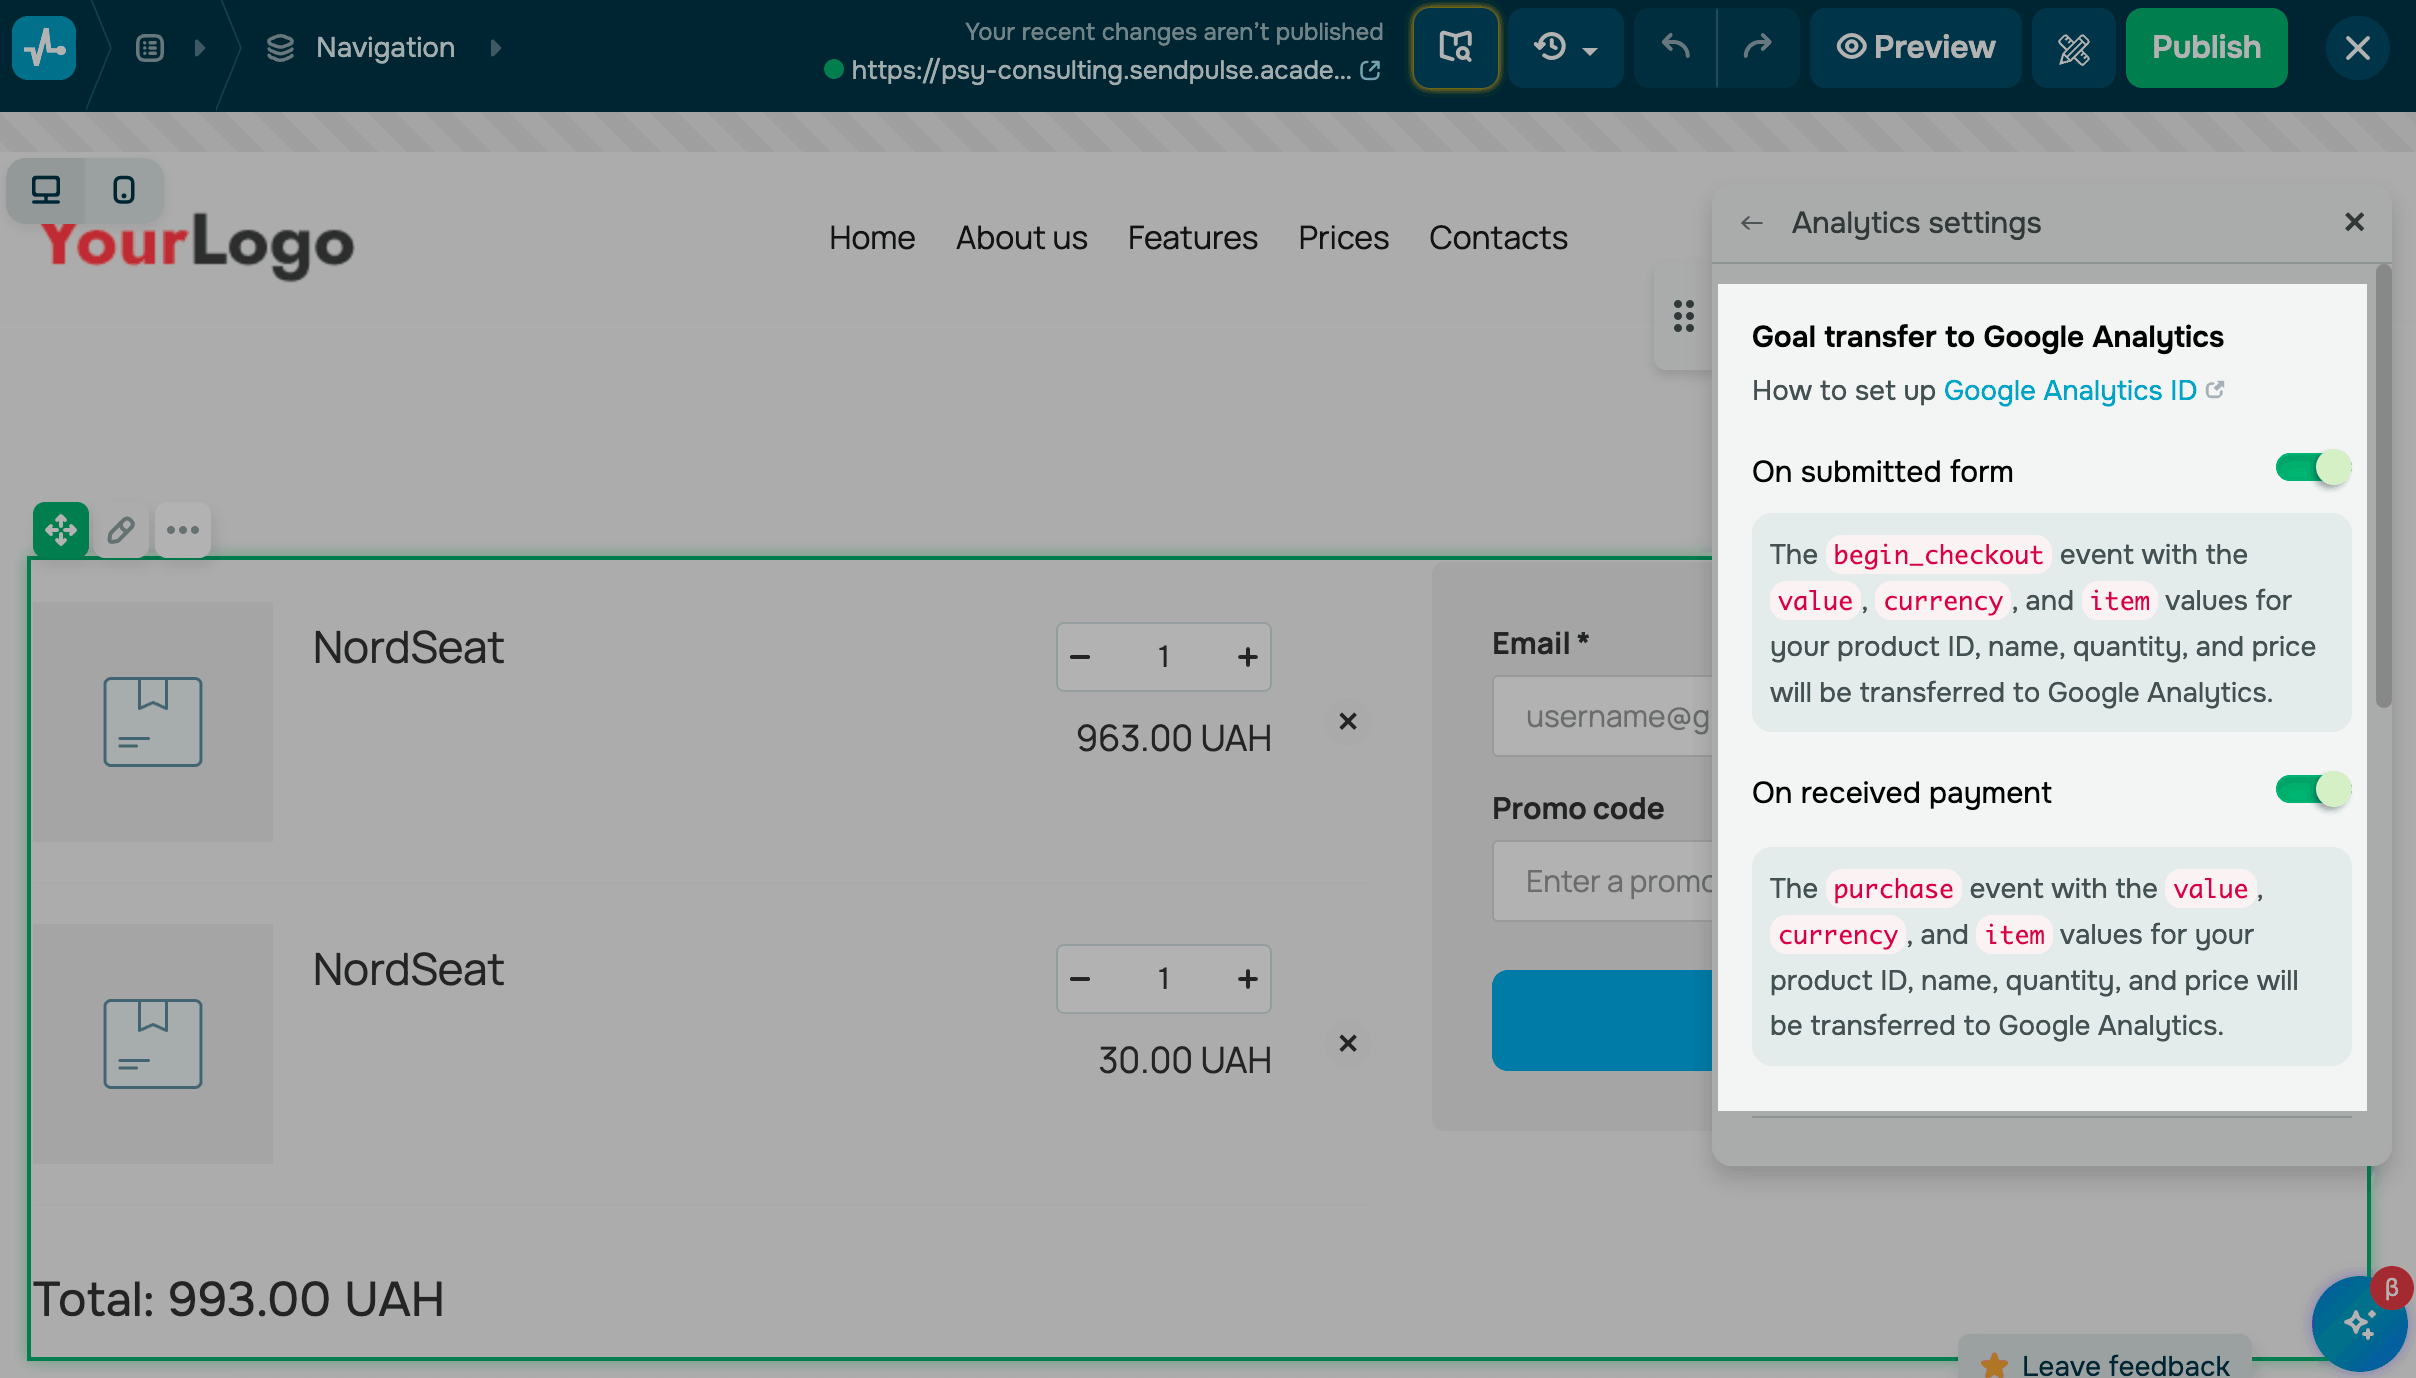
Configure cart data transfer
Go to the website builder, open the cart page, and click the widget.
In the settings, click Analytics settings. In the Goal transfer to Google Analytics section, turn on a relevant toggle:
| On submitted form | This toggle becomes available once you add your ID.
When a customer fills out the checkout form in their cart, Google Analytics receives the |
| On received payment | This toggle becomes available once you add your ID and API secret.
When a customer completes a payment, Google Analytics receives the |
Google Analytics also records the view_item event when a customer views a product. When a customer adds a product to their cart, the add_to_cart event is sent automatically.
Last Updated: 18.10.2024
or