Add a product to your website
Using the Product widget, you can showcase your products and services on the online store, which users can add to their cart and purchase. In the product card, you can add a description, specifications, variants, and price, and in the element settings — style the card and the "Add to cart" button.
Let's go over how to add and configure a product card.
Add a widget
Start editing the page where you want to add a product card. Click Add Widget, and select Product where your product card should be.
You can add extra widgets, for example, FAQ or Chatbots, top menus, and footers with your contact details to help with orders and enhance your website navigation. Learn more: How to work with site elements, Adding Widgets, and How to customize your page style.

Add a product
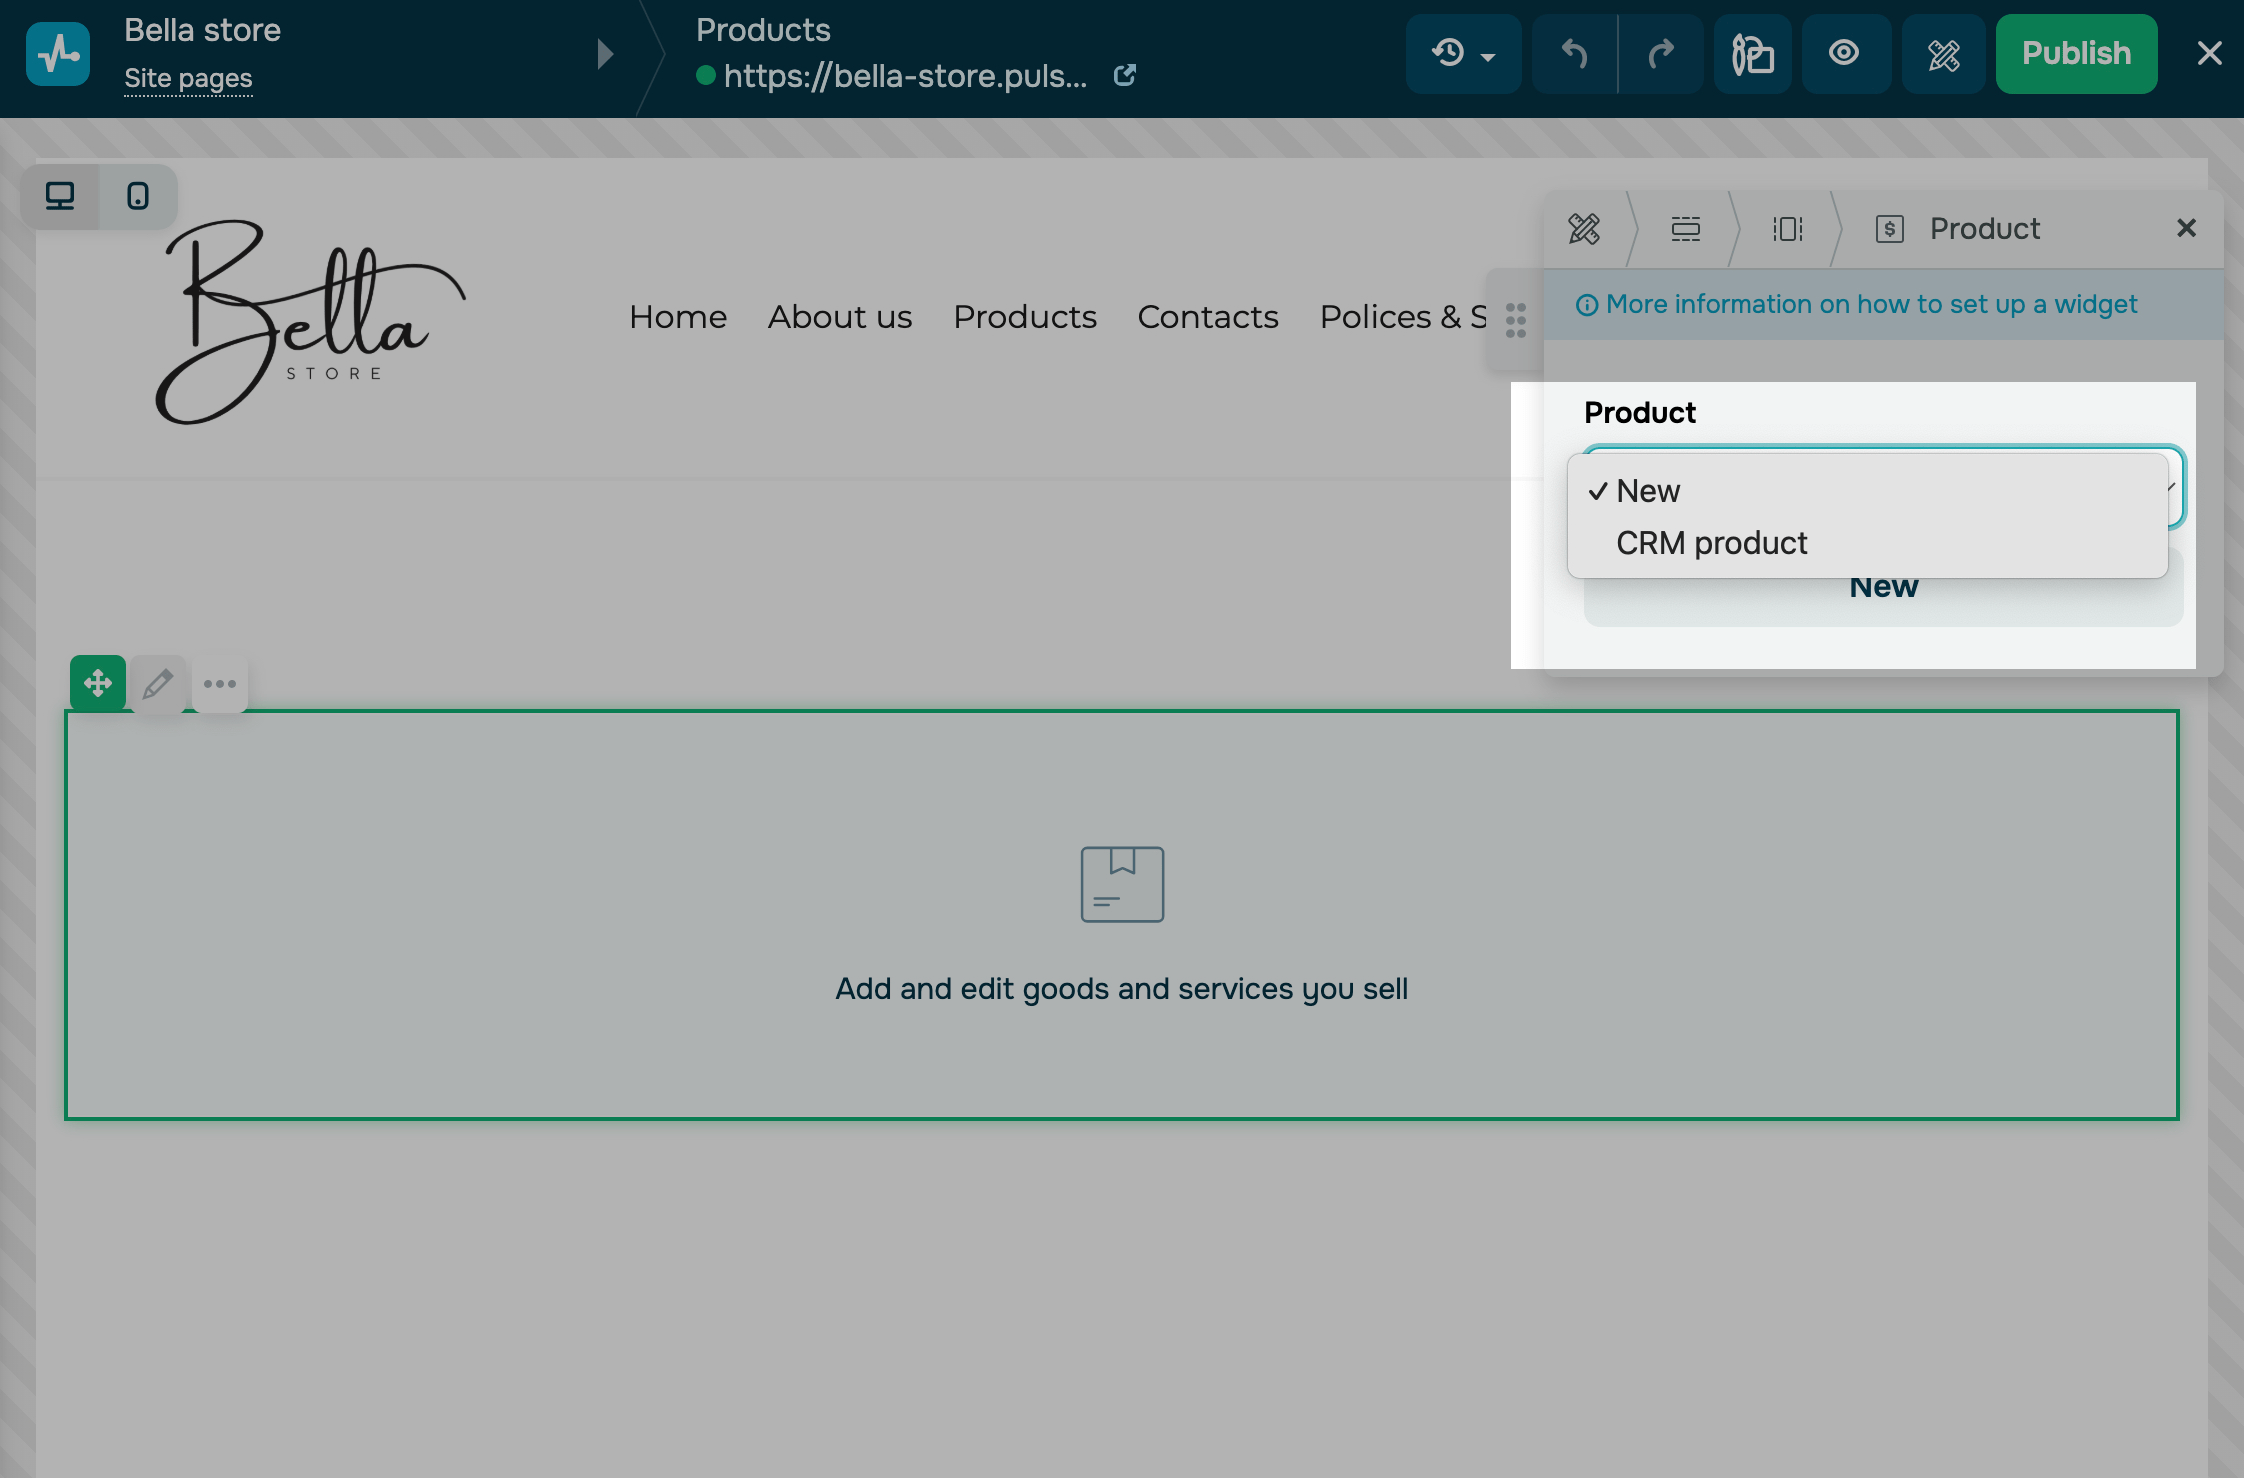
In the Product widget panel, select a product option:
| New | Creates a new product. After selecting this option, click New. |
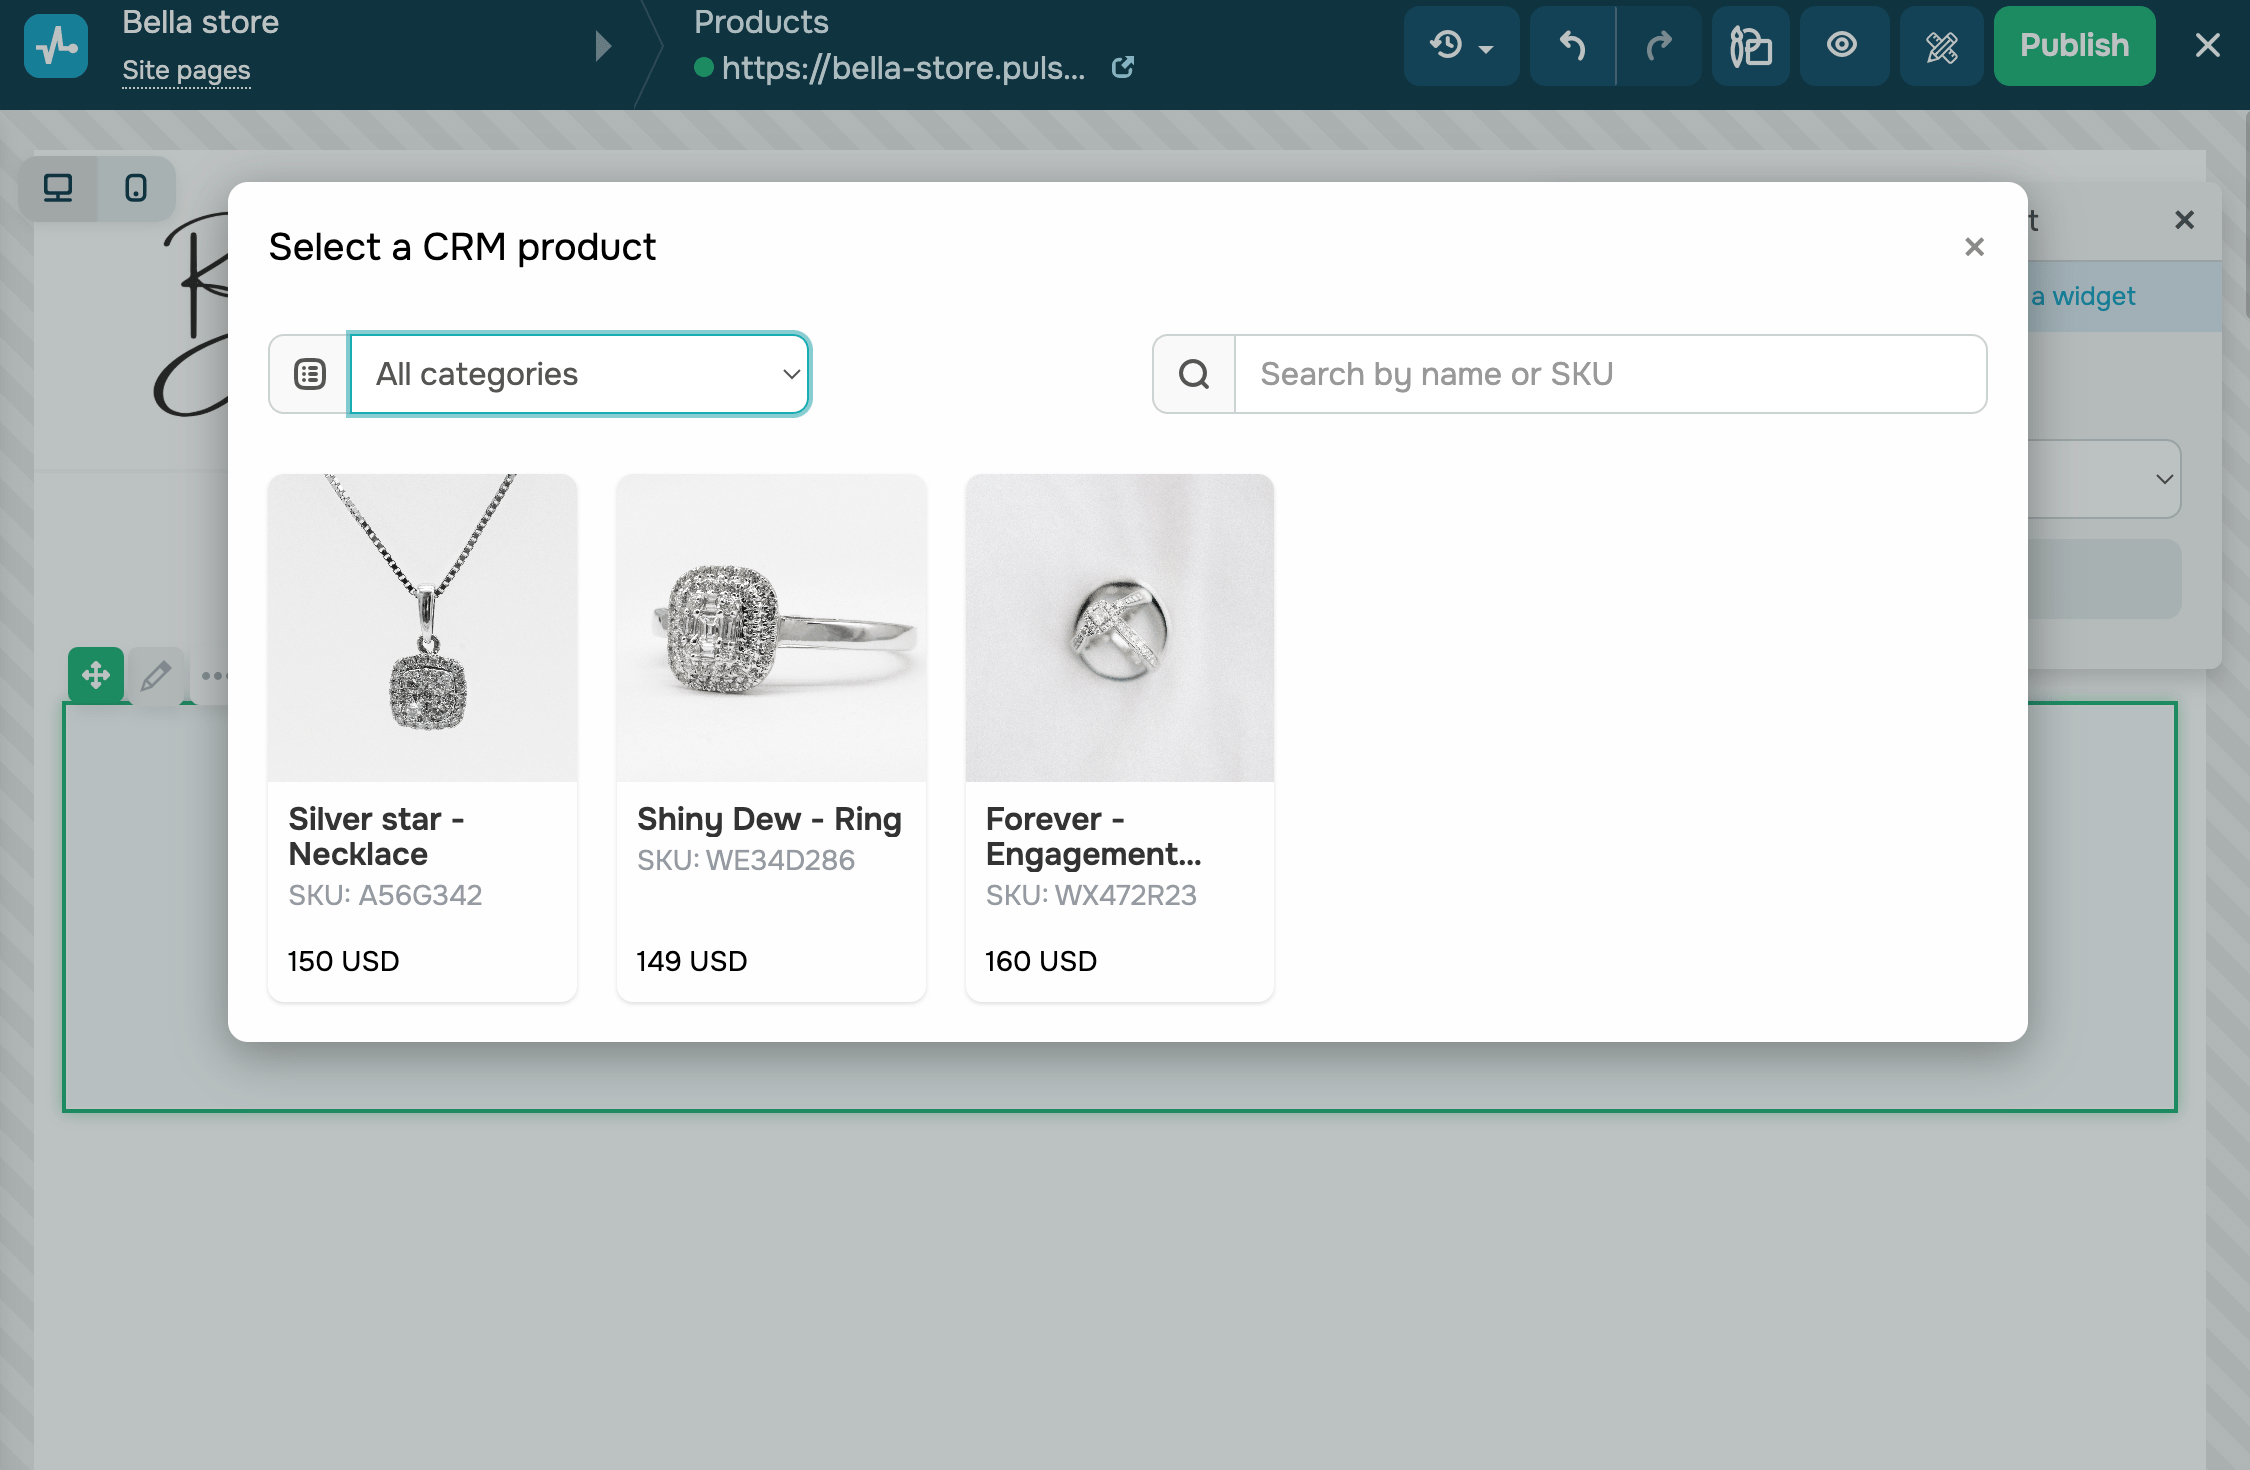
| CRM product | Adds an existing CRM product. After selecting this option, click Choose product. |

New product
Enter your product details:
| Name | Enter a name of up to 250 characters, including letters and numbers.
When adding a product name, make sure it fits on your card so that users can read it easily. |
| Short description | Enter the main product description. For example, you can add its key features and use cases. |
| Full description | Add extra information about your product that will be displayed under your image gallery. For example, you can add usage and storage guidelines. |
Make sure to break your description into short paragraphs, use lists, and highlight key points. To format your text, select it and choose a formatting option. You can also add custom styles via source code.
Add a product image
To show your product image gallery, click + Add Image. Select an image from the file manager, or upload a new one.
We recommend adding pictures from different angles so that users can take a better look at your product. To ensure an image appears correctly, we recommend uploading a picture with the same aspect ratio.

Add product properties
In the Properties section, you can add your required product properties. Fill in the fields:
| Attribute set | Attribute set name. You can use it to separate attributes into different types or sets.
To add a new attribute set, click + Add attribute set. |
| Attribute | Attribute name. For example, you can add attributes like "Material," "Color," "Size," and so on. |
| Value | Value name. For example, for the “Color” attribute, you can add properties like “Blue,” “Green,” and so on. |
To add a new product attribute, click + Add attribute.

Select a product type
You can add different types of products to your online store:
| Physical product | Products that require delivery to customers, such as jewelry, electronics, paper books, etc. |
| Digital product | Intangible products available online, such as eBooks, webinar recordings, etc.
Add a digital product link. Customers will receive it via email once they purchase your product. Digital products have no quantity, meaning that users can purchase only one product. |
Specify an SKU, available stock, and price
In the SKU field, enter a unique product code that helps track your products. You can use numbers and letters in the code.
In the Number field, enter your number of products in stock. This number will decrease with every purchase. If you leave the field empty, the product amount will be infinite. If you put 0, the user will not be able to add your product to the cart.
In the Price field, specify your product's current price. In the Old price field, you can indicate its previous price if the product is discounted. If you leave the field empty, only one price will be displayed on your site.
If tax applies to a CRM product, your website will show its price with tax included.
You can select a currency in Site settings > Online store and set a payment method in your cart page settings.

Add options
Also, you can add product options and customize their attributes. For example, if your products vary by color, size, material, etc., your website visitors can select an option from the drop-down list.
In the Options section, click + Add attribute. In the first field, enter an attribute name, and in the next field, enter all your value options, separating them with a comma.
If you have multiple properties with options, a new record with a product option will be created for every pair. You can view all product options below.

To customize an option, add an SKU, upload a preview file, and enter a price and amount. If you don’t add this information, users will see the default details from the fields you’ve filled.
To hide or show an option, click the icon next to it.
Once you fill out your product card, click Save. To edit the product details, click the pencil icon next to the card.
CRM product
Choose a product from the CRM system. To find it faster, you can type in its name or SKU or select its category.
This widget only allows products that match your online store's currency.
All product details from the CRM system will automatically move to the card on your website. You can edit your CRM product just like you would edit a new product — follow the steps outlined in the previous section.

Customize your product appearance
In Card type, choose how to show your product:
| Page | Display as a card with all product details. |
| Pop-up | Display as a smaller card with basic information, including an image, name, short description, and price. The Show more button opens a modal window with more product details and the Add to cart button.
You can style your modal window differently from the main page. Click Customize under your card type to do this. This type is ideal if you want to add more products in a row. |
Experiment with your product card’s visual elements and settings. For example, you can test multiple card styles and analyze which one converts better.
In the Card style section, select a layout.

To access detailed card layout settings, click Customize.
| General | Adjusts your card element style. Select a background color, rounding, and margins. |
| Gallery | Adjusts your image display style. Select proportions, rounding, and an image that will appear when clicked. |
| Typography | Adjusts your card text style. Select a text size, format, and color of your product name, description, current price, and old price. |
| Card product counter | Adjusts the style of the counter where visitors can select how many items to add to their cart. Select a field style, color, rounding, and size. |
To customize the Add to cart button, go back to your product settings, and click the pencil icon in the Button section. In the Text field, enter your button text, and in the Style field, select a button size and style. Primary and Secondary follow your general page style, while Custom allows you to set a text color, background color, border, and hover effects.
Once you finish editing your product page, click Publish.
Last Updated: 03.12.2024
or