Add pop-up installation code to a website using Google Tag Manager
If you don’t have access to your website’s source code or want to separate the scripts related to tracking and marketing, you can add your pop-up installation code using Google Tag Manager.
Create a Google Tag Manager account
Go to the Tag Manager, click Create account, and enter your project details:
| Account name | Enter your company or project name. |
| Country | Select your country. |
| Container name | Enter the domain or website name, such as example.com. Make sure to create a container to add your tags. |
| Target platform | Select the Web type. |
Click Create and accept the Tag Manager Terms of Service.
Copy the code and add it to your website
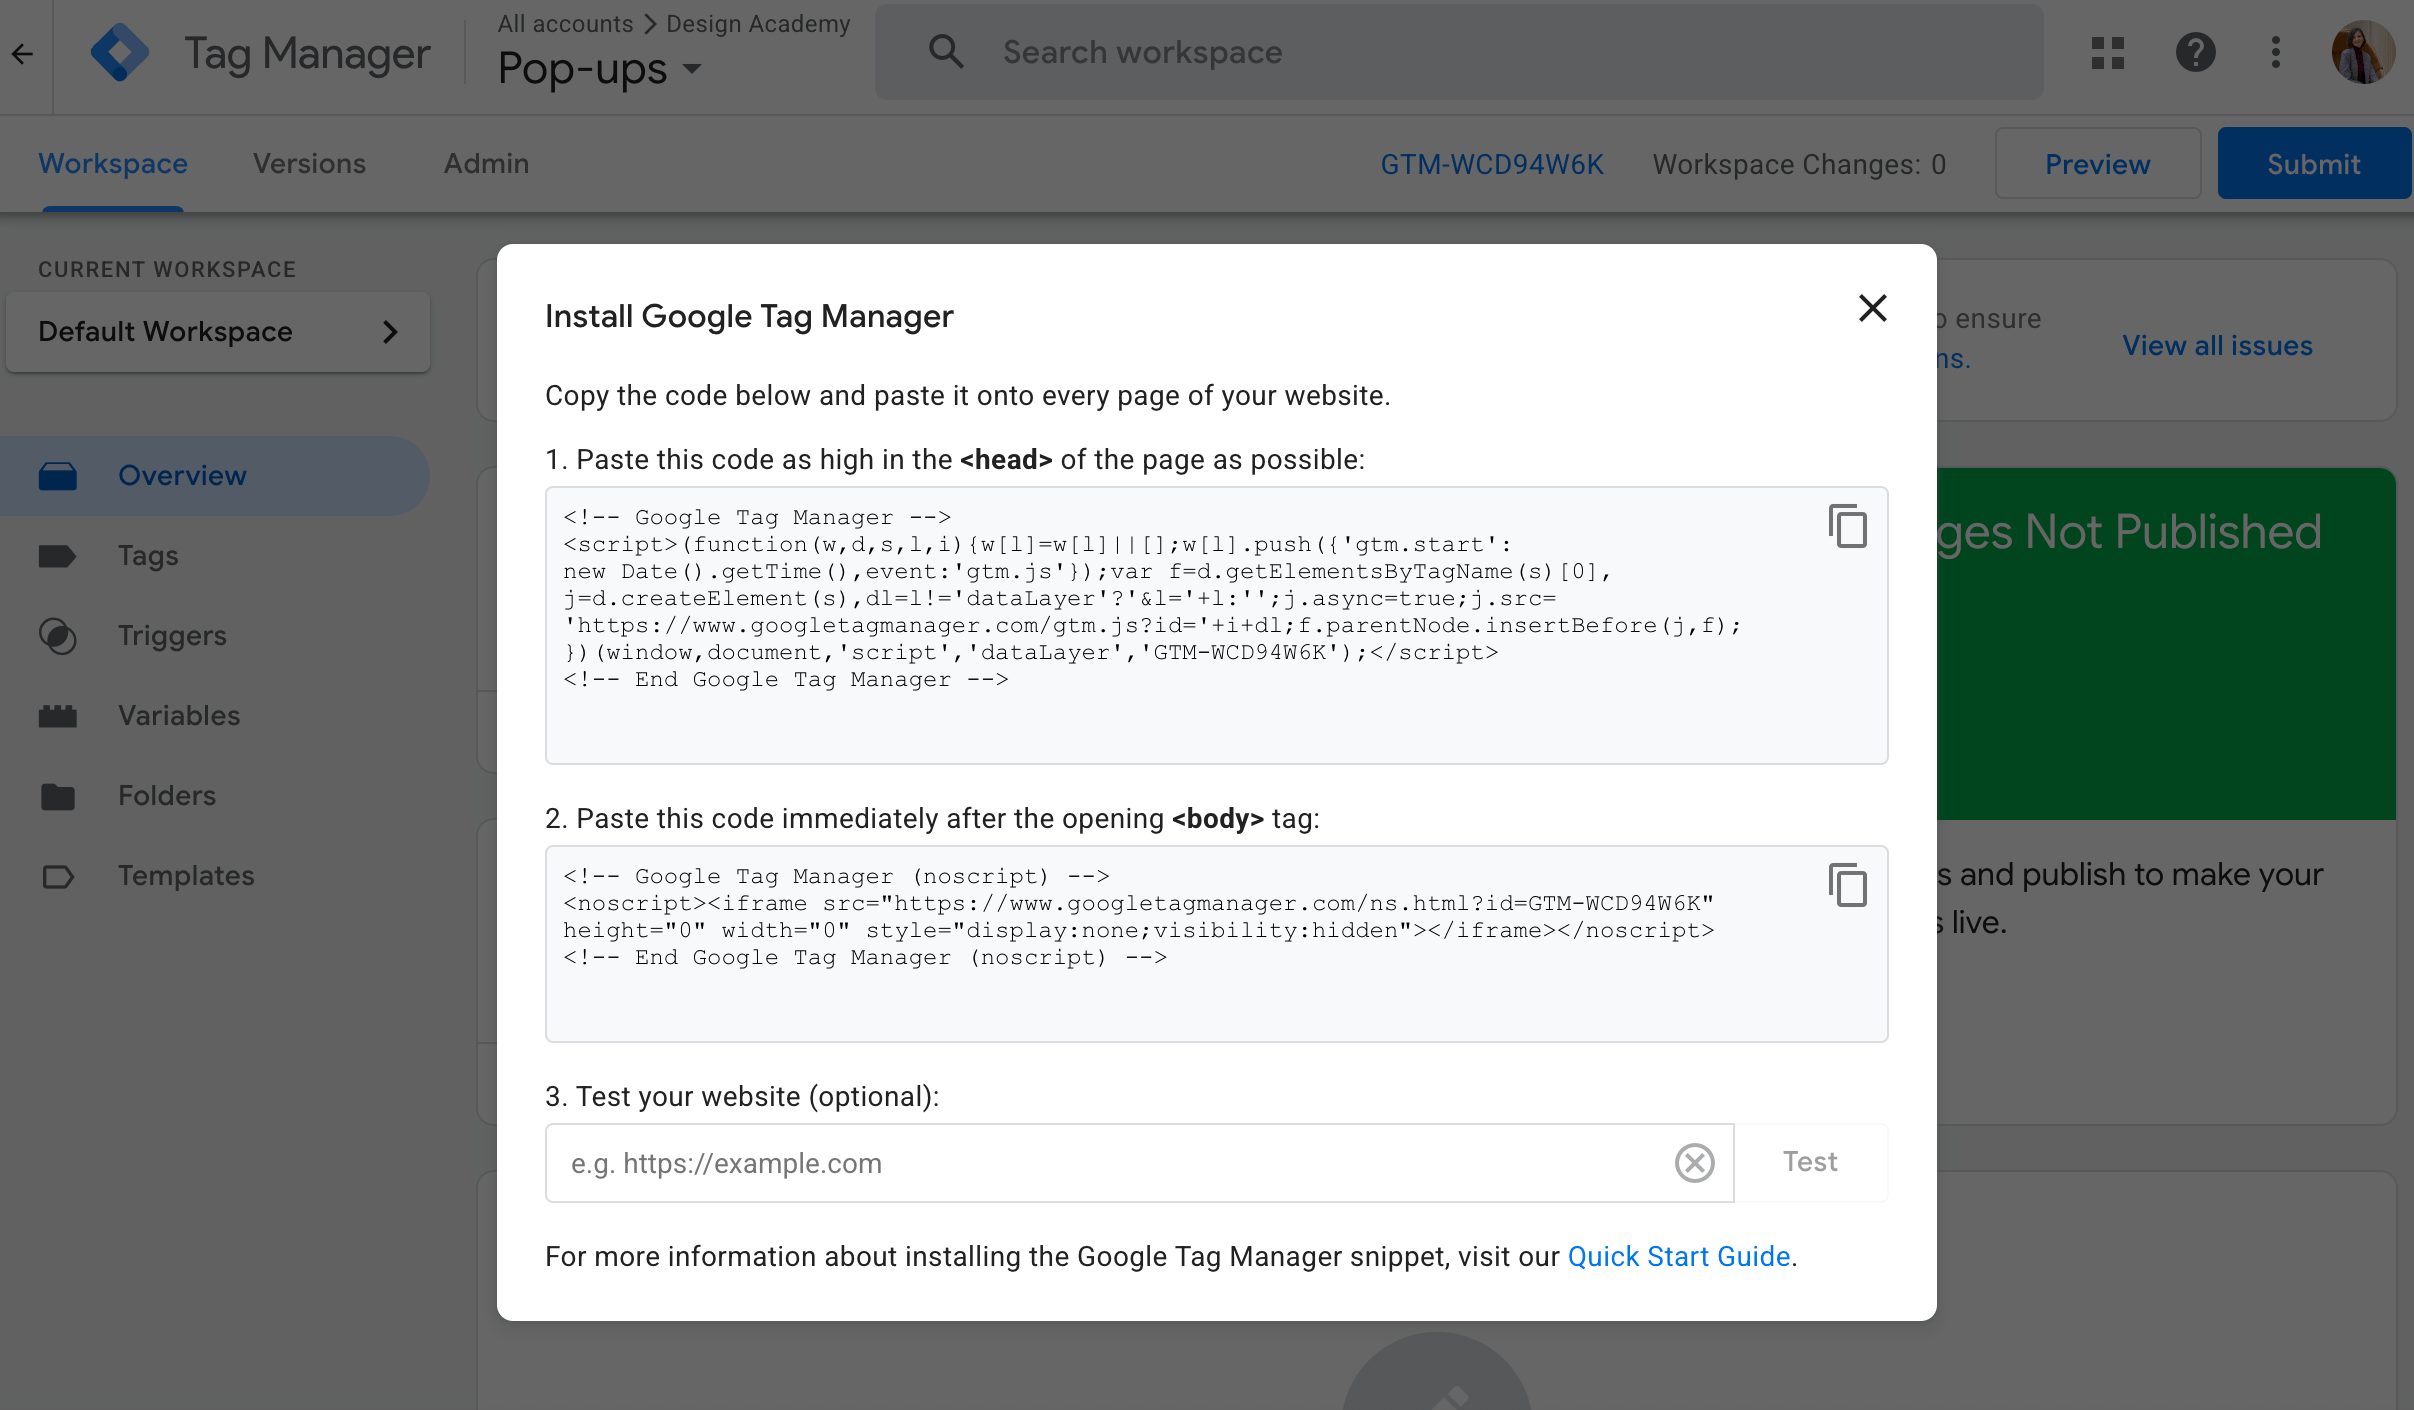
In the modal window that appears after you create the project, copy the code snippets and add them to the <head> and <body> tags, respectively.
Copy the pop-up code in SendPulse
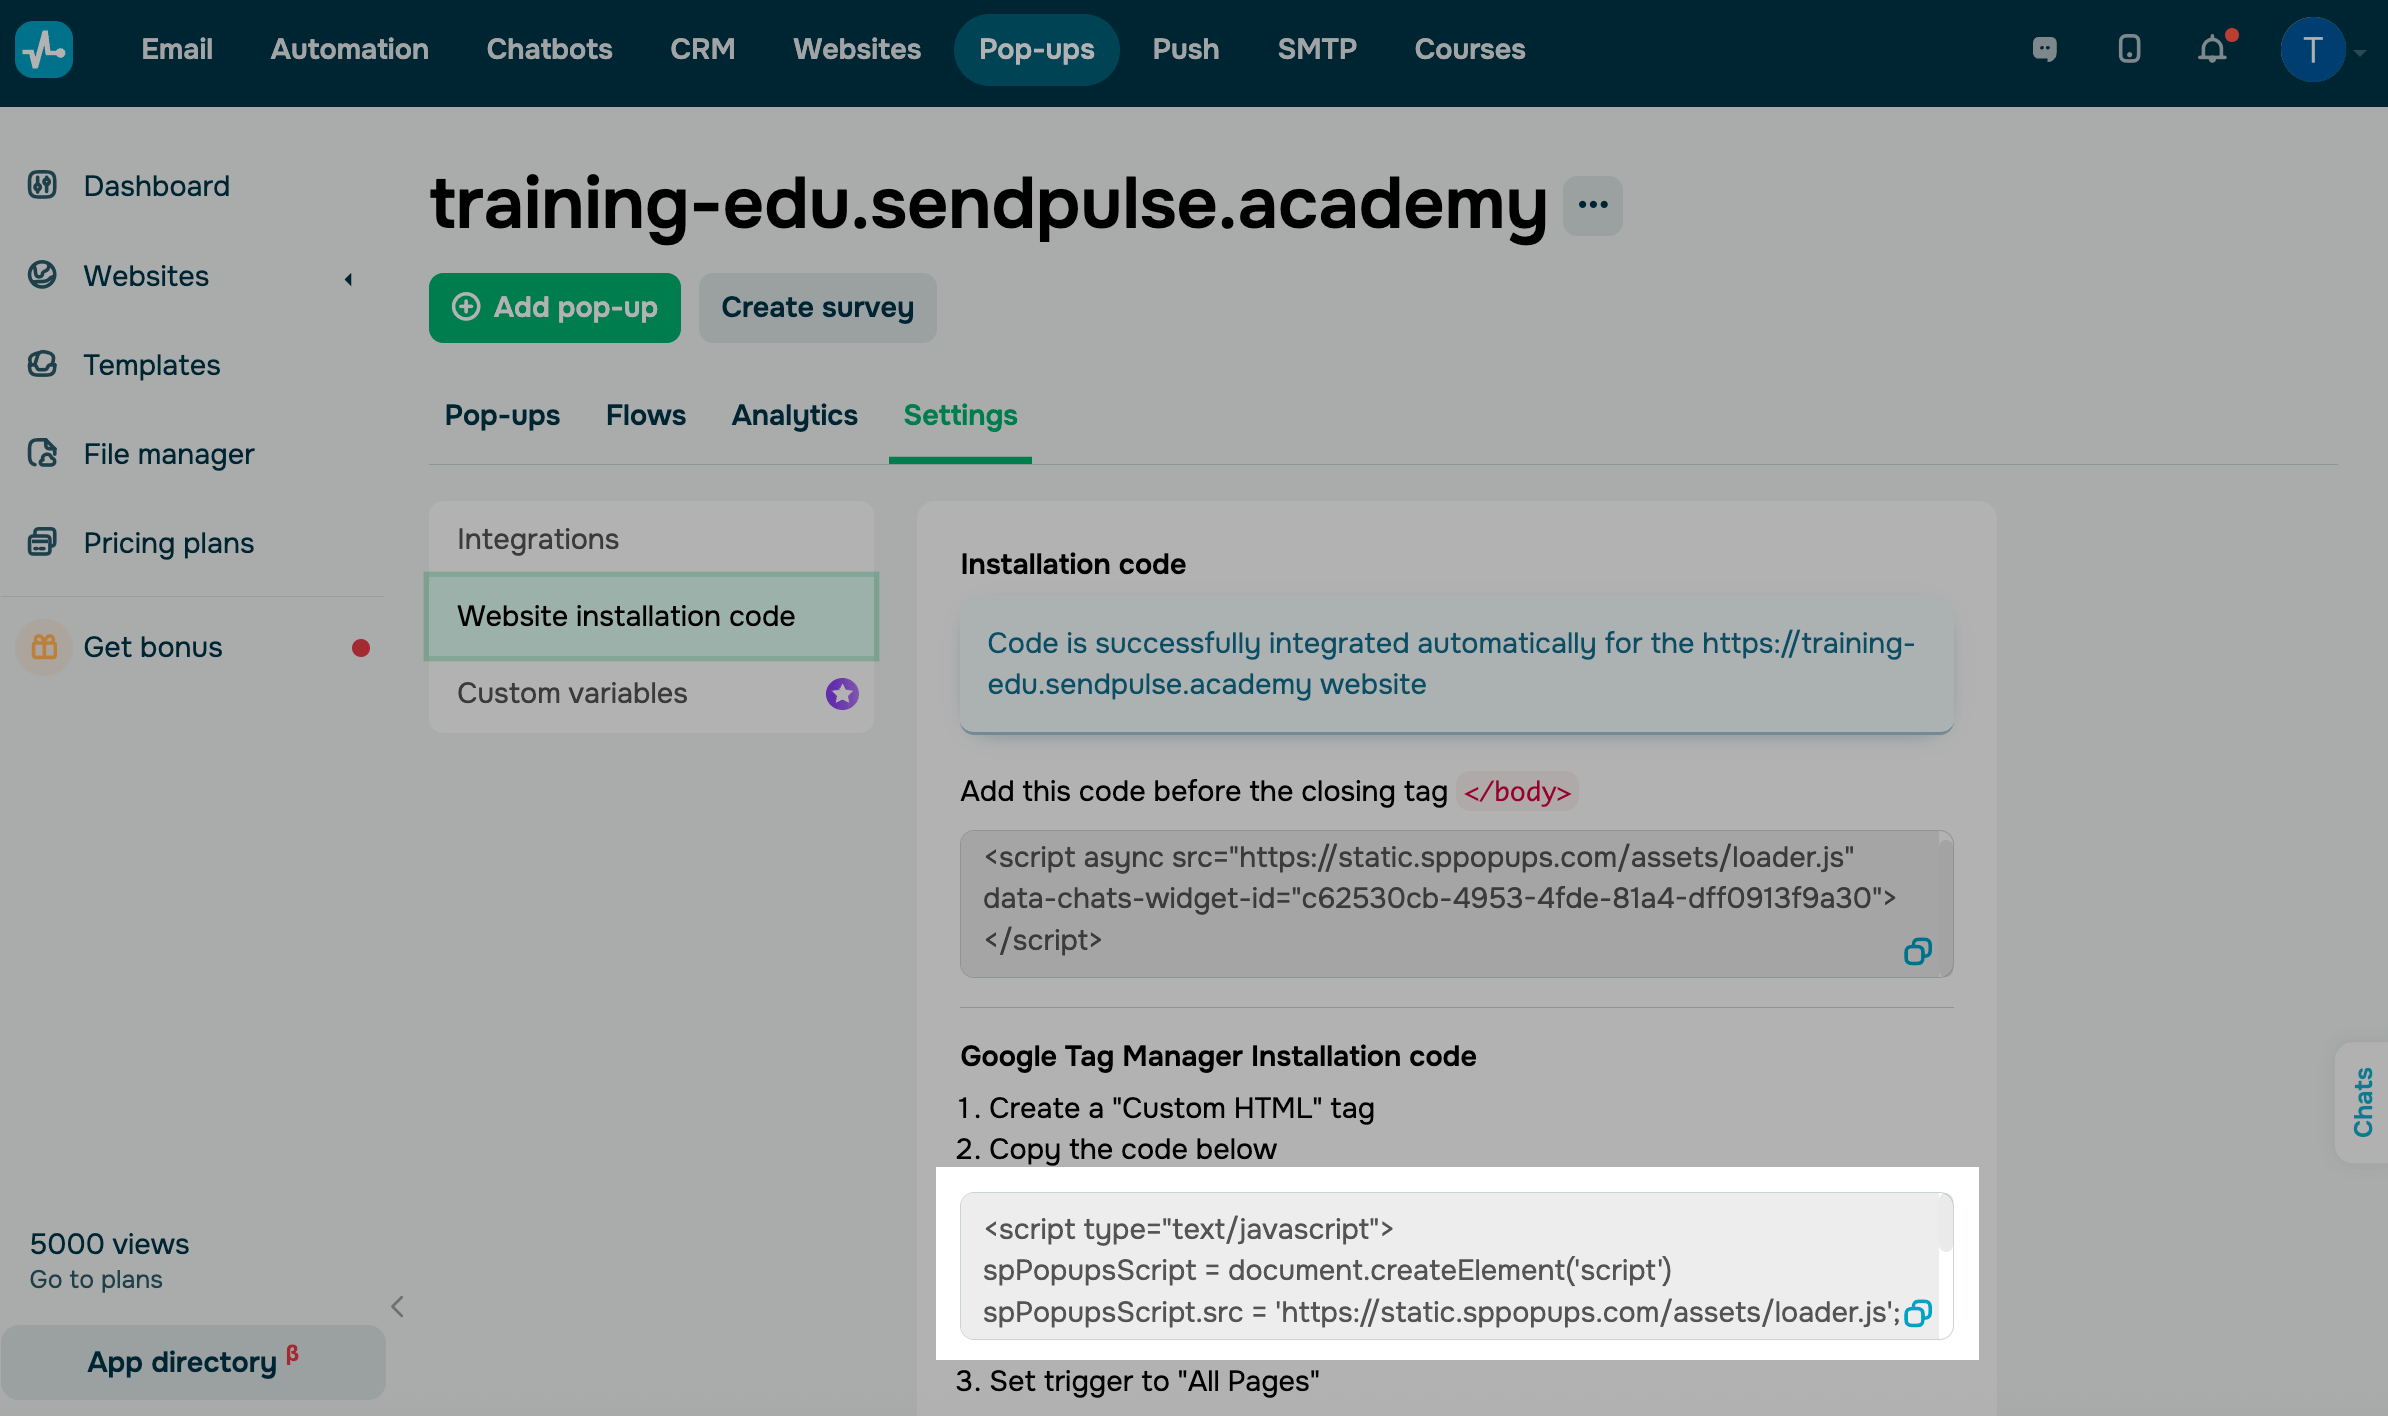
In your SendPulse account, go to the Pop-ups section and open your website. Go to Settings and copy the code in the Google Tag Manager Installation code section.
Create a tag and add the code to it
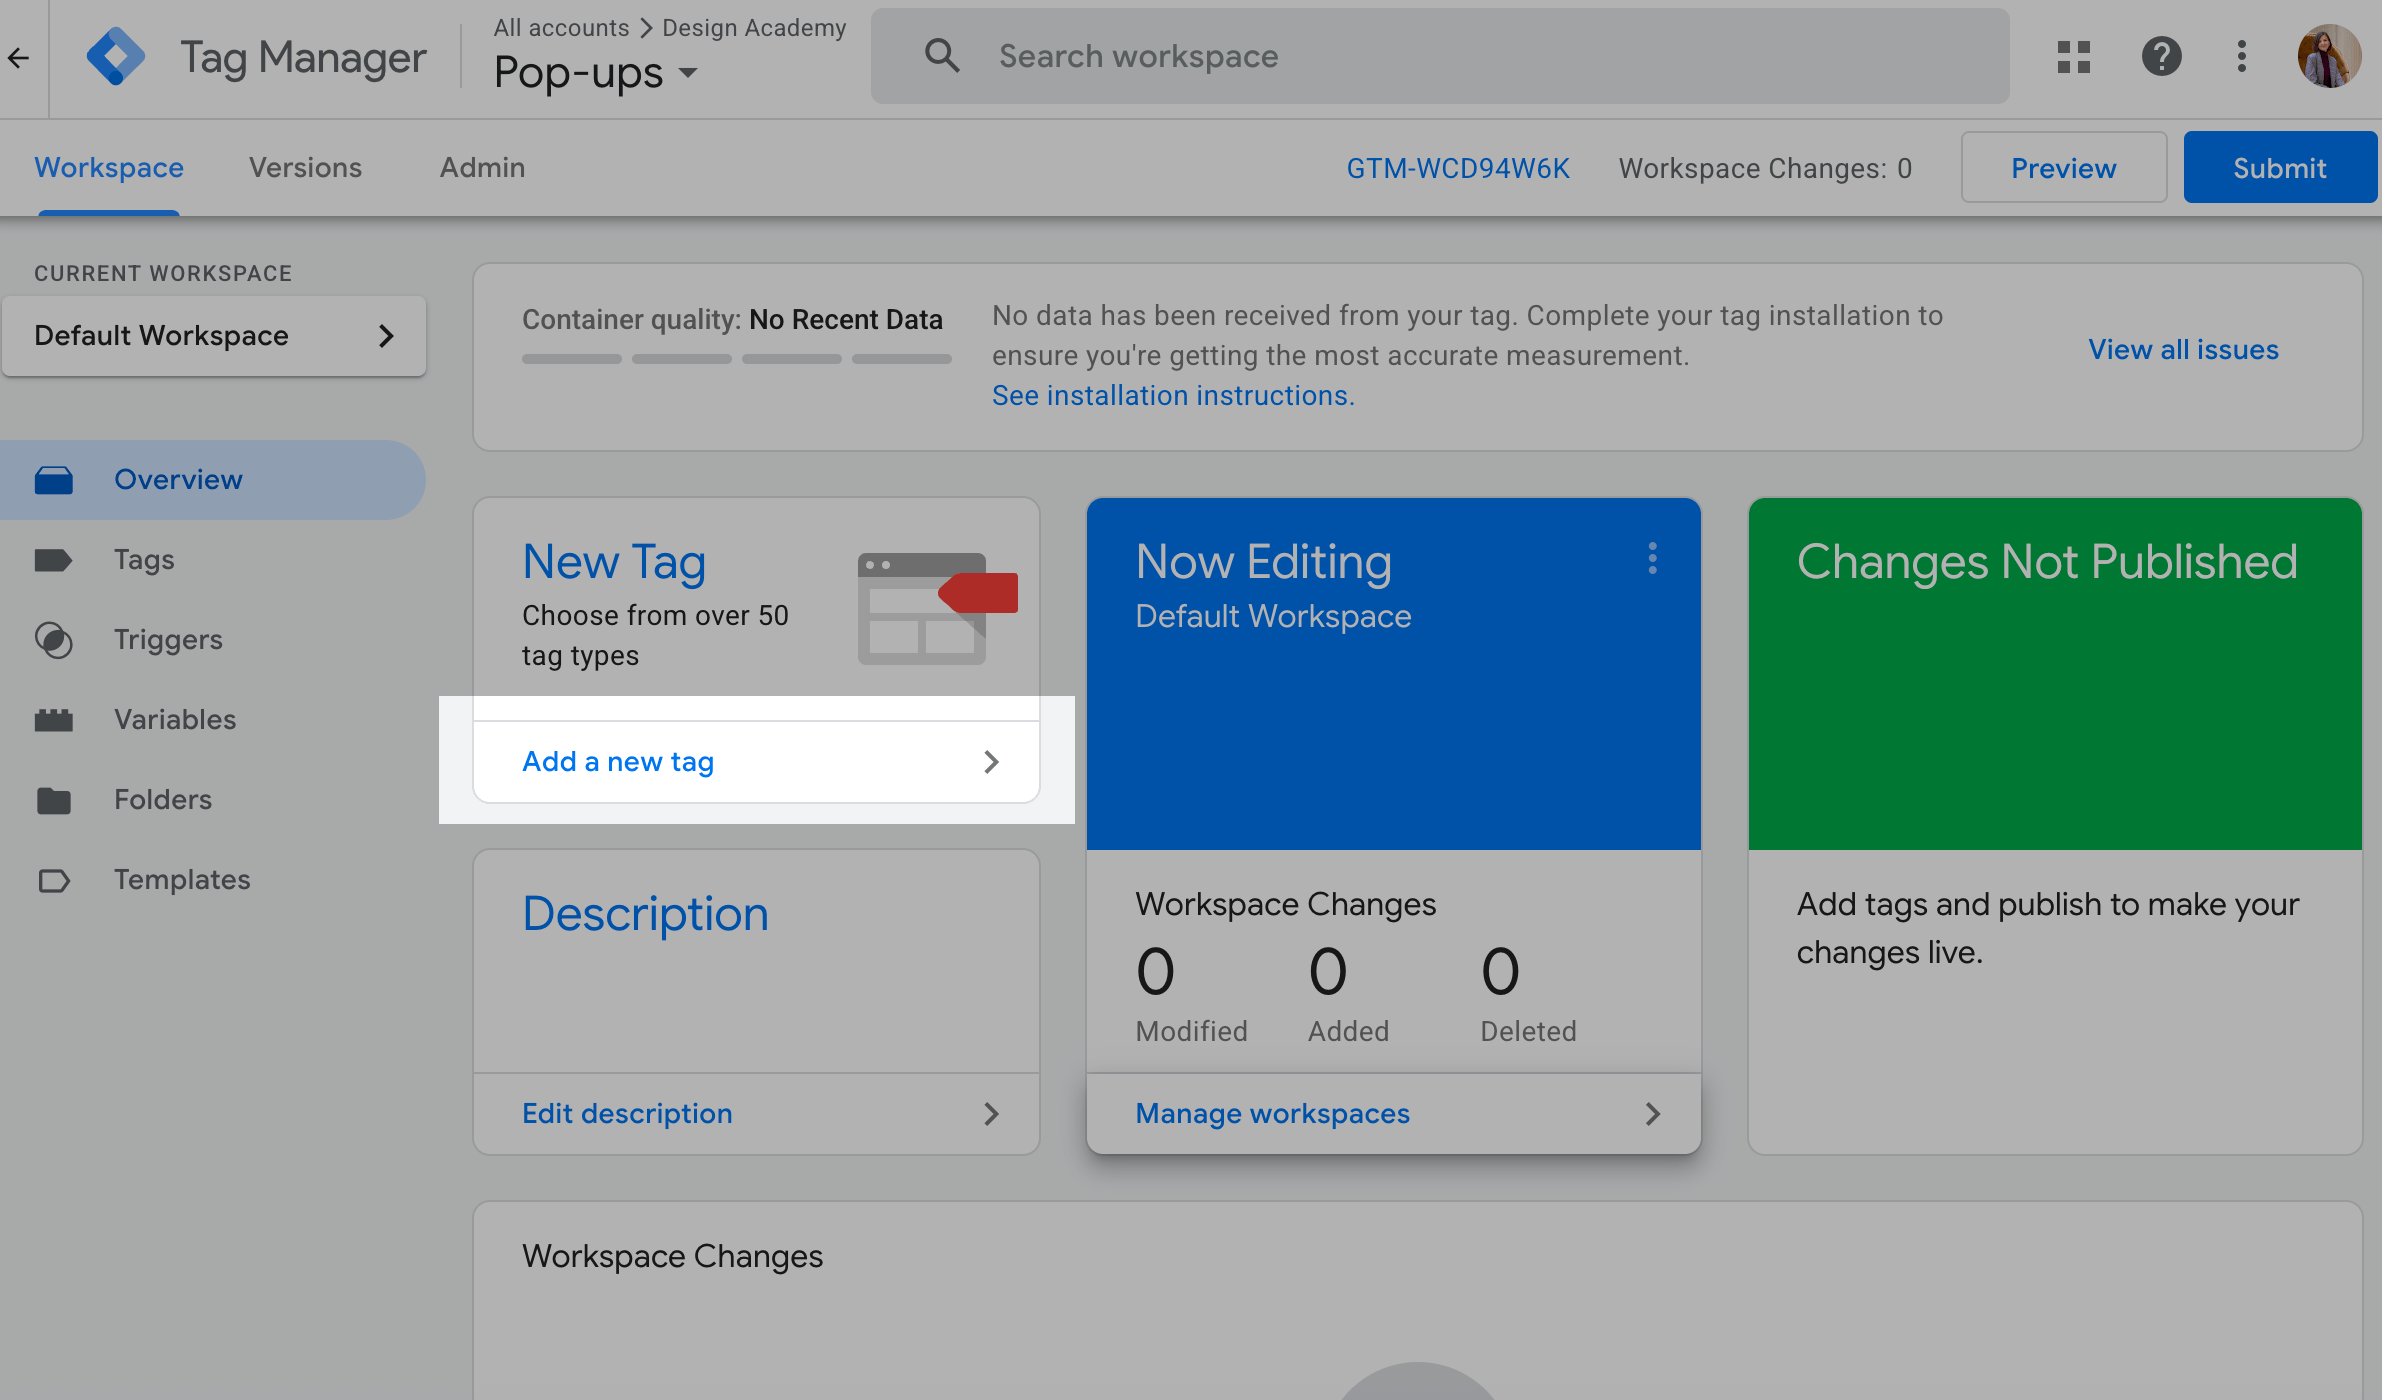
To create a new tag, go to your Google Tag Manager account and click Add a new tag.
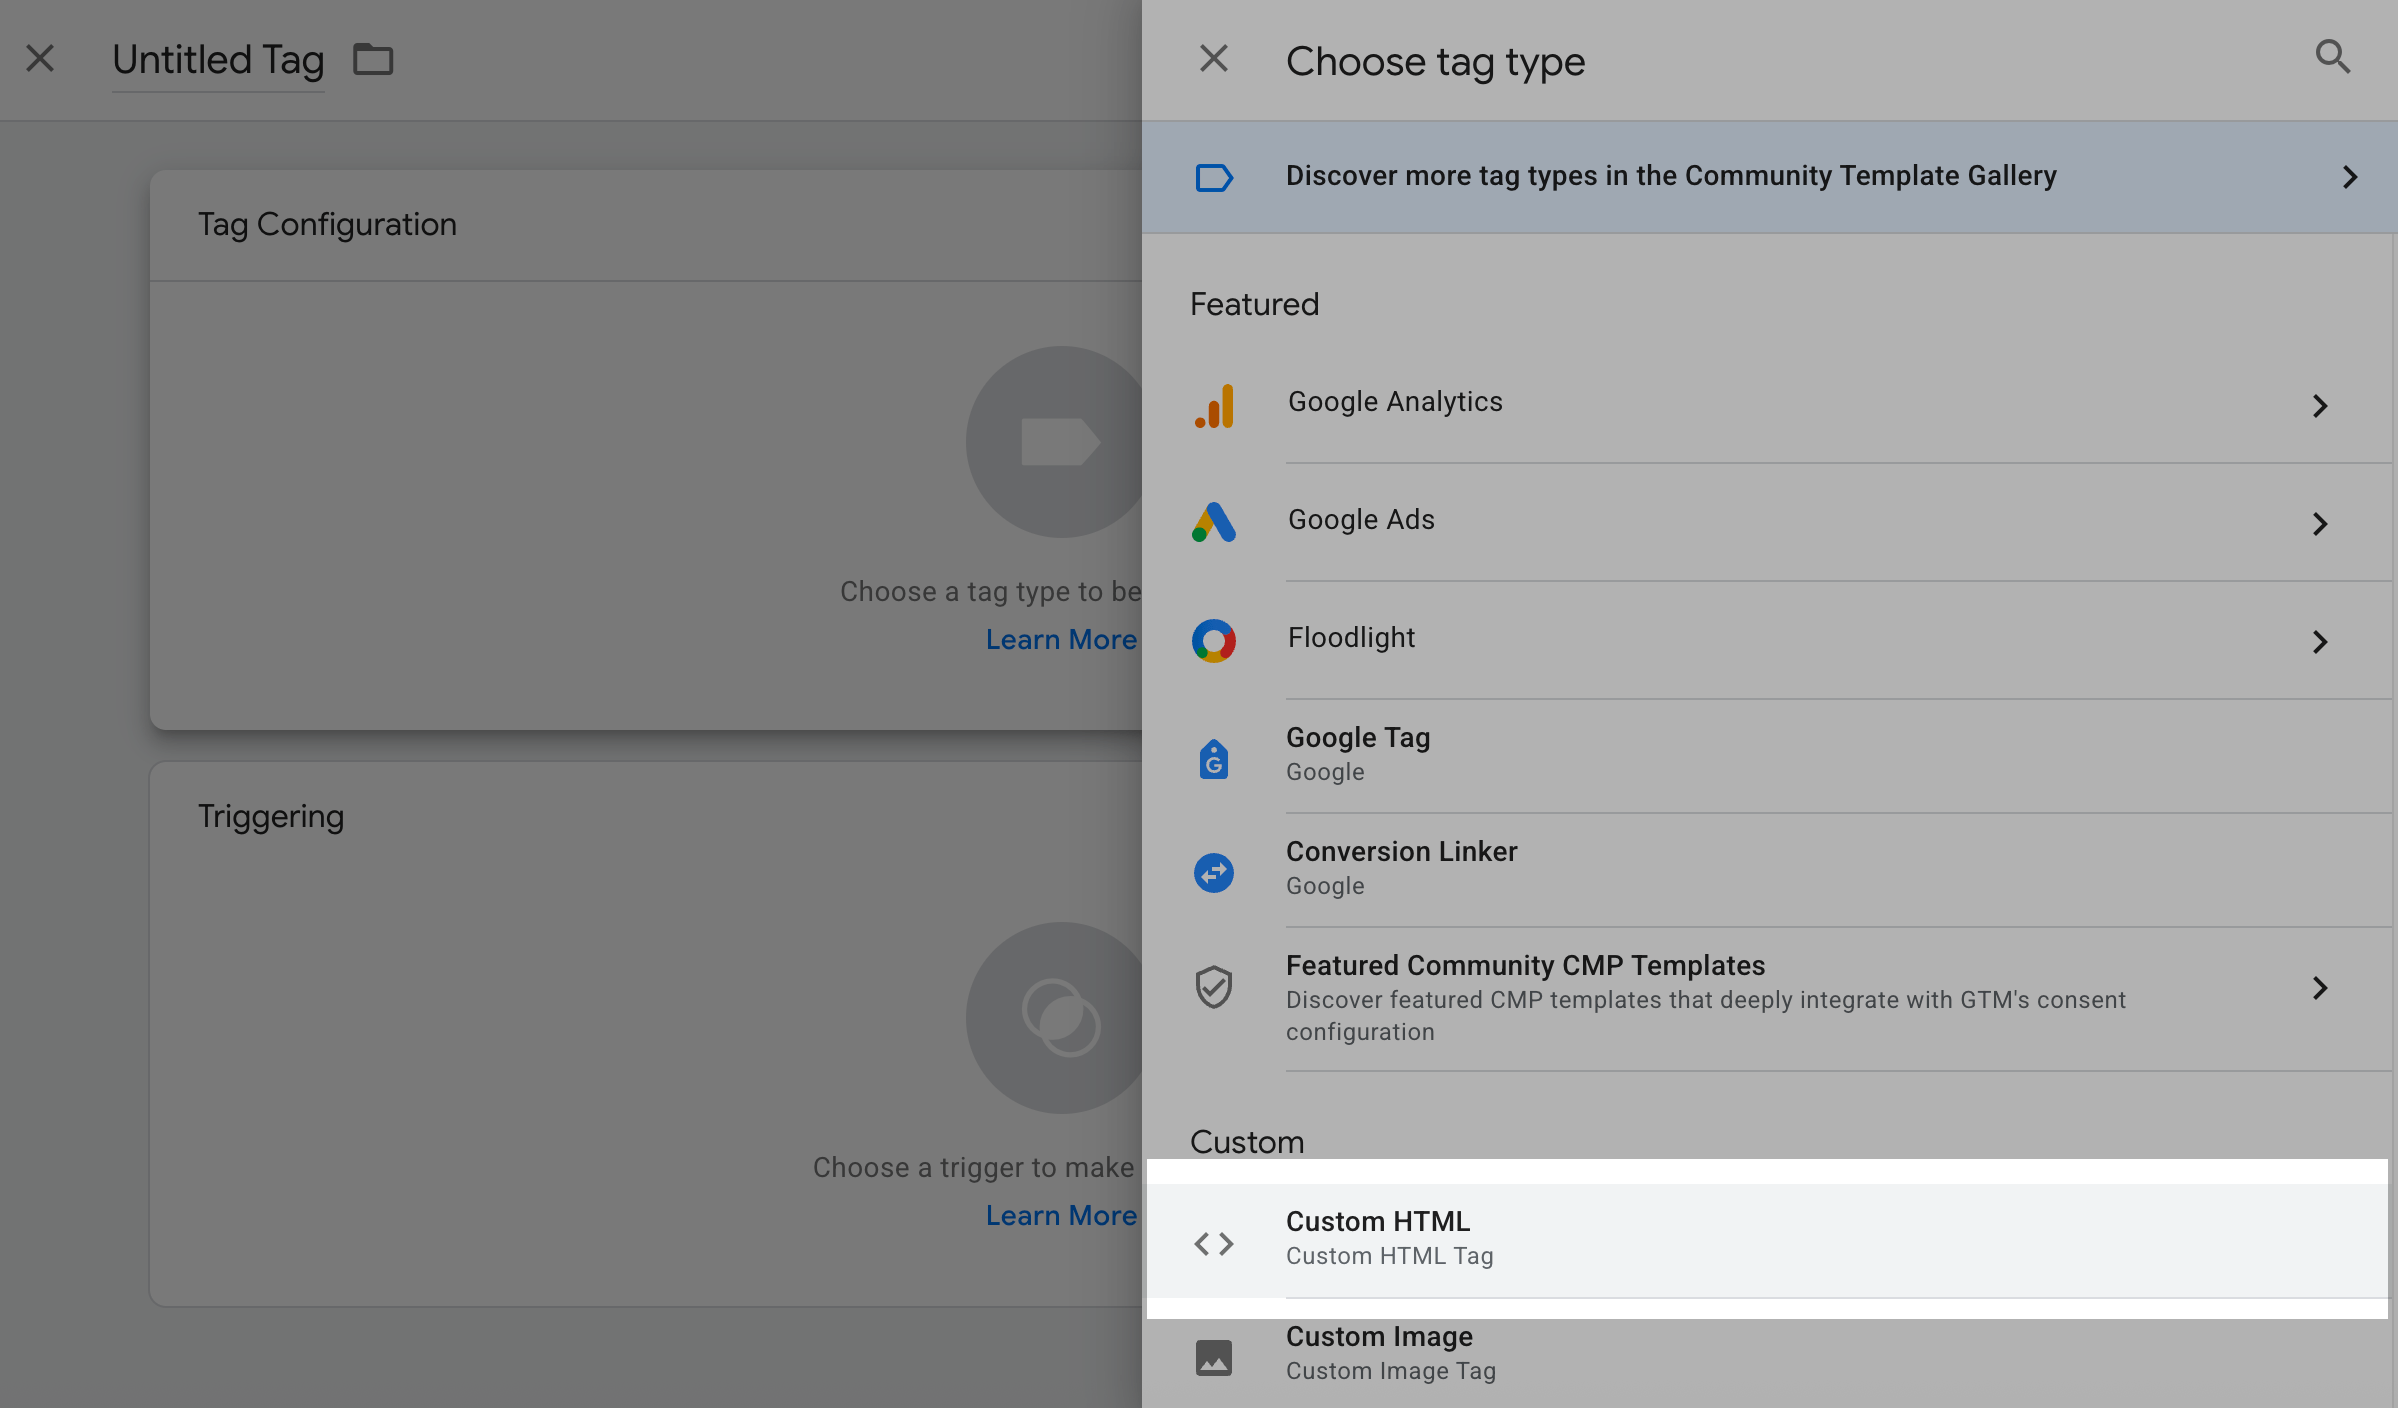
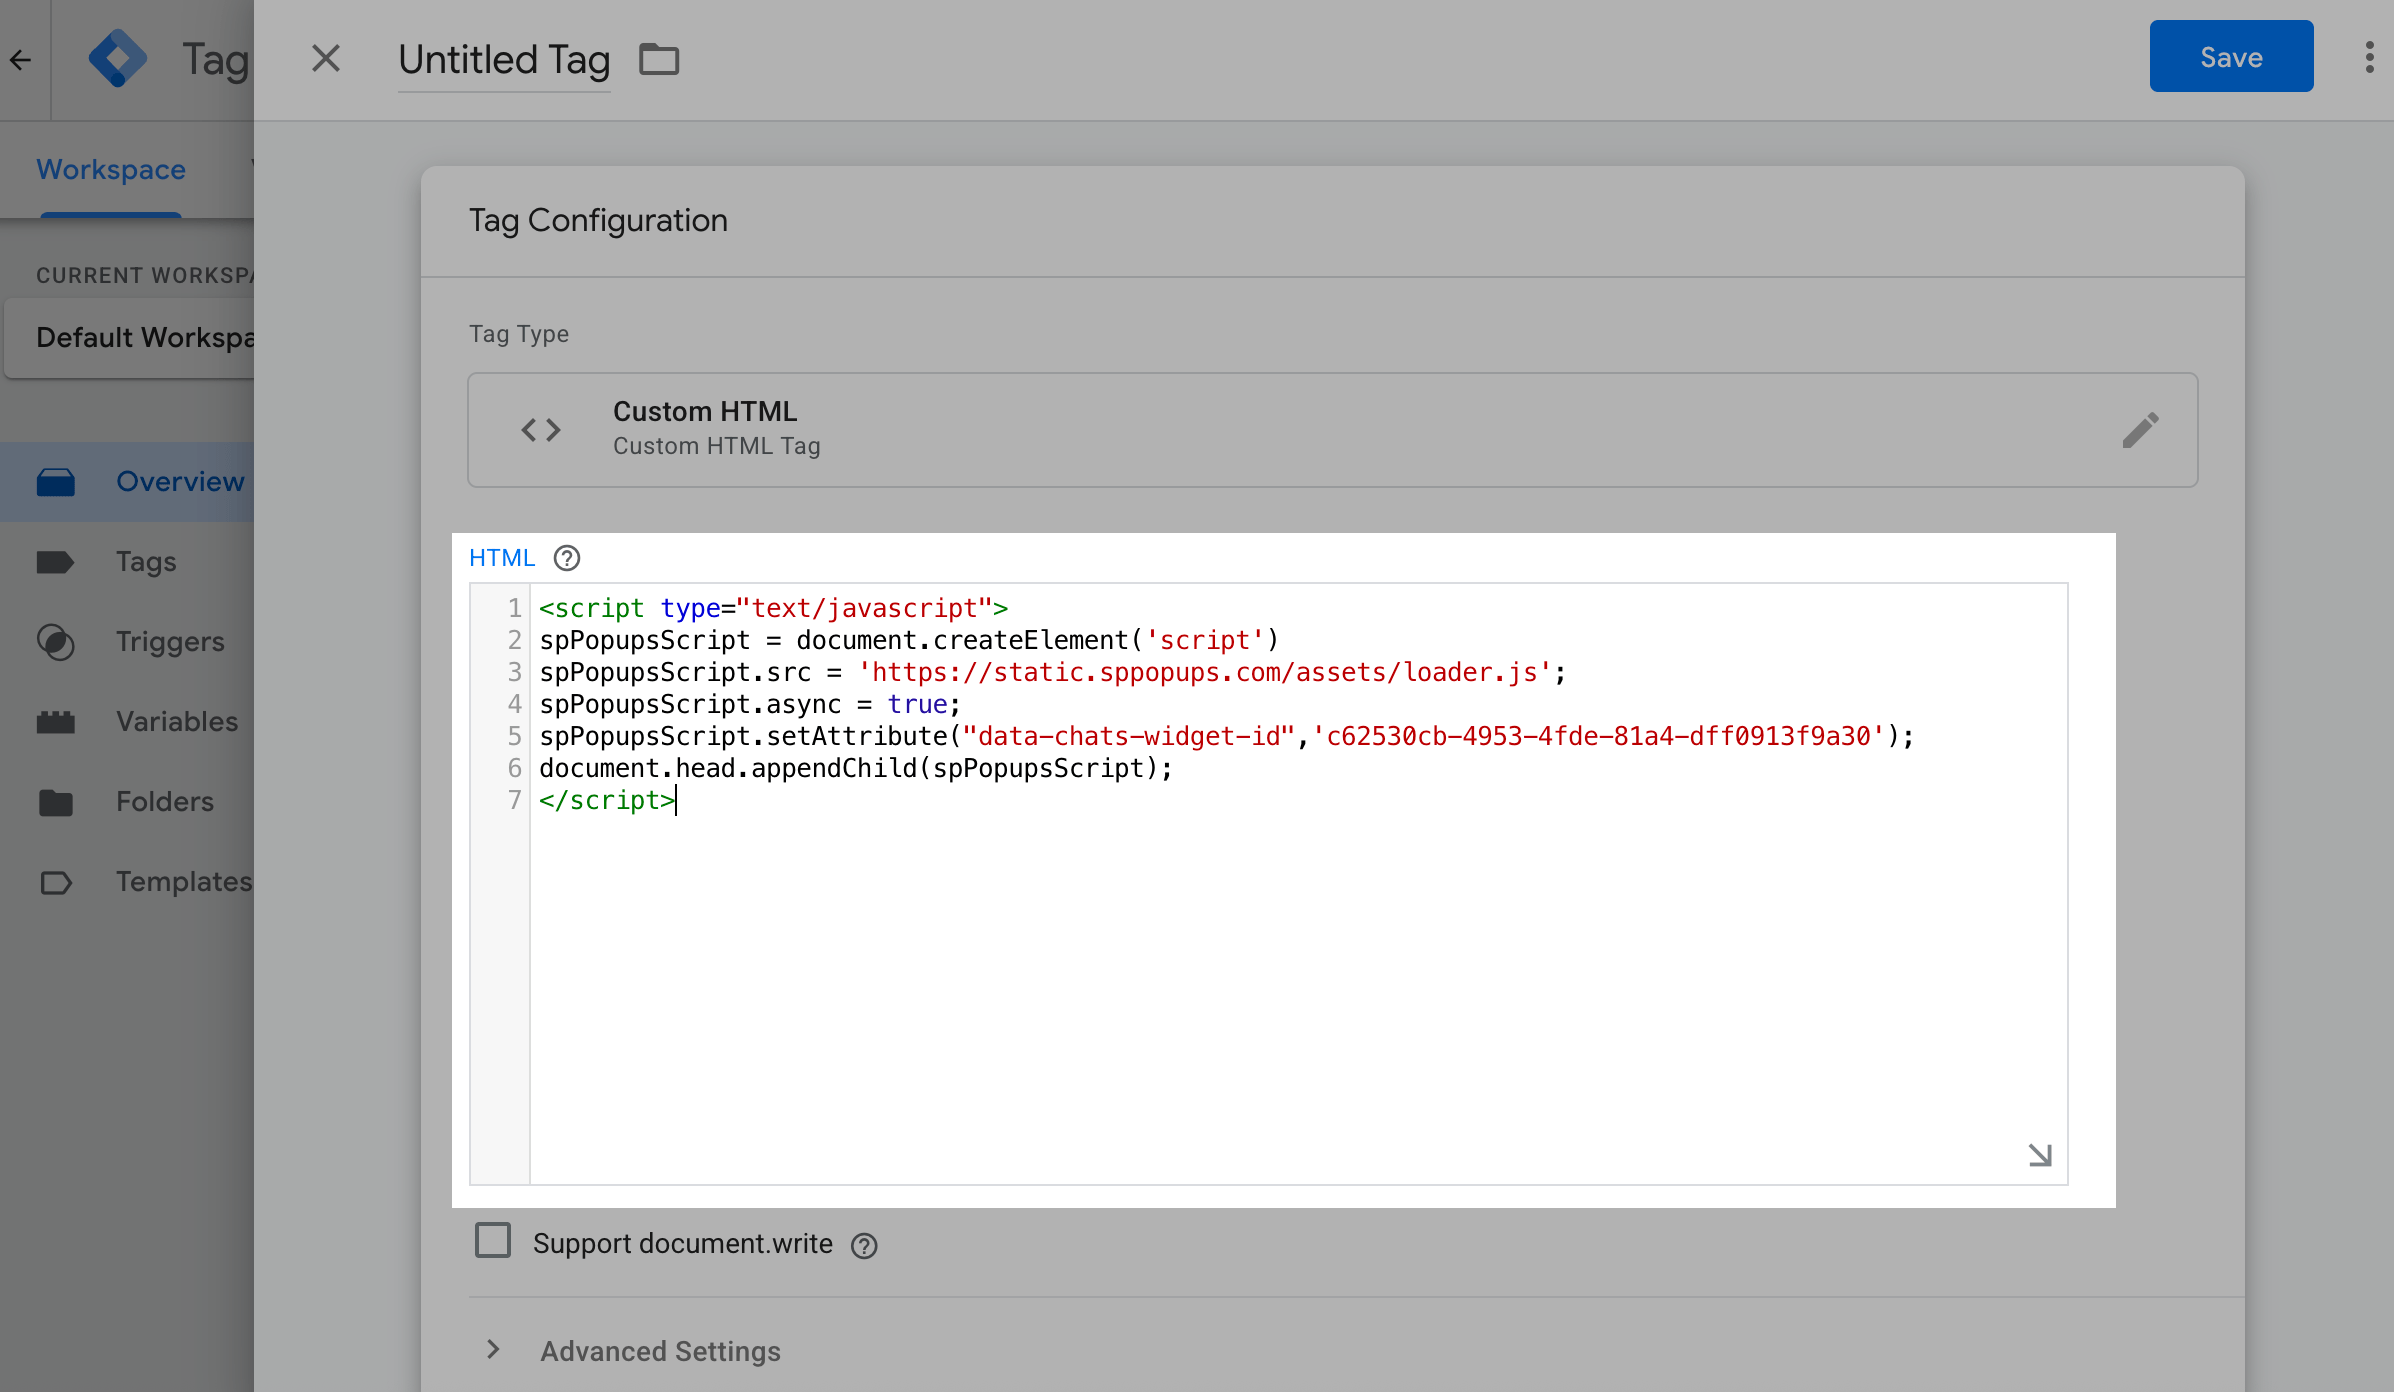
Click the pencil icon in Tag configuration and select Custom HTML.
Add the copied script to the HTML field.
Click the Triggering section and select All pages, which are the events that will trigger the tag.
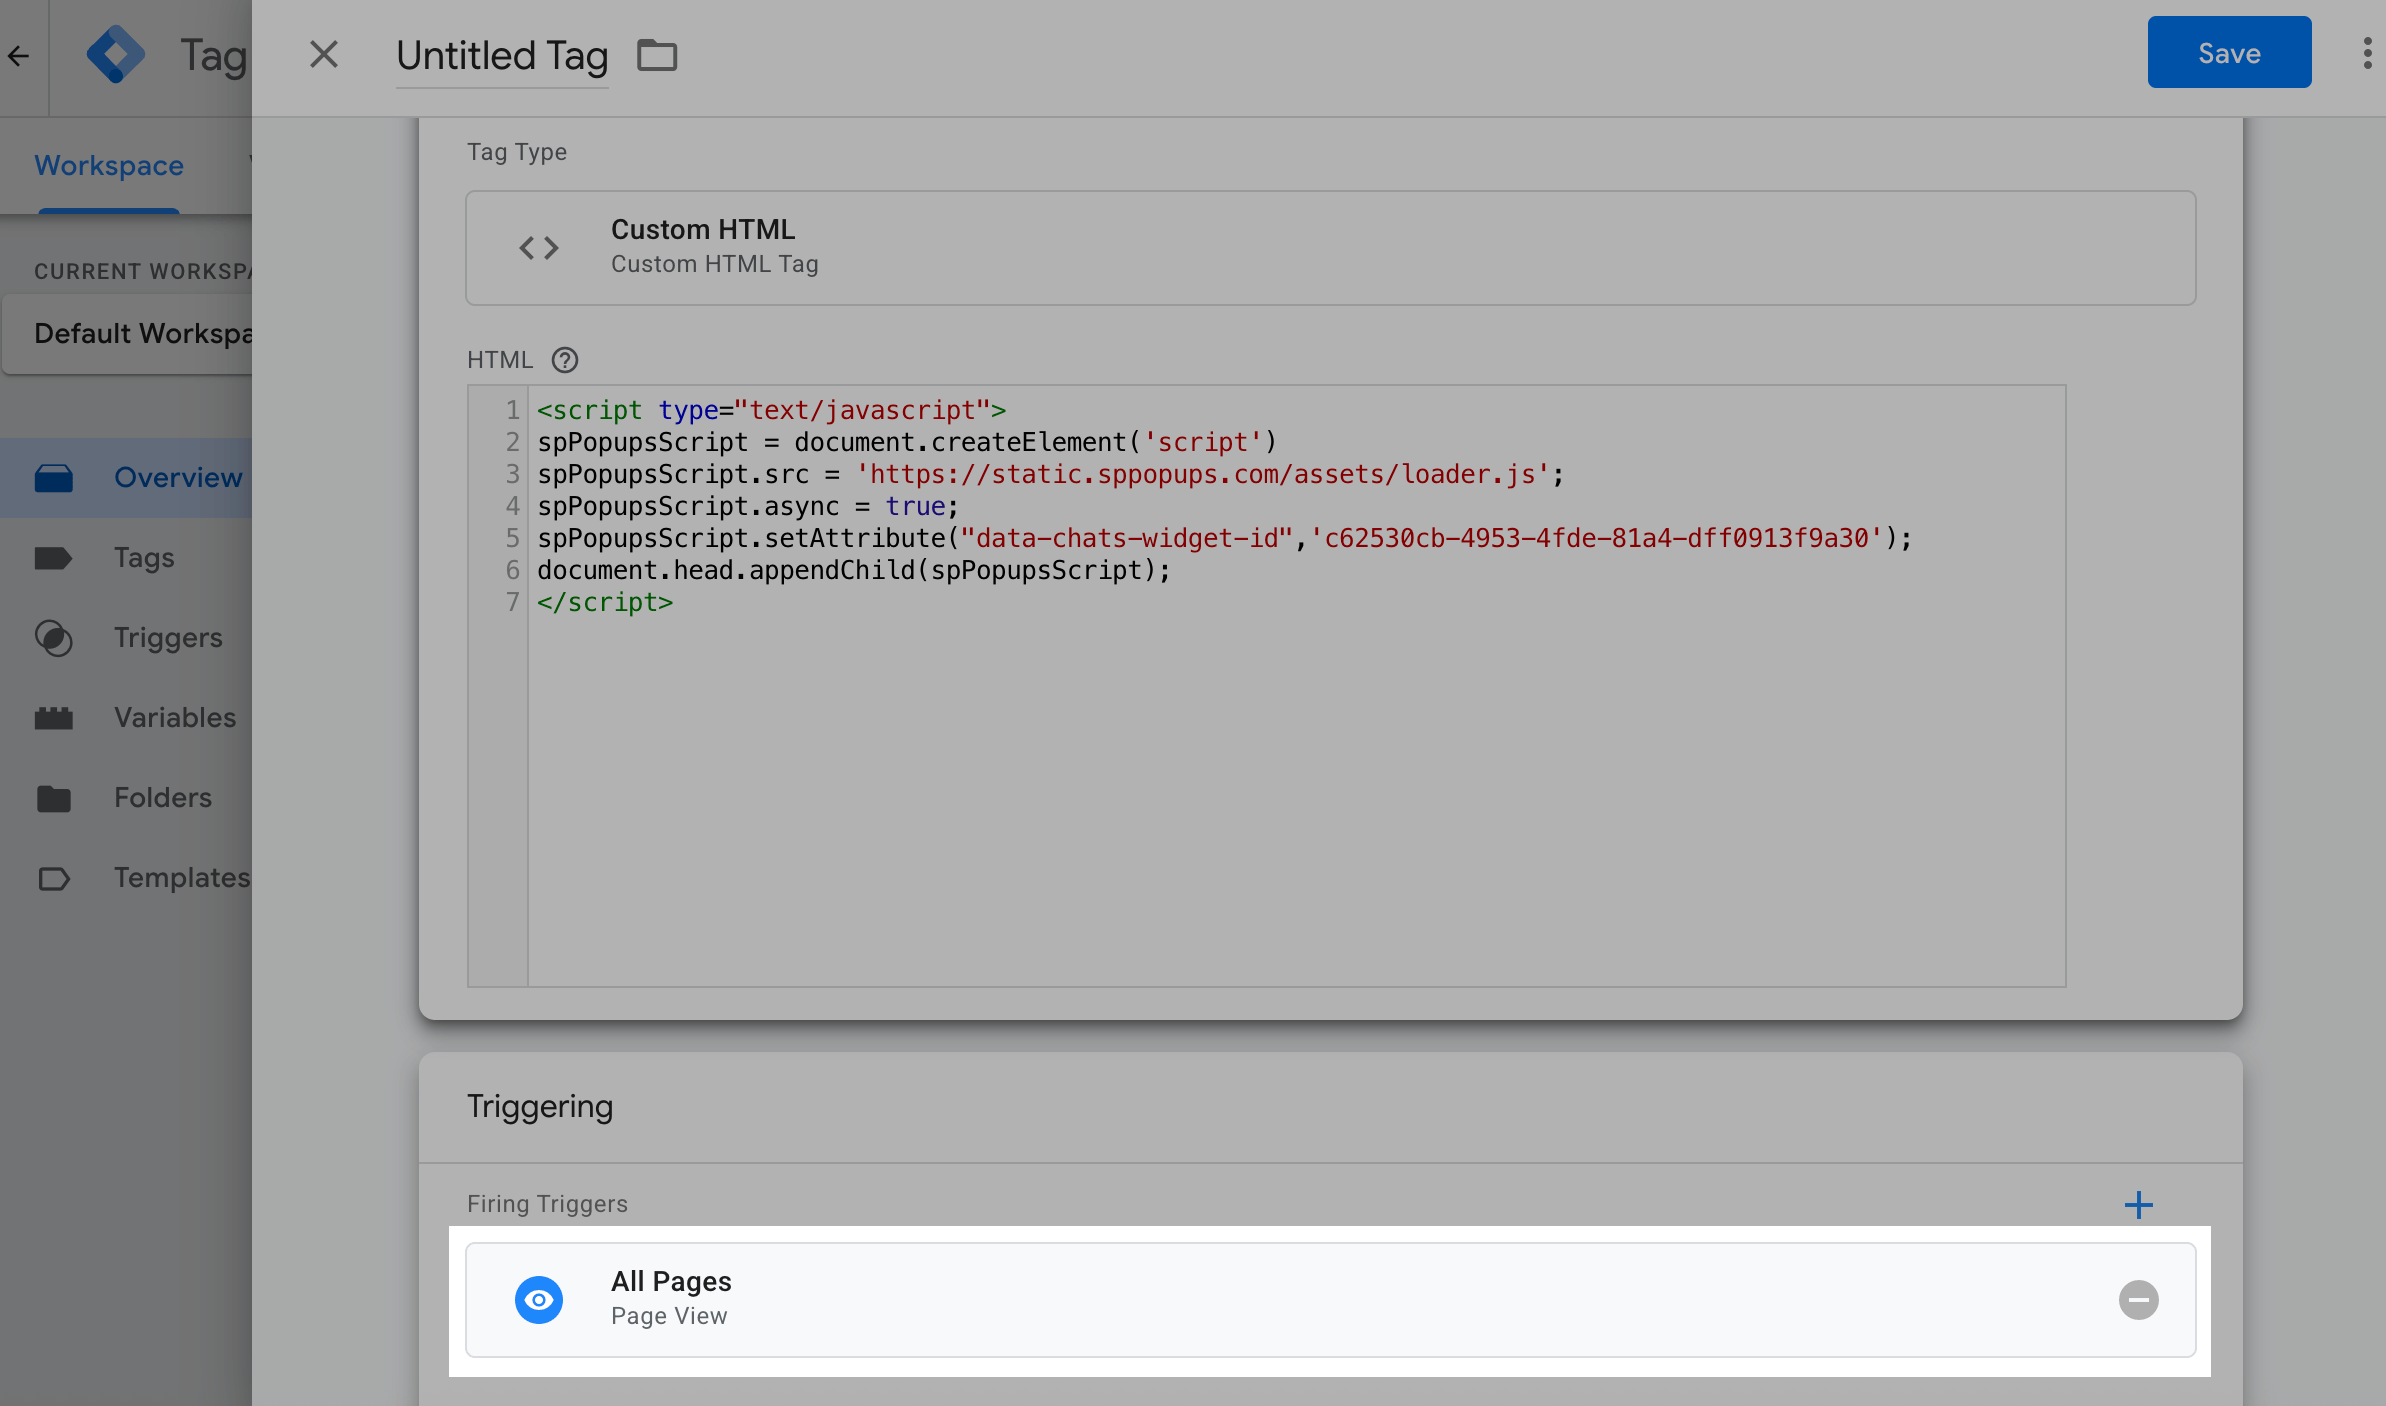
Click Save, enter a tag name in the modal window, and save it.
Click Submit and send the changes to your Google Tag Manager workspace.
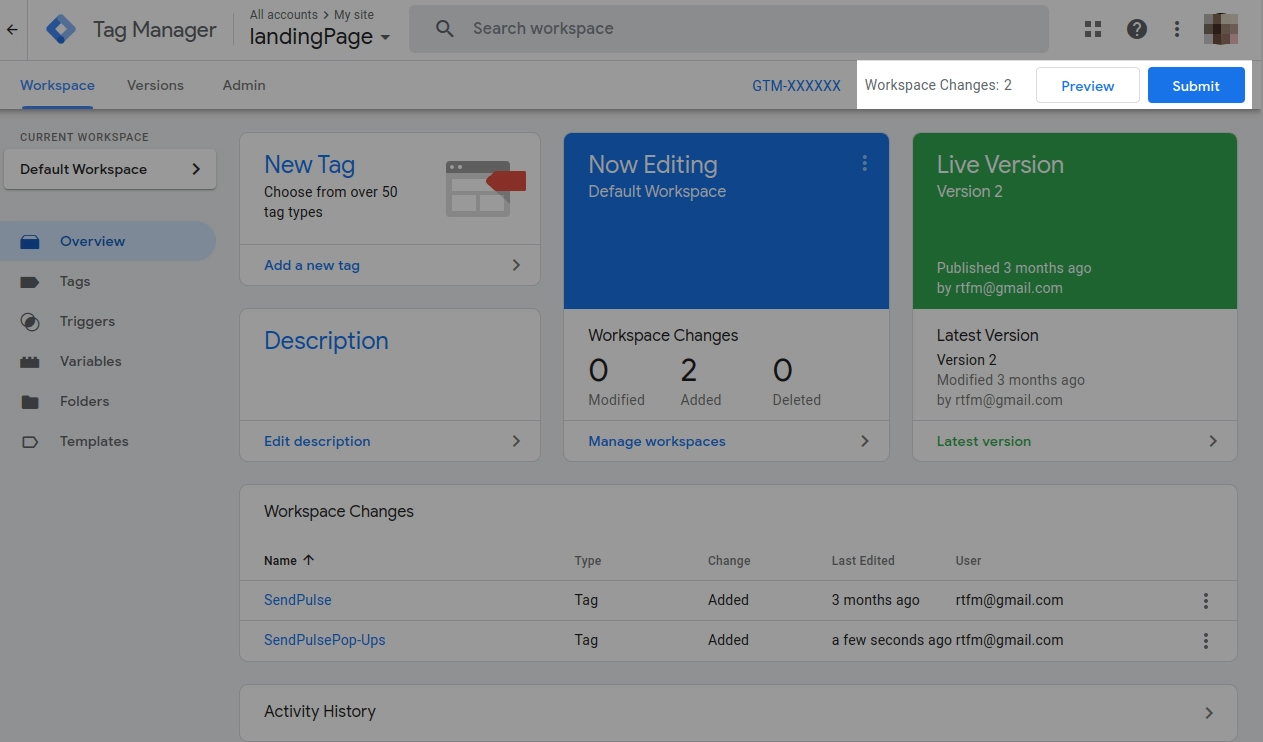
Add a version name and a short description, such as “Add SendPulse pop-up installation code.”
Click Publish.
Once the publication is complete, you'll see a notification that your tag is active.

Last Updated: 23.12.2025
or