Create a course
With the SendPulse online course platform, you can create courses of any format: video lessons, audio lessons, text lessons, add files, and a final test to confirm successful completion of the course.
In this article, we will look at how to create a course on your domain, add lessons and materials using the drag and drop lesson builder, set up course options, invite students and instructors, and create a certificate of completion.
Add a new course
Go to your academy in the Courses section, and click Create course.
Enter a course name that will appear in your list of courses, student accounts, and course certificates. Click Create a course.
Add materials
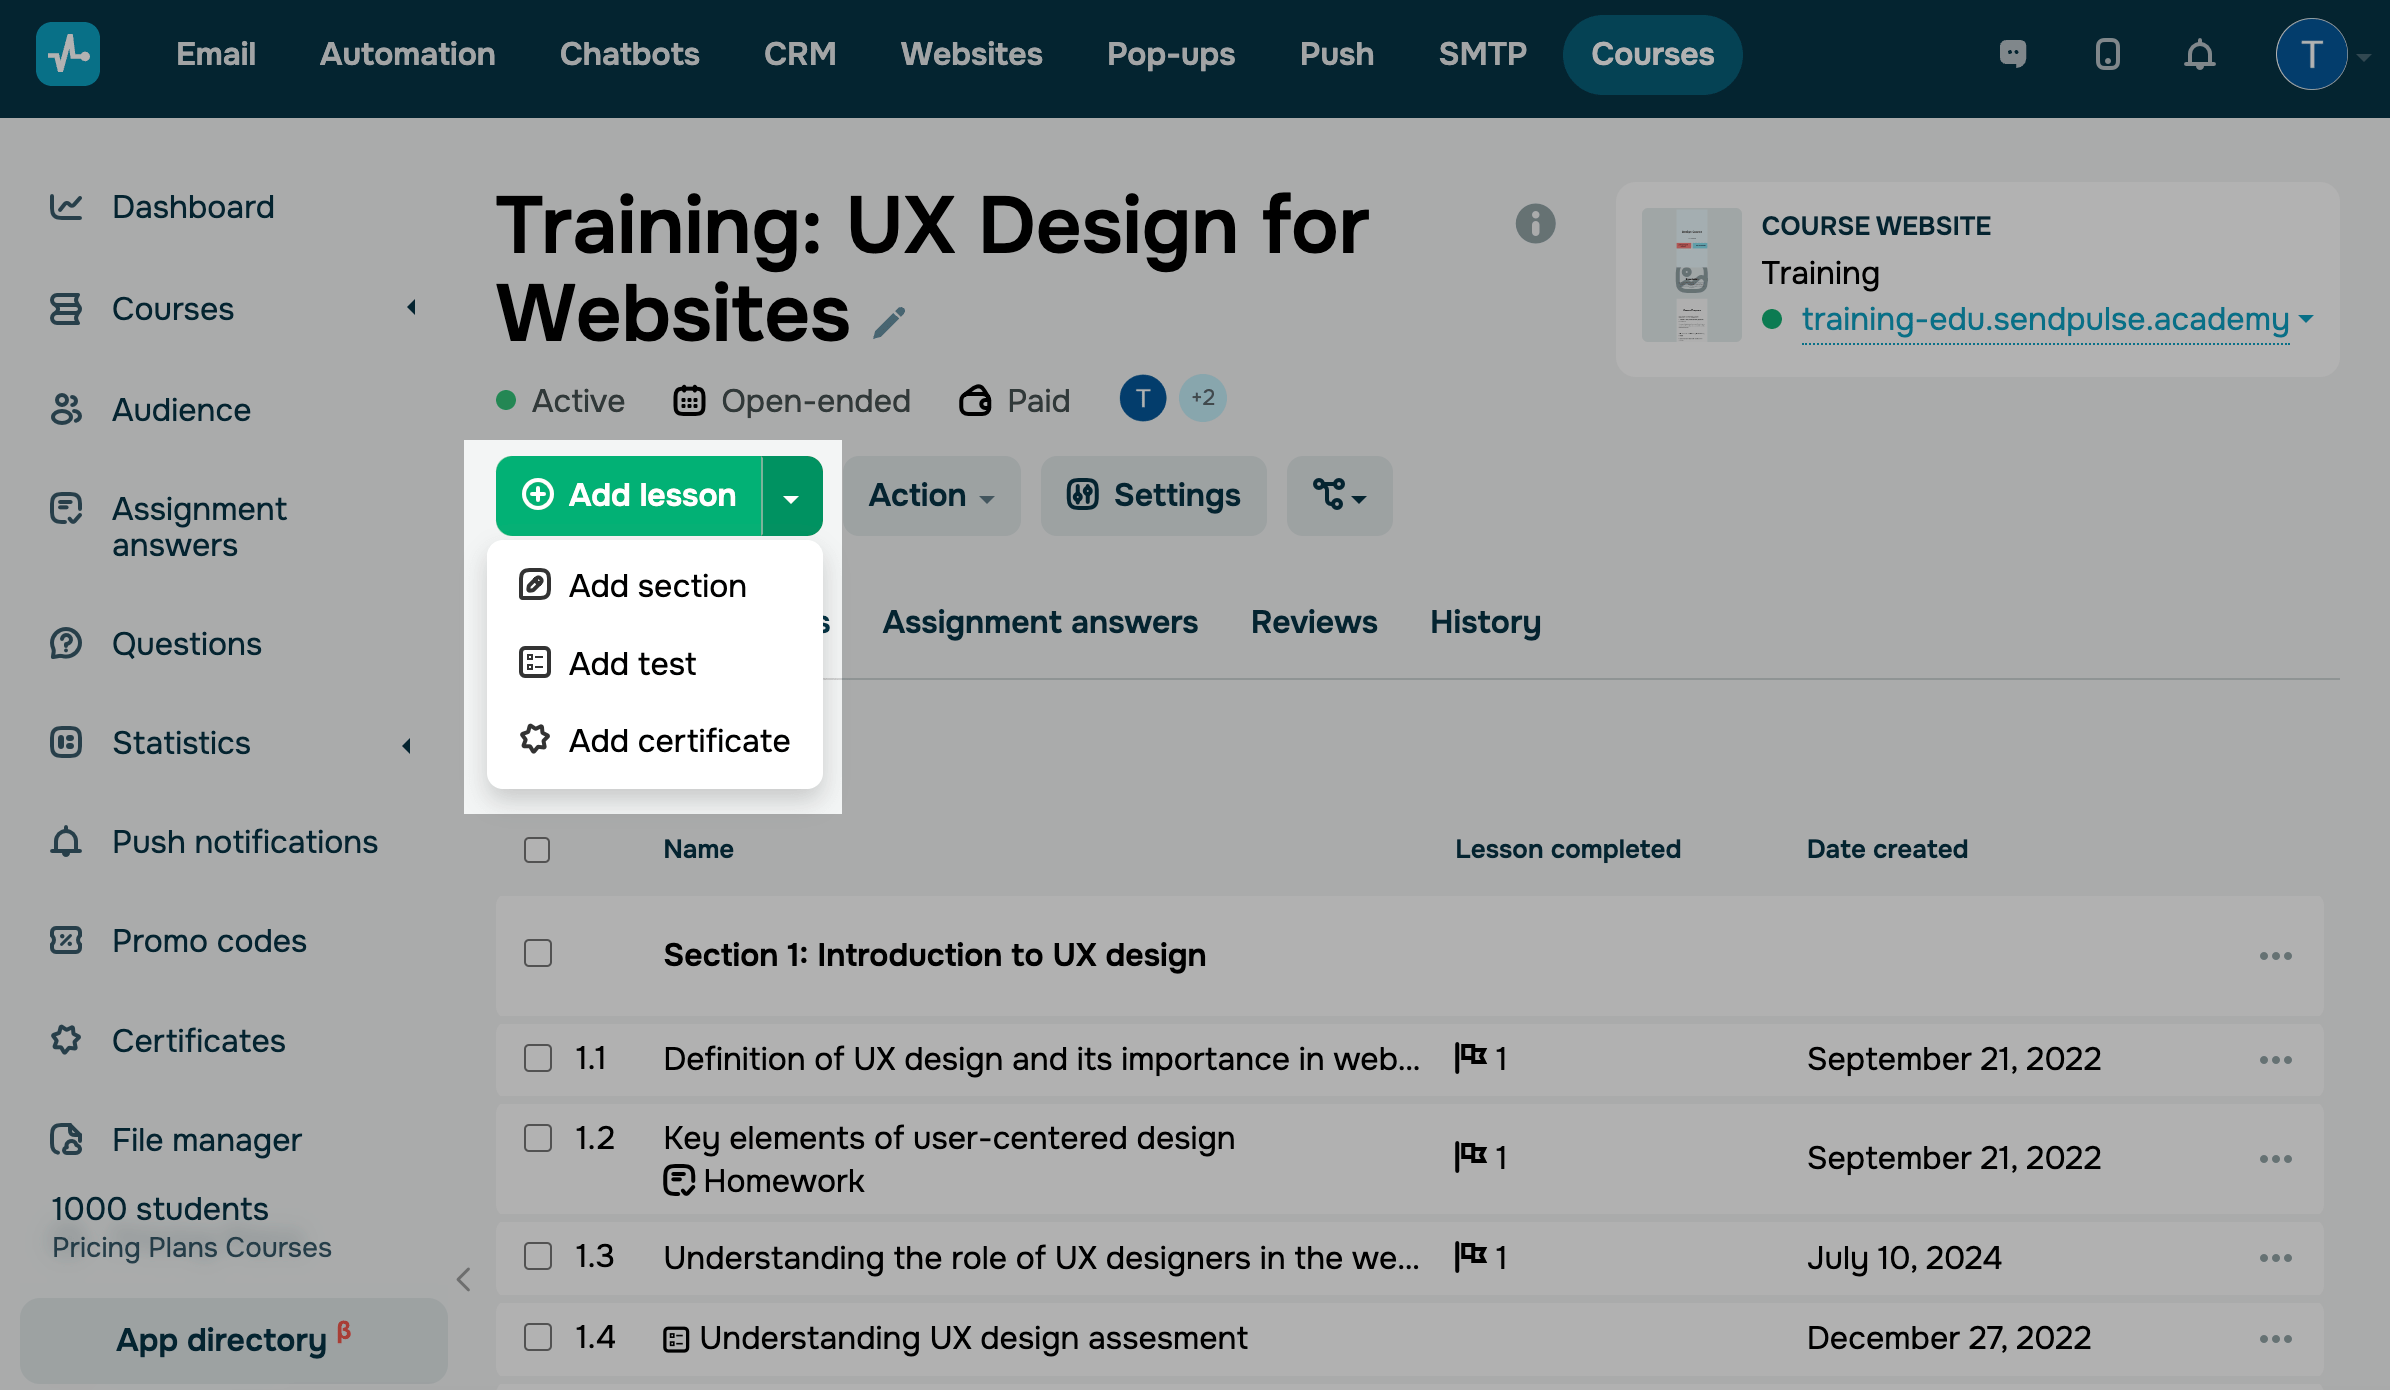
Under the name of the lesson, click Add lesson. Using the drag and drop lesson builder, you can create lessons, sections, tests for every section and add intermediate certificates to your course.
Creating a lesson
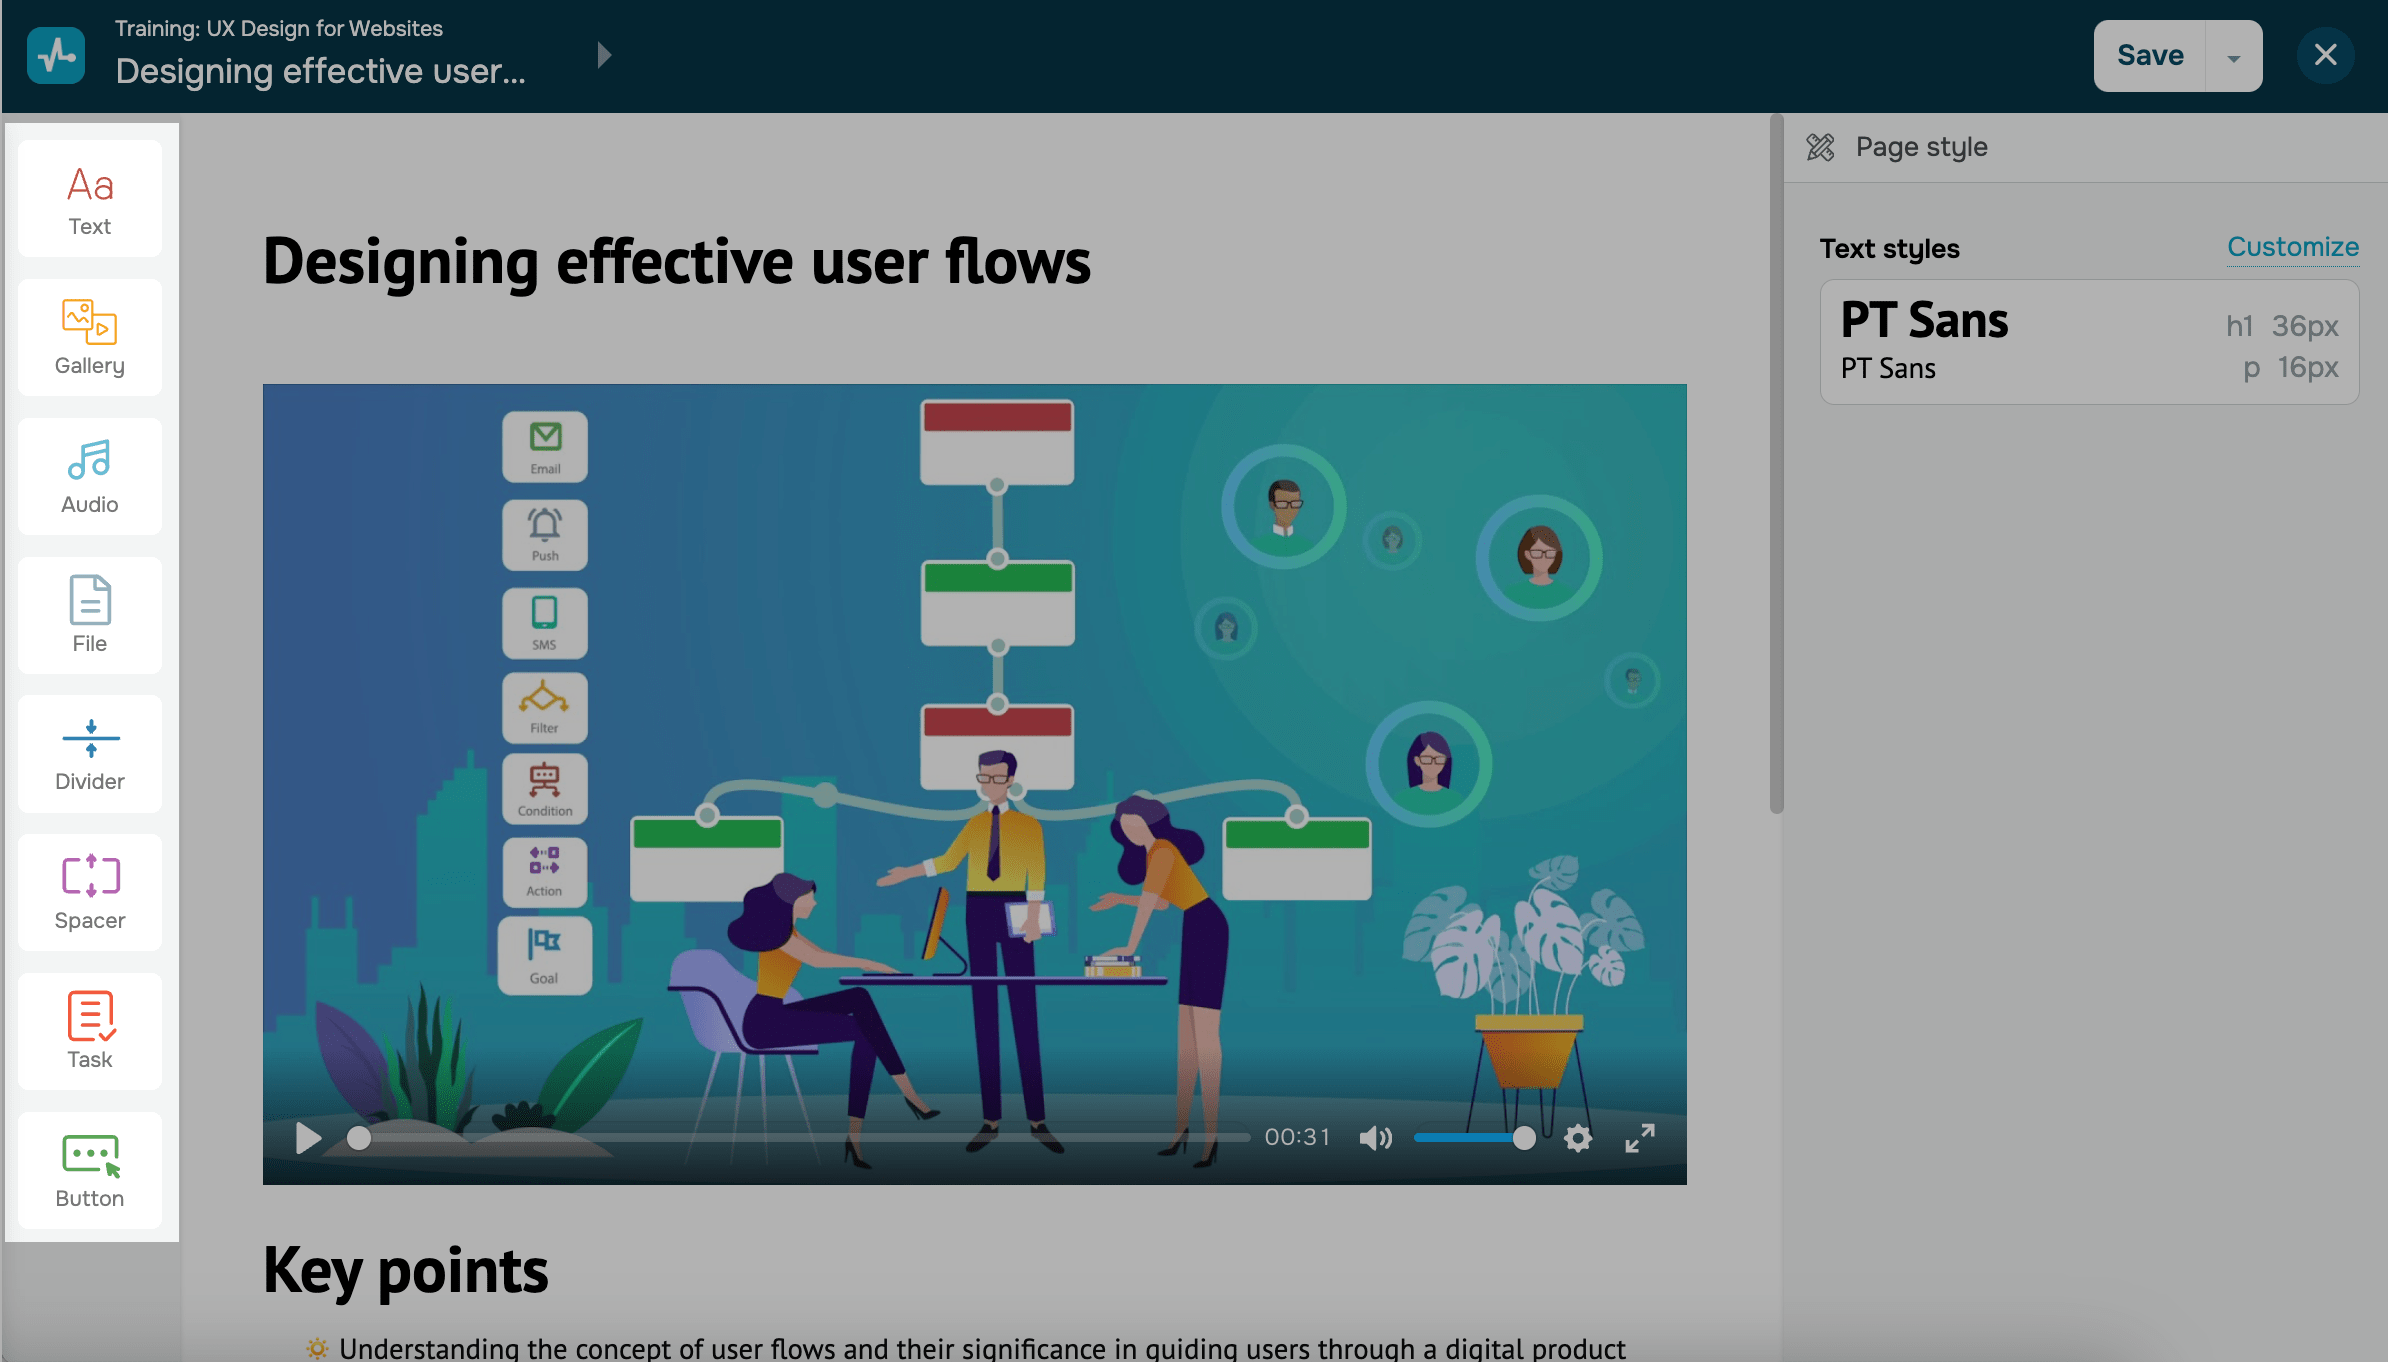
To create a lesson, select a panel element, and drag it to the workspace for further customization.
Read more: How to create a lesson in the drag and drop builder.
To add the next lesson, click on the top left menu, and below the list of lessons, click Add lesson.
You can set a lesson availability date. Schedule your lesson to become available on a specific date or in a specific number of days after the previous lesson. Read more: Schedule your content availability.
Creating a section
To break your list of lessons and tests into clear sections, create them on the course management page or using the builder.
You can create a section on the course management page or using the builder.
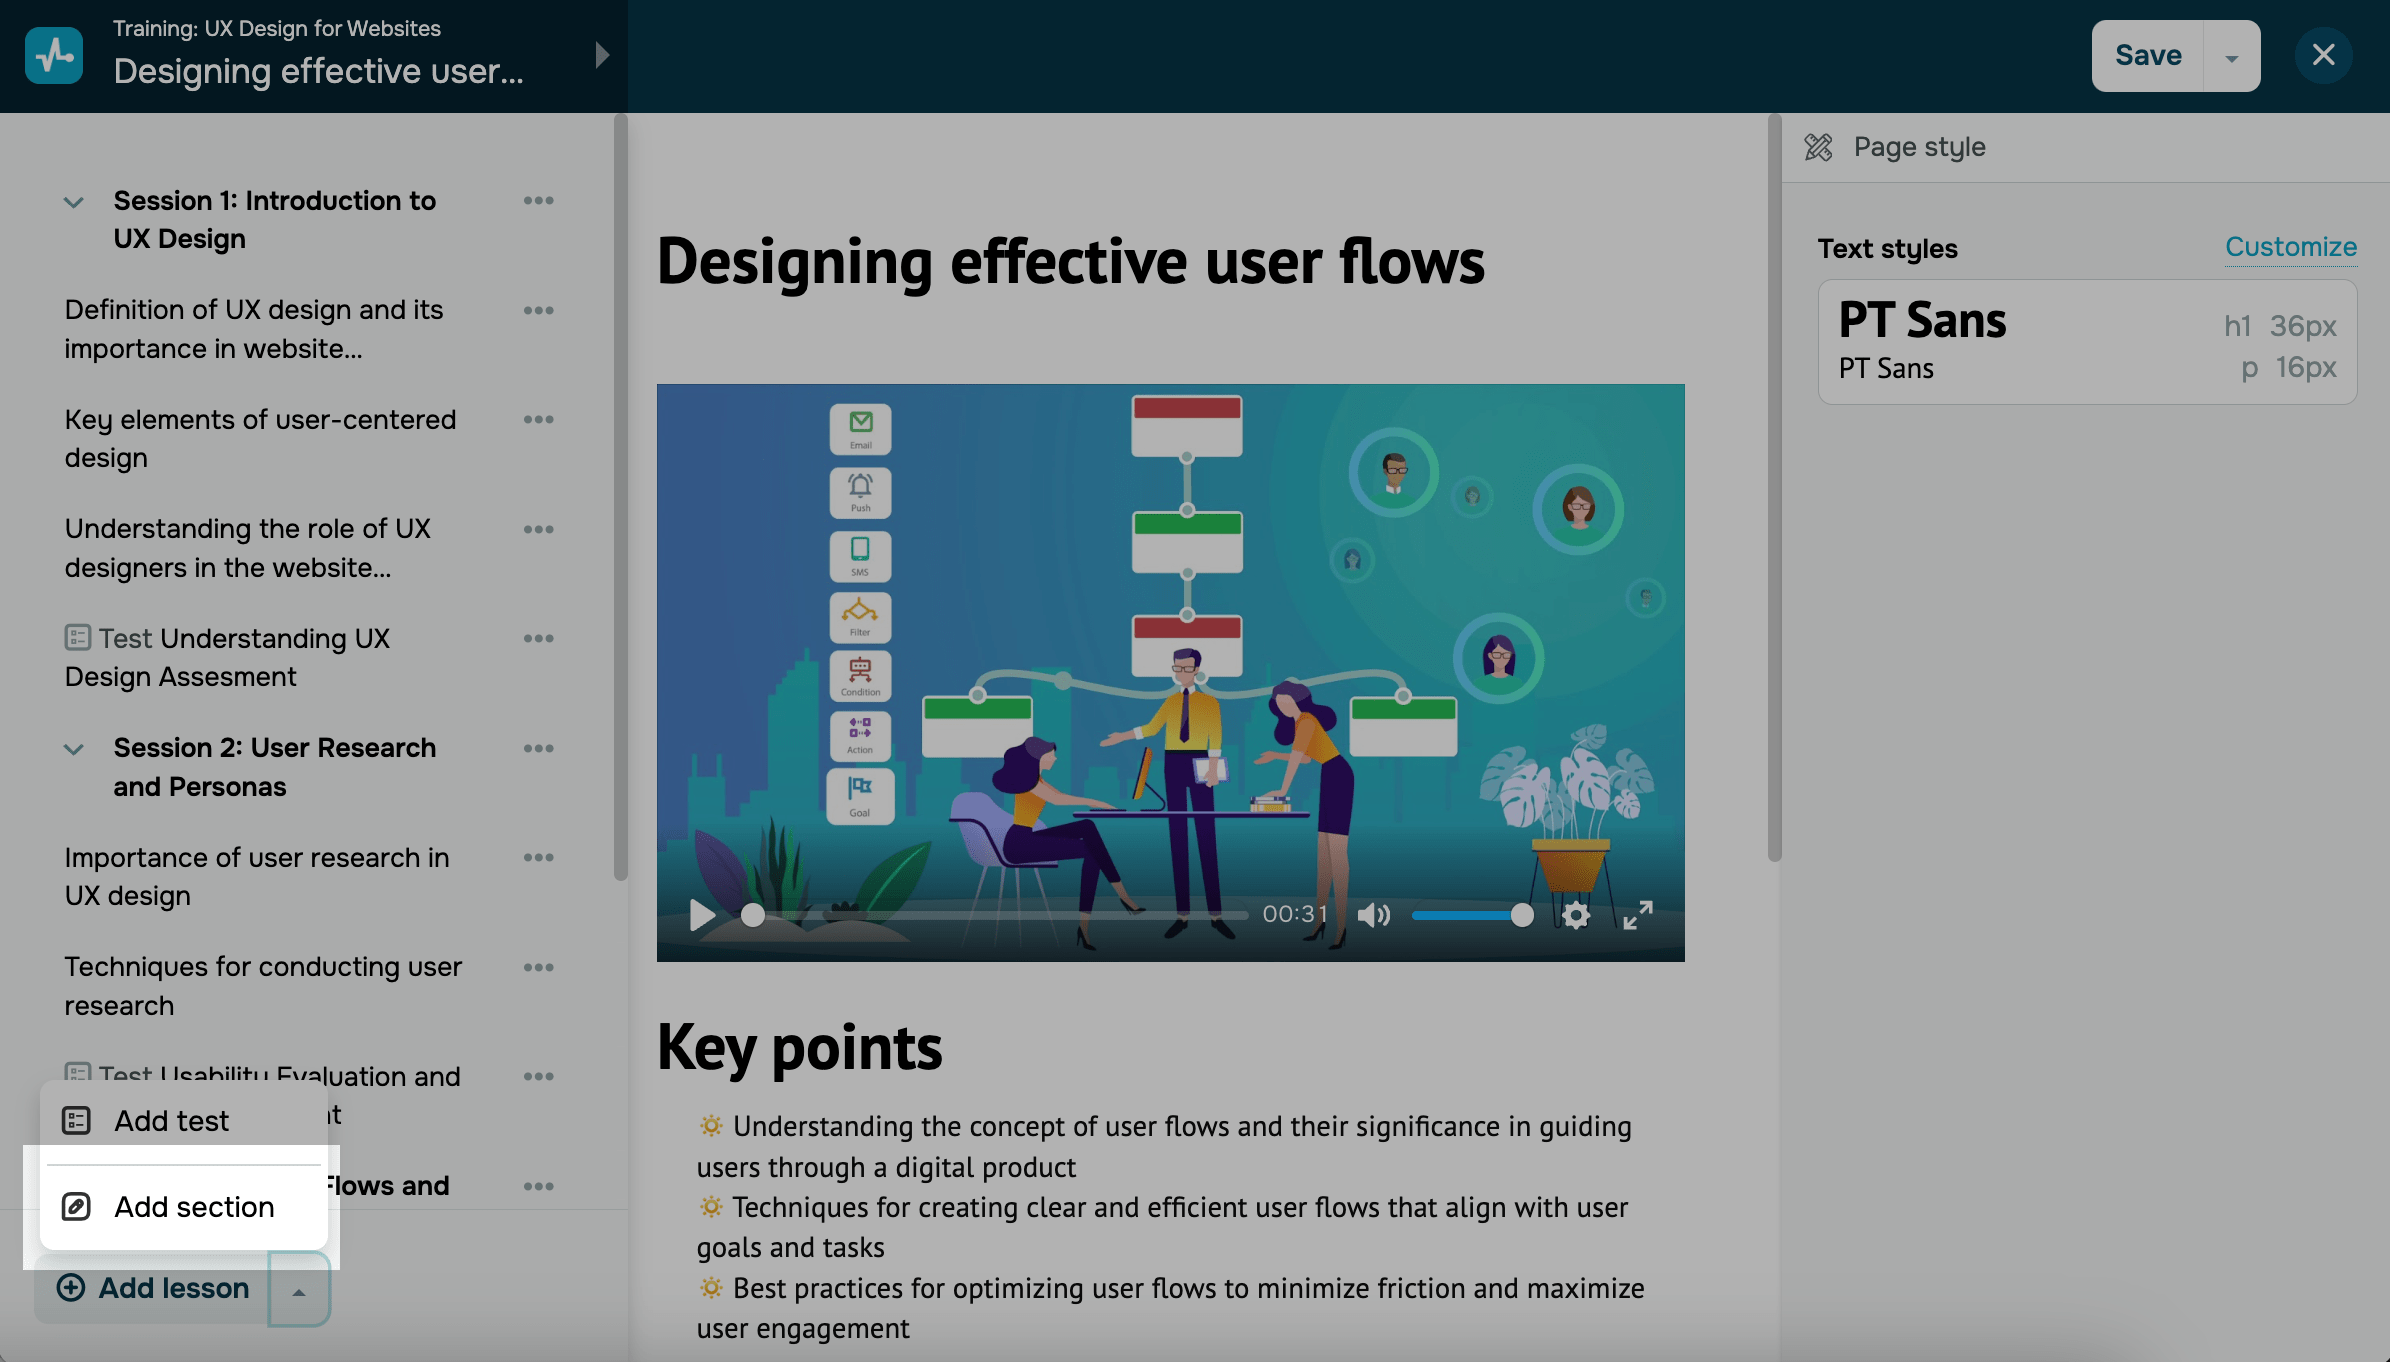
To create a section using the builder, click on the top left menu, and below the list of lessons, click on the arrow, and select Add Section.
Read more about section settings: How to create a section.
Edit the title, and add a description.
Creating a test
You can create a test to assess the knowledge and skills your students acquired during the course.
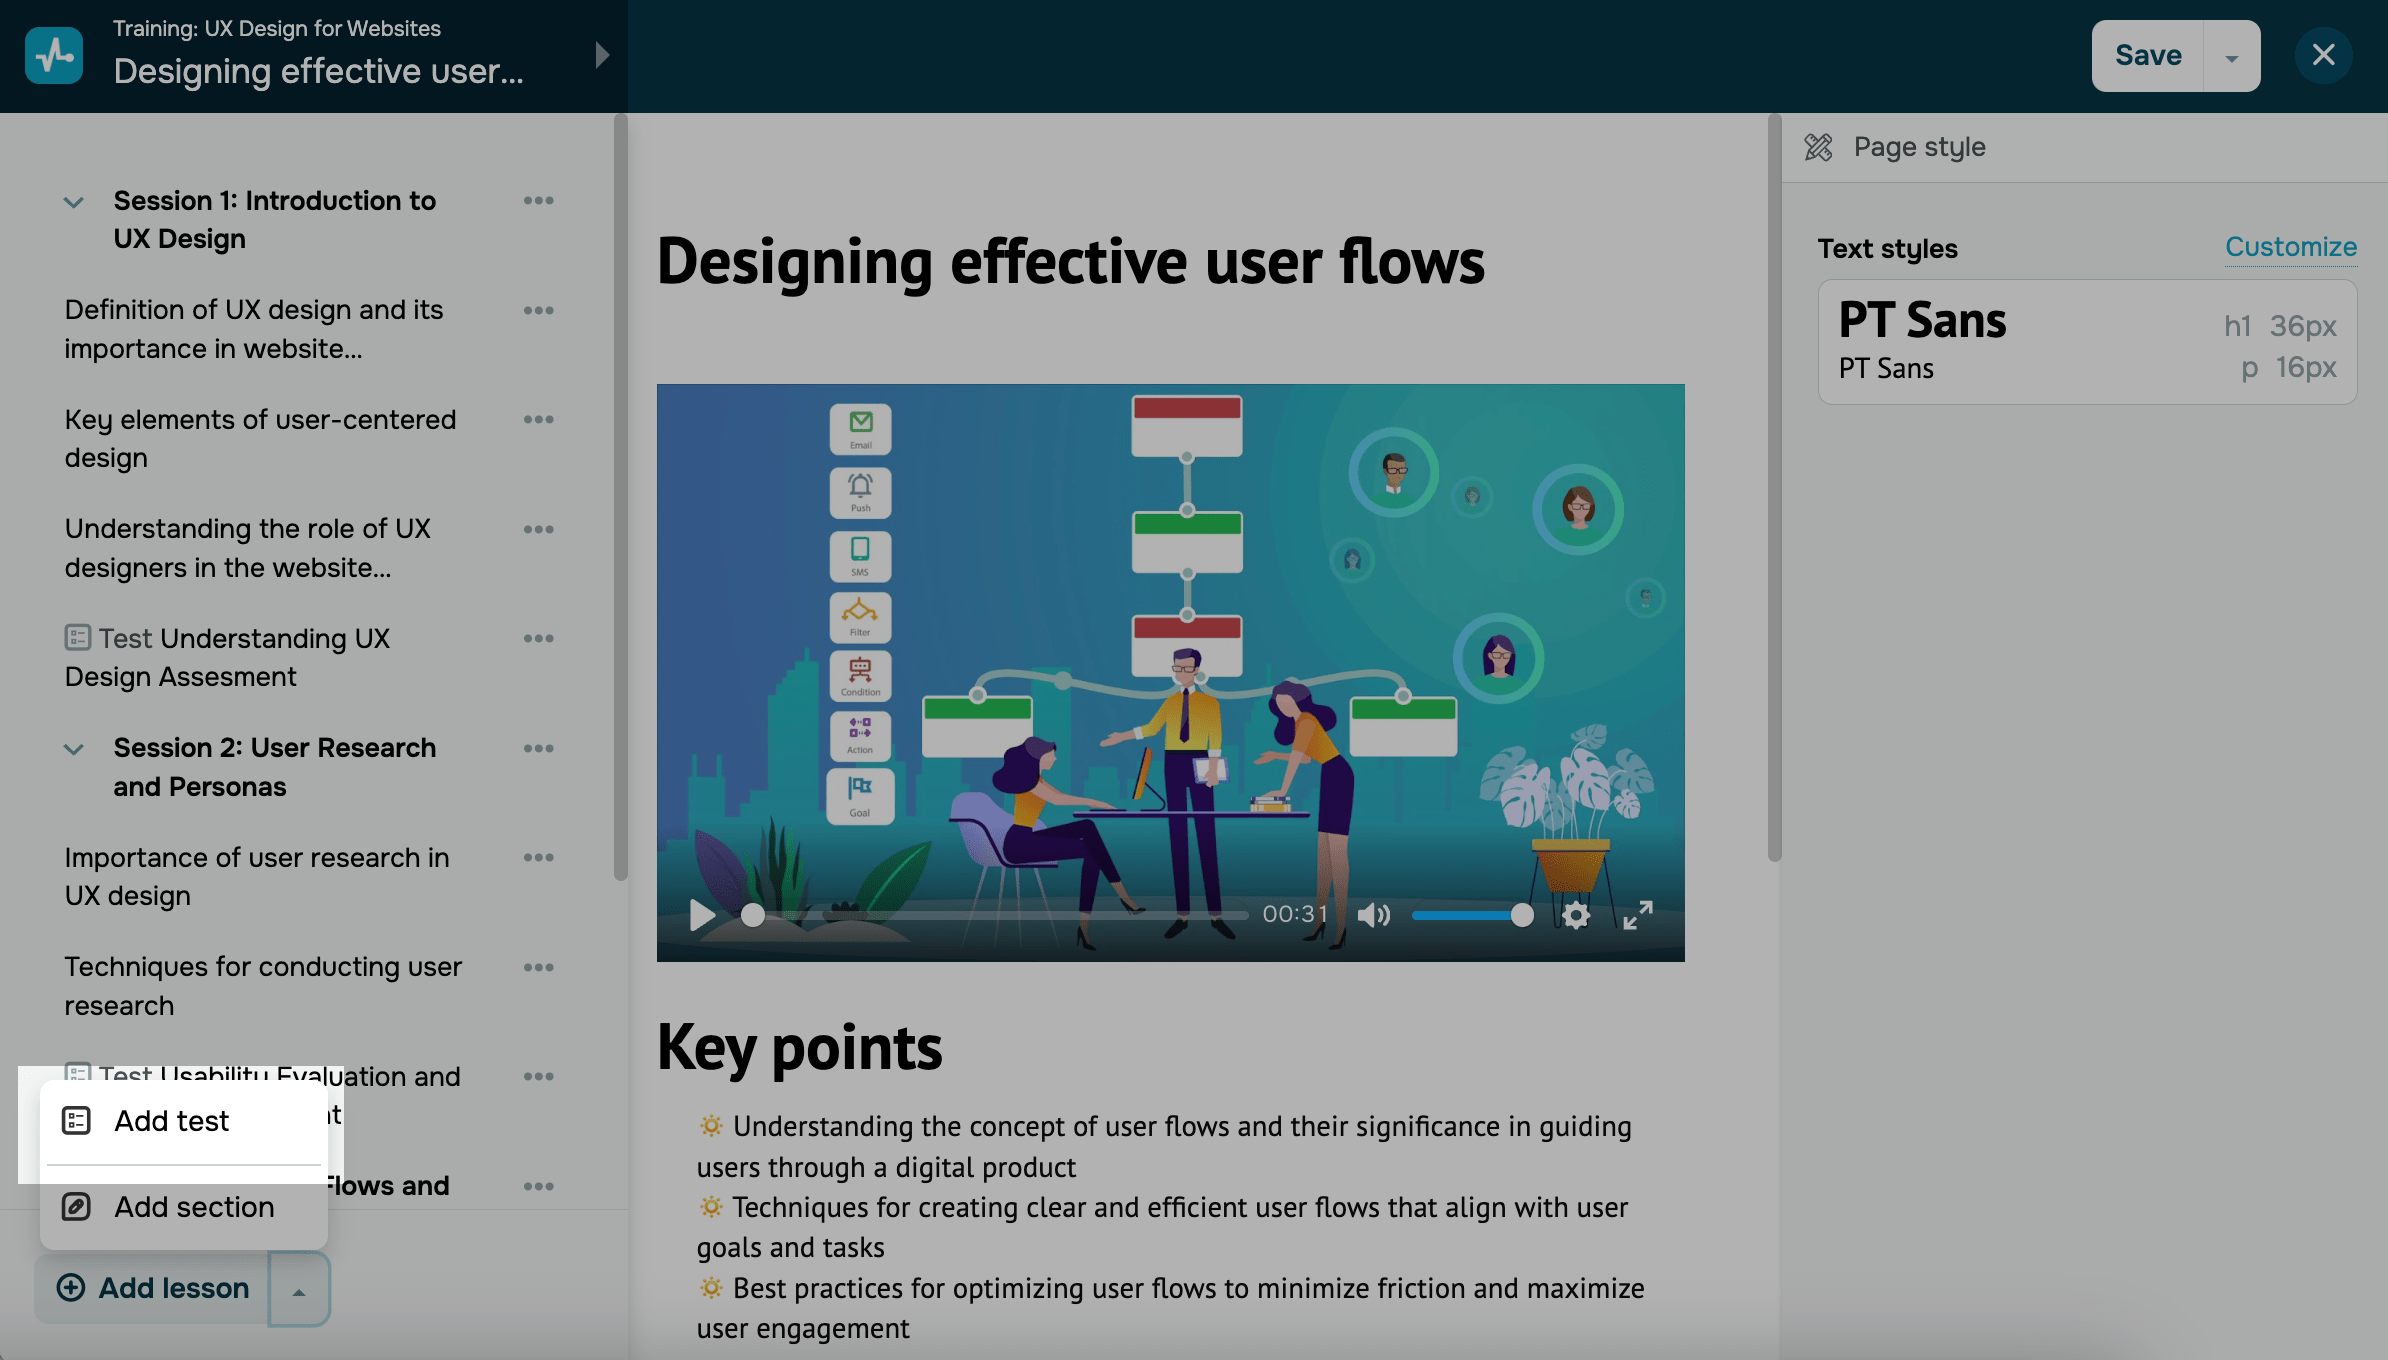
To create a test using the builder, click on the top left menu, and below the list of lessons, click on the arrow, and select Add test.
Read more about test settings: How to create a test.
Enter a name for the test. Click on the text of the first question, and answer options to edit them.
You can add answer options and mark the correct answer on the right. You can also drag and drop additional elements and diversify your page using the left panel.
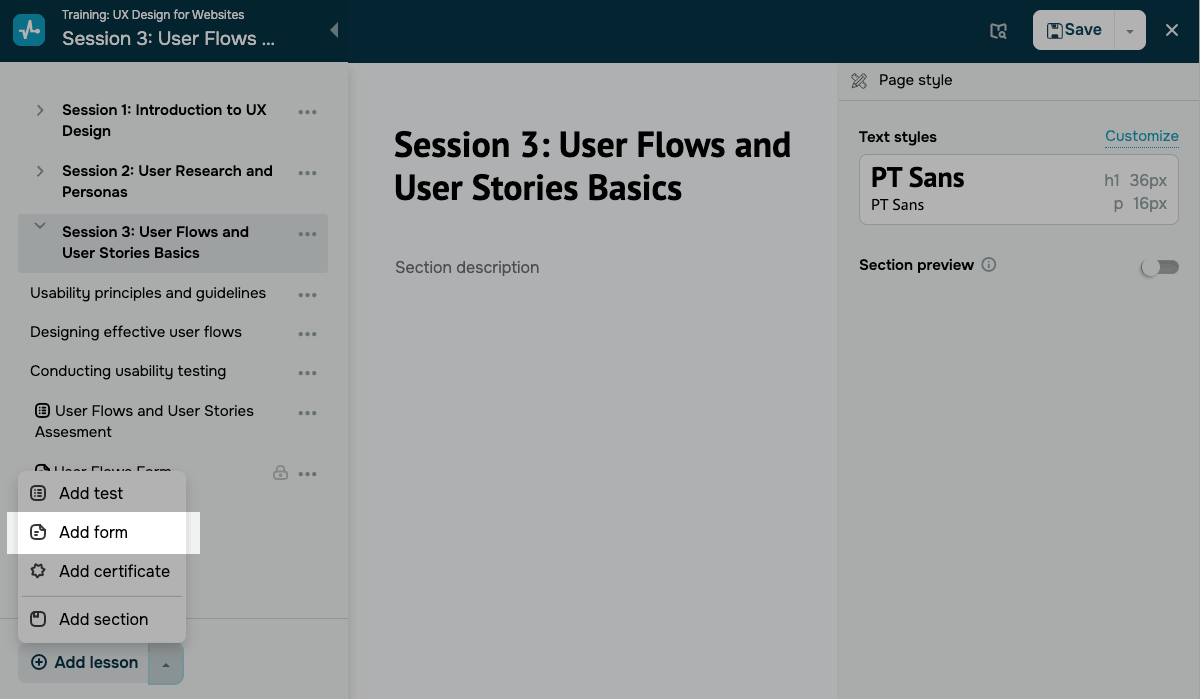
Creating a form
You can create a form to collect structured responses from students.
To create a form using the builder, click on the top left menu, and below the list of lessons, click on the arrow, and select Add form.
Read more: Create a form.
Customize your course options
You can configure settings that determine how students will be trained. For example, you can set the course format, sequence, conditions, price, etc.
Read more: How to set course options.
Add a certificate
Create a certificate to confirm that the student has successfully completed your course according to the selected criteria.
Go to the Certificates tab.
Customize the style and content of the certificate. Choose the color and format of the text, add pictures, and allow to display some additional information.
Read more: How to create a certificate.
Click Create, enter a name, and assign a certificate of completion to the course.
You can also disable certificate issuance or select a different one in the course settings.
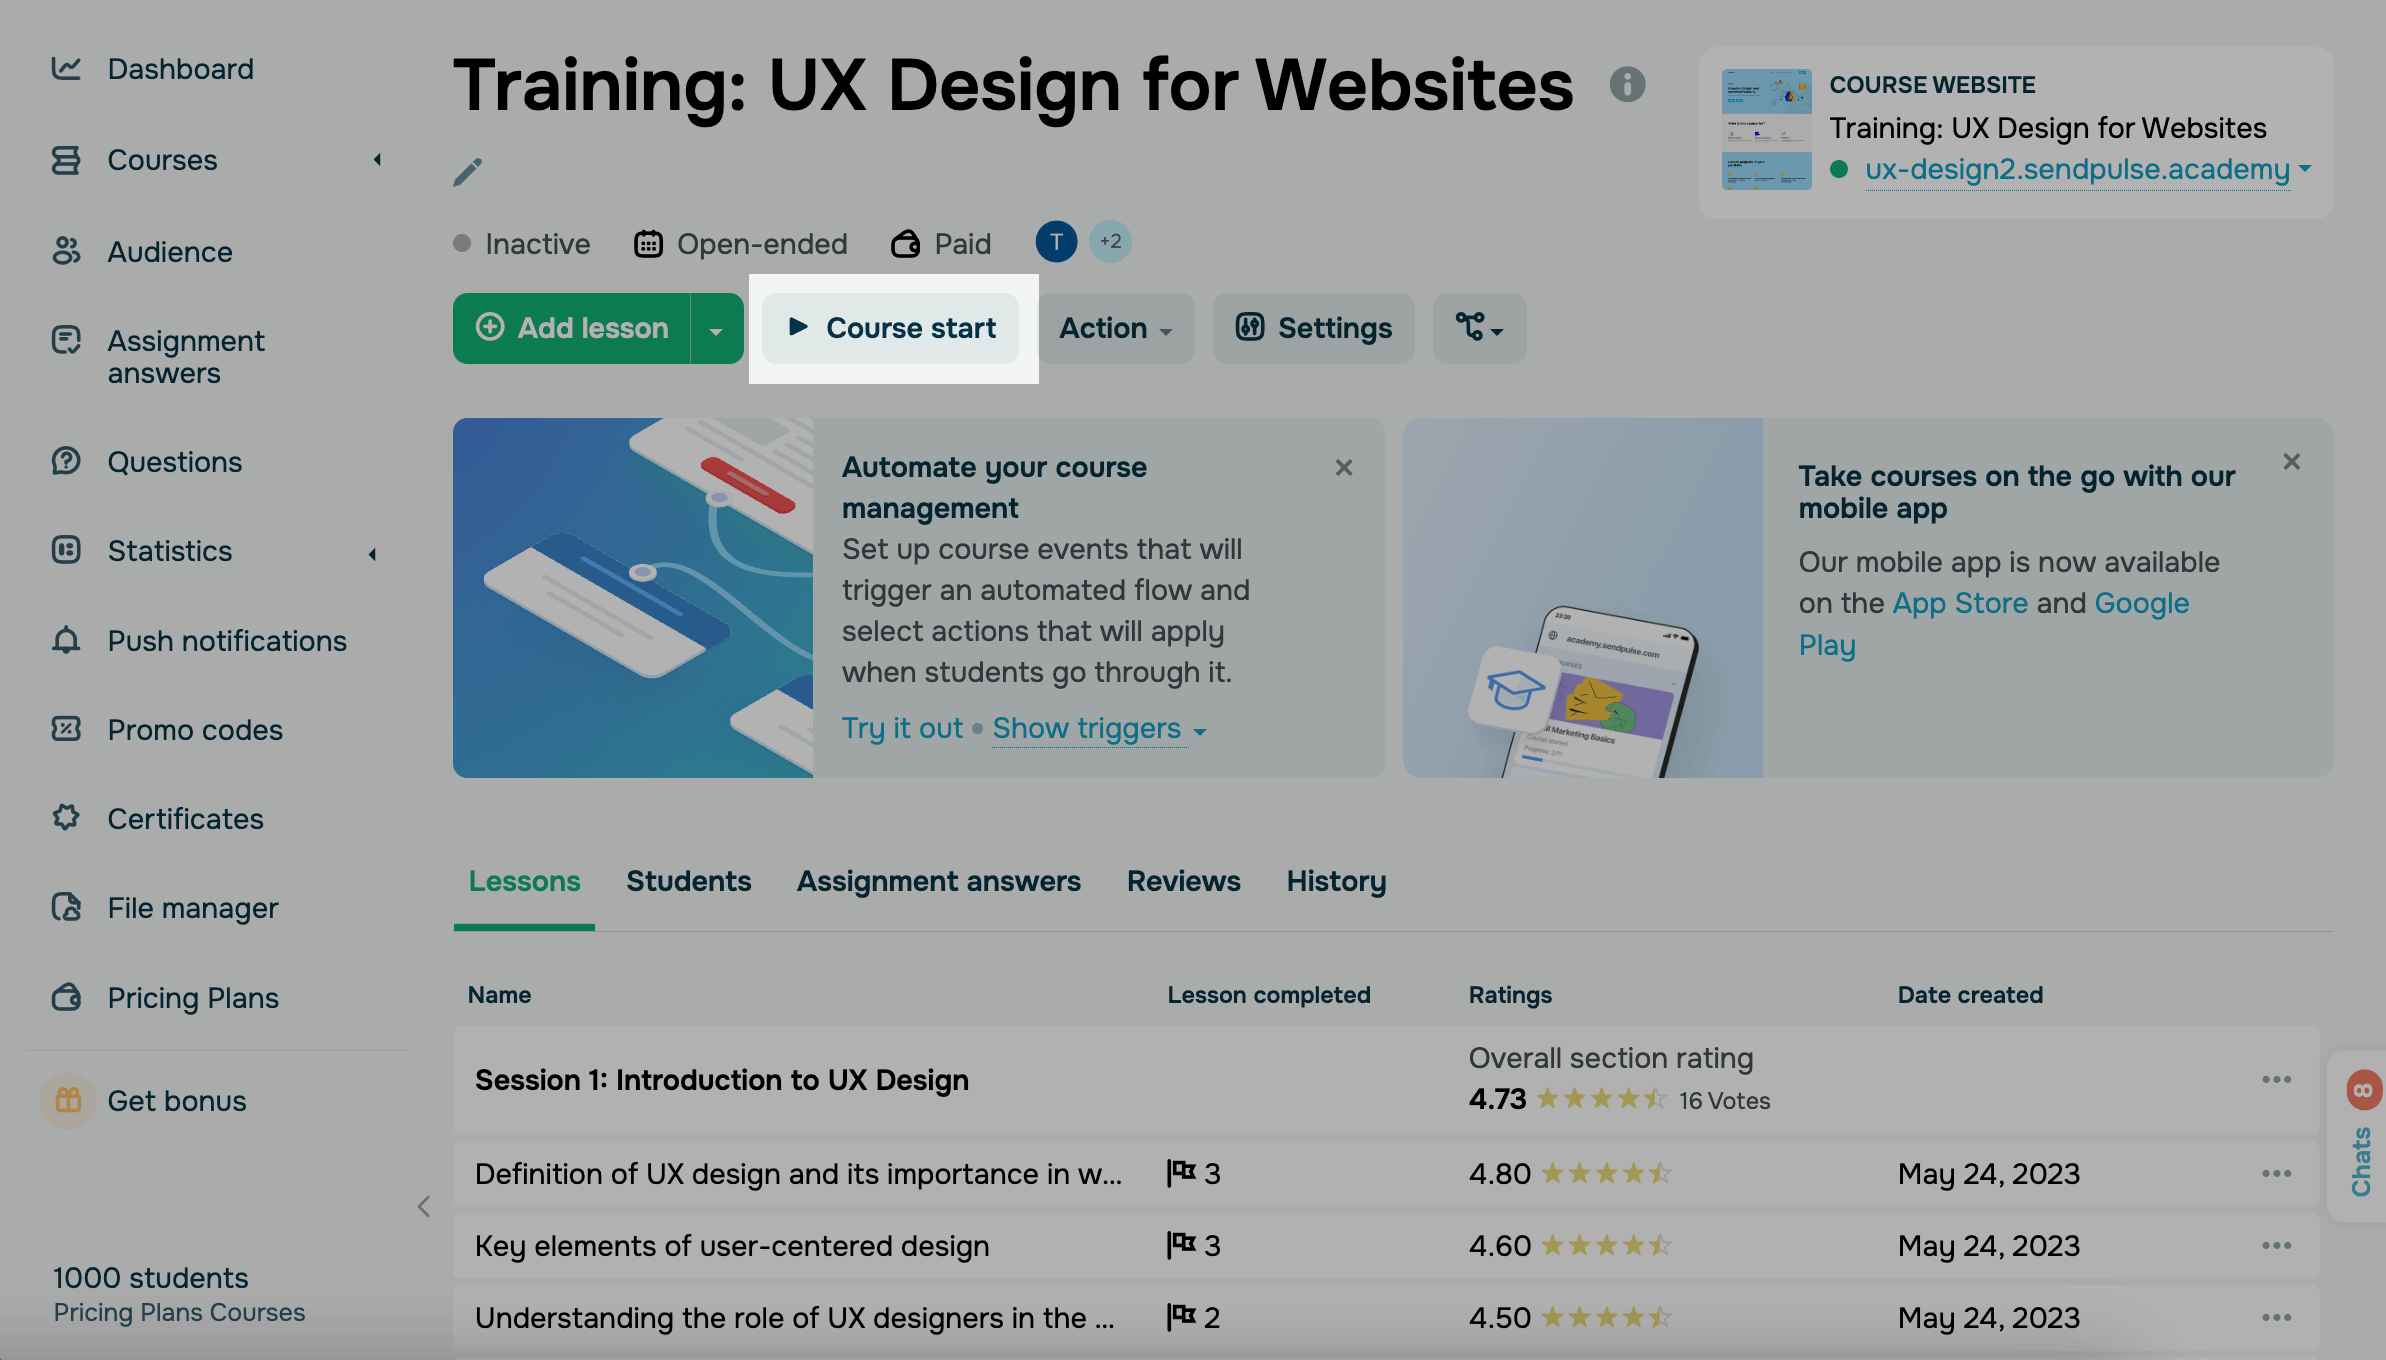
Run the course
Once you've set up your lessons, test, and course enrollment page, click Start to launch the course.
By default, all courses are initially created as unpublished and unavailable for enrollment.
Please note that lessons will be available to students if they are already registered and that the course is live even if you have unpublished the registration site.
If you have set up a free course, then every student who confirms the enrollment in your course will be able to immediately start the lessons.
If your course is paid and time-limited, then the student will be able to access the lessons only from the start date till the end date after having paid for the course.
Read also: How to create and launch an online course in 2022, How to view courses and key course data, and How to manage course content.
Last Updated: 23.05.2025
or