Pause element in Automation
Pause is an element that helps control how contacts progress through your flow and set a start time and condition for your next element. For example, you can set a period of time during which a contact won't receive any messages. It can be a specific time, day of the week, date, or time interval.
Let's talk about how to add and set up the Pause element.
Add the element
Drag the Pause element to the workspace.
You can also rename your element to distinguish it from others, or add a comment for your team. Click Element name and enter up to 253 characters in the field. Once you save the settings, the new name will appear in a pop-up window when hovering over the element in the builder.
Link the element to another one based on your flow scenario.
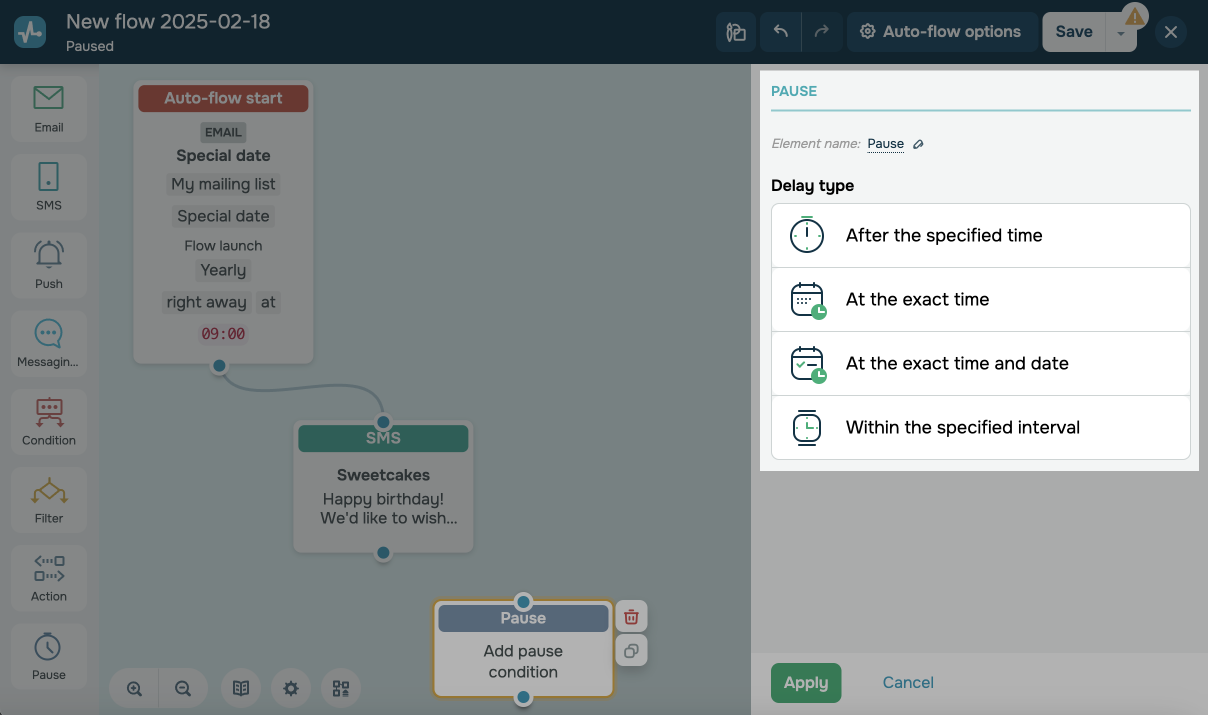
Select a pause type
Adjust your element operating conditions.
All pause types operate based on the time zone set in your SendPulse account. To check your selected time zone, go to Account settings > General > Time zone.
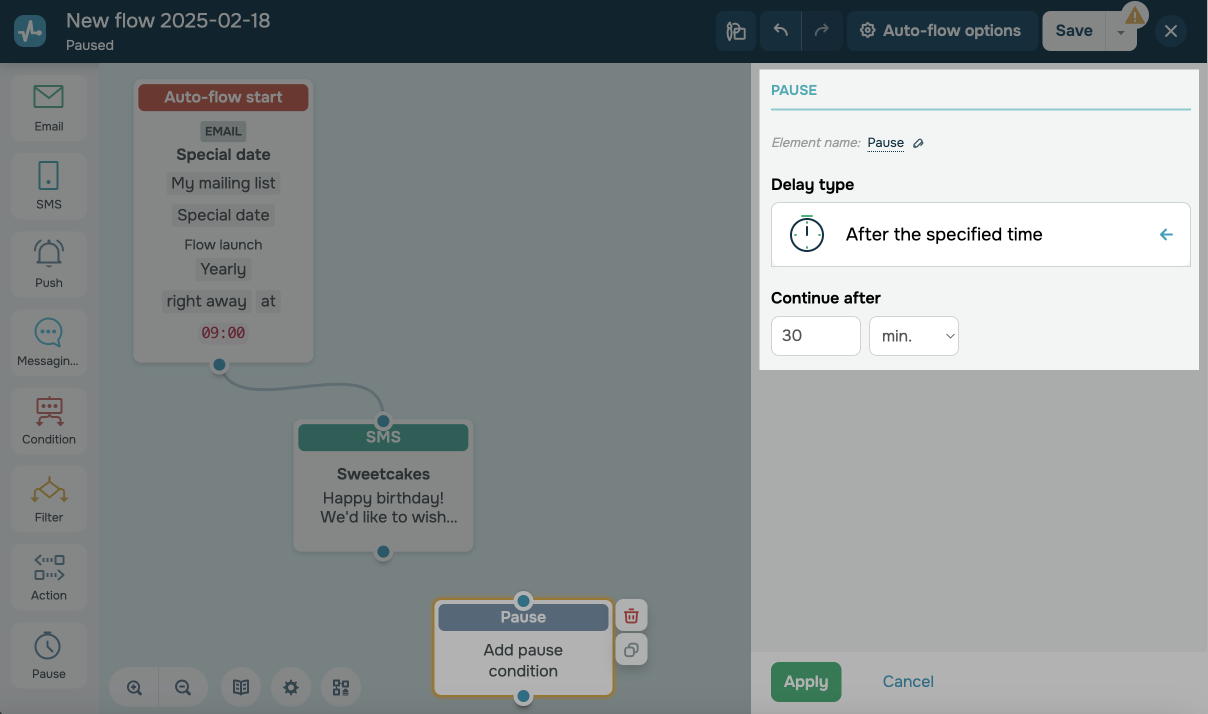
After the specified time
You can use this option to pause contact progression through your flow for a certain number of days, hours, or minutes. Once the pause is over, contacts will resume progressing through your flow based on your scenario. This option is useful, for example, when you want to give your client some time to think before making a purchase.
Enter an amount of time, and select a unit of measurement (minutes, hours, or days).
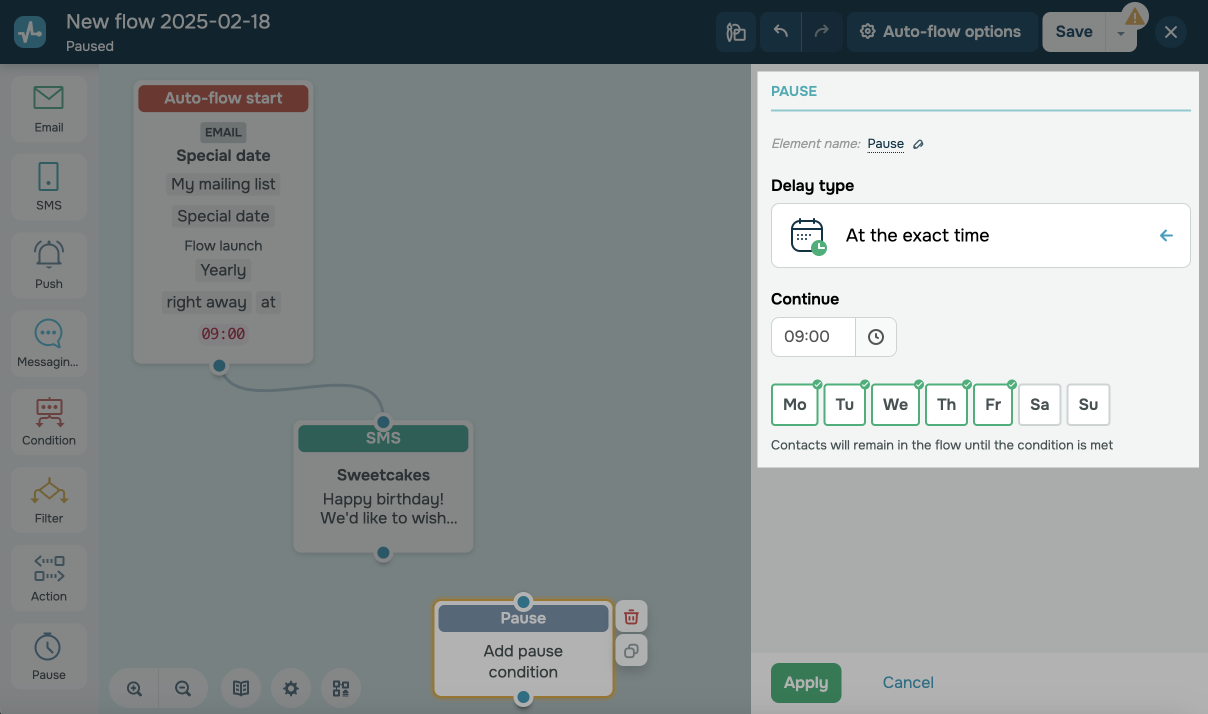
At the exact time
This option can pause contact progression until your selected time on certain days of the week. For example, you can use it when adding new course lessons or introducing new products.
Select the time until which contact progression will be stopped. Then, mark specific days of the week until which your contacts will not progress through your flow.
With this option enabled, your element will operate during your selected hours and days, keeping your contacts in the Pause element until the specified condition is met.
At the exact time and date
This option can pause contact progression until your selected date and time. For example, you can use it to run a promotional campaign, share important information about an event, or include a holiday greeting in your next element.
You can select a specific date. Select the On a date selected manually option, and set a date and time.
You can also select a dynamic date by adding a value to your variable. For example, it can be a contact registration date or an order date. To do this, select the On a specified date with a variable option, choose a variable from the drop-down list, enter a value, and select a unit of measurement (minutes, hours, or days). Your dynamic expression can include the minus sign, meaning that you can subtract a given number of days from your variable date.
When using a variable of the Date type, the time passed in its value is taken into account. If the time is not passed or is absent, 00:00:00:00 will be assigned to the date.
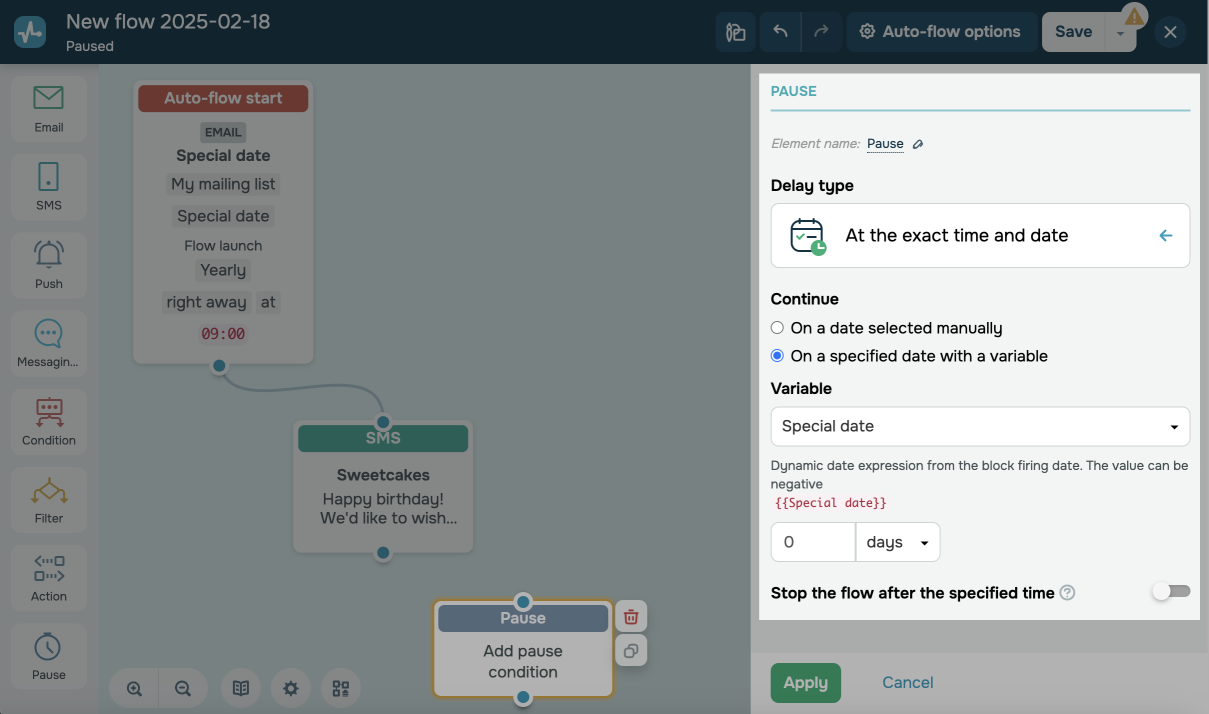
You can also stop contact progression through your flow after your selected date. This will help send only relevant messages about events and promotions.
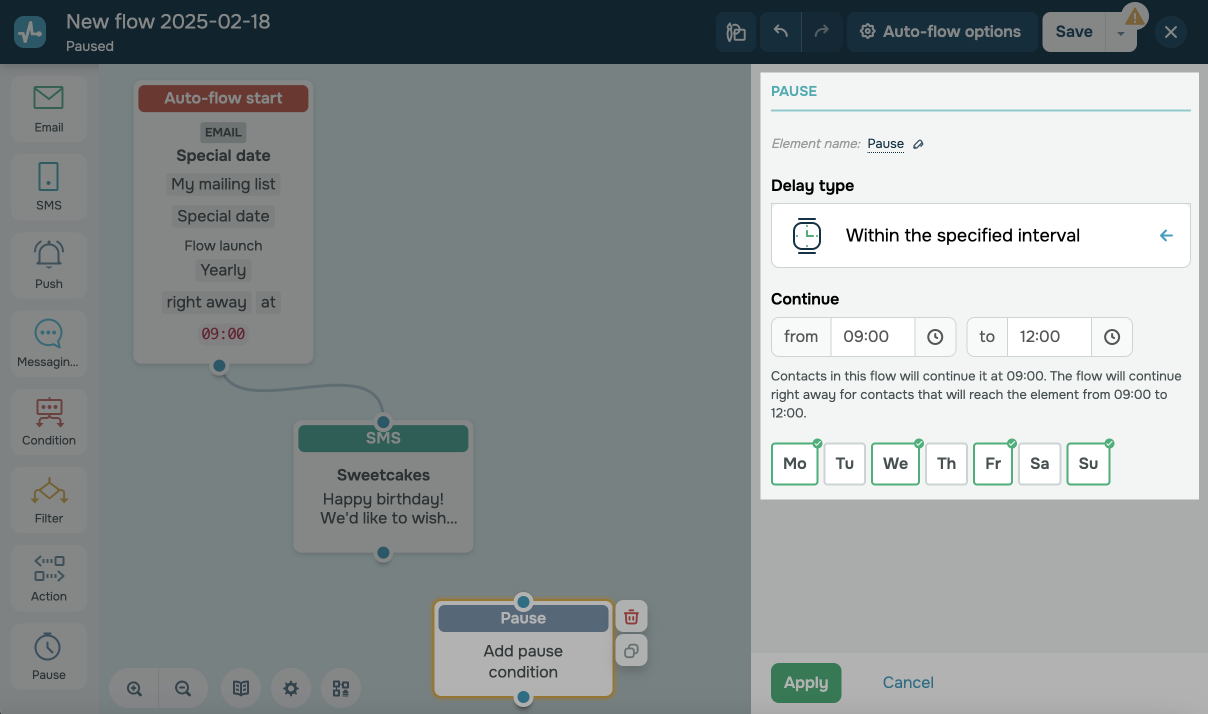
Within the specified time interval
This option can pause contact progression until a set time interval on certain days of the week. For example, you can use it to adjust your flow to your or your team members’ working hours.
Select a time interval and days of the week until when contact progression through your flow will be paused.
View statistics
To view data about an element, exit the editor, and in the Flow tab, hover over the element.
Last Updated: 09.01.2024
or