Customize student account style for every academy
You can adjust your student account style to create a unique academy design that suits your course topic and audience.
In this article, we will talk about how to customize your student account style.
You can set the same student account style for every academy.
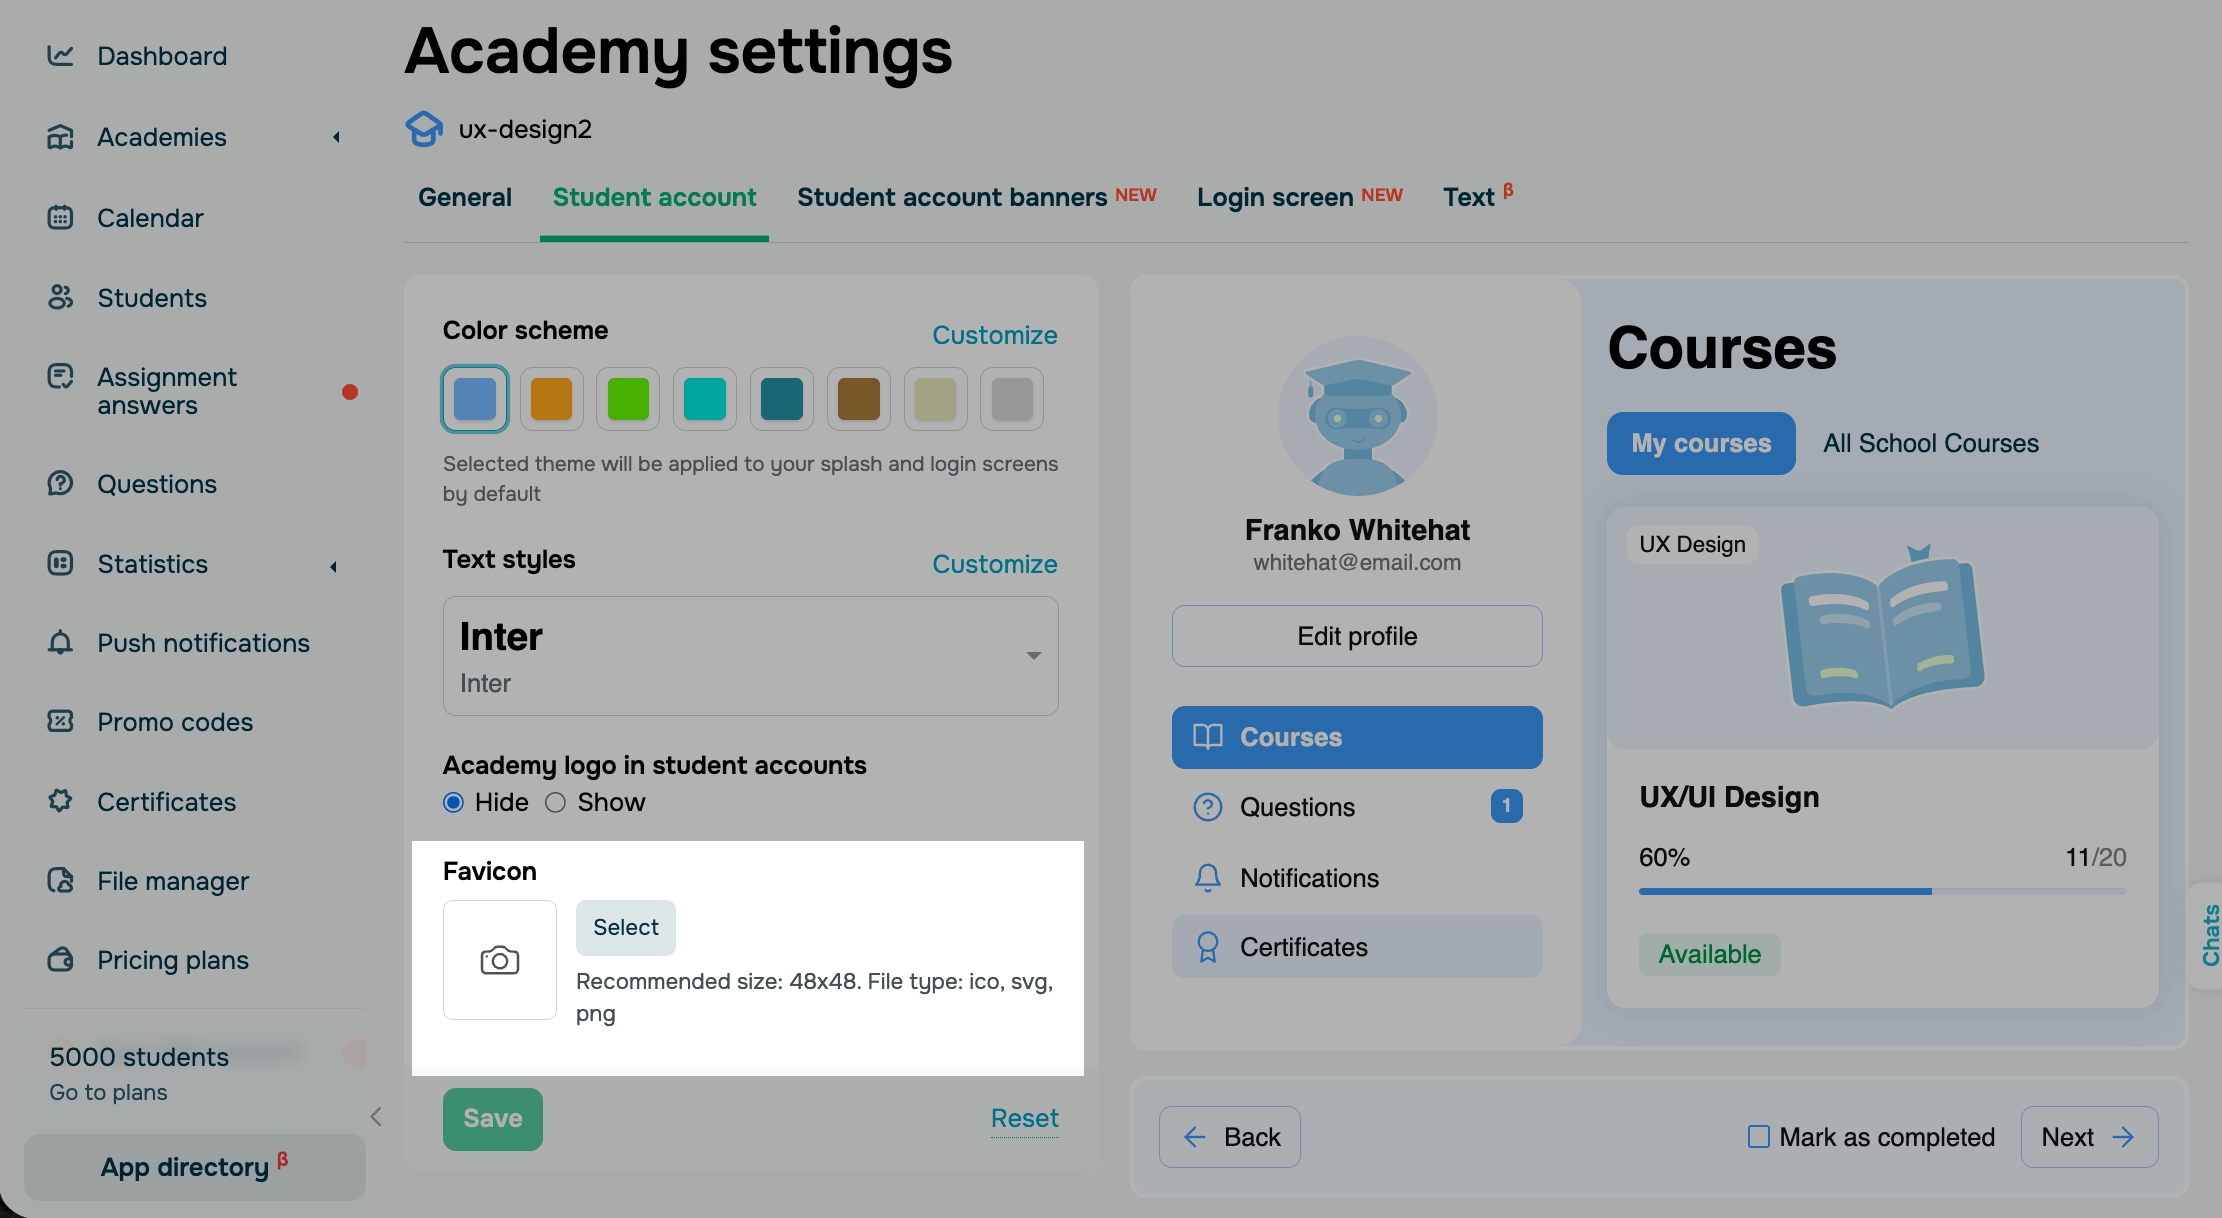
Go to the Academies section, select your academy, and click Academy settings > Student account.
Customize your theme
To use a ready-made color scheme, click the down arrow in the Color scheme field and select the one that matches your corporate style.
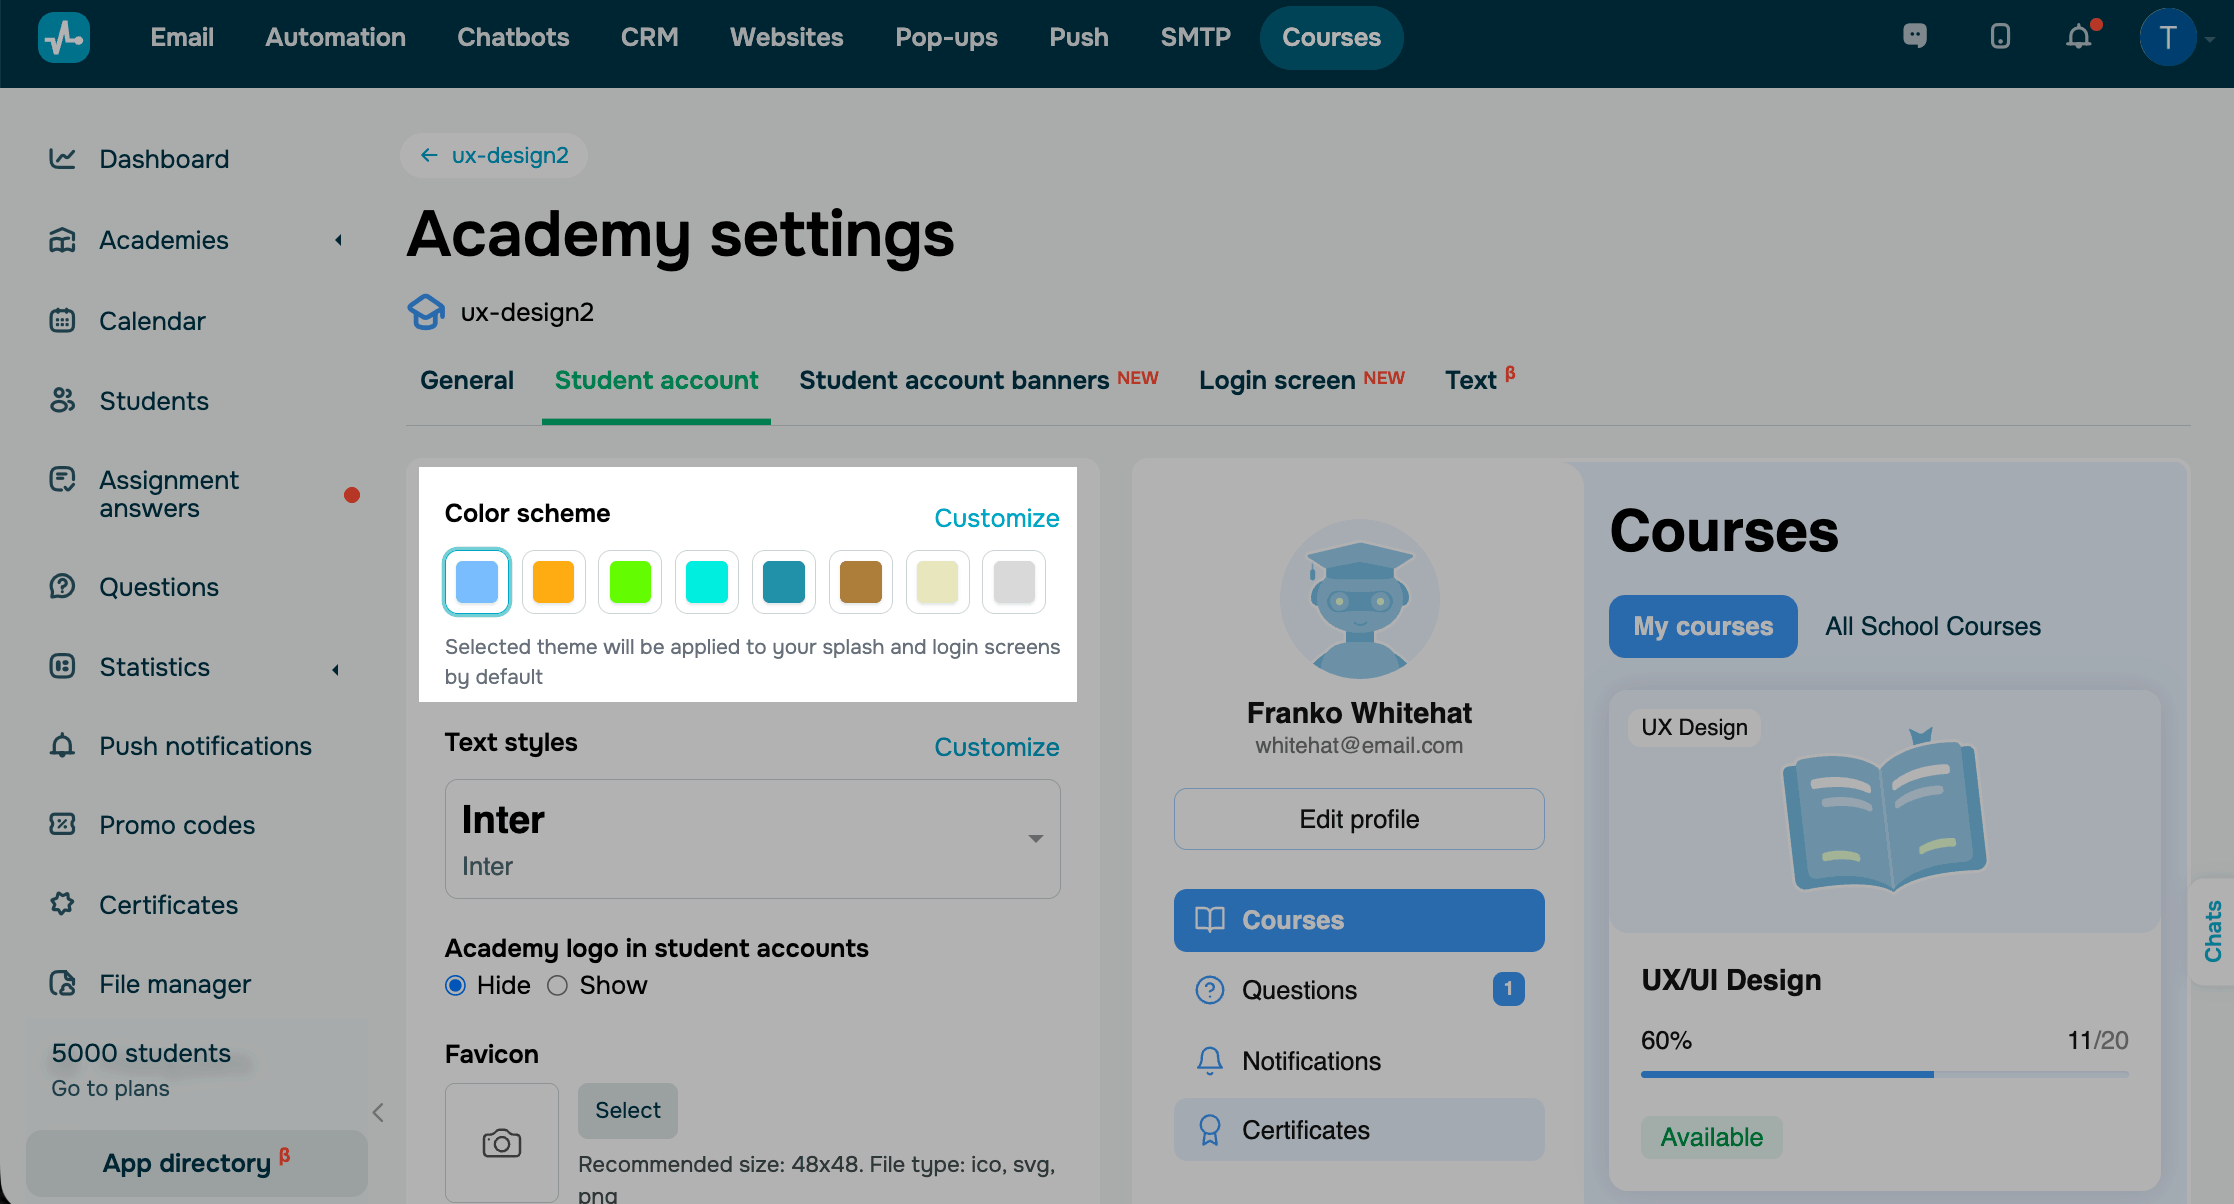
To choose other colors, click Customize, and select your dashboard background, element, and text colors.
| Background color | Student account background color with your list of courses. |
| Text color | Student account text color. |
| Primary | Student account element color (icons, buttons, and infographics). |
| Secondary | Student account highlight color. |
Customize your text
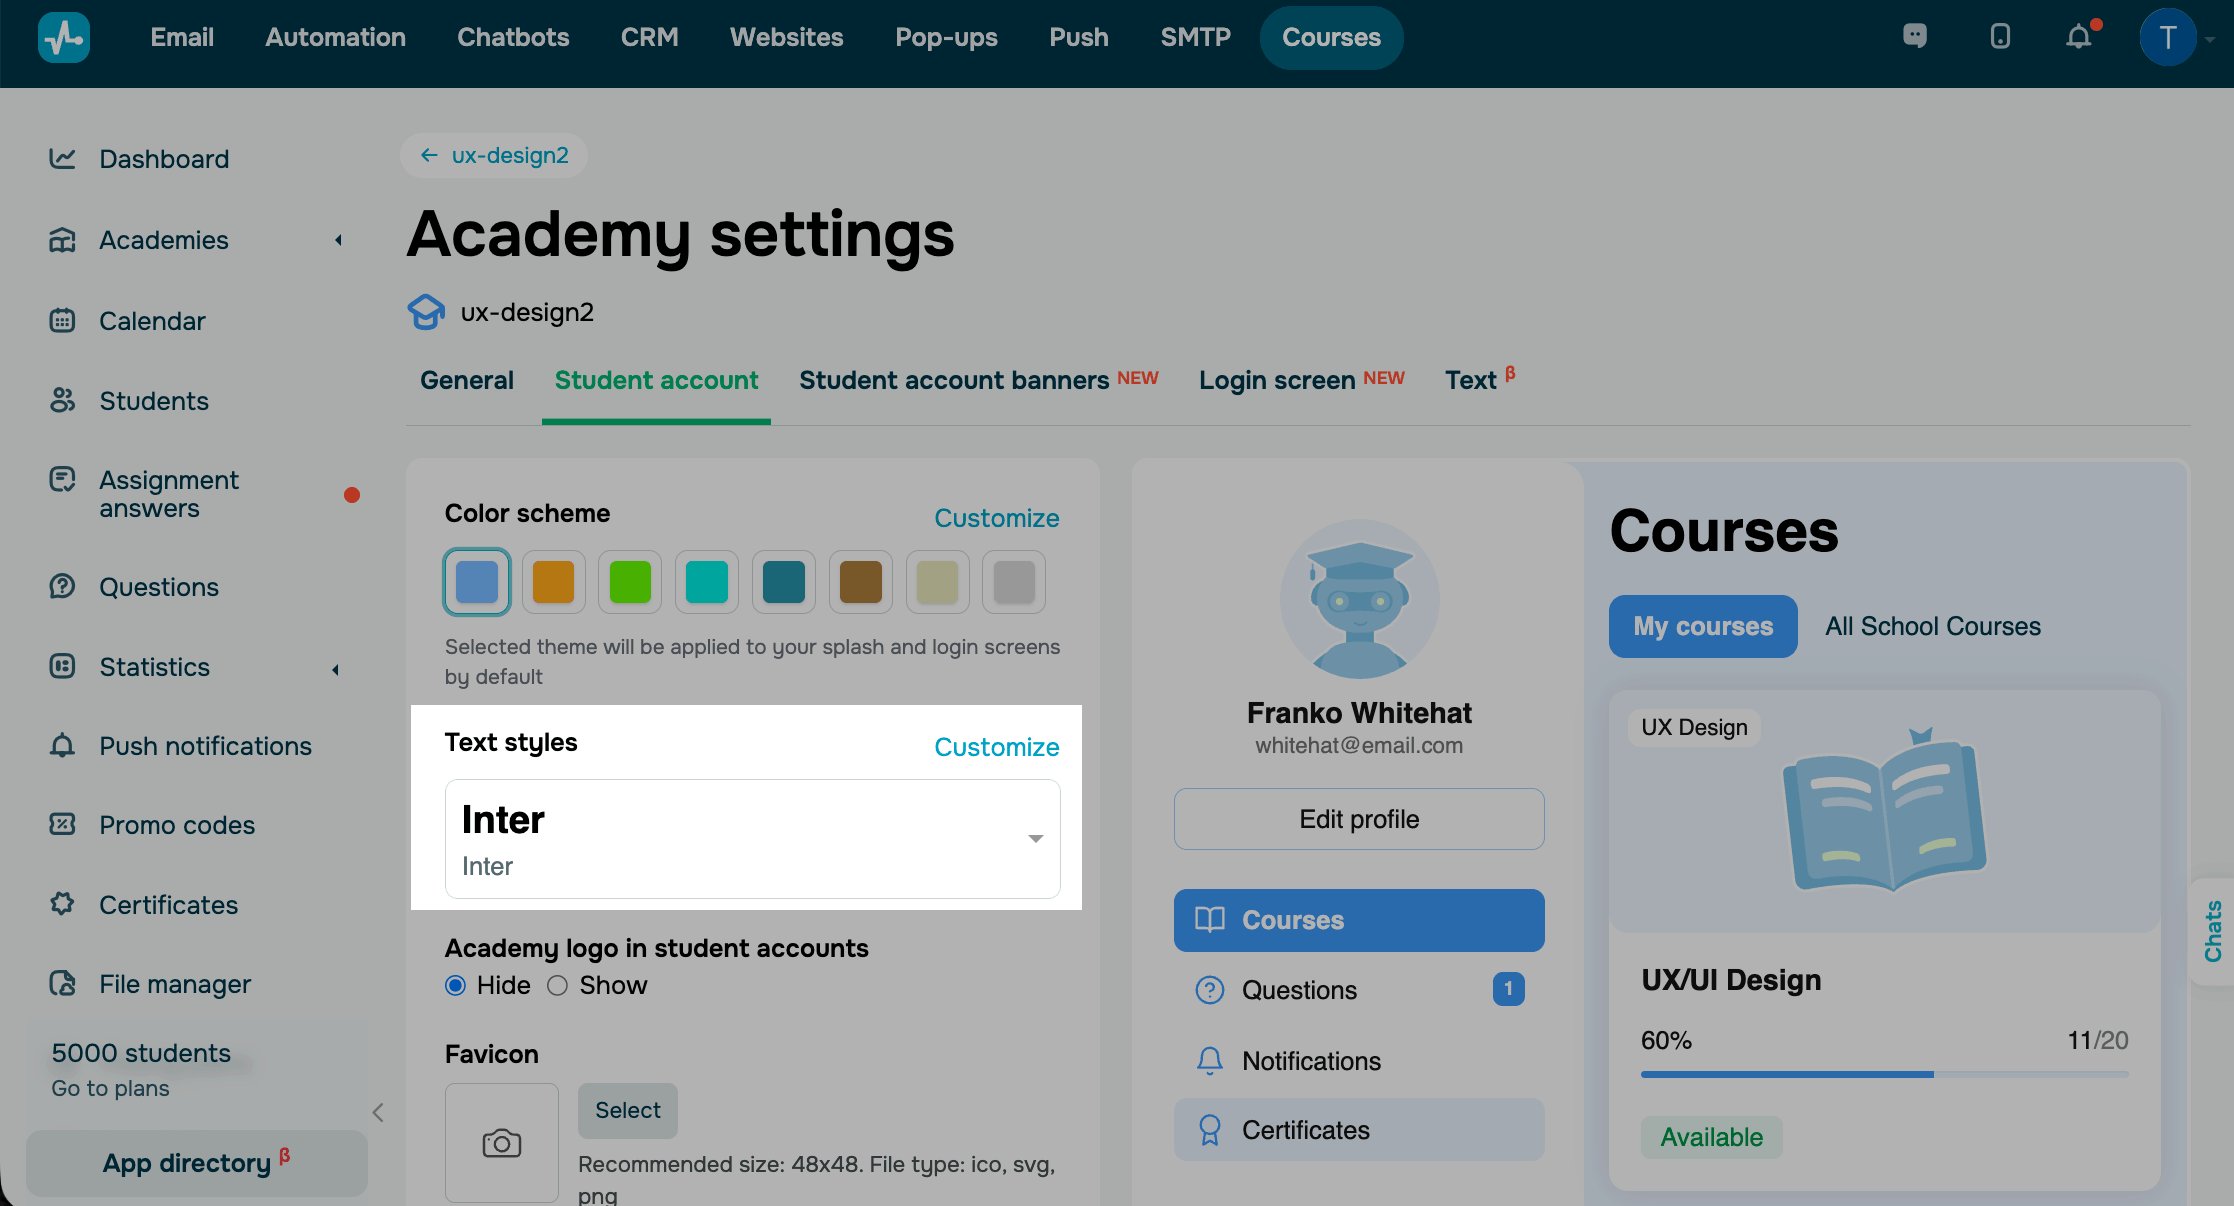
You can choose one heading and text style from the preset options. To do this, click the arrow in the Text styles field, and select a font from the list.
To select your own fonts, click Customize, and create your heading and text style.
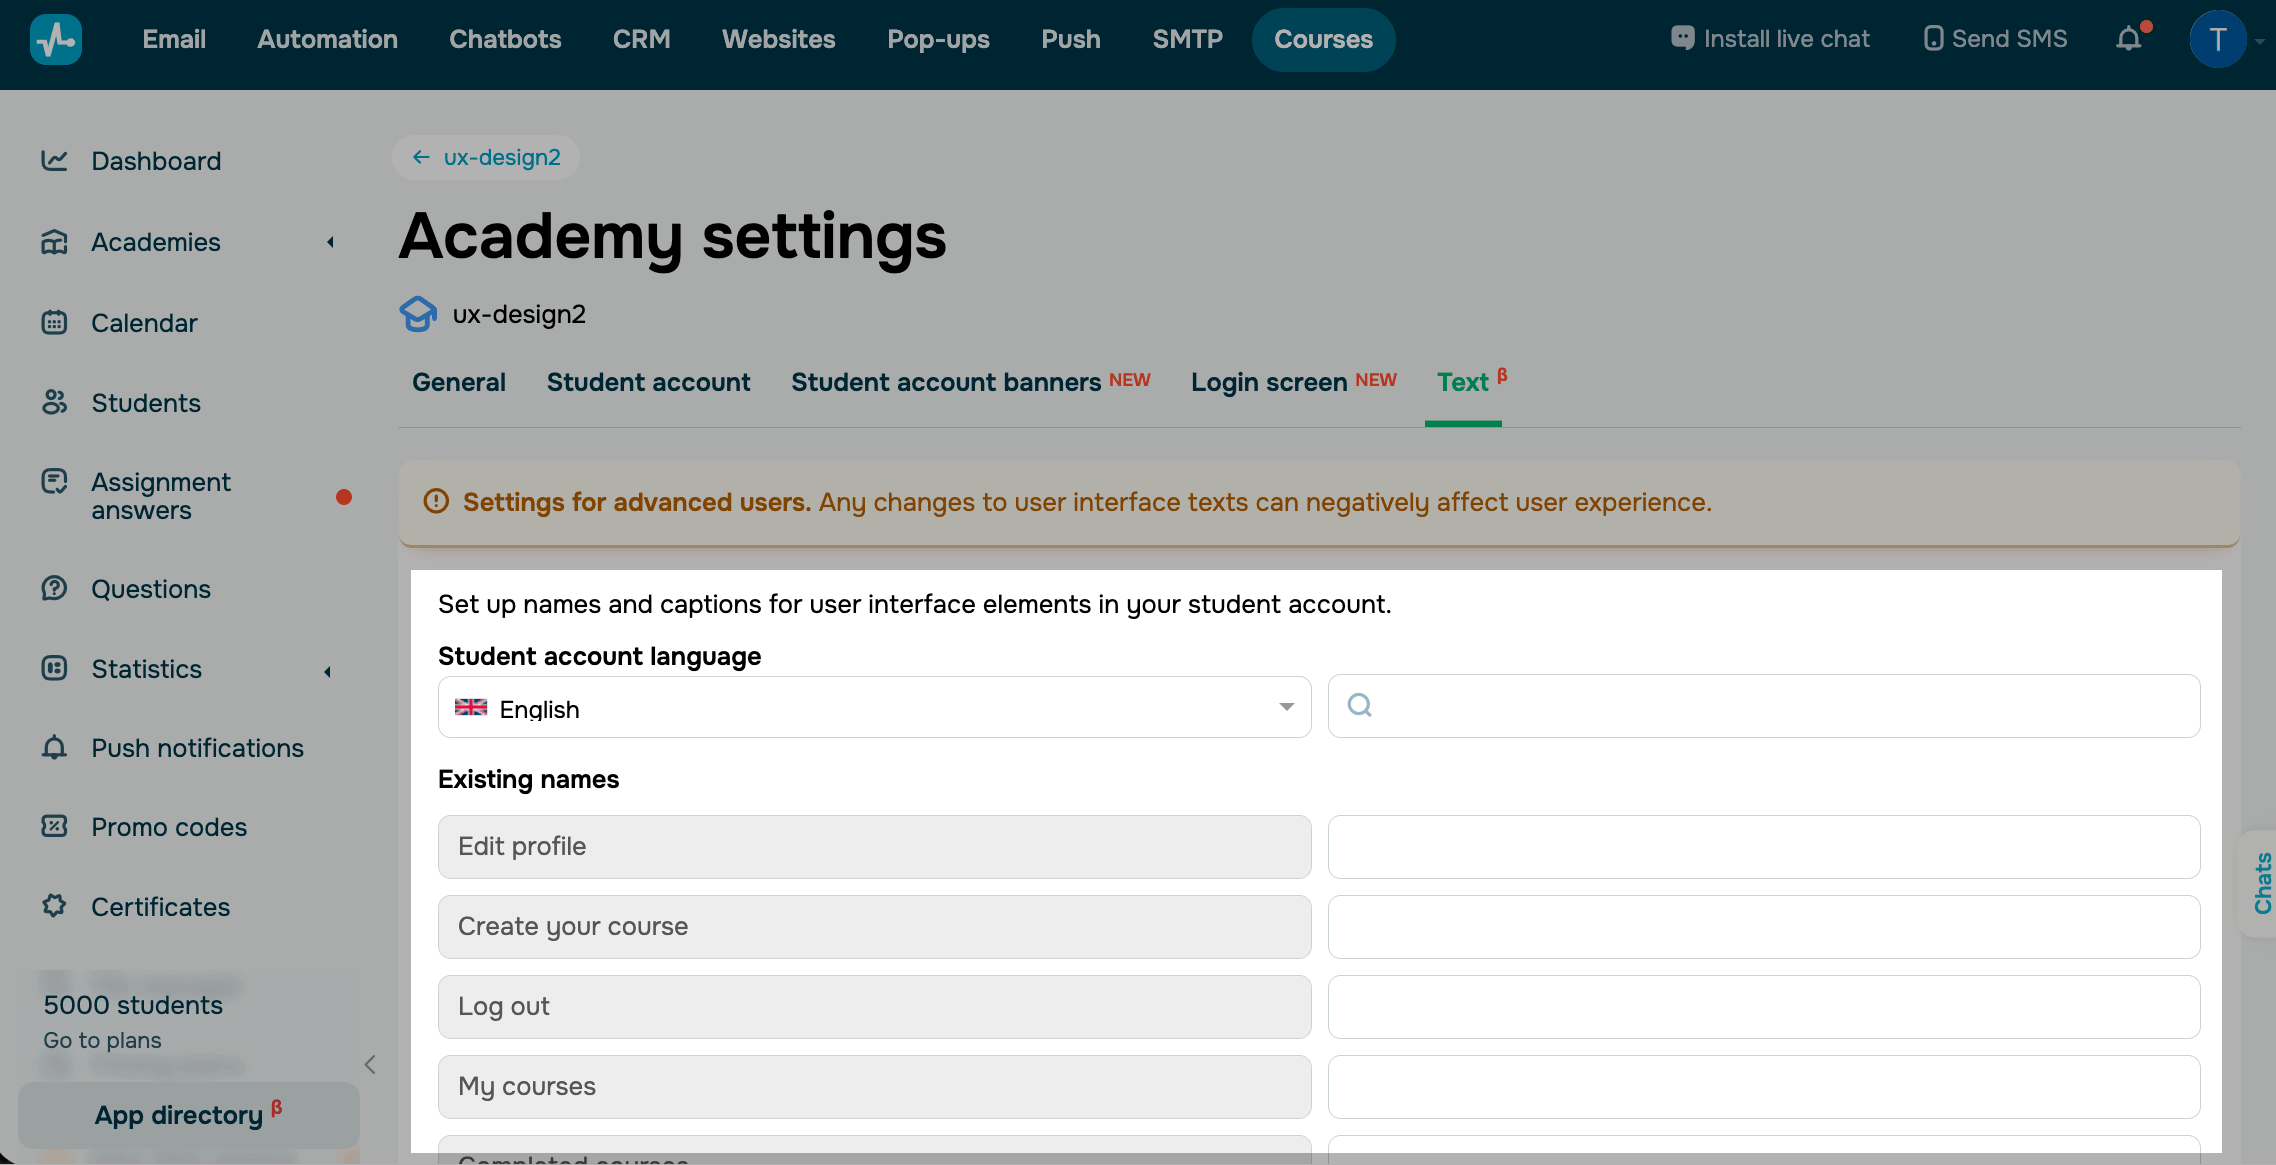
You can also edit the name of each element. To do this, go to the Text tab, find the required user interface element, and enter your new text in the field next to it.
Set up your logo display
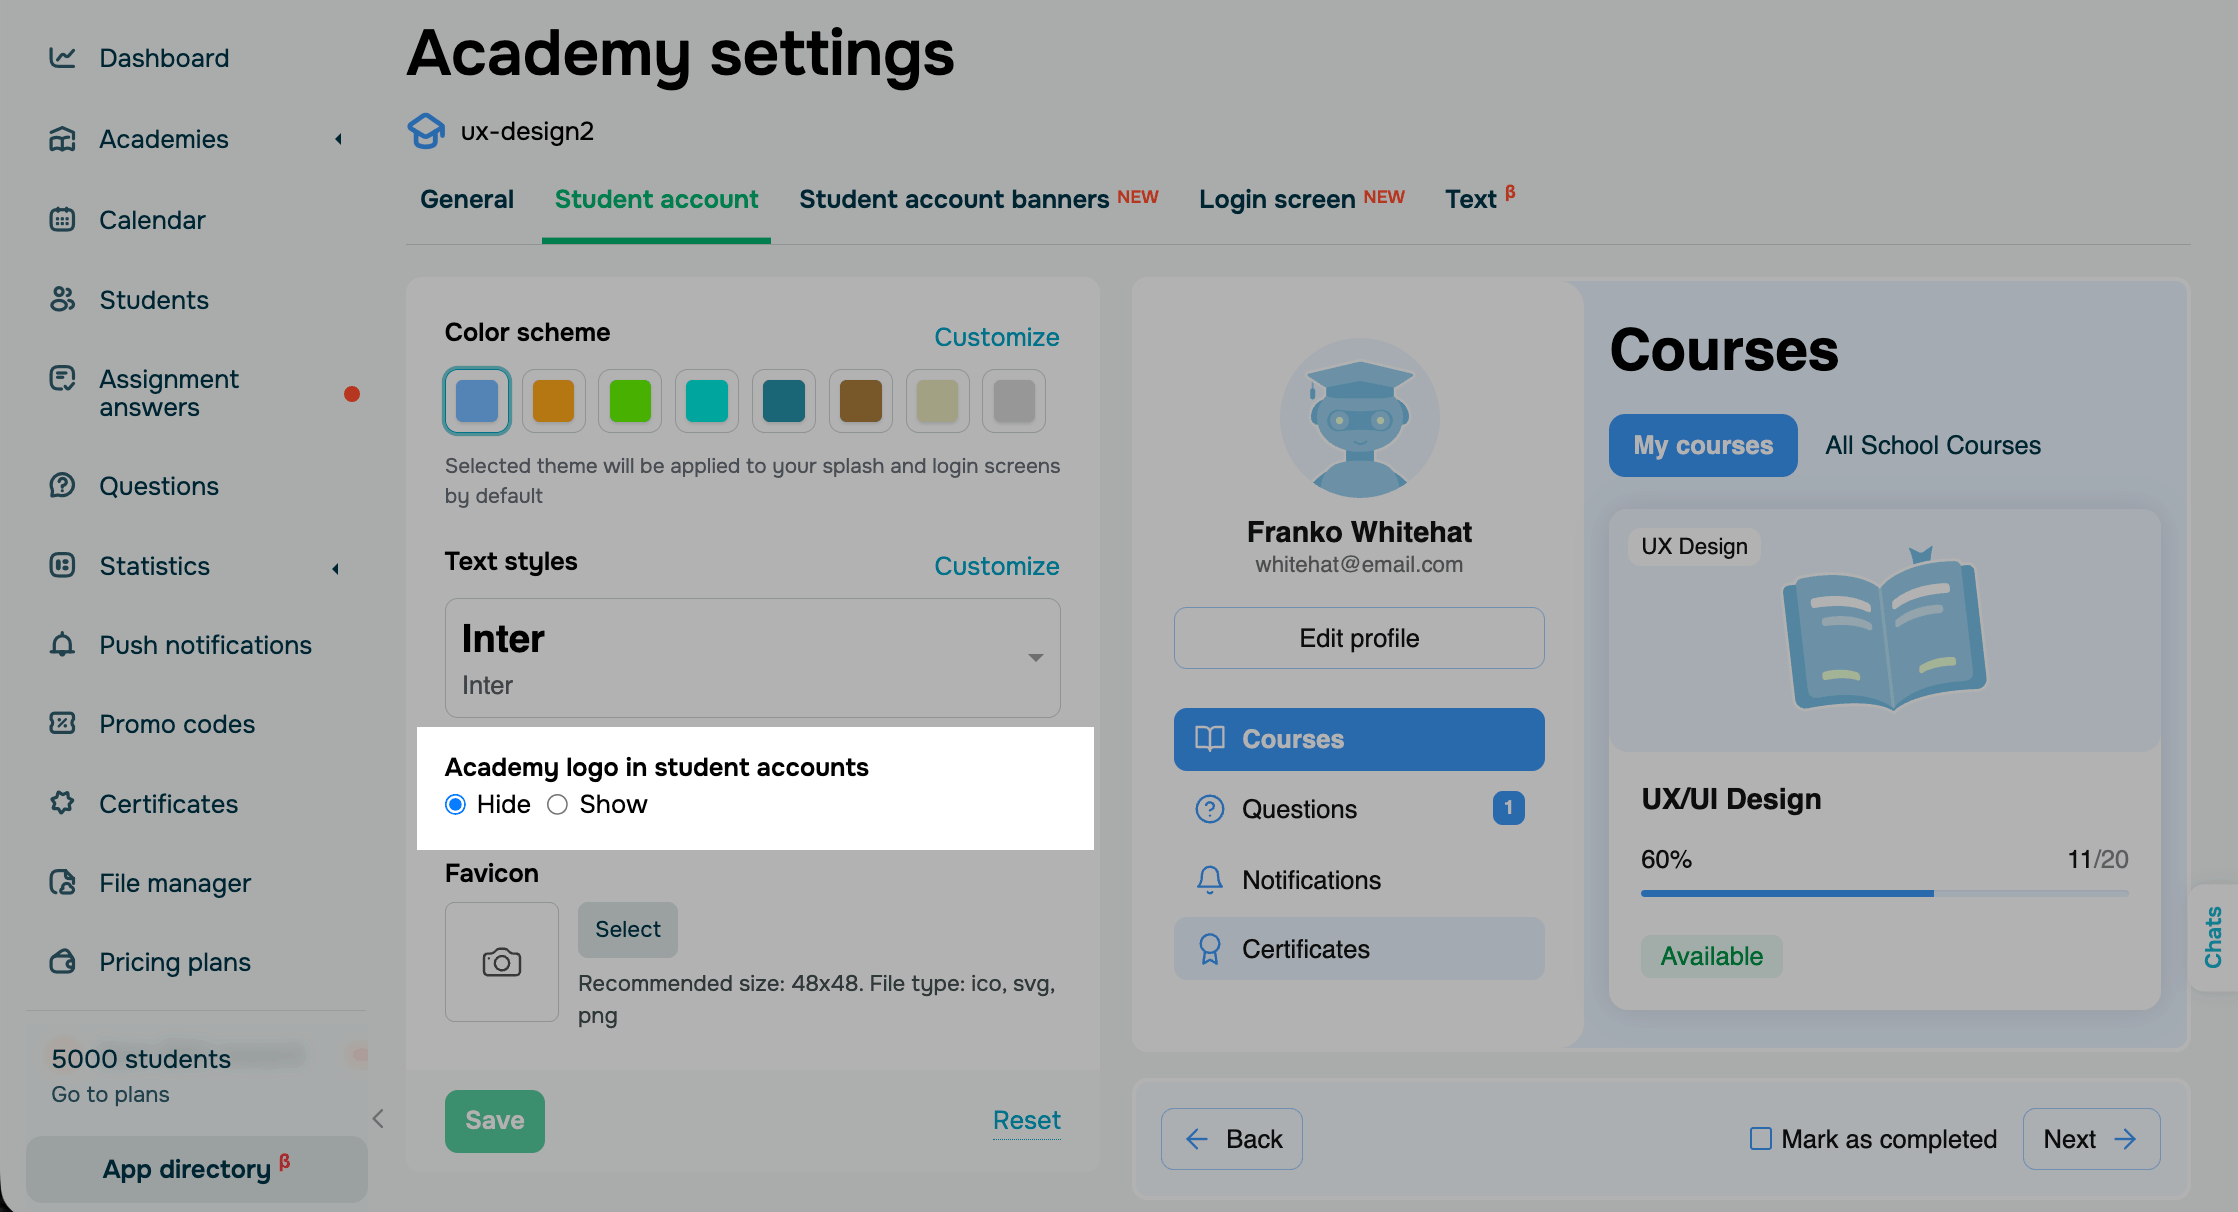
By default, no logo appears in student accounts. To show one, select Show, and select an image from the file manager or add a new one. Supported image formats are ICO, SVG, or PNG. The recommended size is 460x200px.
Add a favicon
In the Favicon section, select an image from the file manager or add a new one. Supported image formats are ICO, SVG, or PNG. The recommended size is 48x48 px.
 Last Updated: 27.11.2024





or