The File element in the course builder
Use the File element in the course builder to add files that open or download outside of your course page.
For example, you can attach PDF files, spreadsheets, slides, or other content for students to view or use.
Let’s talk about how to add and customize a file in your lesson.
Add the element
In the lesson builder, drag the File element from the left sidebar to your workspace, or click the Plus icon under any element.
Upload a file
On the right, click Choose file. Select a file from SendPulse’s file manager or upload a new one, and then click Choose. You can select one or multiple files.
Manage the file
After you add your file, a row with its name and available actions will appear next to the file. You can take the following actions:
| Choose a file | Open the file selection window to add another file. |
| Delete | Remove the file from the File element to upload a different file.
Note that deleting a file does not delete the element. To delete the element itself, click the trash can icon in your workspace. |
To rearrange your files, drag a file up or down in the list. To add a new file, click Add.
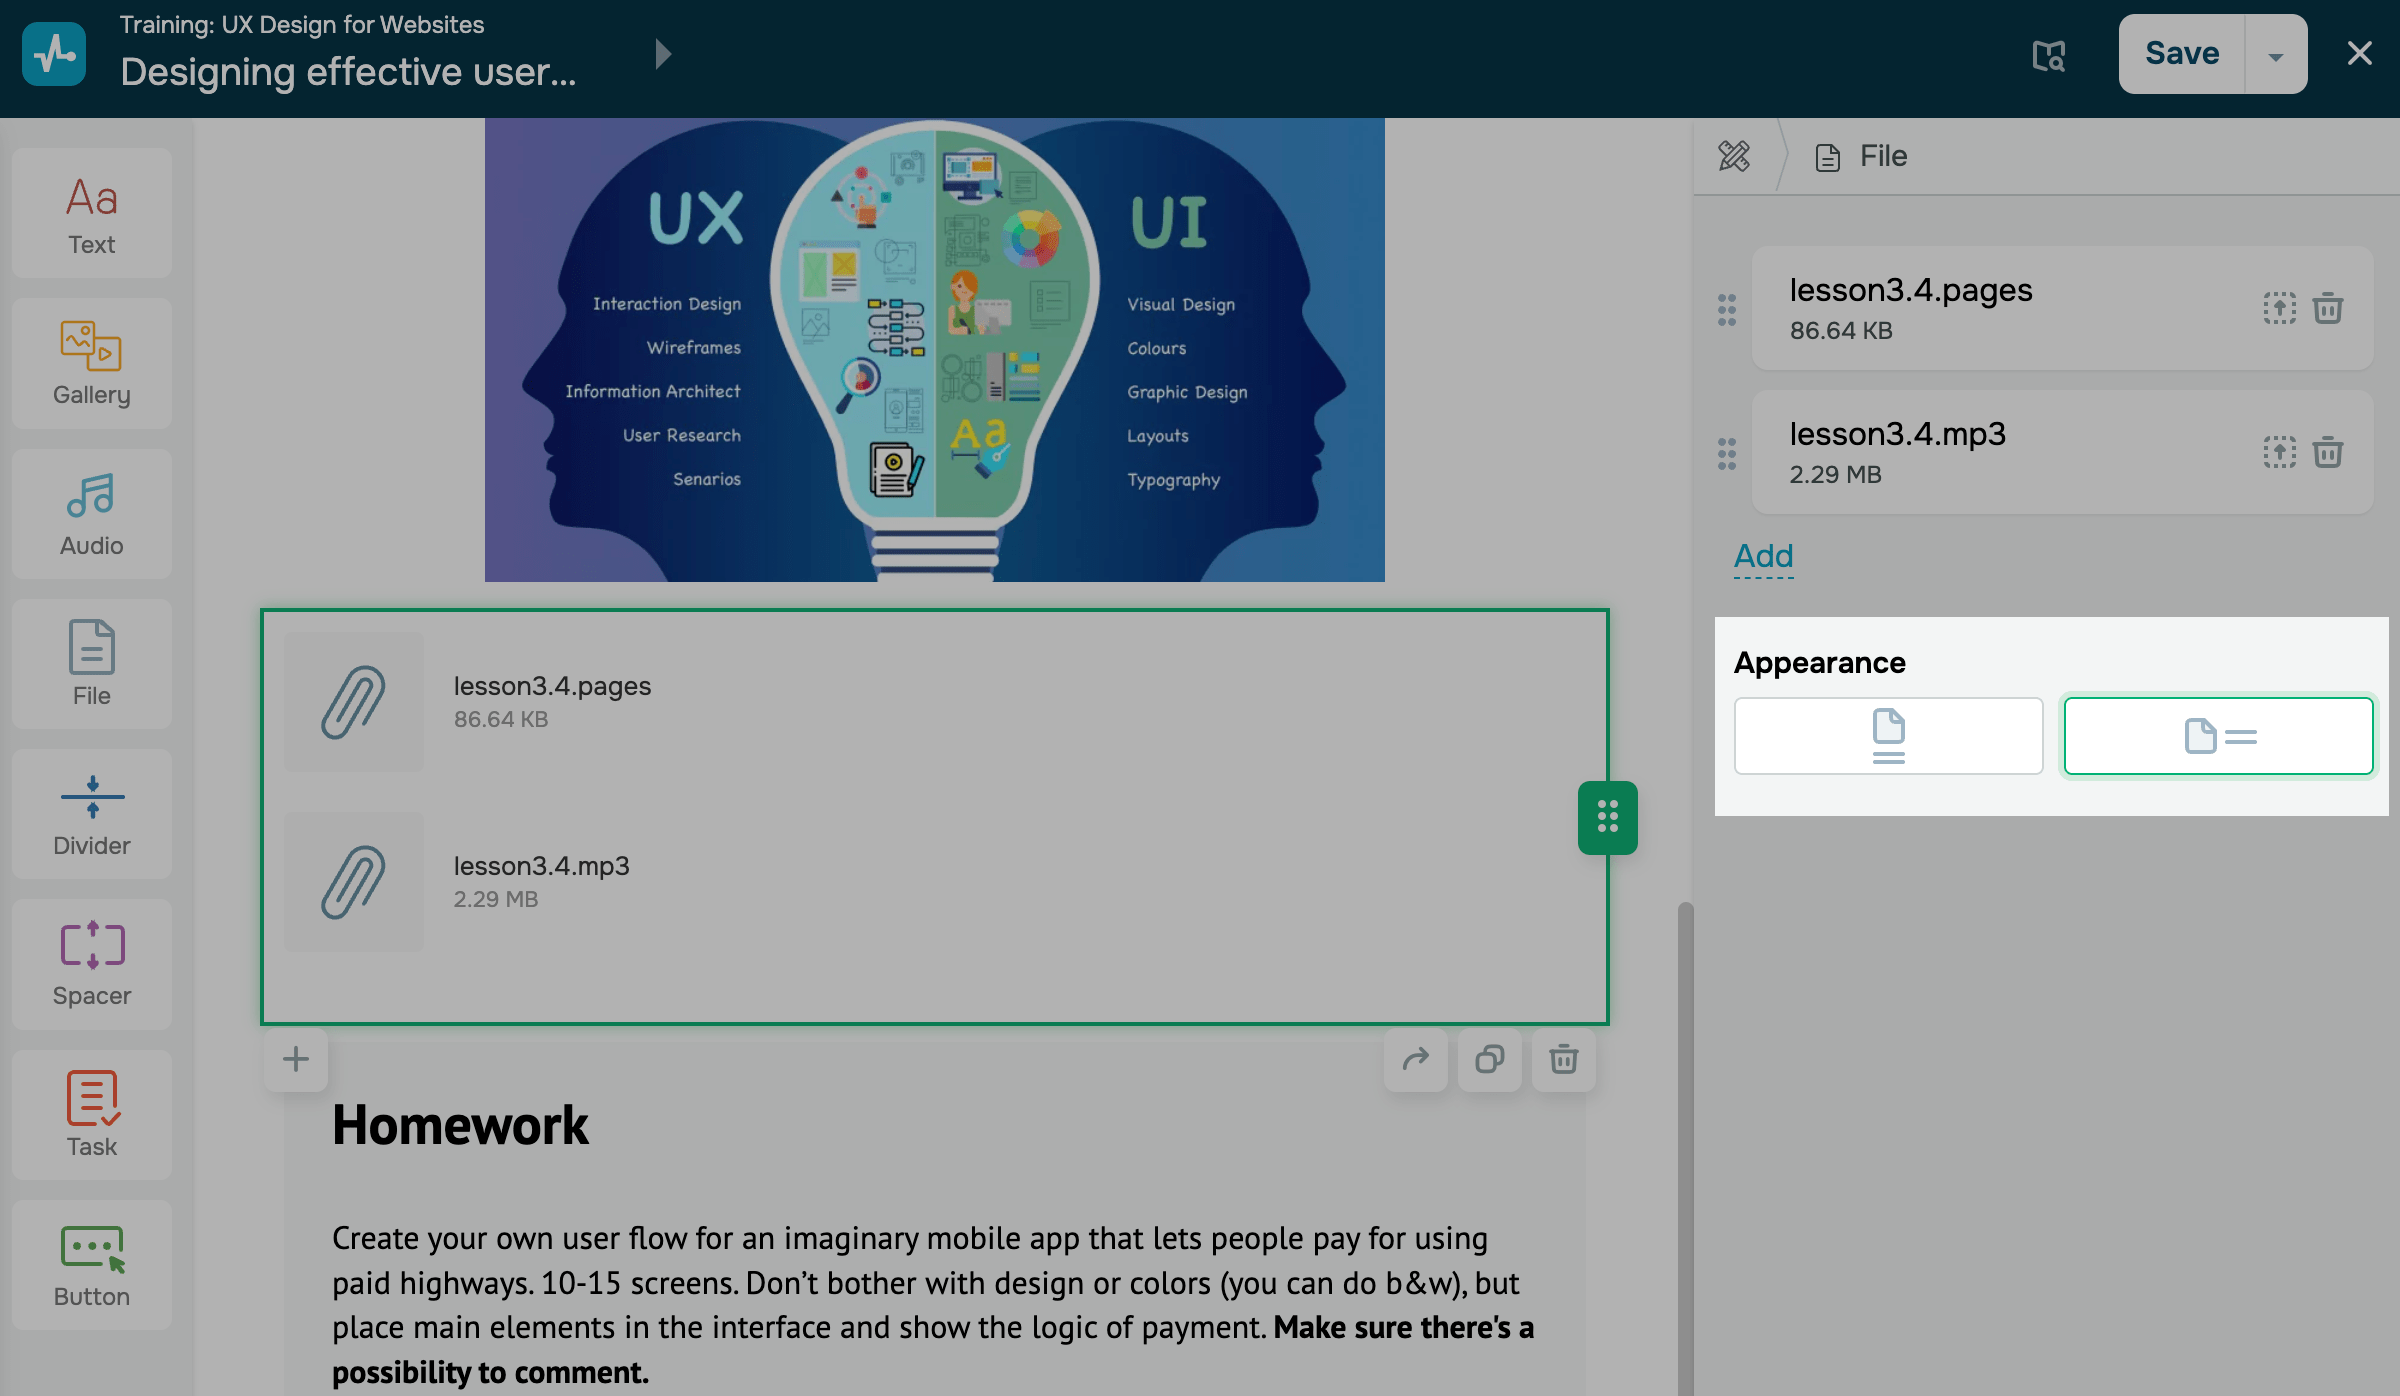
Customize the file
In the Appearance field, decide how to show files in your lesson: as cards or as a list of rows.
After you finish setting up the element, click Save in the upper-right corner of the builder.
Last Updated: 22.12.2025
or