Send a TikTok campaign
TikTok campaigns help promote products and services, share event updates, and send invitations or greetings. With SendPulse, you can create and deliver these campaigns to your chatbot subscribers within a 48-hour window.
TikTok chatbot subscribers are users who have clicked Message on your page and messaged you, subscribed to your chatbot through a widget or third-party signup form, or opened a chat window with your page and started a conversation.
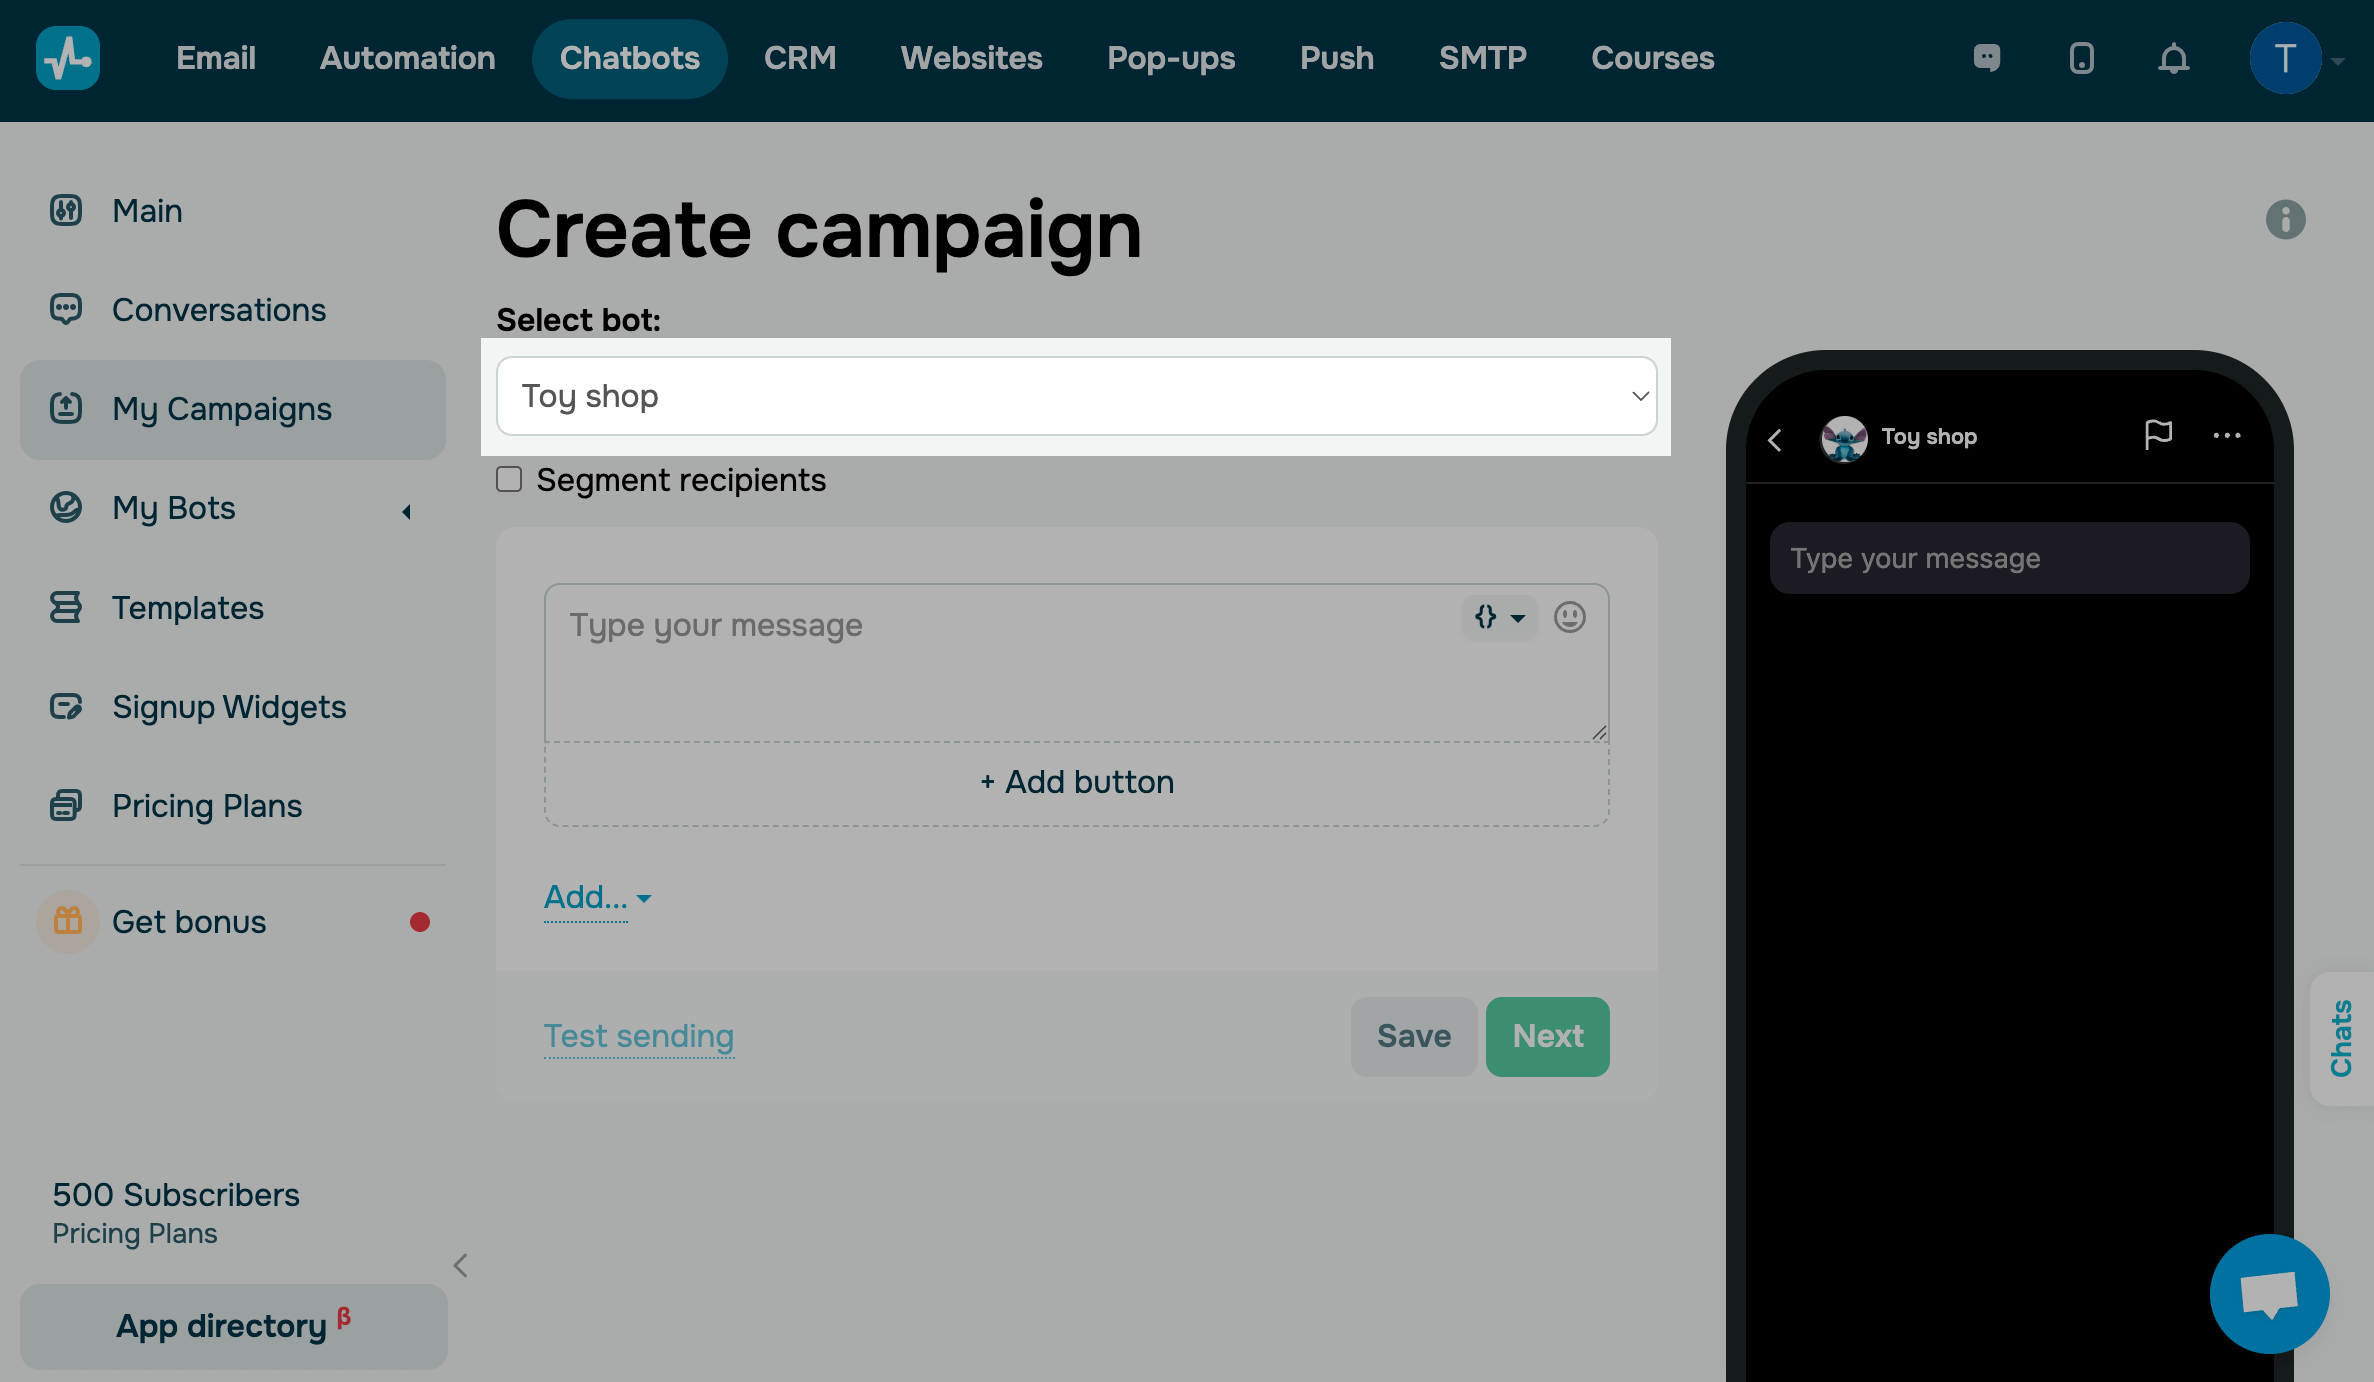
To create a TikTok campaign, go to Chatbots and click Create a campaign.
Choose a chatbot and an audience
Choose your TikTok chatbot from the dropdown list — the campaign will be sent to its audience.
To segment your audience, select the Segment recipients checkbox and set a condition. Your campaign will only be sent to recipients who meet the selected criteria.
For example, if you collect additional variables during subscription, create global variables, or assign tags, you can segment your audience by Variable or Tag.
Select the was active in the last 48 hours checkbox to send your campaign to users who have interacted with your chatbot within this timeframe.
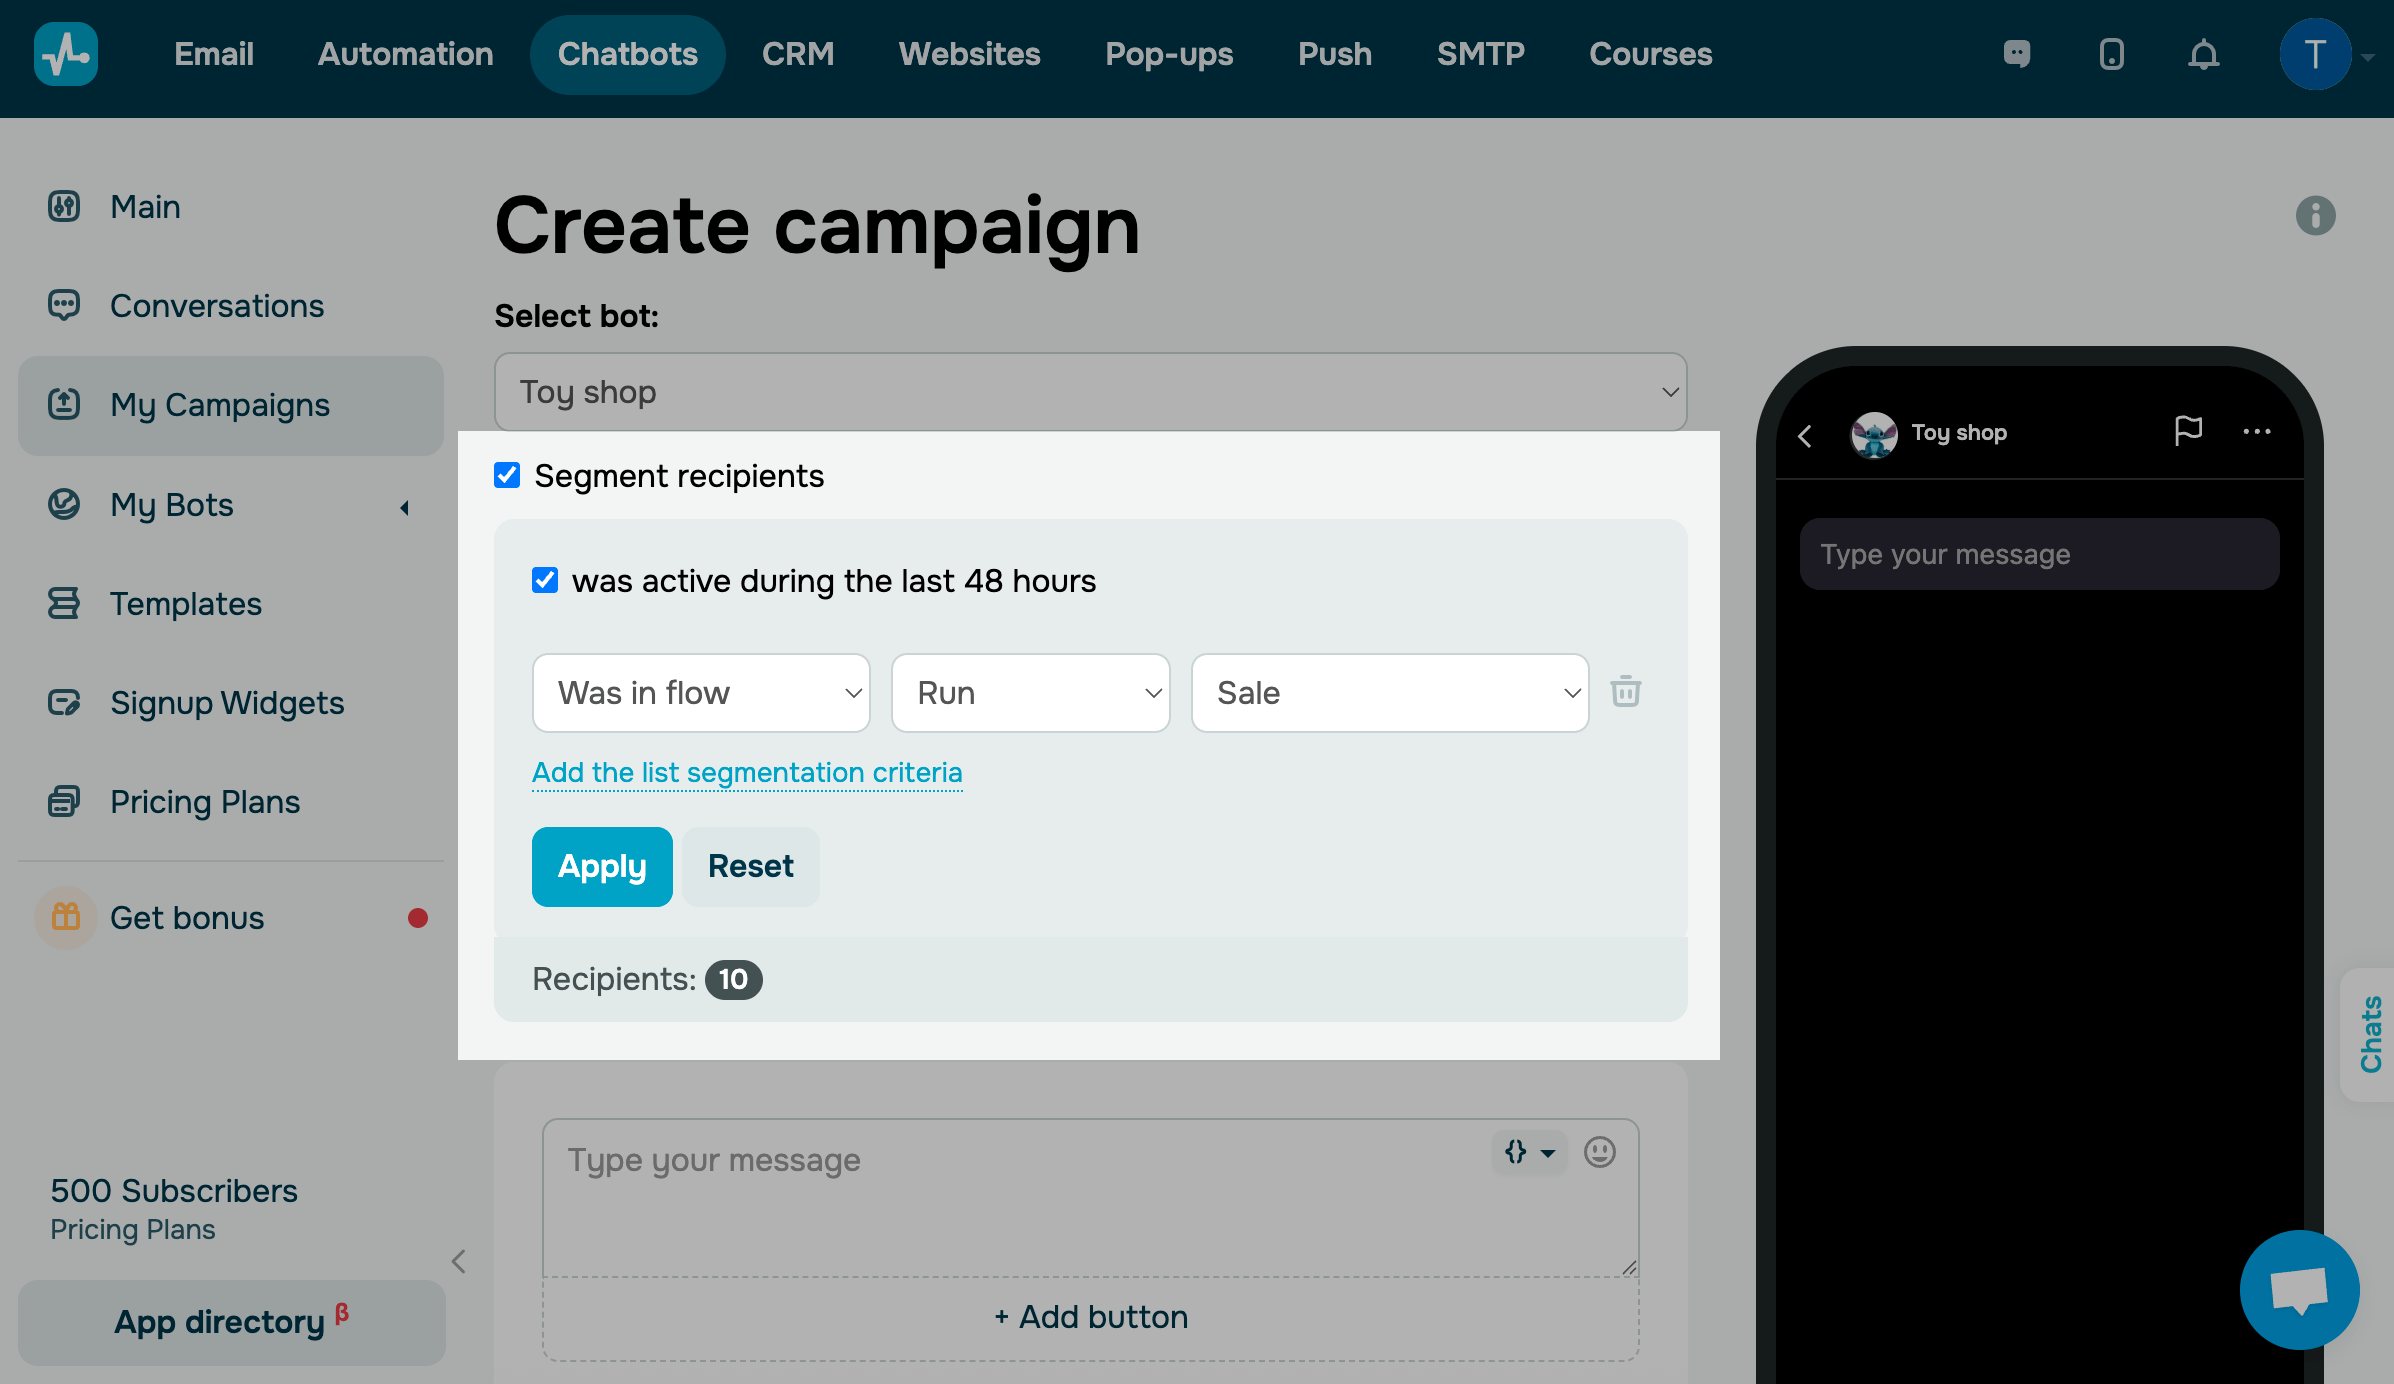
To add multiple conditions for a more personalized message, click Add the list segmentation criteria. Once you’ve set all the conditions, click Apply.
Type in your message
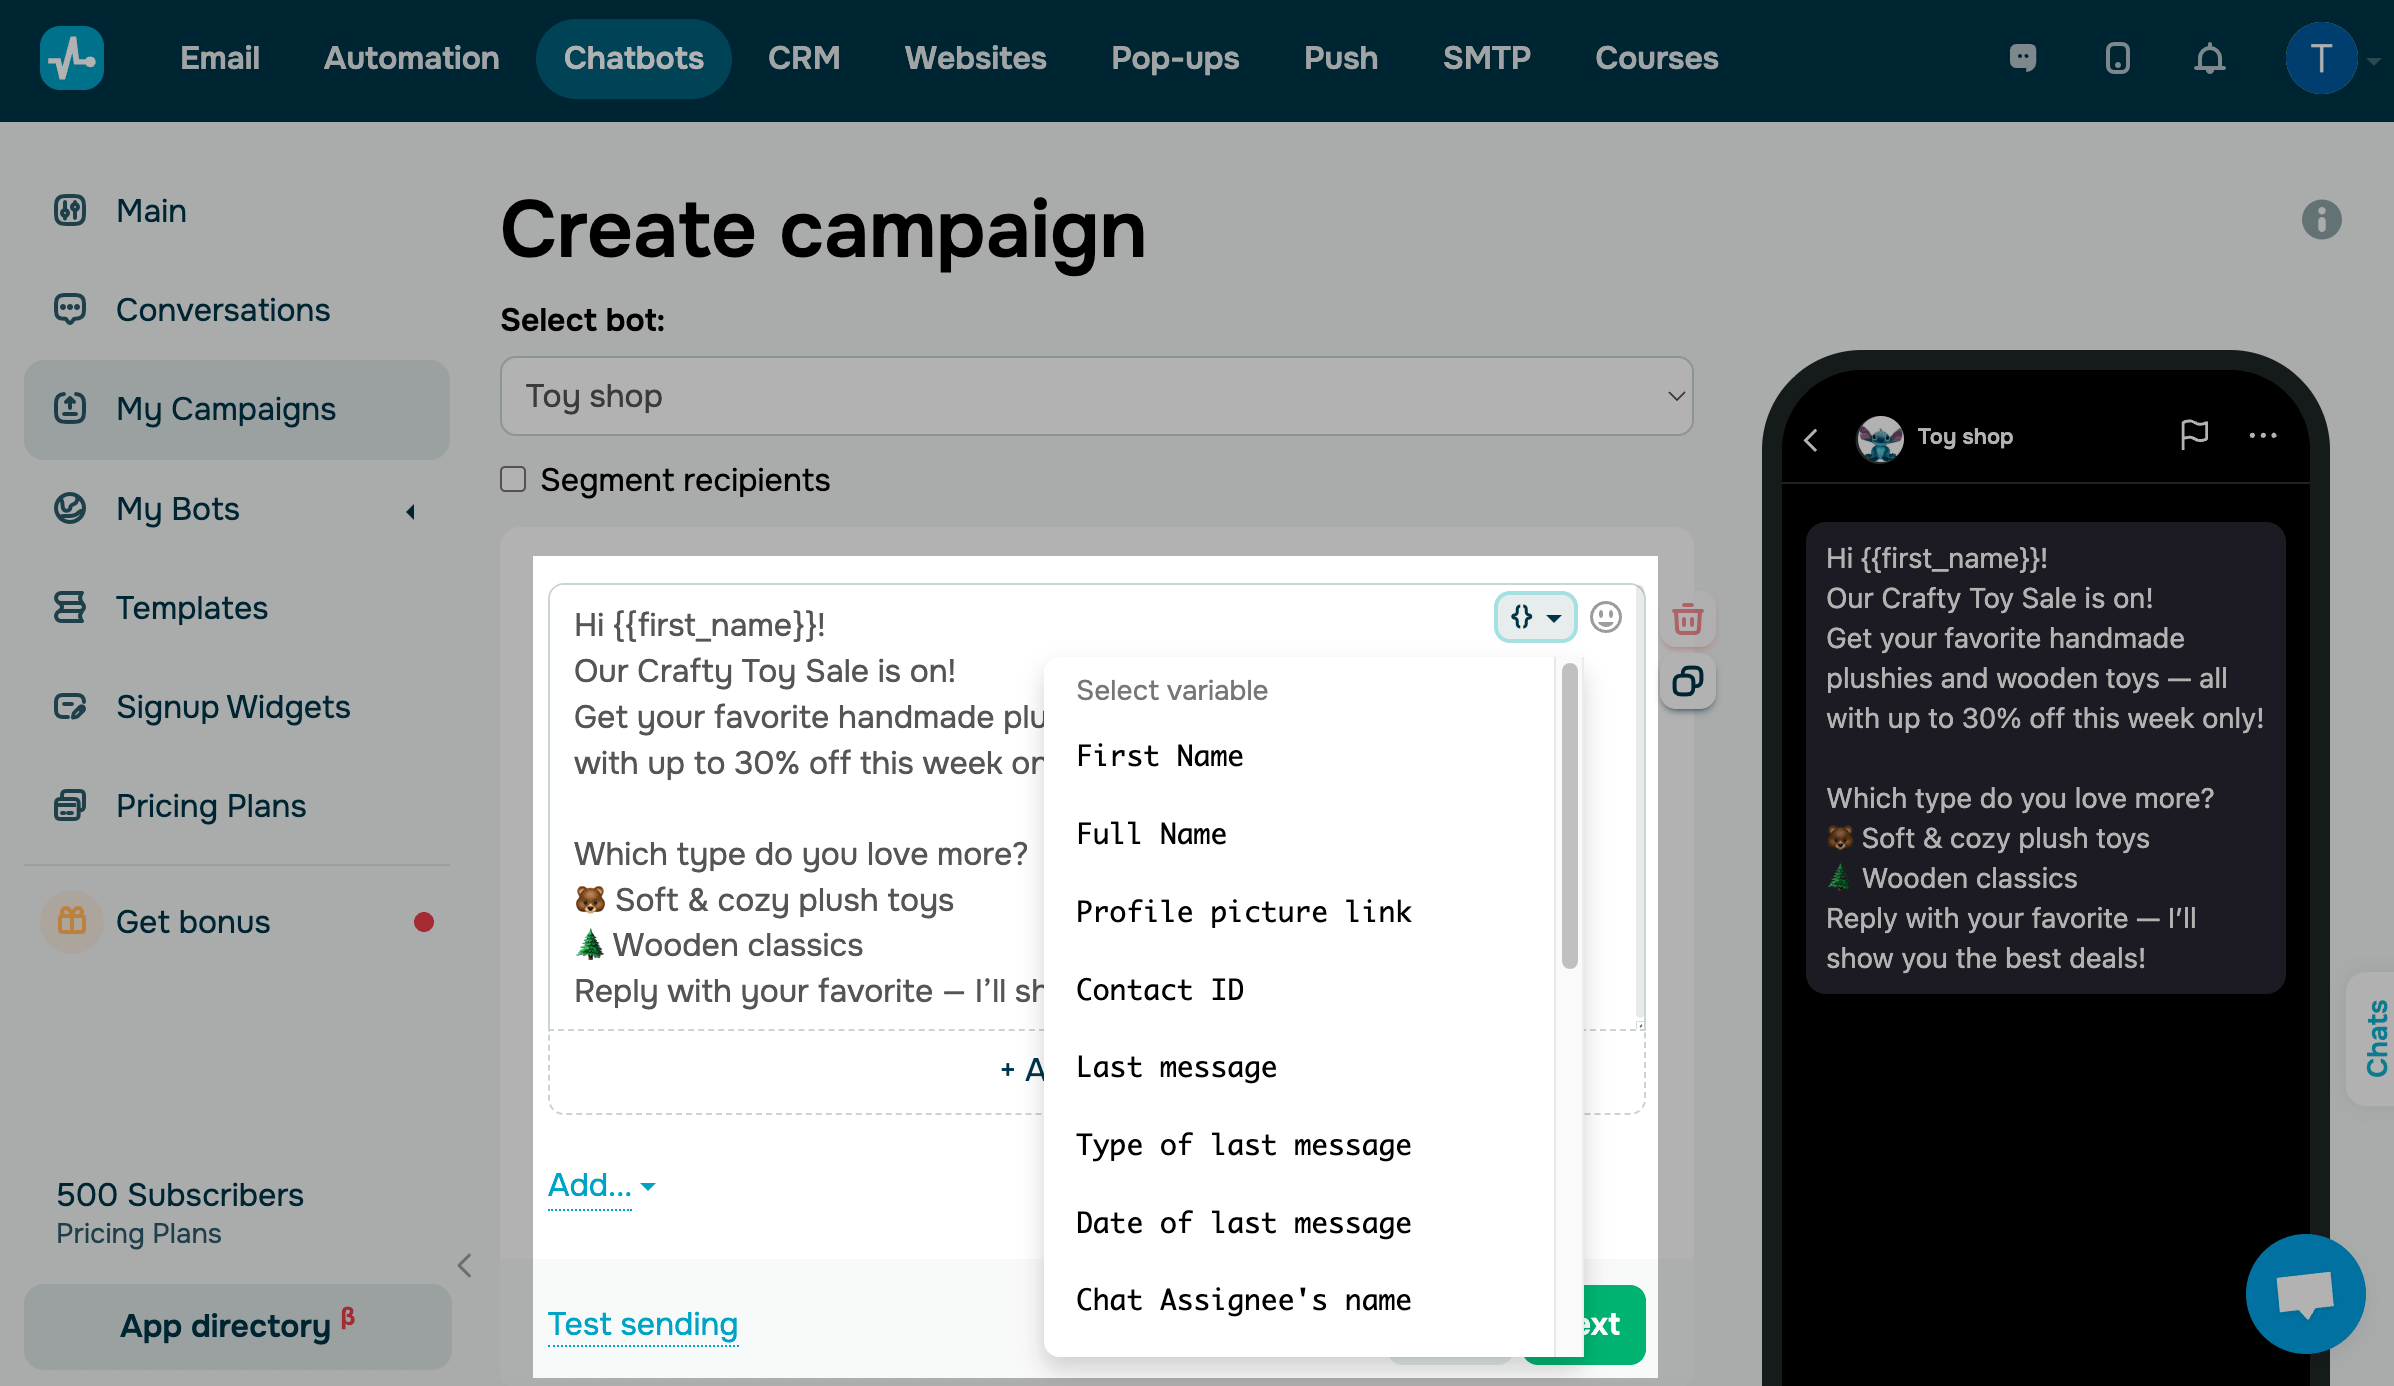
Enter your message text of up to 6,000 characters.
Button names can be up to 40 characters long.
To personalize your message, click {} in the upper right corner of the input field and choose a variable. Each subscriber will receive your message with their contact’s variable value.
You can add another text element that will appear separately from your main message. To do this, click Add, select Text, and enter your message.
Add a button
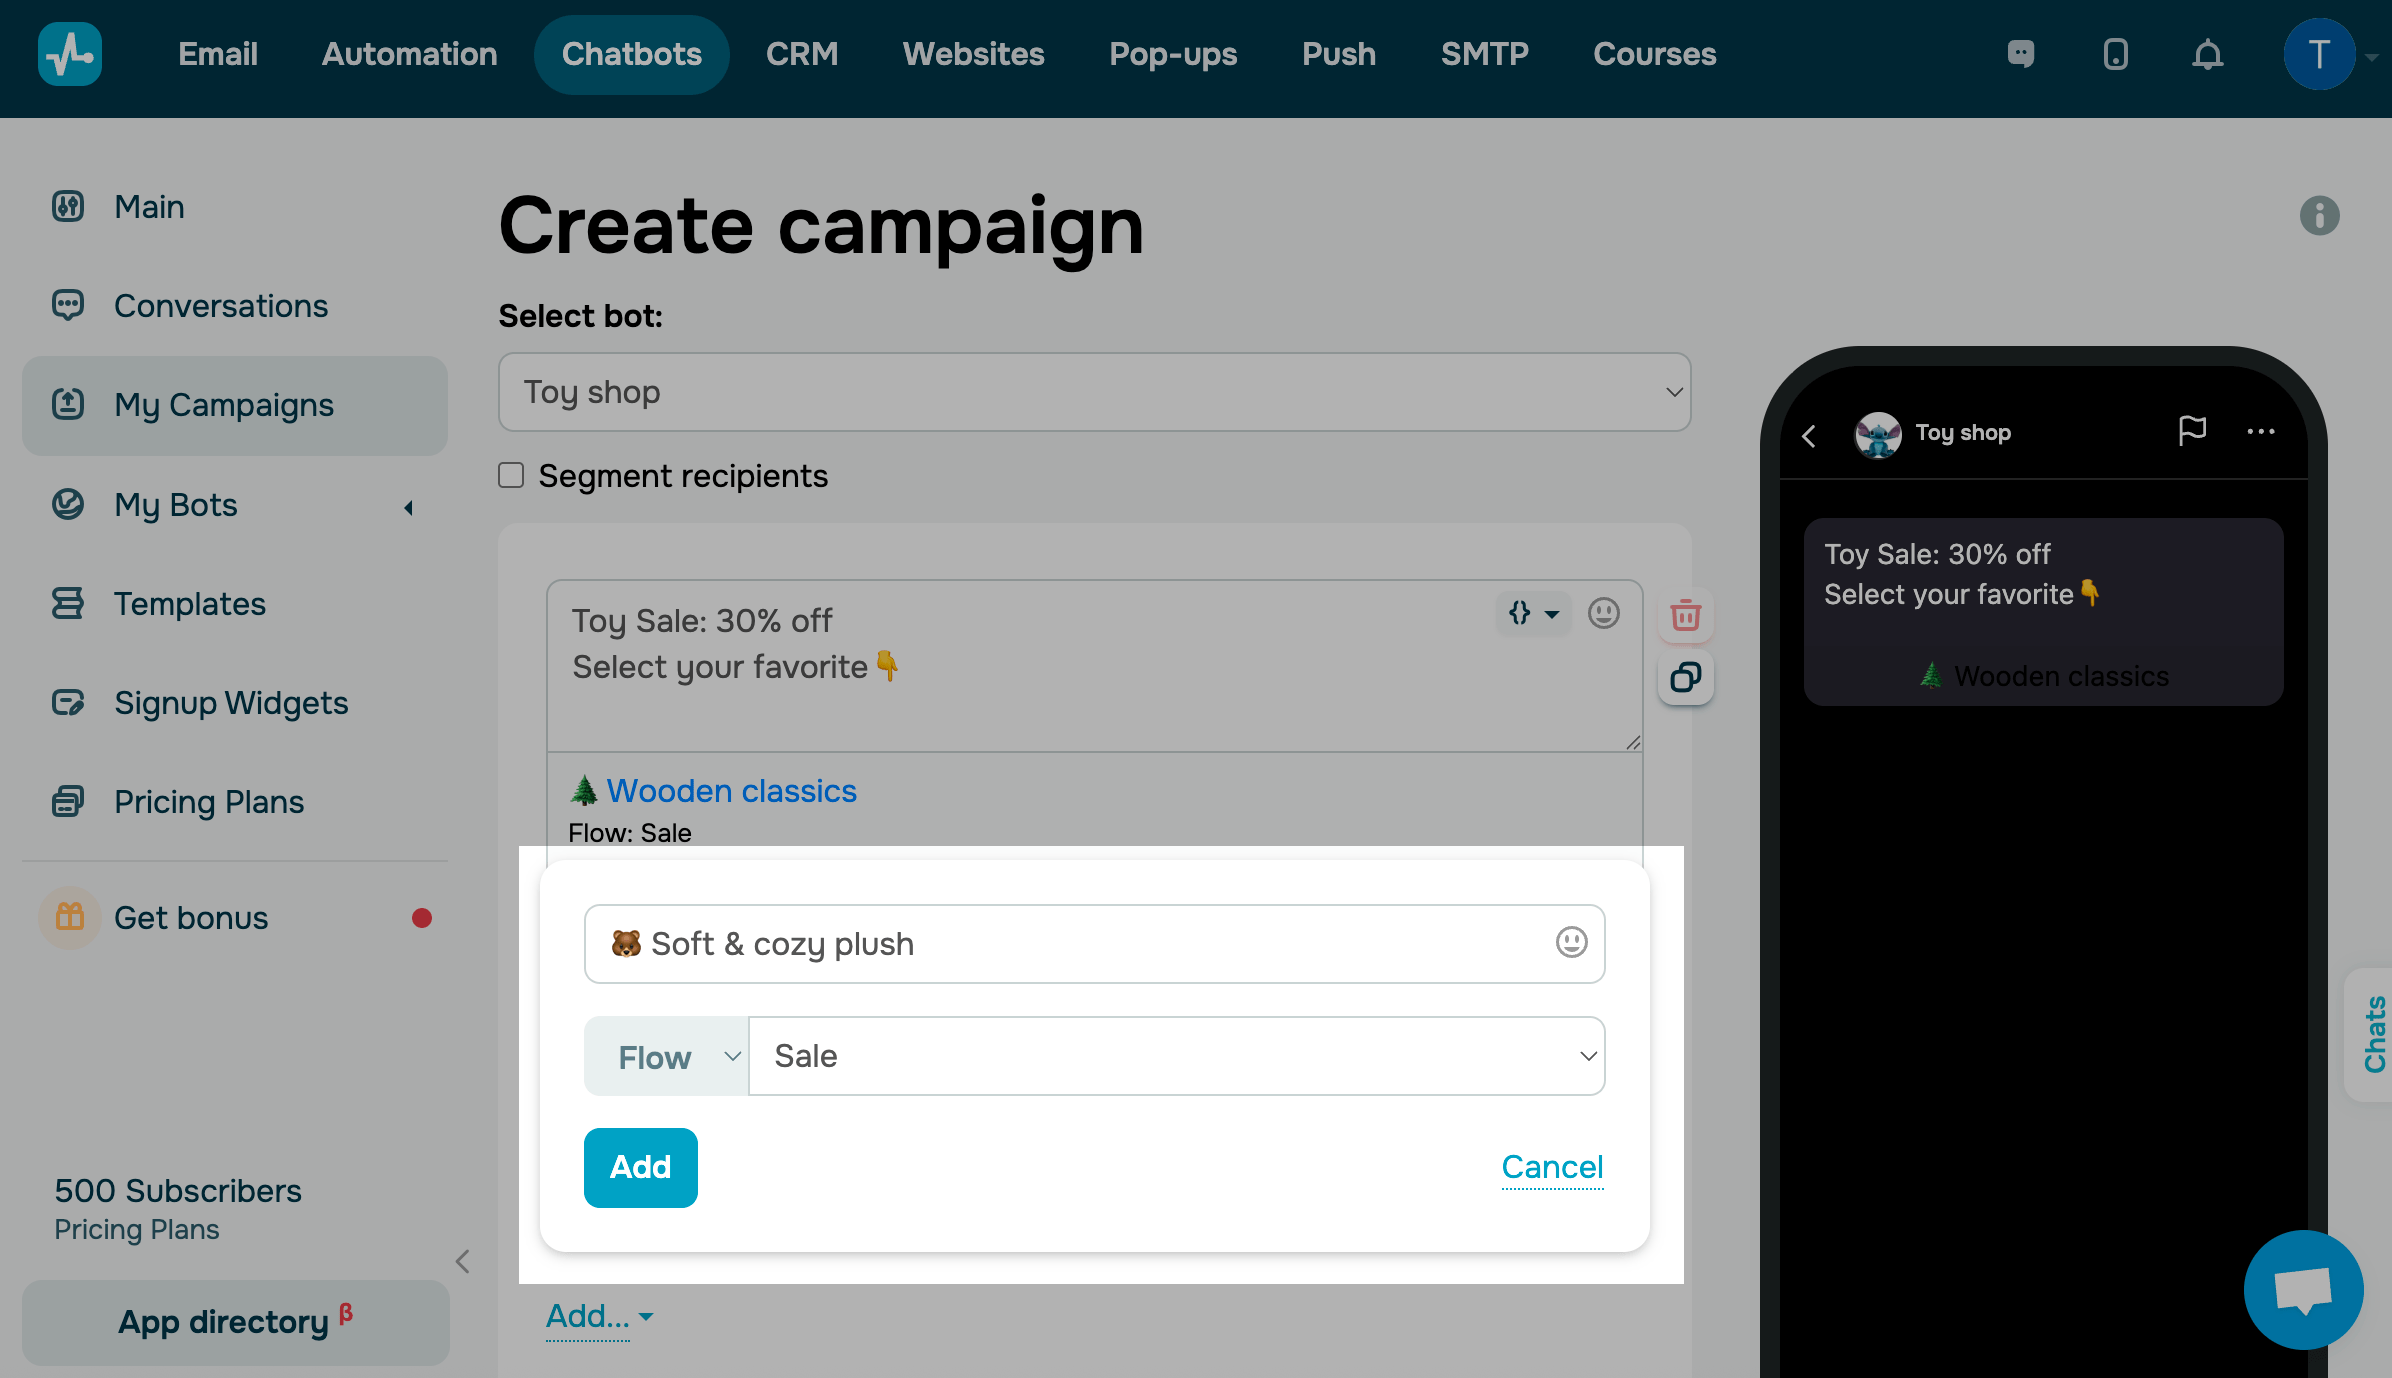
TikTok chatbots currently support only buttons that lead to other flows within the same chatbot. Other button types, such as those that open external links or payment pages, are not supported yet.
To link an automated message flow, click Add button, choose a flow that will be sent to the subscriber who clicks your button, and click Add.
You can add up to three buttons per campaign, each up to 40 characters long.
Review your campaign
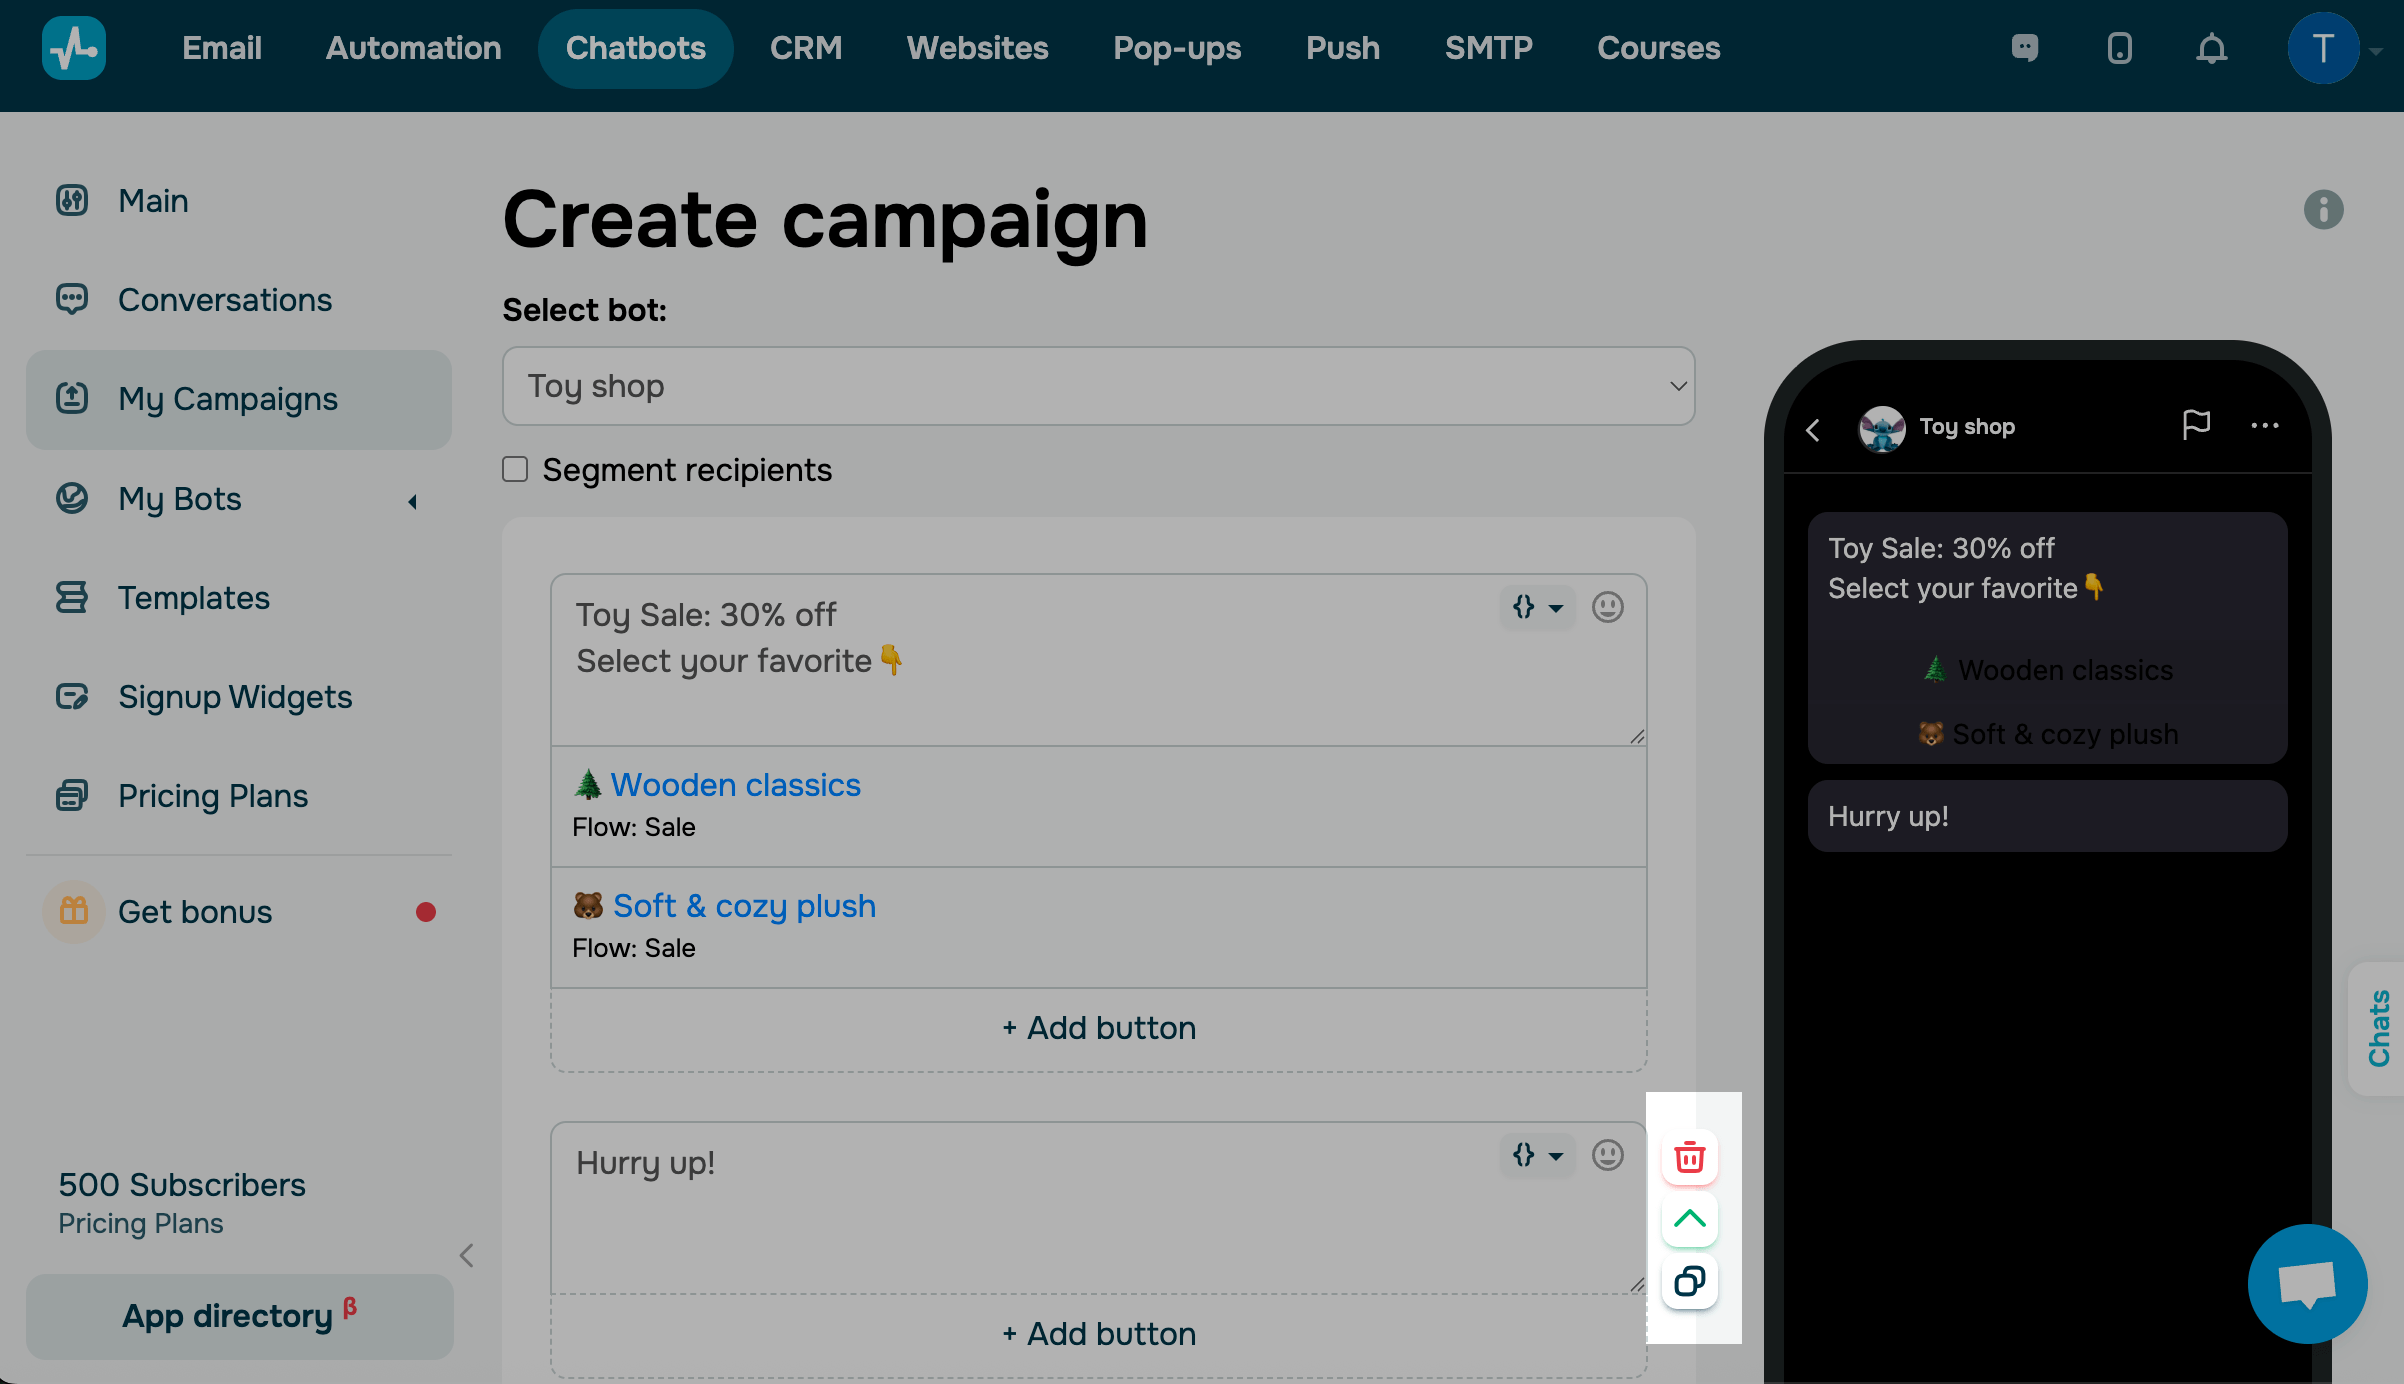
To the right of your campaign settings, there is a preview window displaying all campaign content changes.
You can rearrange, delete, and copy your elements. To do this, hover over an element, and you will see icons with each of these options.
Once you add all campaign elements, send a test message. To do this, click Test. This message will be sent to the chatbot owner.
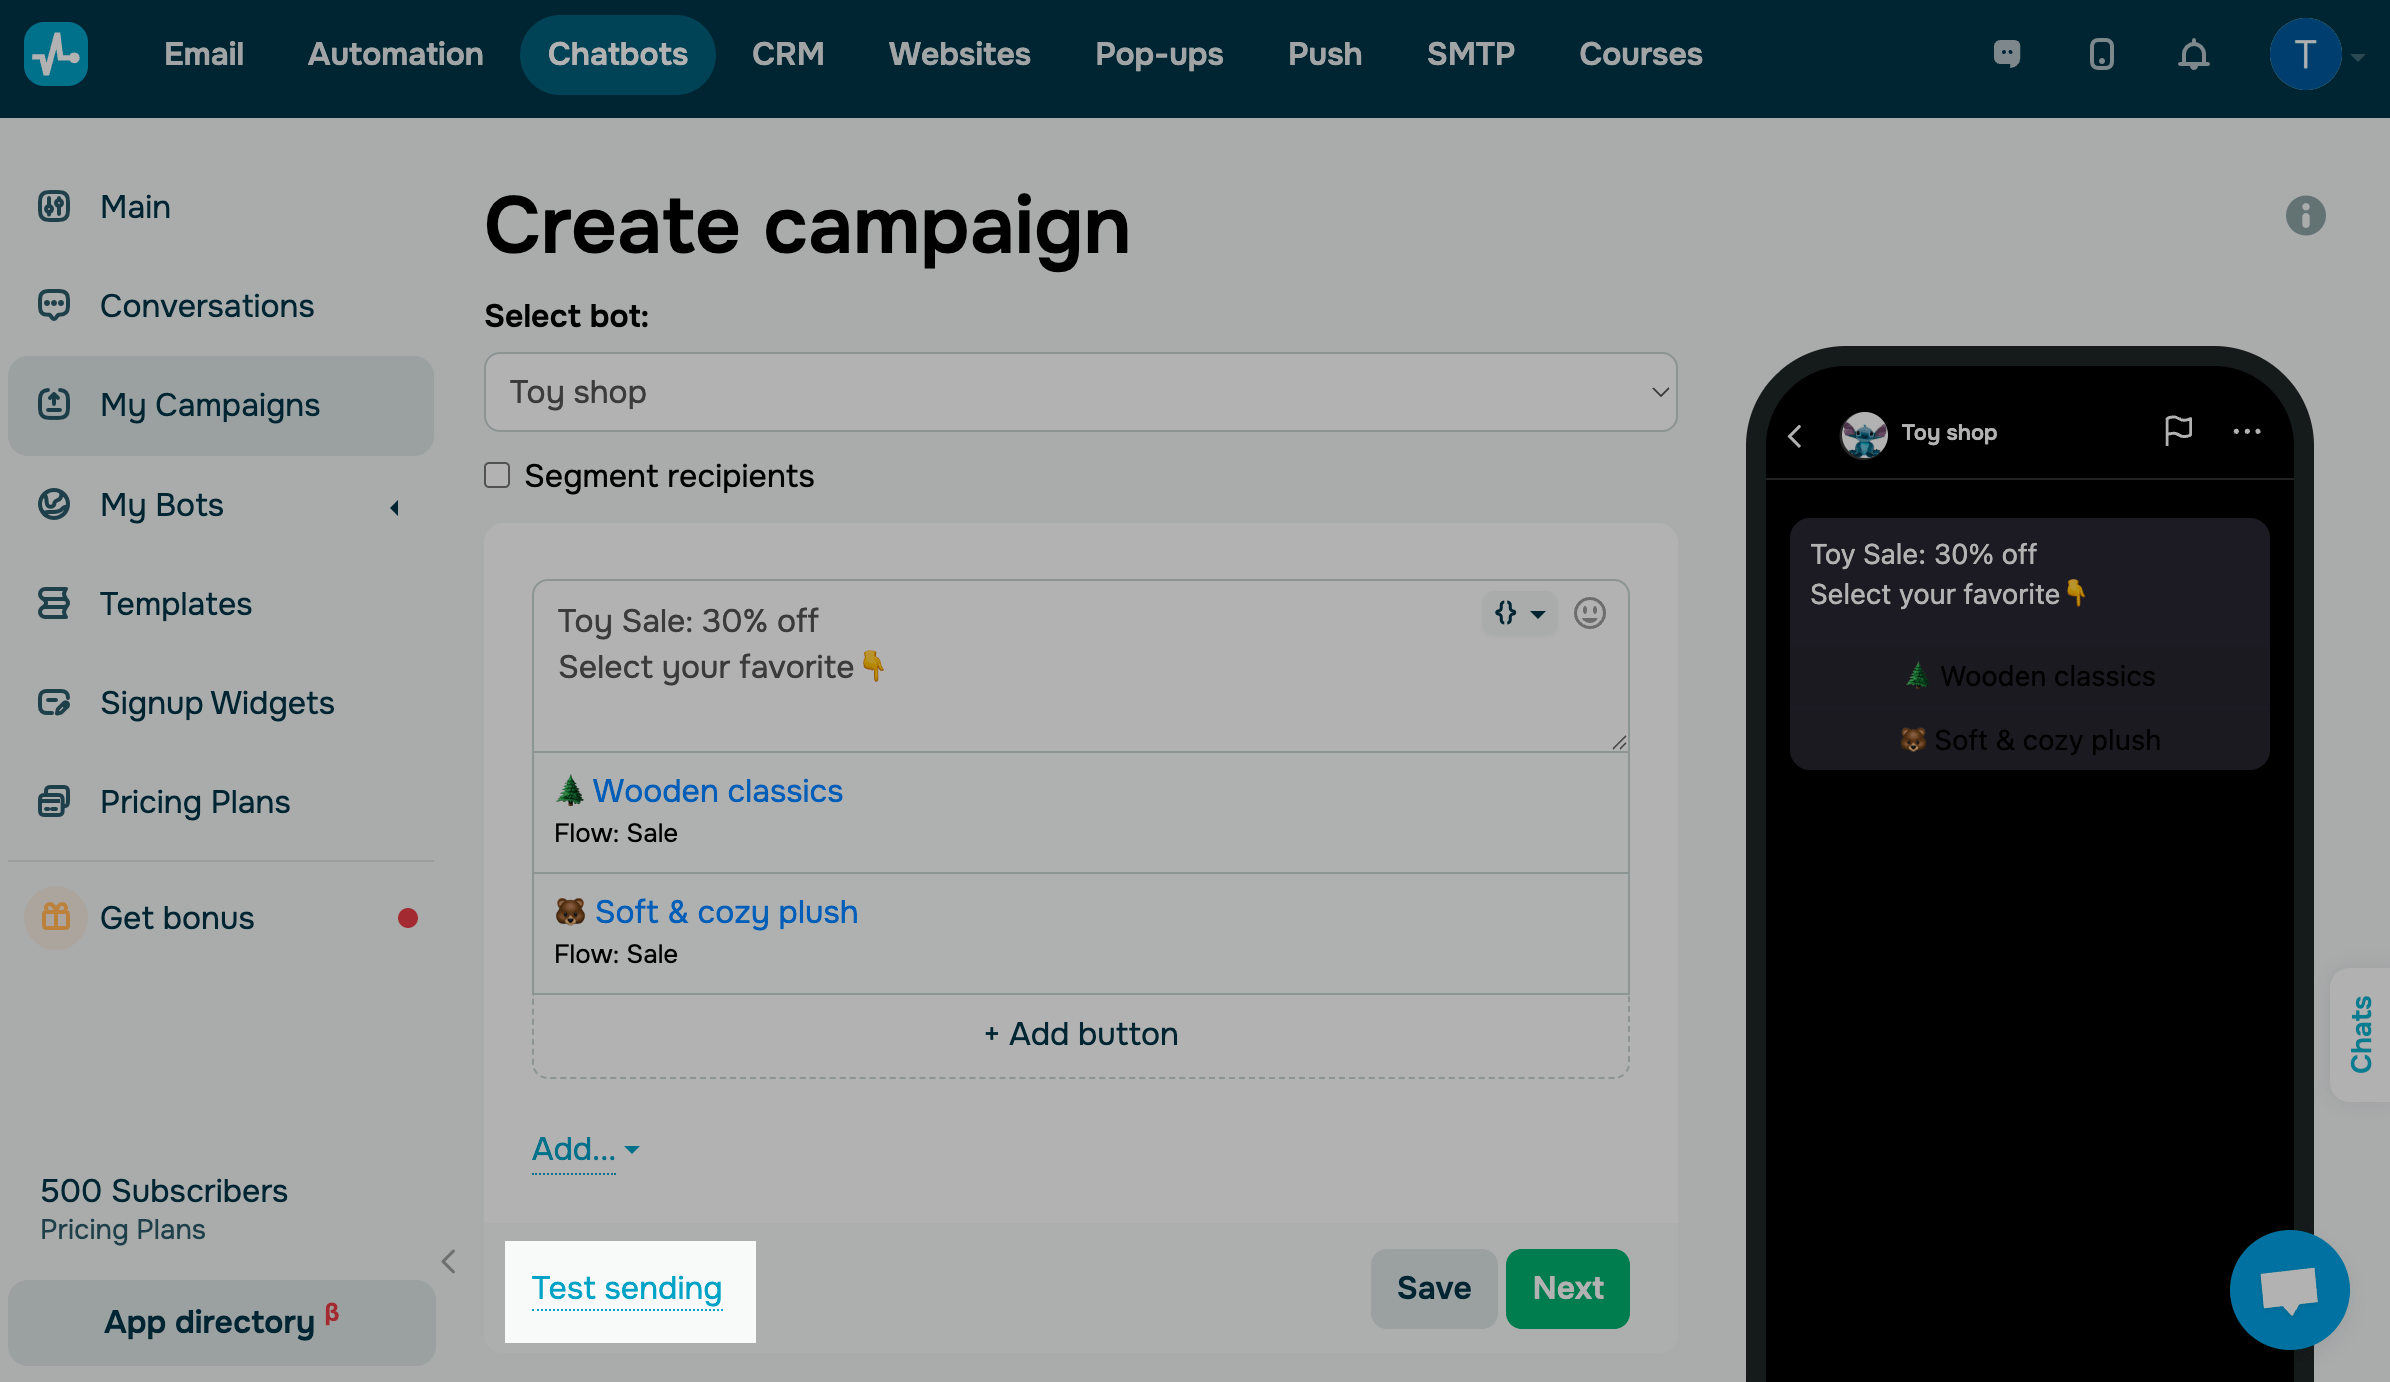
See how your message will look on a device. If everything appears as expected, click Next.
Choose a sending time
In the next window, choose a name for your campaign. It will be visible only to you in My Campaigns.
You can send your campaign immediately or schedule it for a specific date and time.
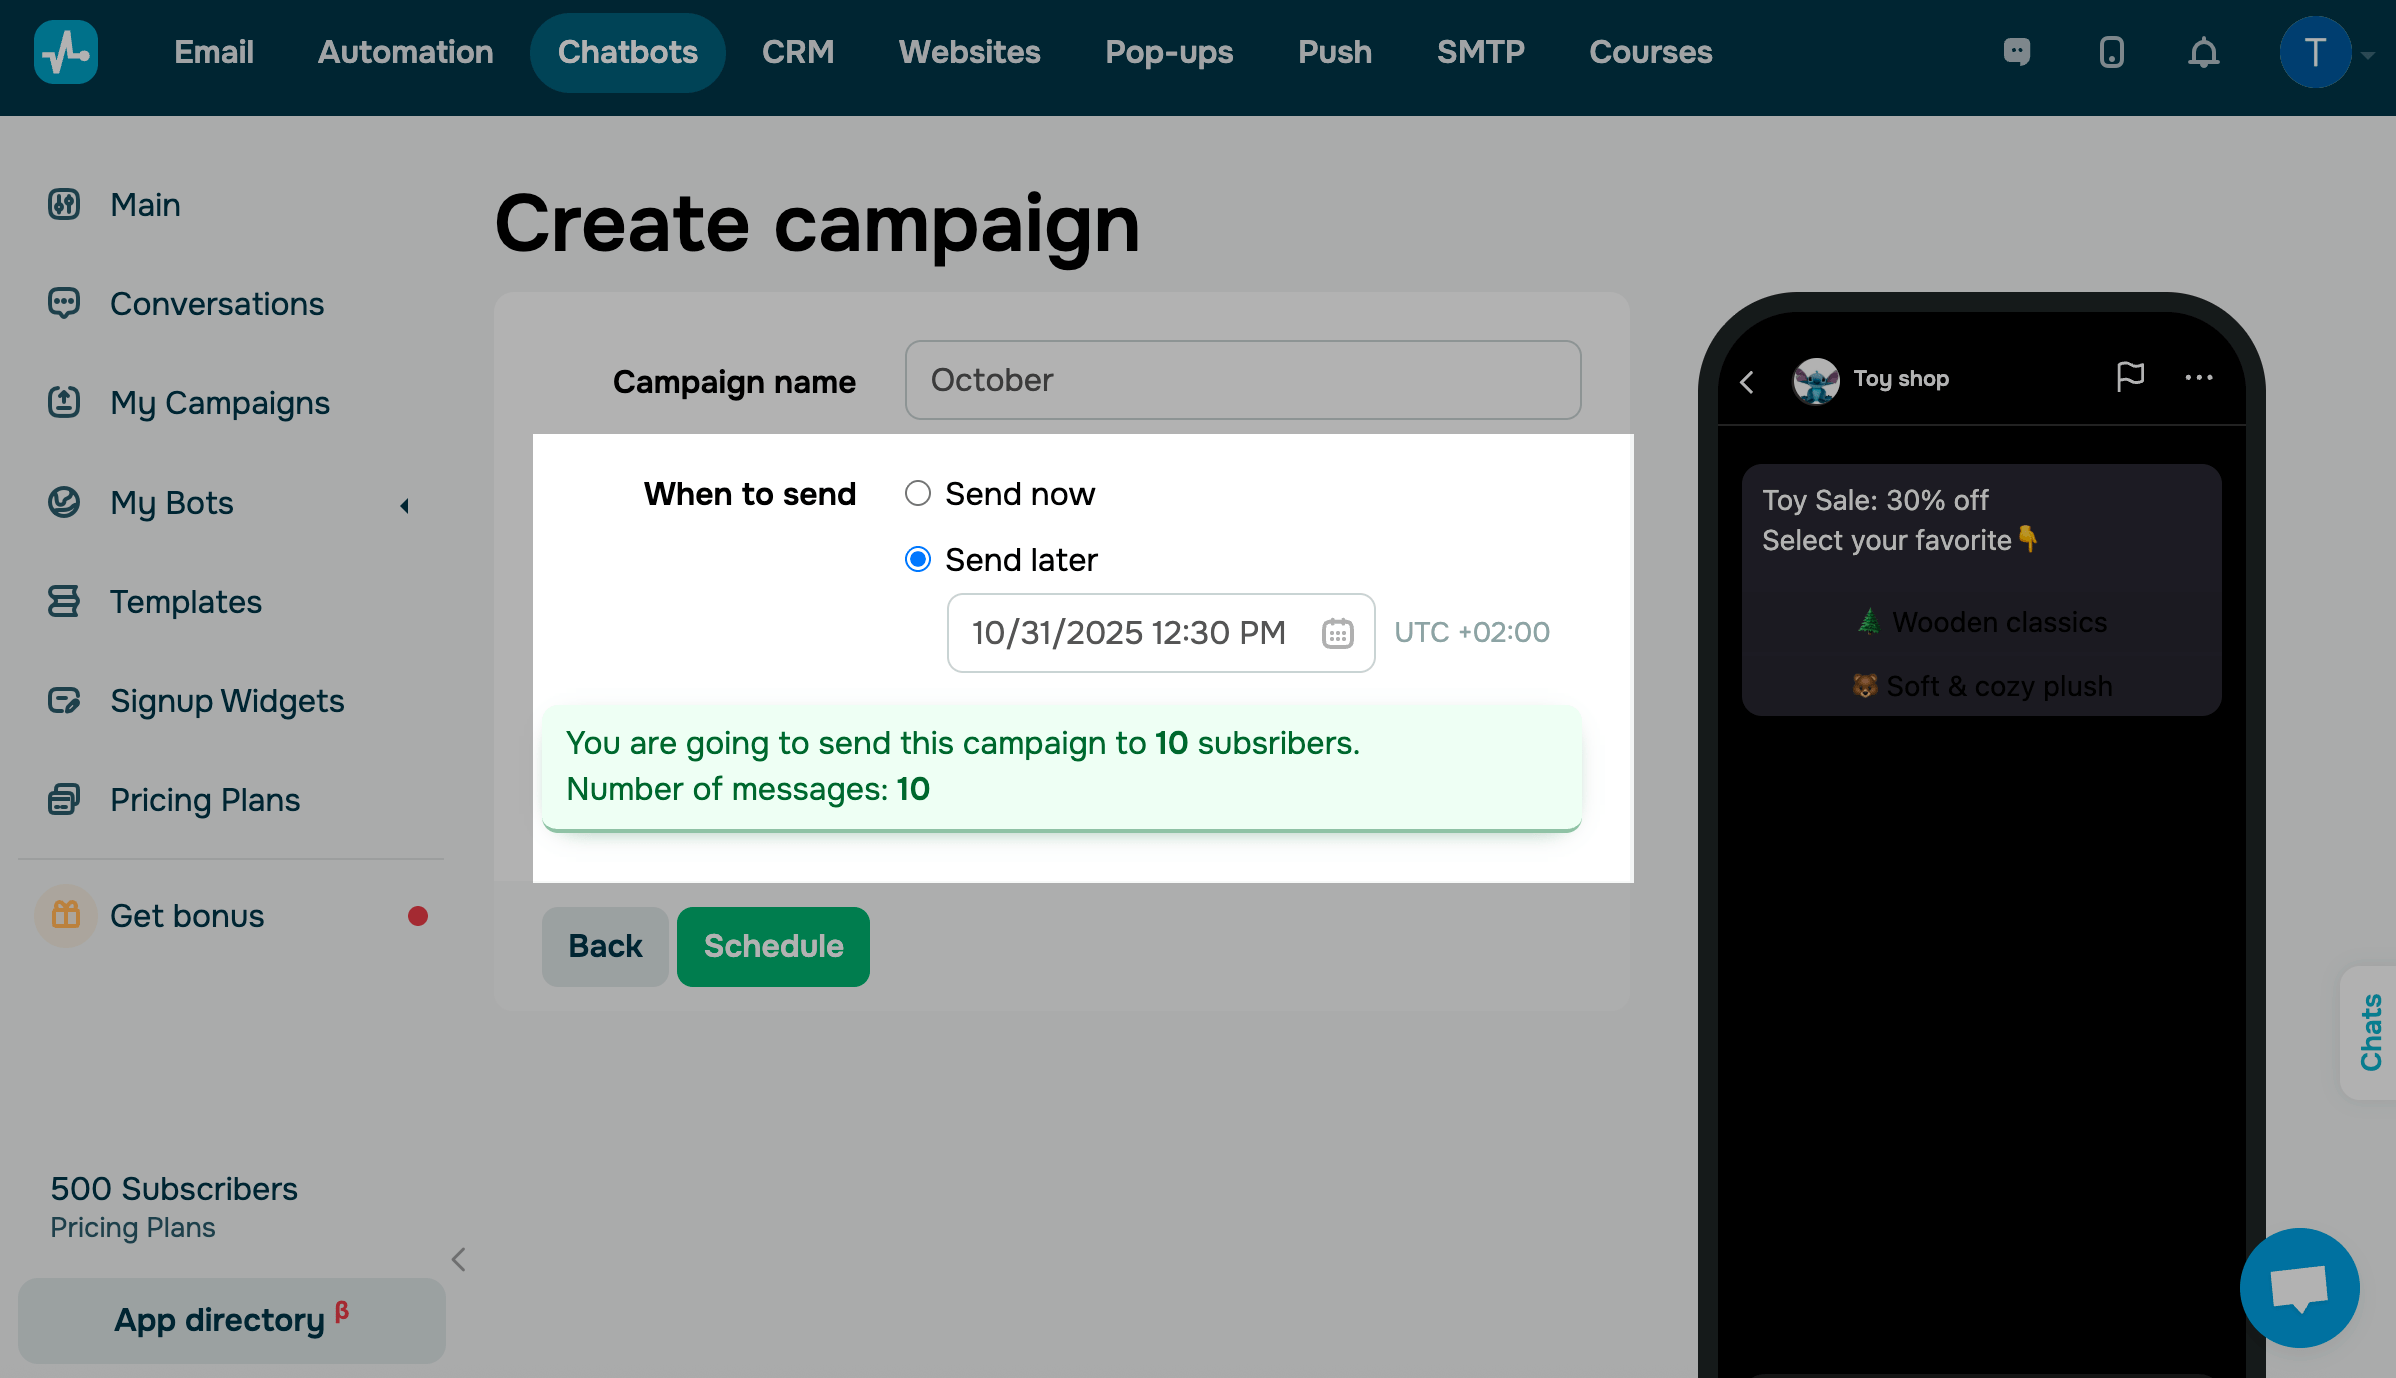
Click Send campaign, and your campaign will be sent to recipients.
Edit a scheduled campaign
If you schedule your campaign for later, you can edit it again before it’s sent. Go to the campaign list, find your campaign, click the three dots next to it, and select Edit. To cancel your campaign, click Cancel.

Analyze your results
You can access detailed statistics on each campaign, including how many messages were delivered and how many recipients interacted with your chatbot.
To do this, go to My campaigns and choose a campaign from the list. You will see the status and statistics of this campaign and its list of recipients.
Read more: Campaign statistics.
Last Updated: 03.11.2025
or