Create a certificate
You can create a certificate that students receive after they complete a lesson, a section, or the entire course. The certificate shows who it was issued to, the course name, the instructors, and the issue date. You can customize its style and add images related to your course topic.
You can also design a certificate of your own and upload a personalized certificate for each student.
Read more: How to upload a custom certificate.
Create a certificate
Go to Certificates > Builder.
Customize the certificate style
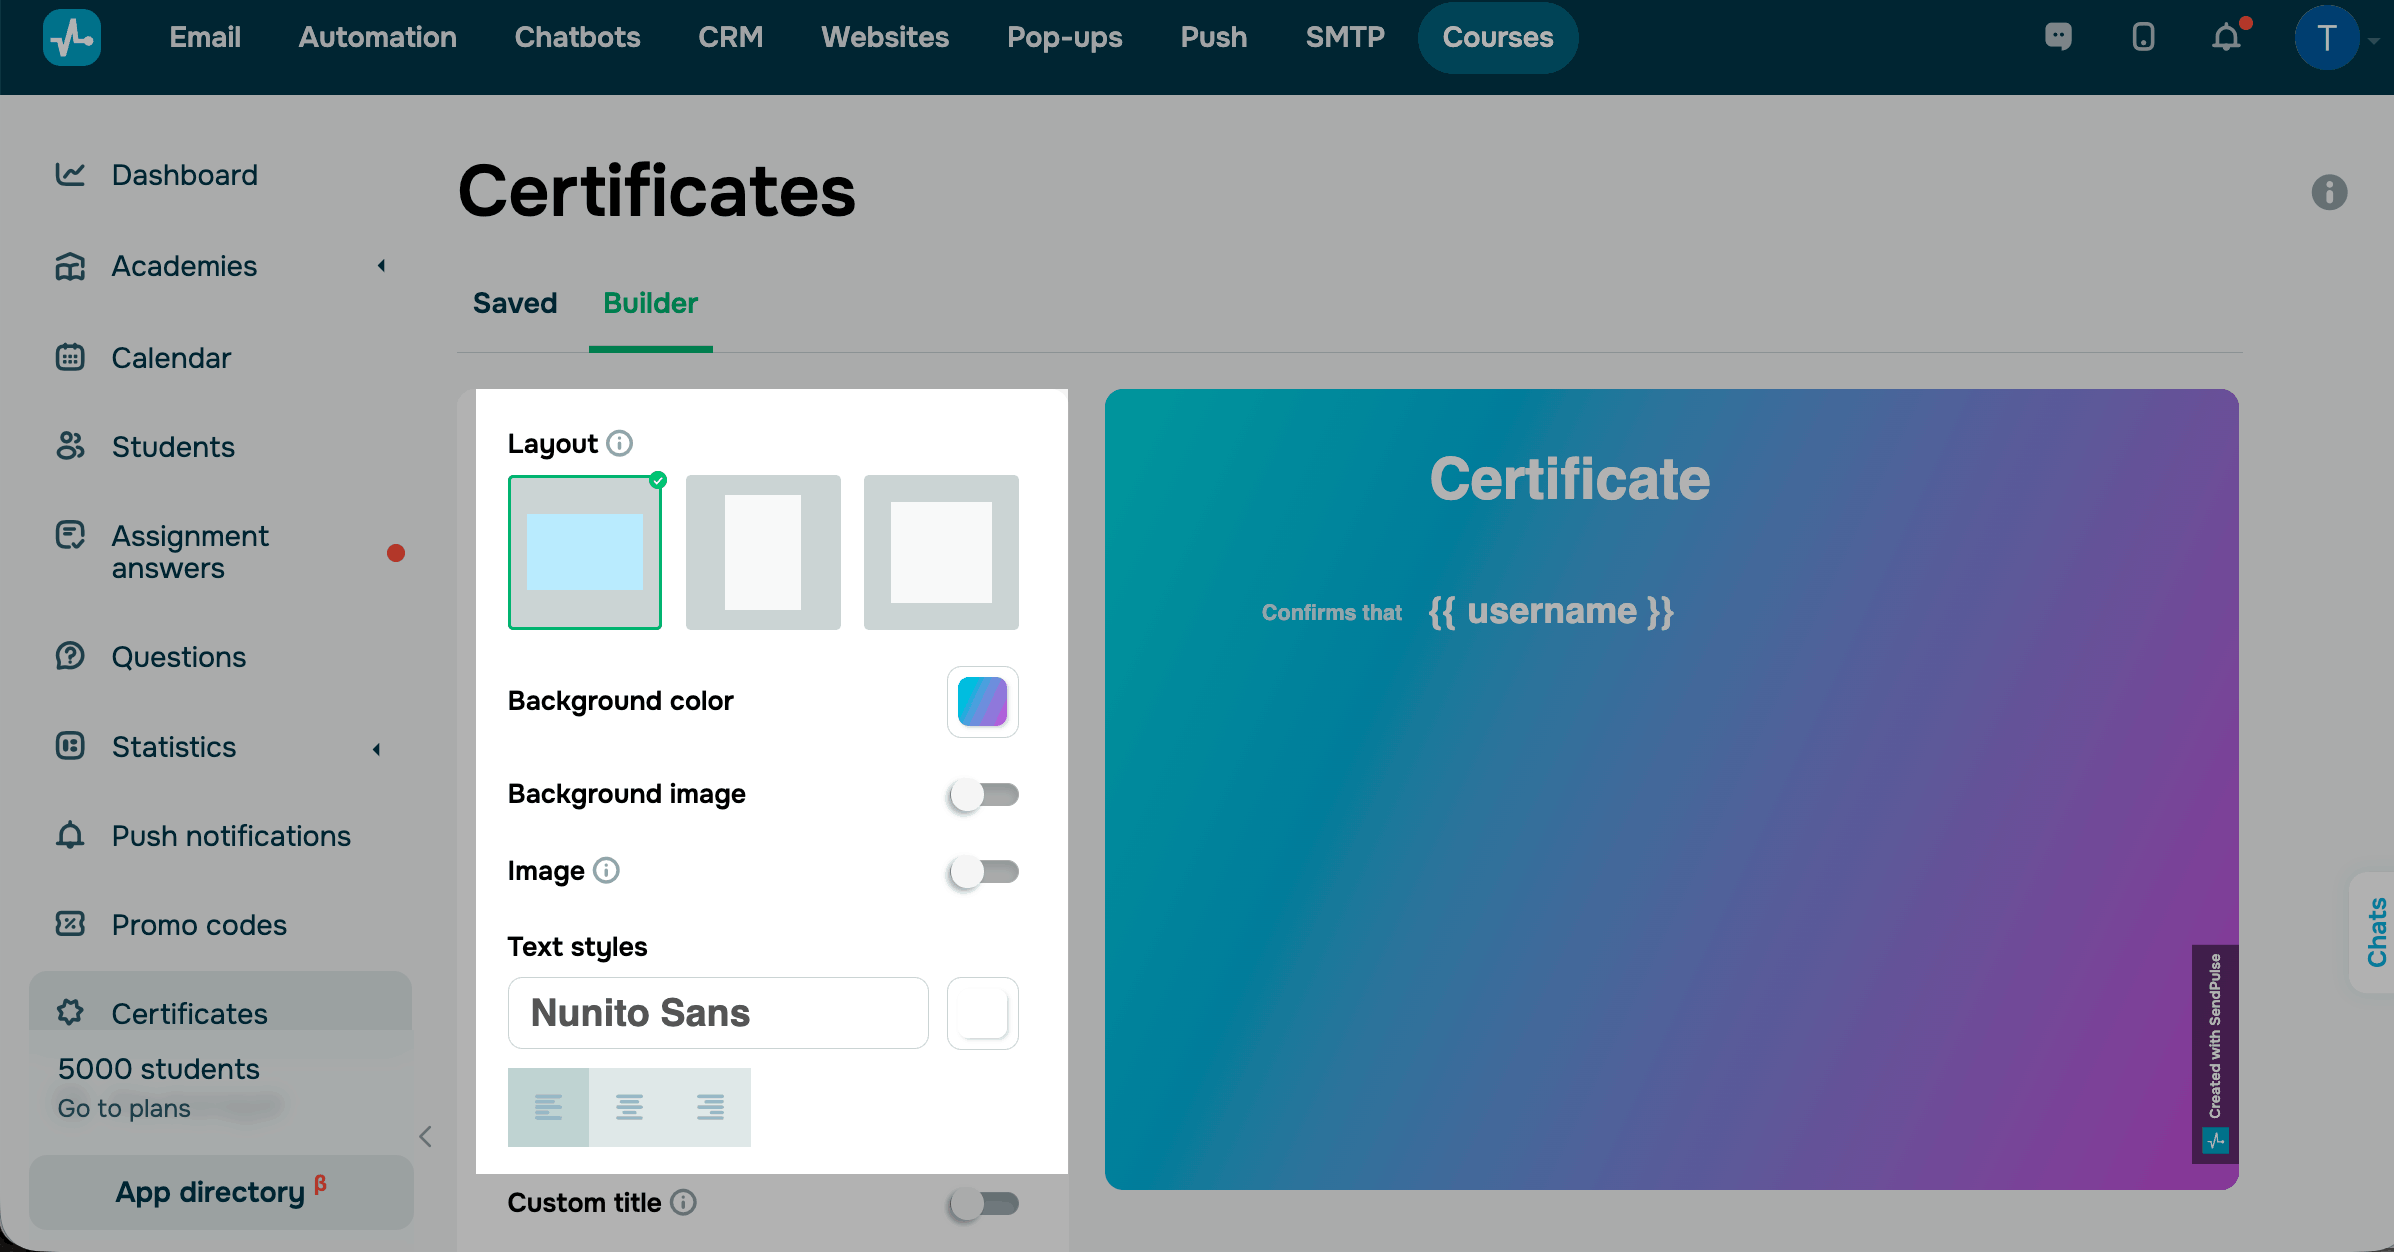
To customize your certificate, you can use the following style options:
| Layout |
Select a certificate layout:
|
| Background color | Select a background color from the pictogram. |
| Background image | Displays an image in the certificate background instead of a color. Turn on the toggle and upload a file. |
| Image |
Adds an extra image to the canvas on the right. Turn on the toggle and upload a file. When choosing an image, keep your certificate layout in mind. Recommended width: 240px, 320px, or 440px. |
| Text styles | Select the font, color, and alignment for the certificate content. |
Customize the certificate content
Students receive their certificates in the language set in their account at the time of issuing. By default, a student account uses the same language that was used on your website when they registered for your course. A student can change the language in their personal account anytime.
By default, a certificate contains information about the student name {{username}}.
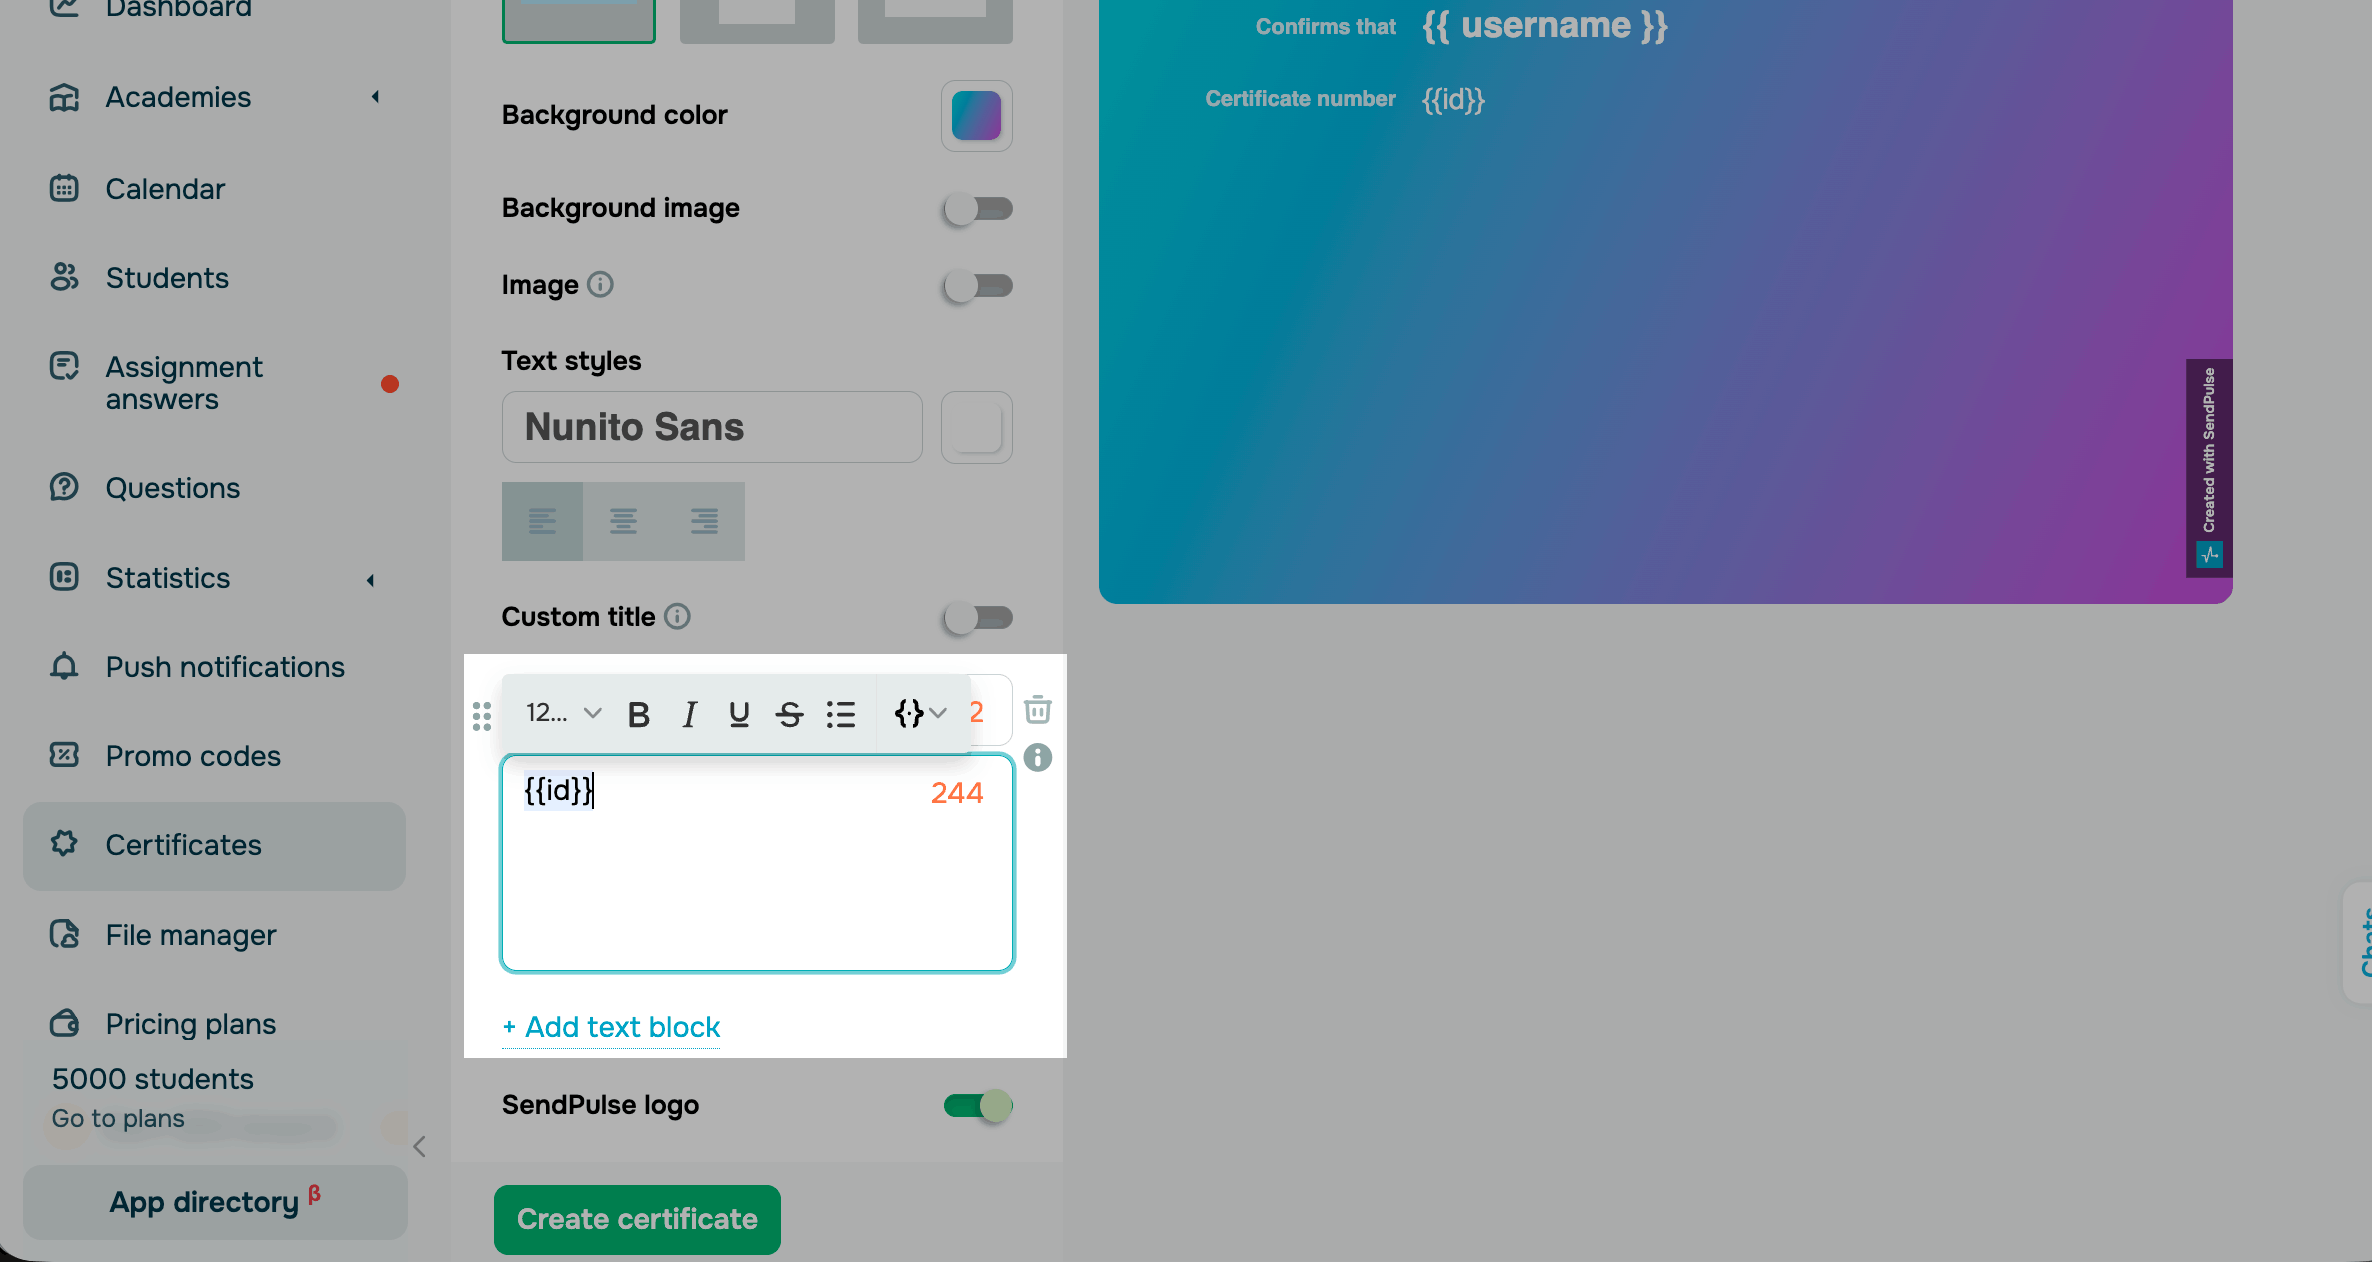
You can also add a text block with extra information. Click Add text block, then enter and format your text.
To use individual student data, click {{}} in a text field or field name and select a contact variable from your CRM. For example, you can add a unique certificate number or the student's class.
In the builder preview, variables appear as is: {{variable_name}}. Values are inserted only when the certificate is issued to a student. If a variable's value is empty or the variable was deleted from your CRM, an empty string is inserted.
Any additional text you add is not translated automatically and appears unchanged in certificates in all languages.
You can also turn on and add the following information:
| Custom title | Enter your own certificate title. |
| SendPulse logo |
Turn off this toggle to remove the SendPulse logo. Available on a paid pricing plan. |
Save the certificate
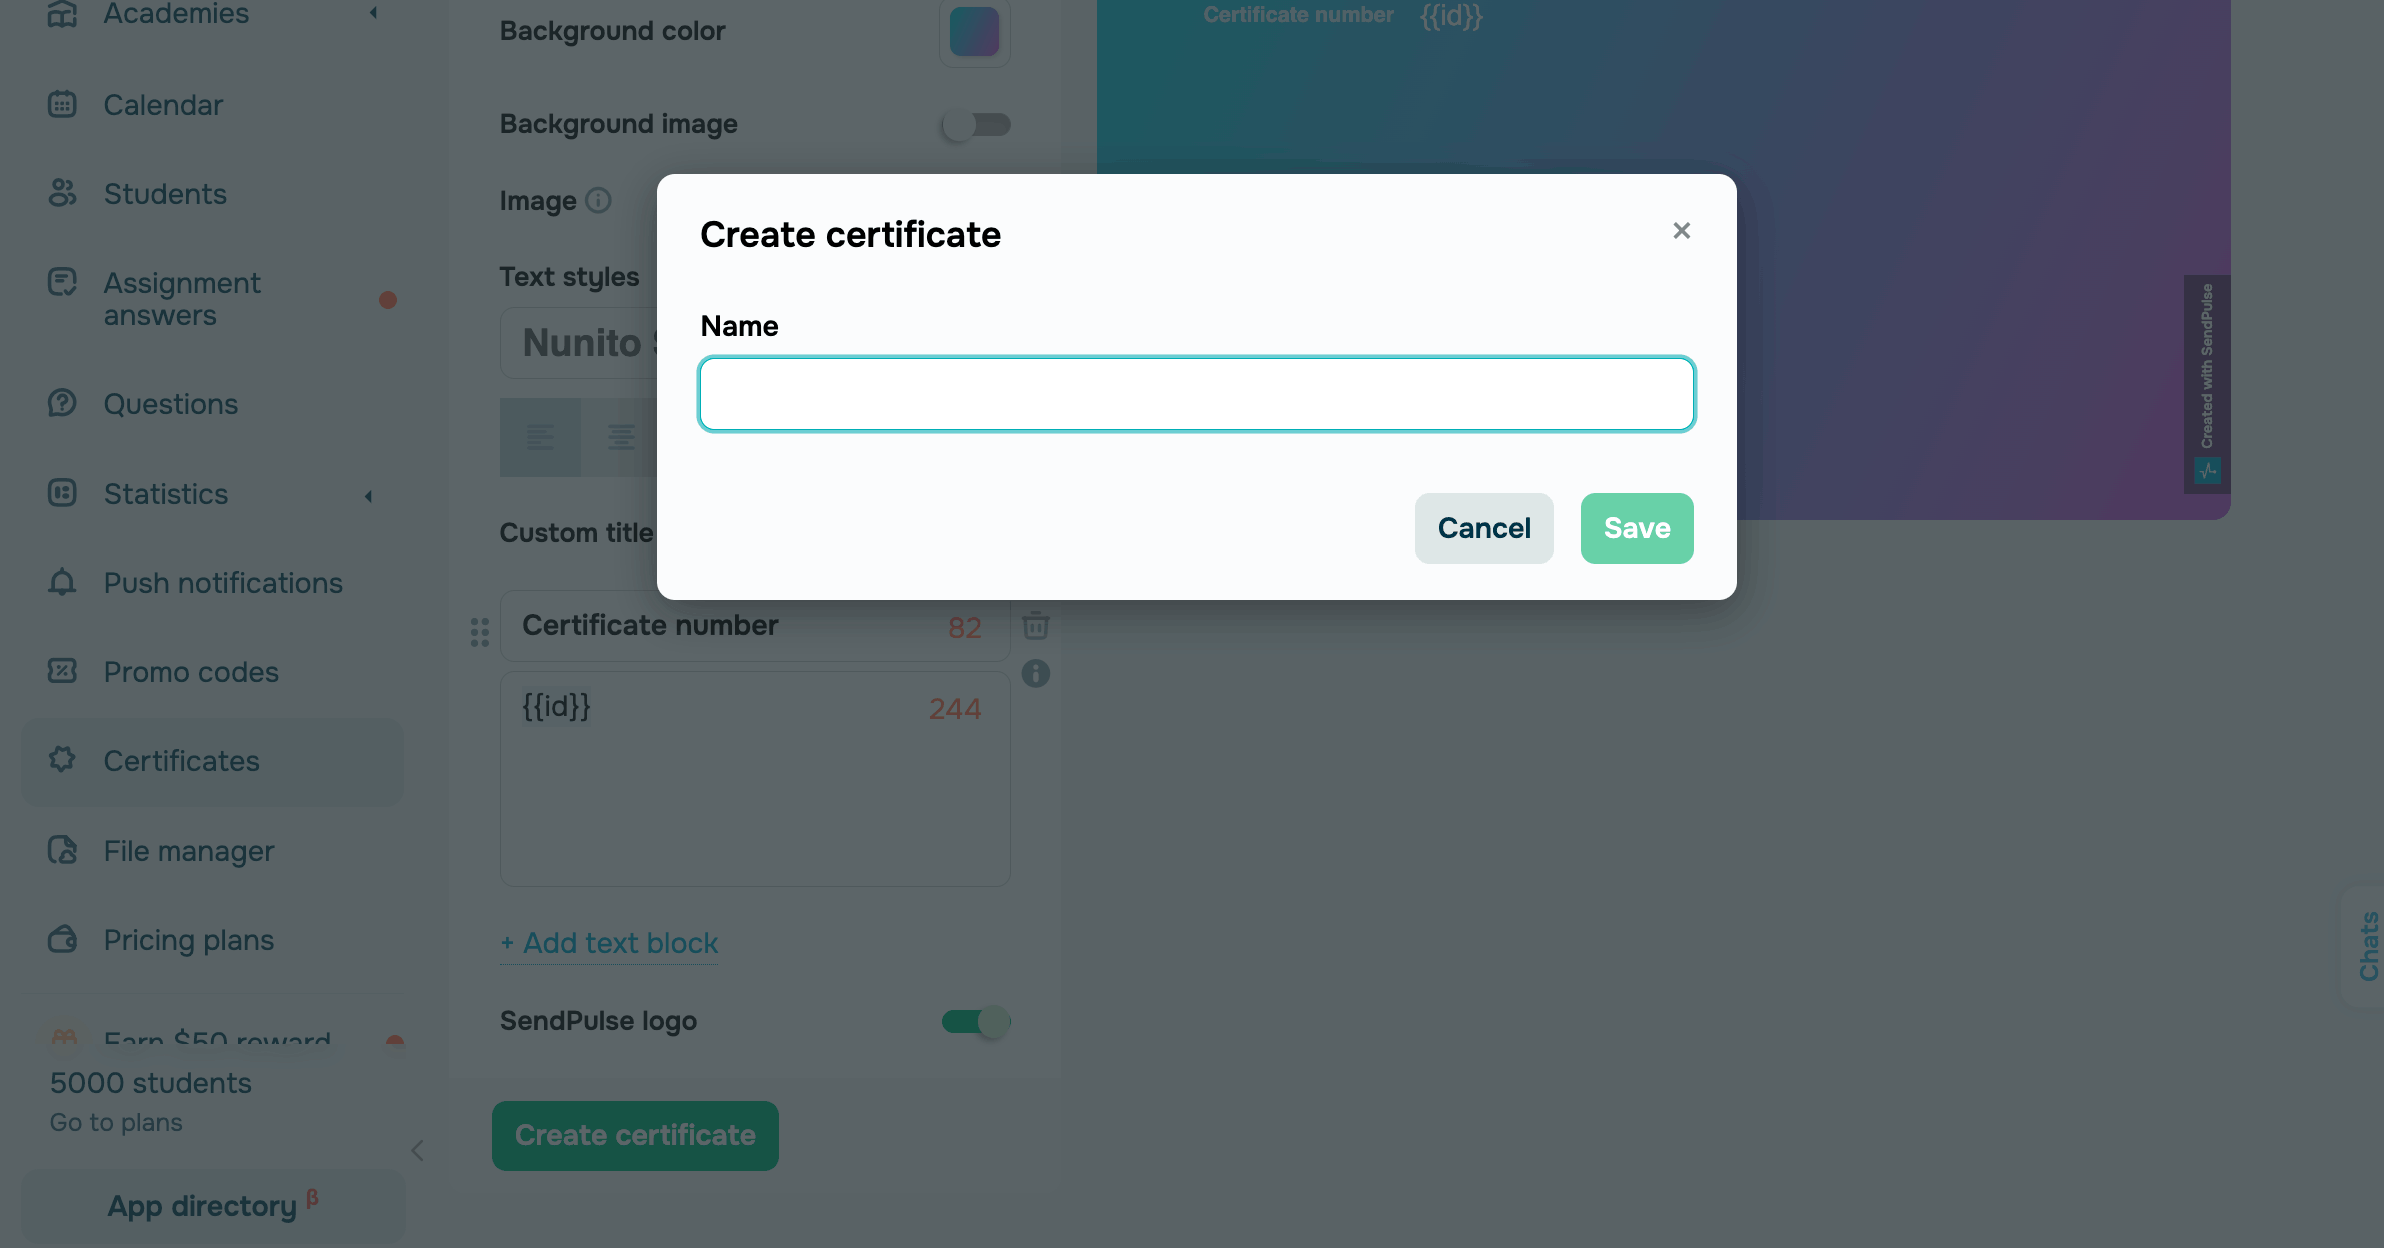
When you finish customizing your certificate, click Create certificate. Enter a certificate name — this name appears only in your personal account.
You can manage your saved certificates or add certificates to your course whenever needed.
 Last Updated: 13.06.2025




or