How to create and send an A/B test
A/B testing helps determine the most effective campaign option by comparing several options of one email. You can compare senders and email subject lines to understand which email receives more opens. Or you can compare different email templates to get to know how template design impacts your subscribers’ responses like increased clicks.
You create an A/B test in the same campaign wizard you create a standard campaign. Go to the Email section and click Create Campaign.

Choose a mailing list
Choose a mailing list, whose recipients will participate in the test. Your mailing list must have at least 20 subscribers.

Then enable the A/B test option.

Choose the number of test groups
In the third step of creating a campaign, Campaign parameters, you can determine the number of recipients for the test group and the final mailing as percentages.

Choose parameters to test
Testing the sender
Select Sender to check how a specific sender’s name and email address impacts your email’s open rate.

Select your sender name and email address for each test group.

Keep creating a campaign as usual: enter a subject line, then click “Next.” In the next step, Message content, choose a template. Add a custom preheader if necessary, and click Next.
Testing the subject line
Choose Subject line to check how a specific subject line impacts your email’s open rate.

Enter a subject line. You can also add variables and emoji there.

Keep creating a campaign as usual: enter a subject line, then click Next. In the next step, Message content, choose a template. Add a custom preheader if necessary, and click Next.
Testing email content
Choose Email content to check how template design impacts your link click-through rate.
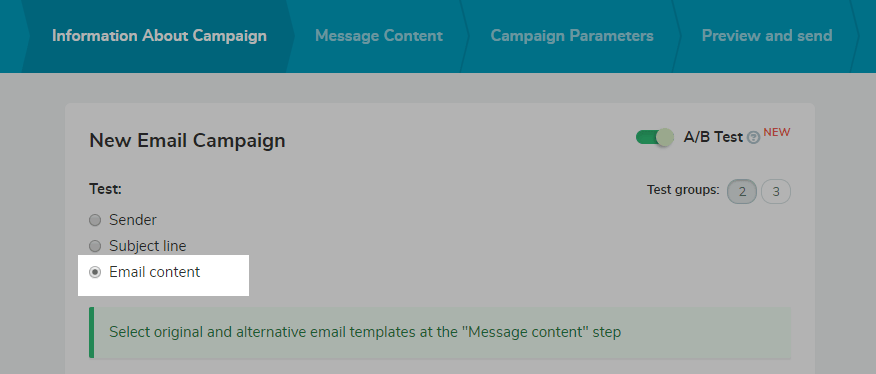
Fill in the rest of the fields, choose a sender name and email address, and subject line, then click Next.
In the second step of creating a campaign, choose a template for option A.
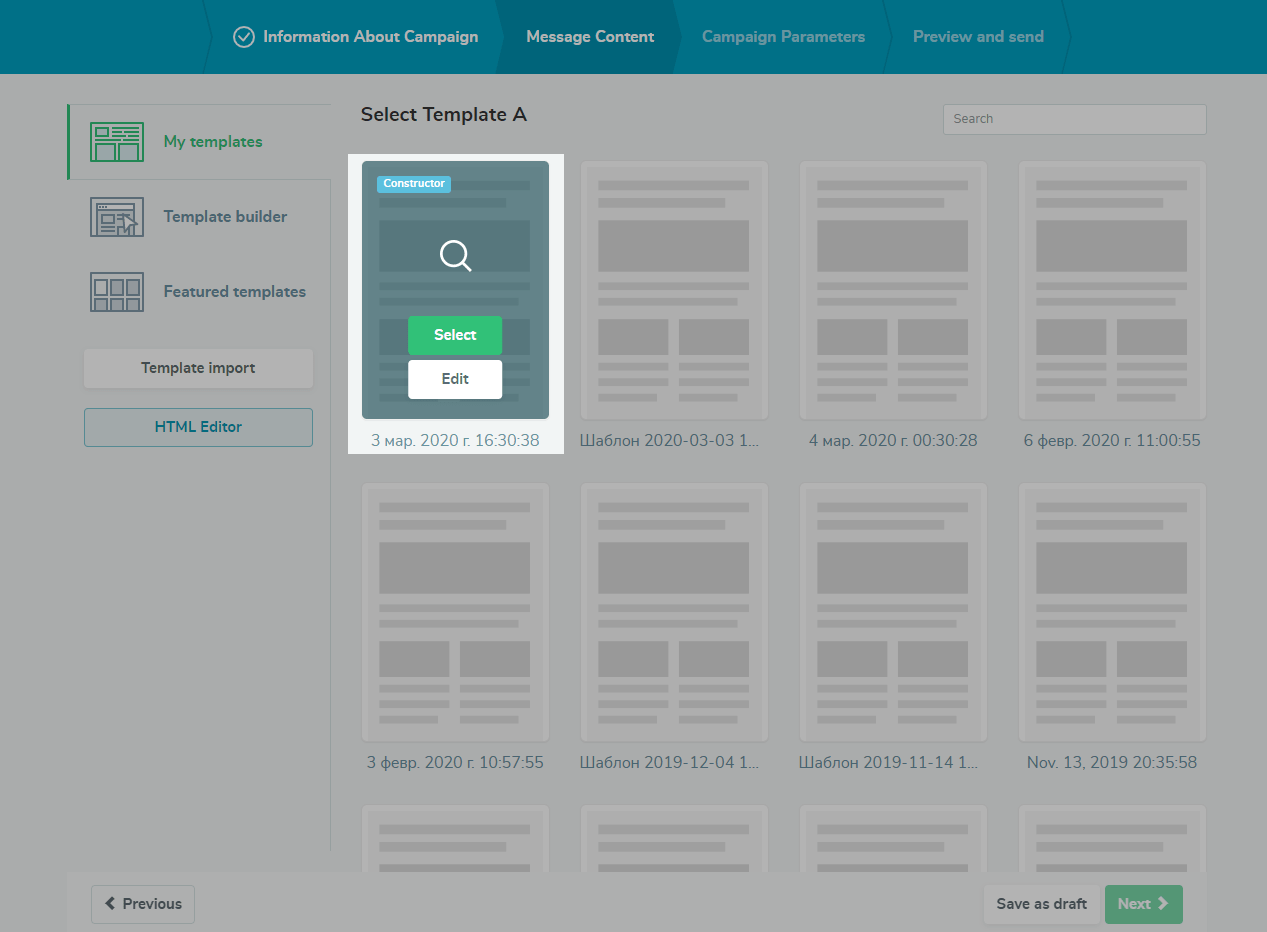
Add a custom preheader if necessary. Then choose the email template for B option.
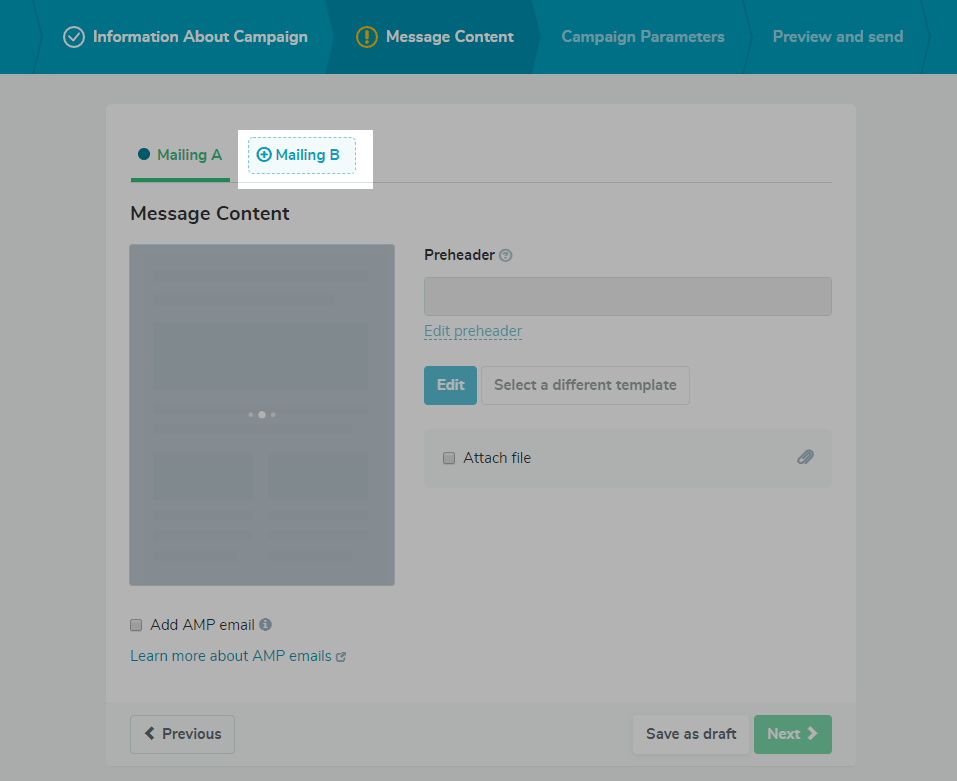
Click Next.
Setting up testing groups
In the third step of creating a campaign, Campaign parameters, you can determine the number of recipients for the test group and the final mailing as percentages.
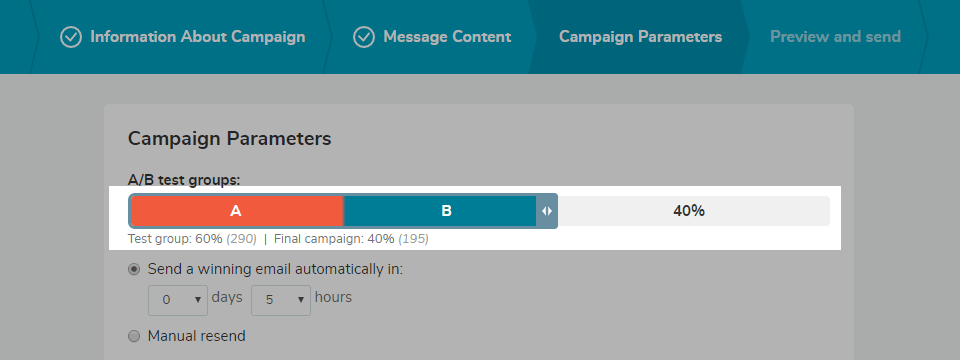
Choose when to send the winning email
Automatic sending
You can choose to automatically send the winning email in a certain amount of days or hours.
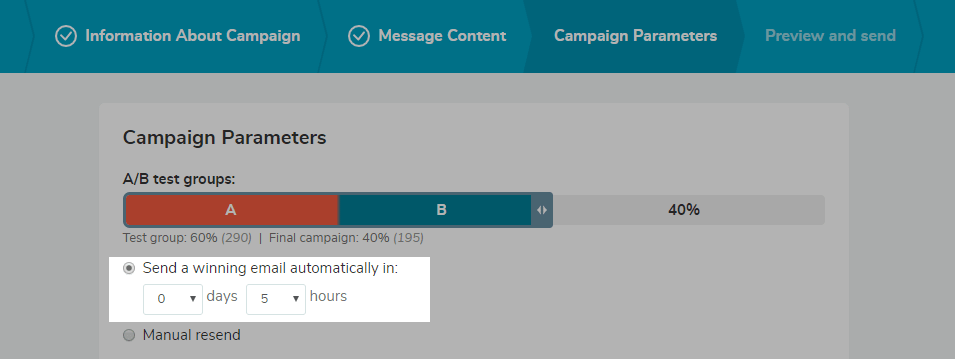
With automatic sending, the winner of the A/B test for Sender and Email Subject parameters is the campaign with the highest open rate.
The winner of the Email content parameter test is the campaign with the highest click-through rate.
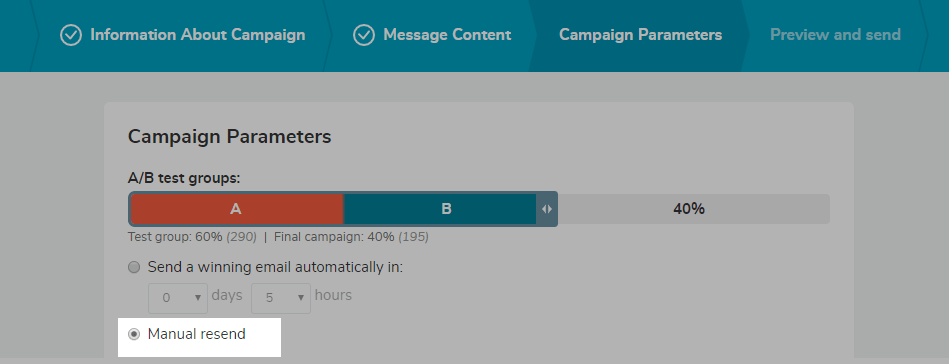
Manual sending
Choose Manual resend to send the winner email at your convenience. You can choose the winner yourself based on the statistics from each test group.
Click Next.
Preview and send
In the 4th step of creating a campaign, Preview and send, you can review your test parameters and the campaign itself before you send it to your recipients.
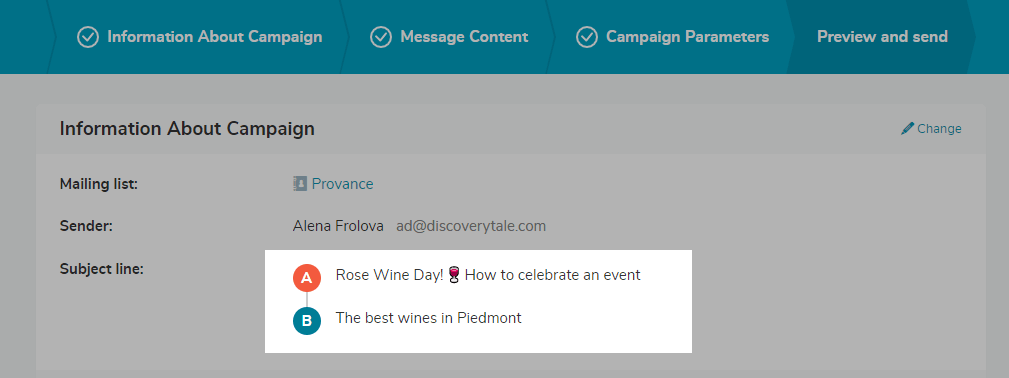
If everything is correct, click Send. Your A/B test is ready and will be sent to the test groups.
If you choose Manual resend, you need to choose winner and time for sending the campaign to the rest of the recipients manually after you have the results from the test groups.
After creating your A/B test
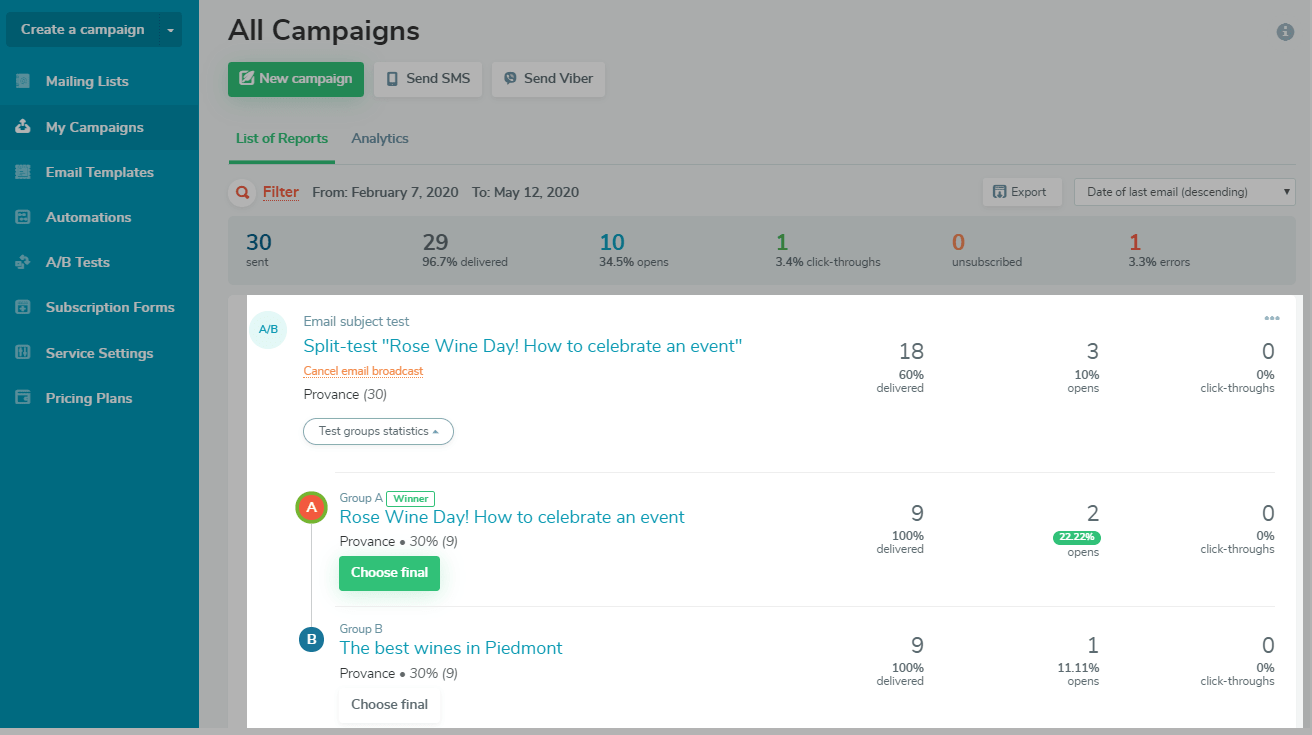
After starting your A/B test, navigate to the My campaigns tab to review the A/B test you created. You can go into each email to check the information again.
Canceling campaigns
If your A/B test campaign has the On moderation status, you can cancel sending it to test groups by clicking on the Cancel campaign button.
You cannot edit or copy the campaign to a new one until you cancel it.
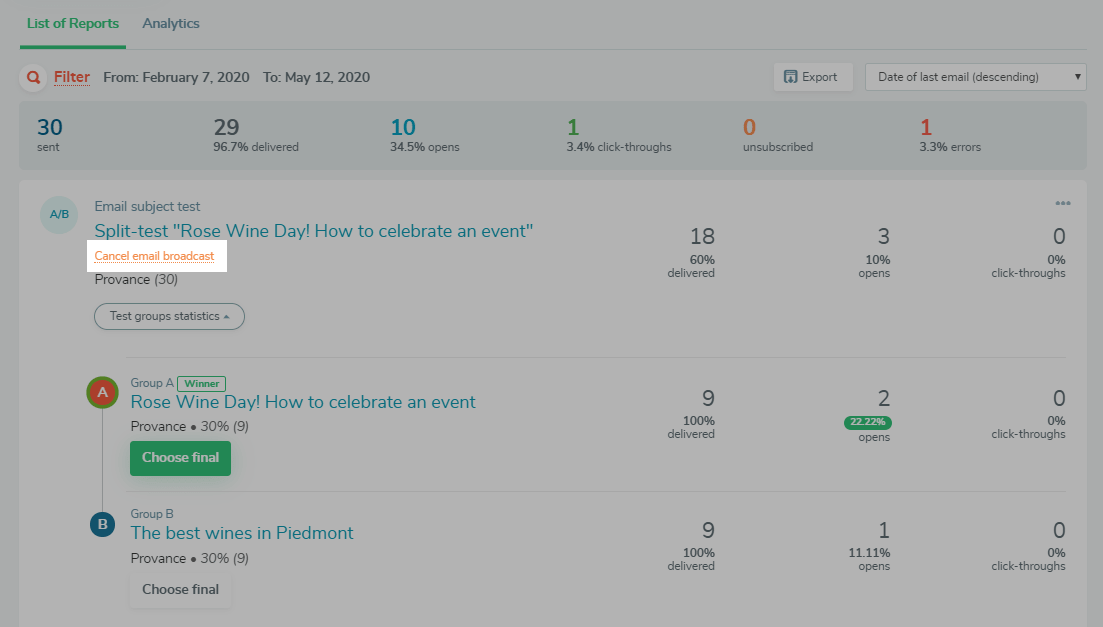
If the campaign has already been sent to the test groups when you click on the Cancel campaign button, you will cancel sending the campaign to the rest of the addresses in each group, and sending the final mailing will not be sent.
Reviewing your results
You can analyze the effectiveness of your campaigns and improve their results, based on the A/B test data you receive.
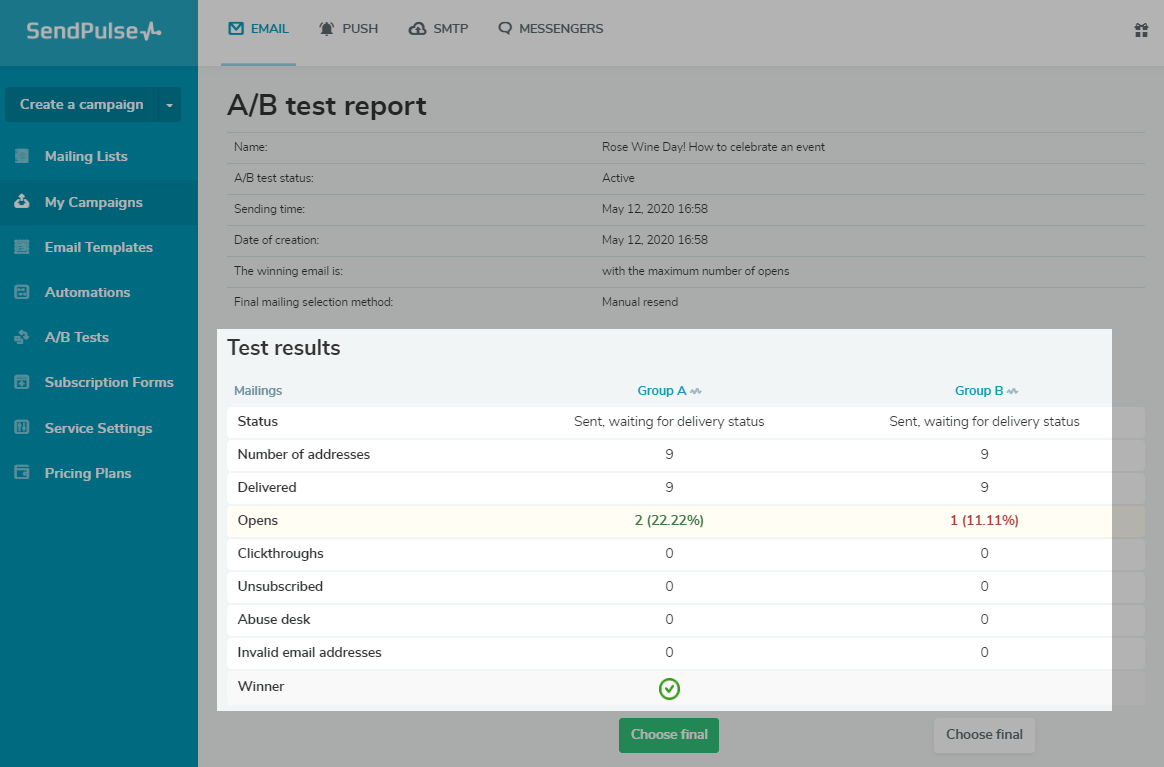
Click on the test to view a detailed report.
The criteria by which the winner is selected is marked in green.
Choosing the final campaign
For manual resending, you need to choose the time of sending the final mailing yourself.
Statistics on test emails are not collected immediately, but take several hours. Therefore, do not rush to send the final mailing. Wait a little while for more accurate statistics.
To send the final mailing, click Choose final under the option you want to choose as winning one.
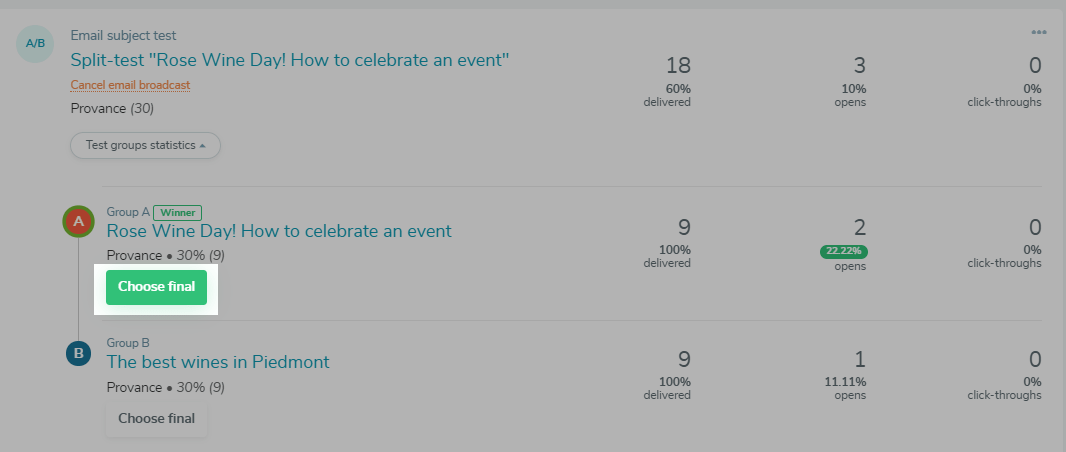
Then confirm your action again.
It is also not necessary to wait for the selected time for automatic sending. You can send it earlier than the scheduled time manually.
To do this, go to the results of the A/B test with automatic sending and click Choose final under the test group option.
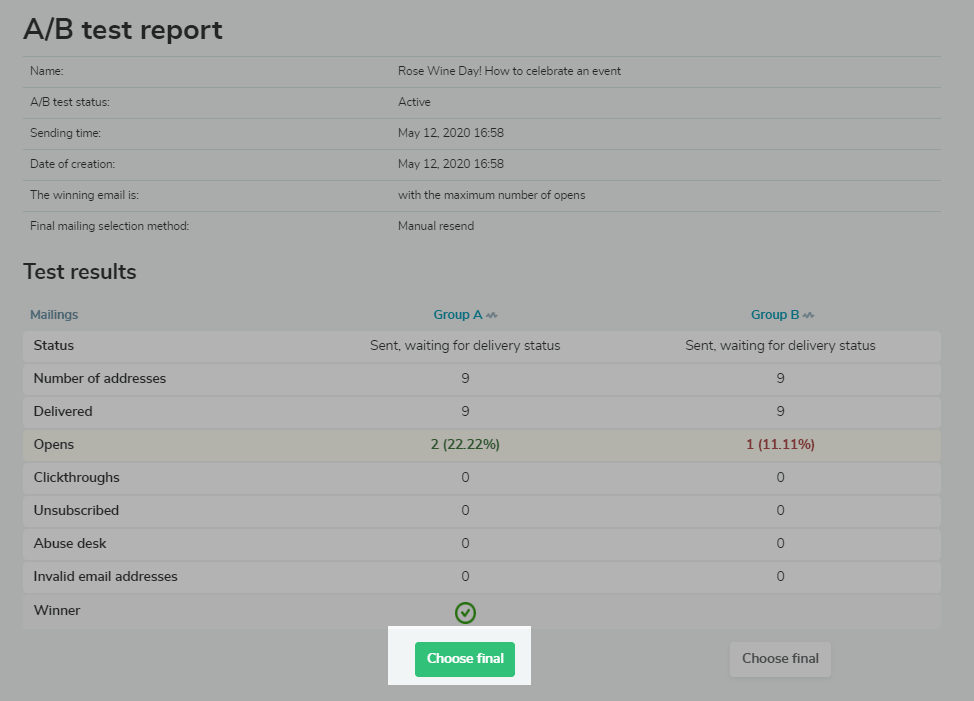
The final mailing will be sent to the remaining group of addresses with the parameters that you set to the winning test group.
Copying the final campaign to a new campaign
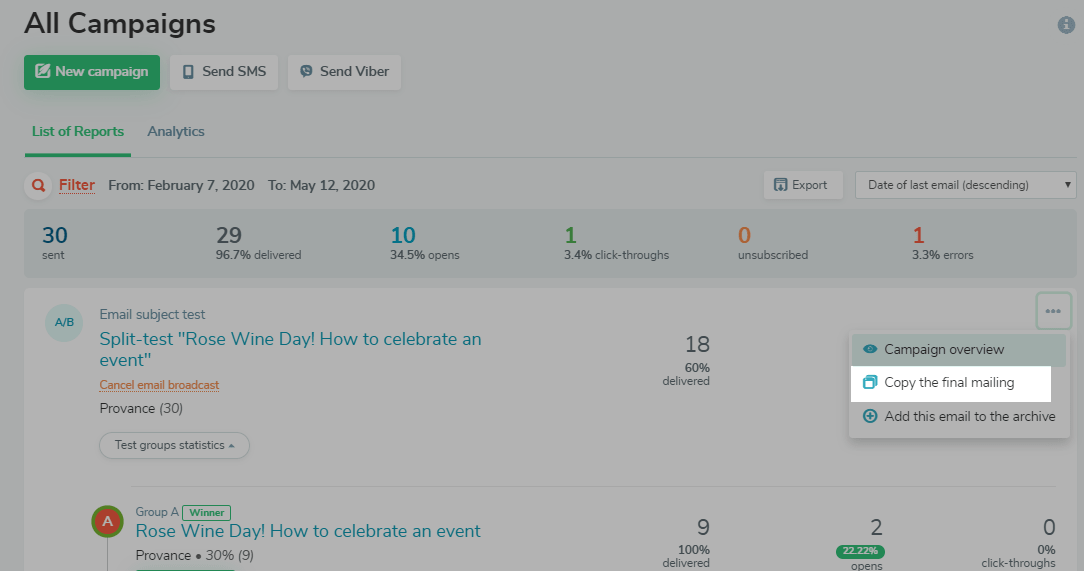
You can also copy the final campaign that went through the winner group to a new campaign.
To do this, click on Copy the final mailing in the drop-down list opposite the desired test.
Last Updated: 22.03.2024

or