Create an inline pop-up and add it to your website
Inline pop-ups can make your website more interactive. You can use them to add forms to existing elements, make your pop-ups blend in with other website content, or add widgets without modifying your website code.
In this article, we will talk about how to add an inline pop-up to your website.
Create an inline pop-up
Unlike regular pop-ups that occupy visible page areas, inline pop-ups are added to specific website elements.
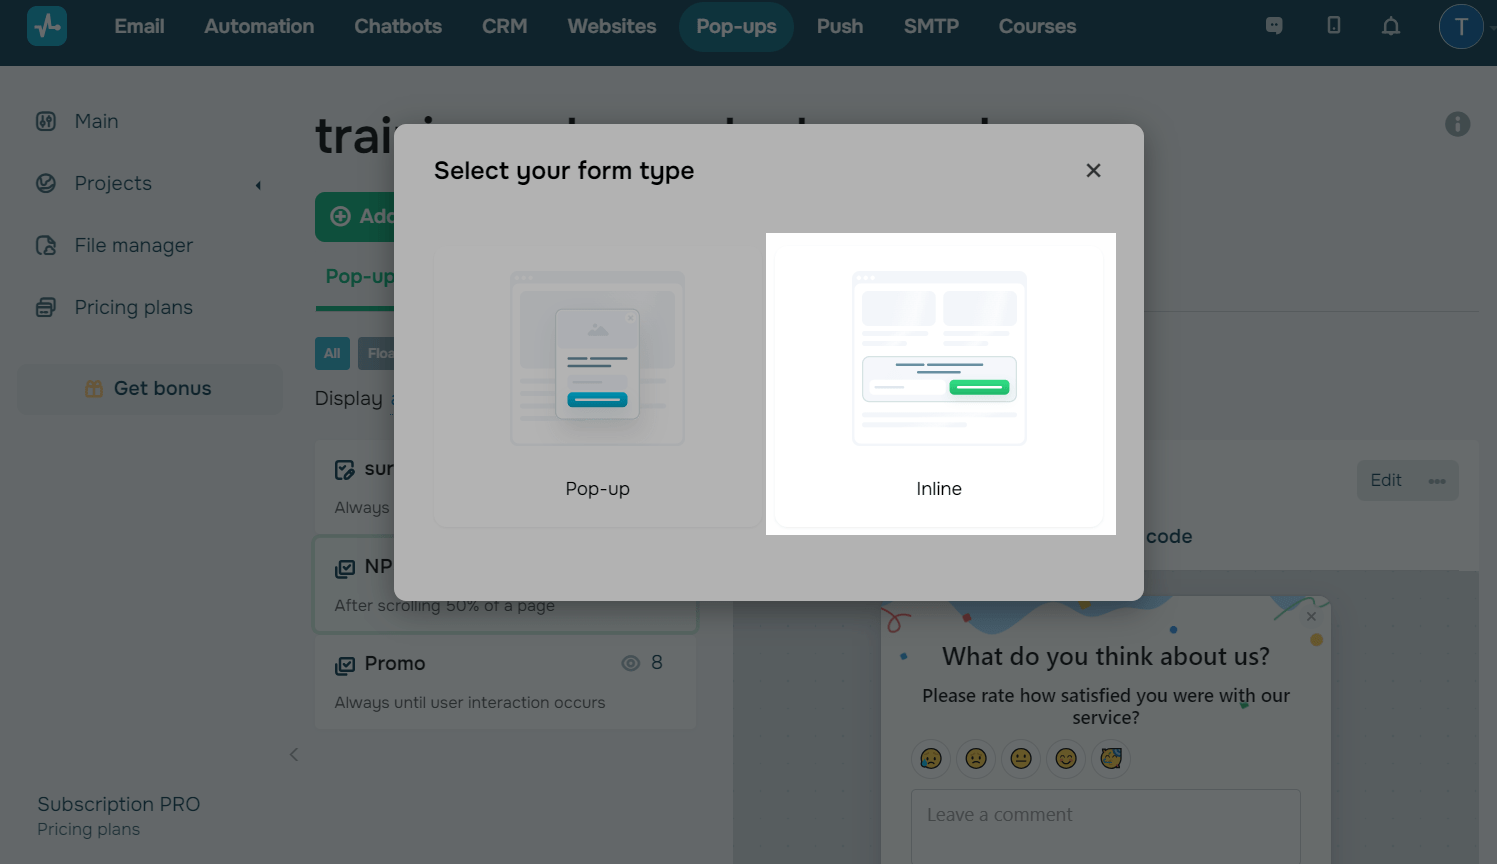
Go to your website, and click Add pop-up.
In the modal window, select Inline.
The project where you create your pop-up must match the website where you plan to add it.
Select a template, or create a pop-up from scratch.
Read more: How to create a smart pop-up.
Customize your pop-up
In the Style tab, you can select a pop-up type and placement, adjust its width and inner padding, set a background image and colors, and add effects.
Make sure your pop-up width and size align with your target website element. It’s also best to select a pop-up color that matches your website color scheme.
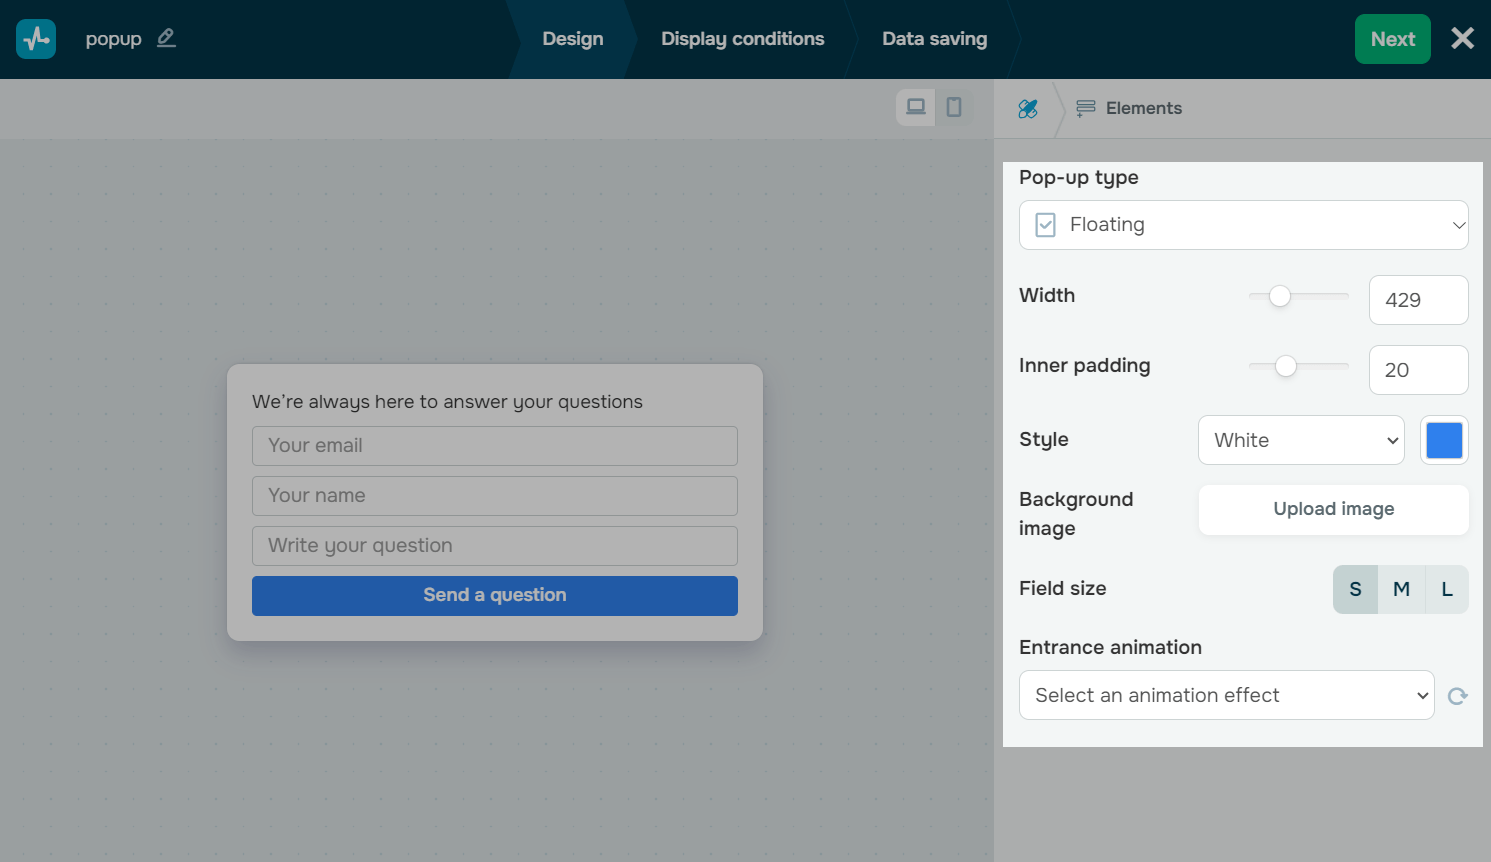
In the Elements tab, you can add a cover and other elements to your pop-up.
Configure pop-up display options
Go to the Display conditions tab.
Add a selector
Copy the element CSS selector from your target website.
Read more: How to find a CSS selector.
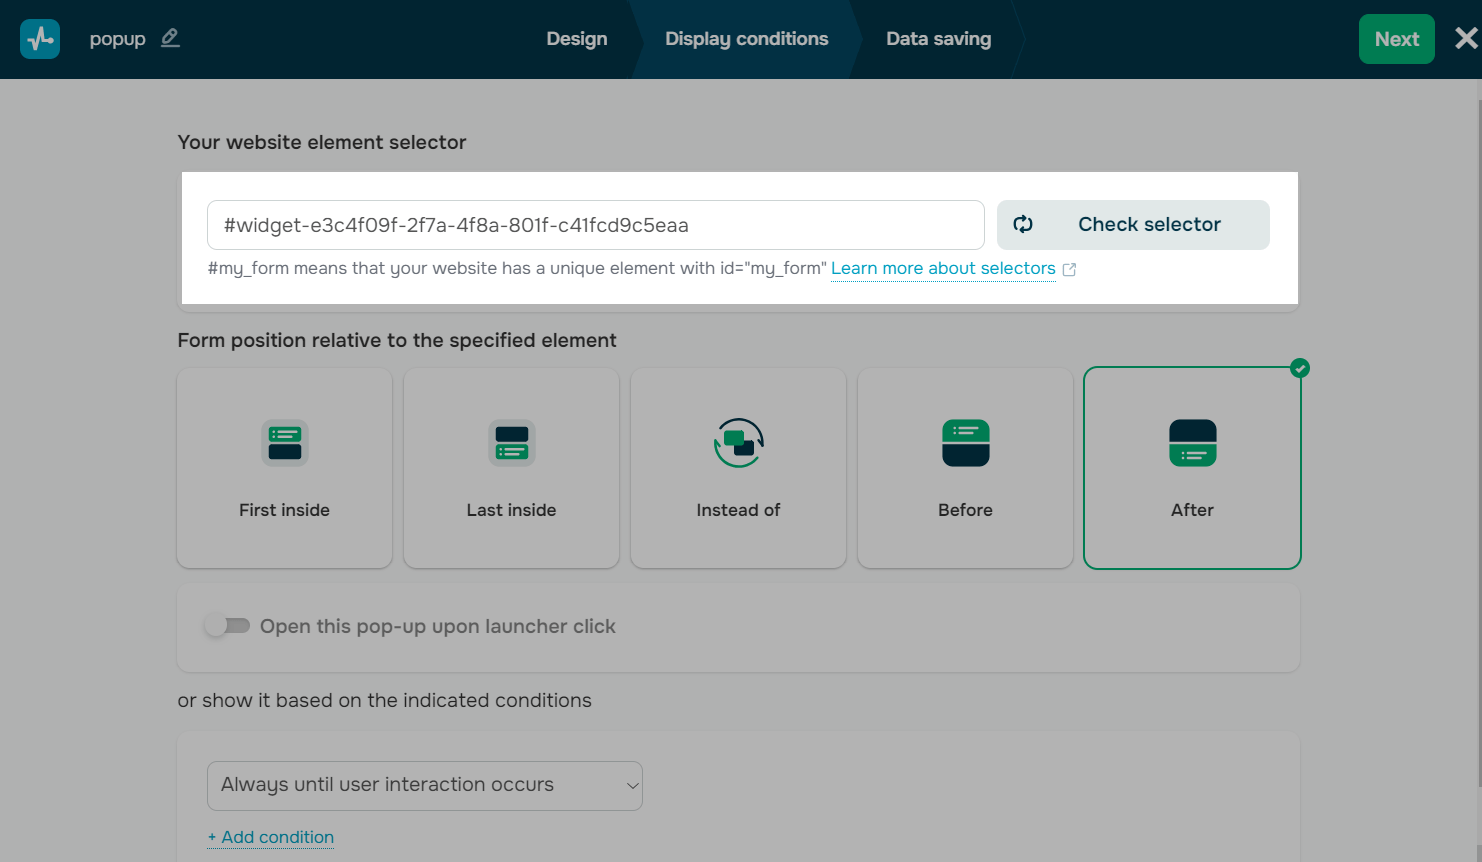
Paste the selector in the #unique_id format in the Your website element selector field, and click Check selector.
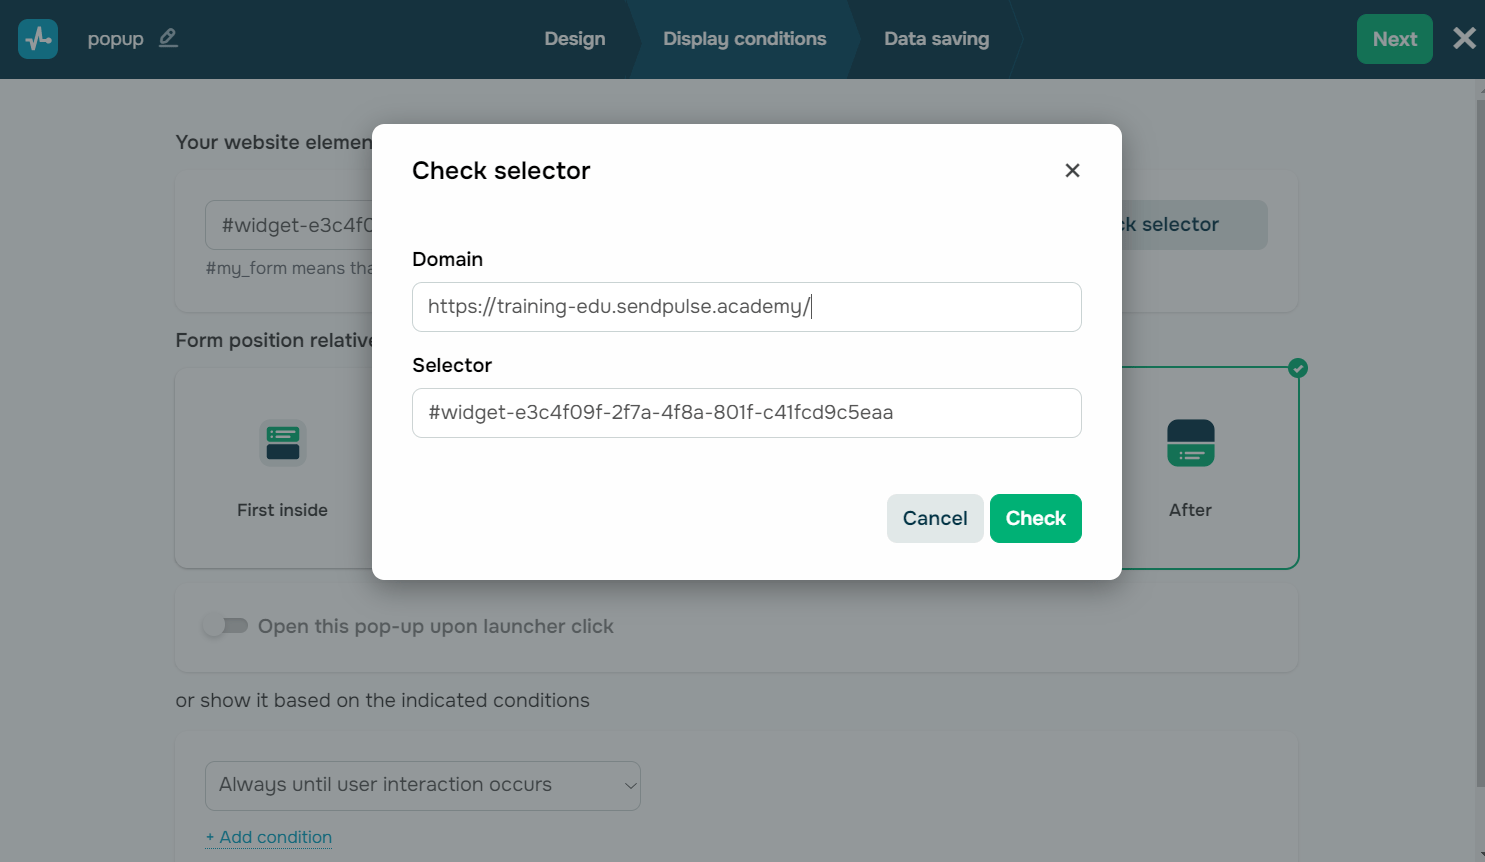
In the opened modal window, enter your website link in the Domain field, and click Check.
Your website must match the project where you are creating this pop-up.
You may see the Selector not found status. If you're sure that your selector is unique, close the modal window, and continue the configuration.
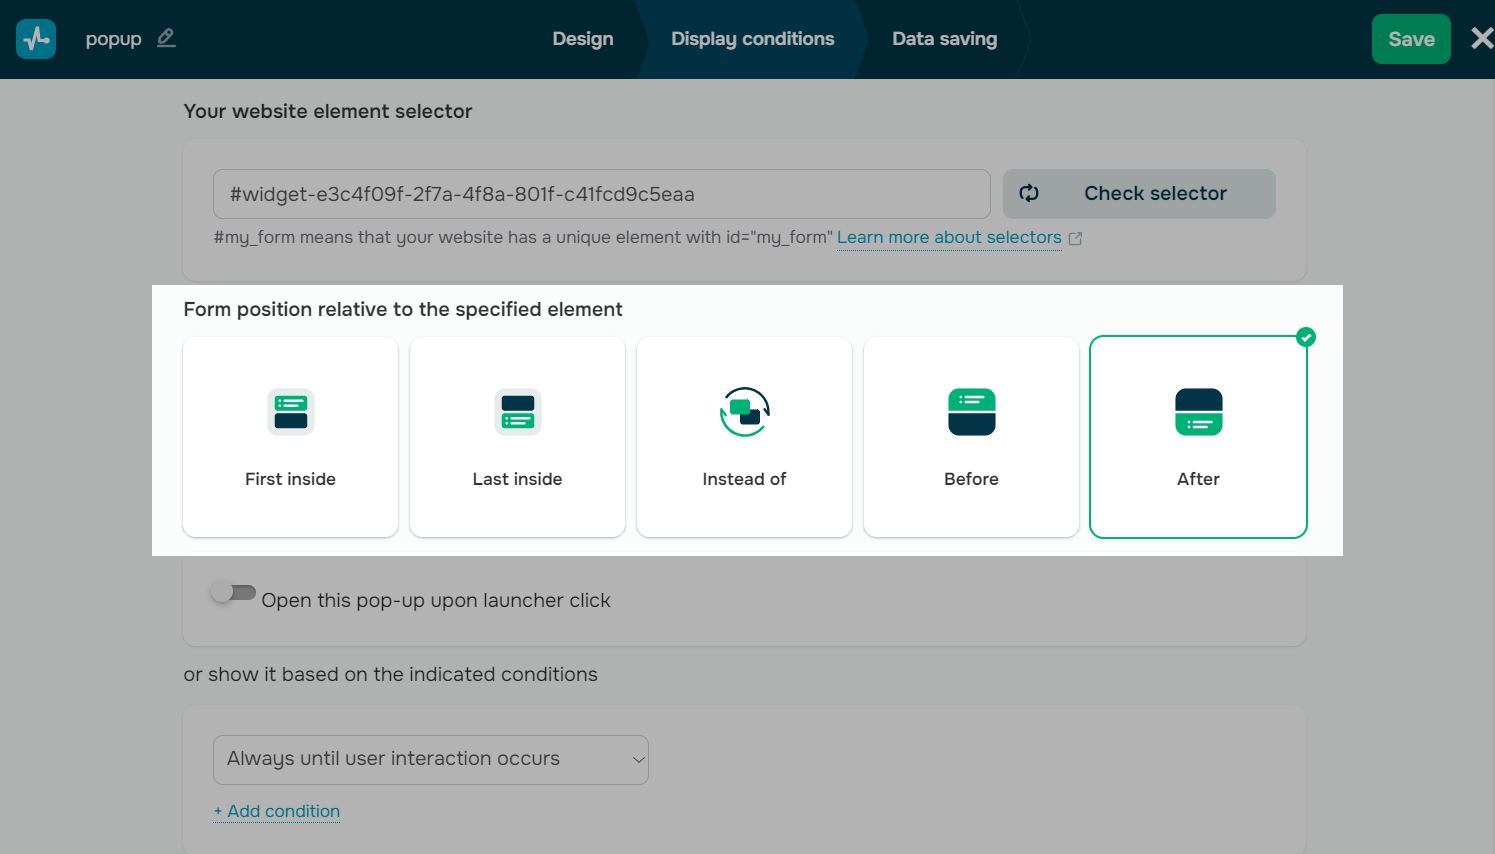
Set up your pop-up position
You can select one of the following options:
| First inside | Place your pop-up within the website element and show the pop-up first. |
| Last inside | Place your pop-up within the website element and show the element first. |
| Instead of | Your pop-up will replace its website element until its display conditions are met or until the website visitor closes it. Afterward, your website element will reappear as usual. |
| Before | Place your pop-up before its element. |
| After | Place your pop-up after its element. |
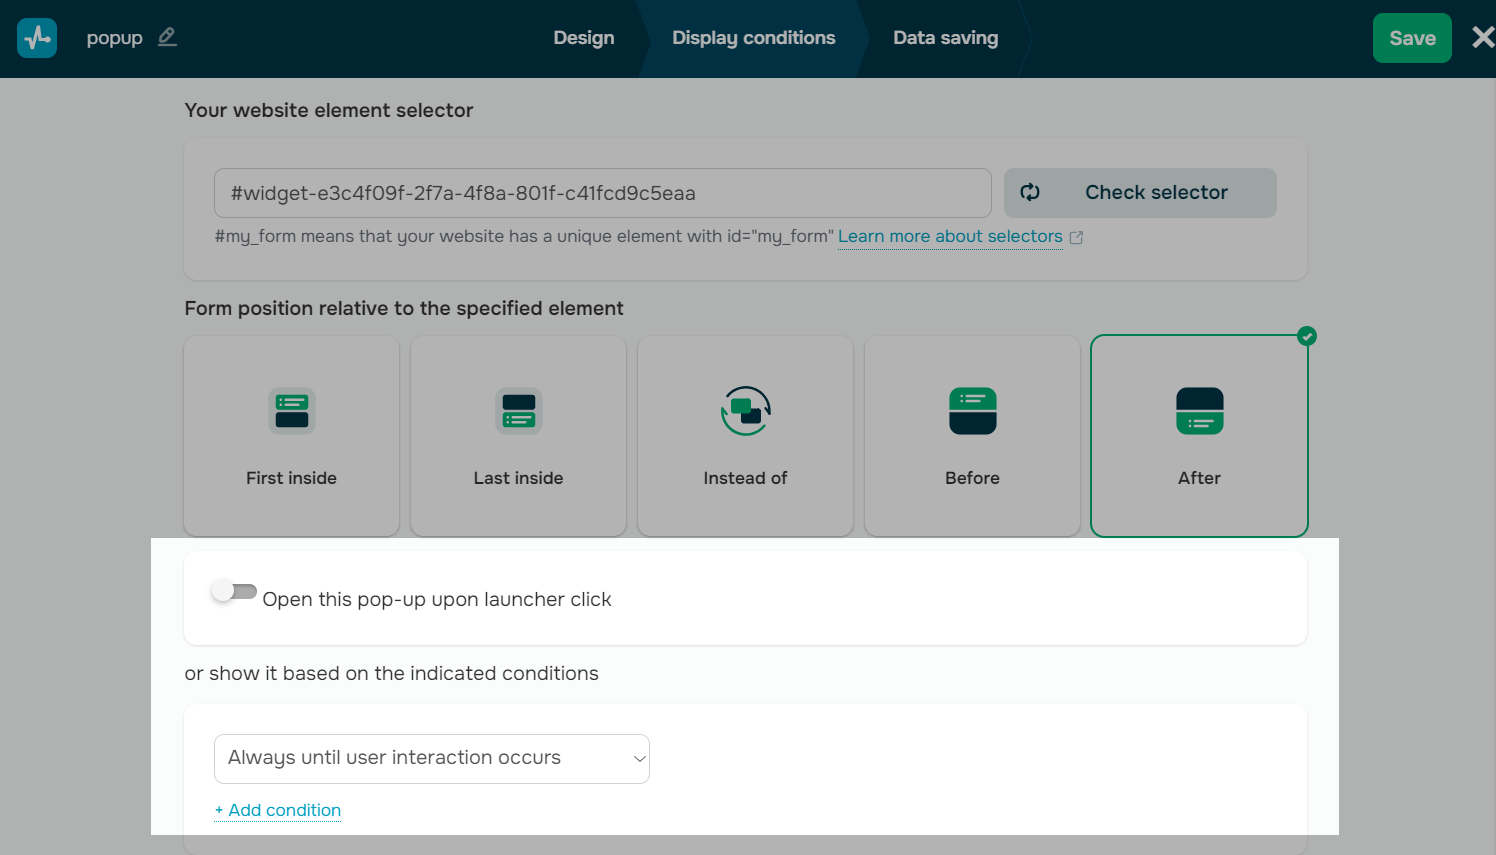
Select display conditions
Below, you can customize your pop-up display scenario.
Read more: How to set up a pop-up display scenario.
If you have a Launcher in your project, you can use it to trigger your pop-up. To do this, turn on the Open this pop-up upon launcher click toggle, and select a launcher from the drop-down list.
Click Next in the upper right corner of the screen.
Configure data saving options
In the Data saving tab, you can select where to save your survey respondents’ data in the CRM and Email sections.
Read more: Configure data saving options.
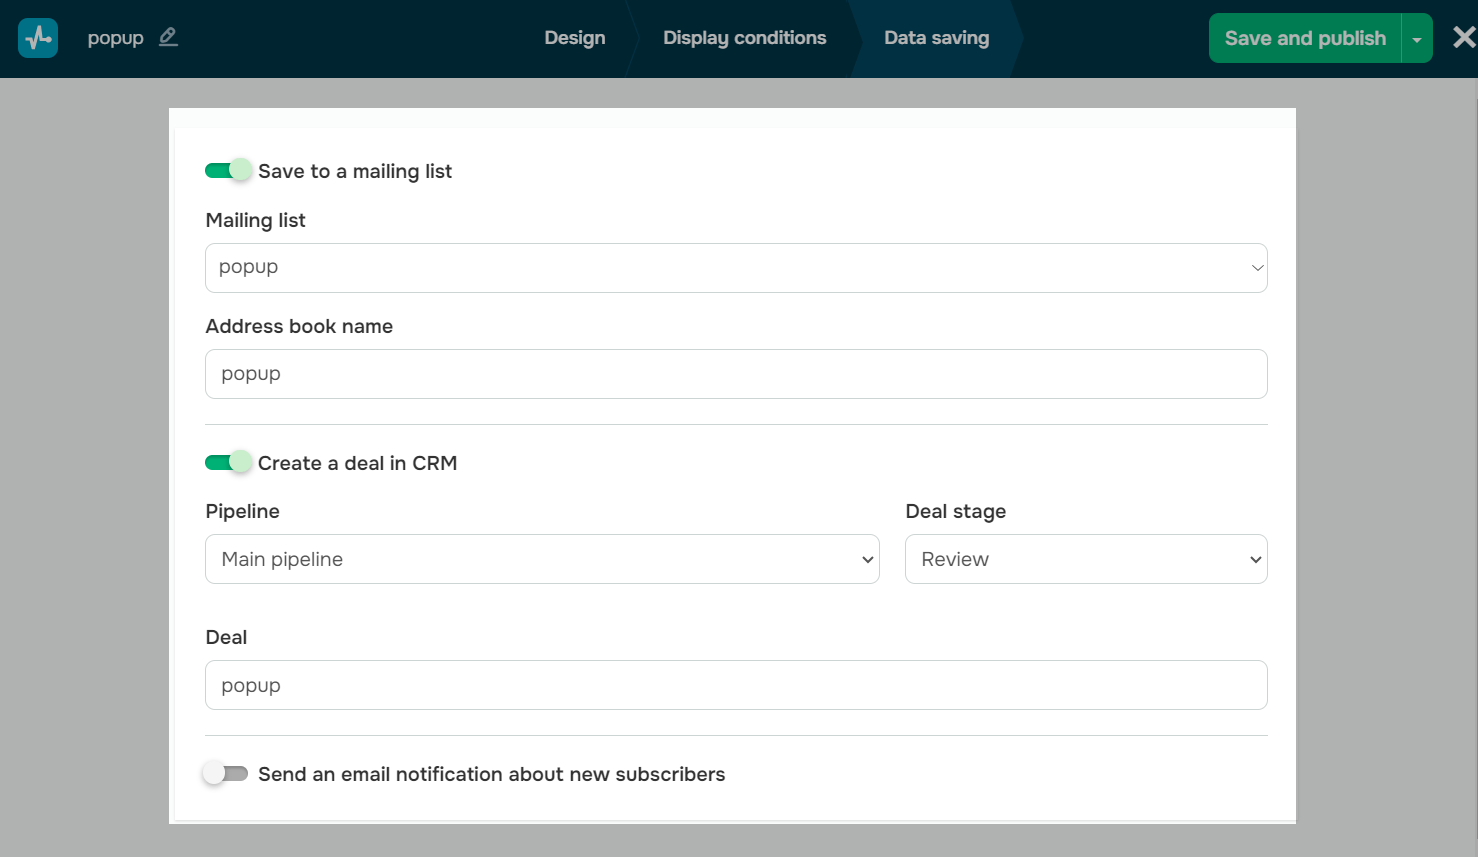
Click Save and publish in the upper right corner.
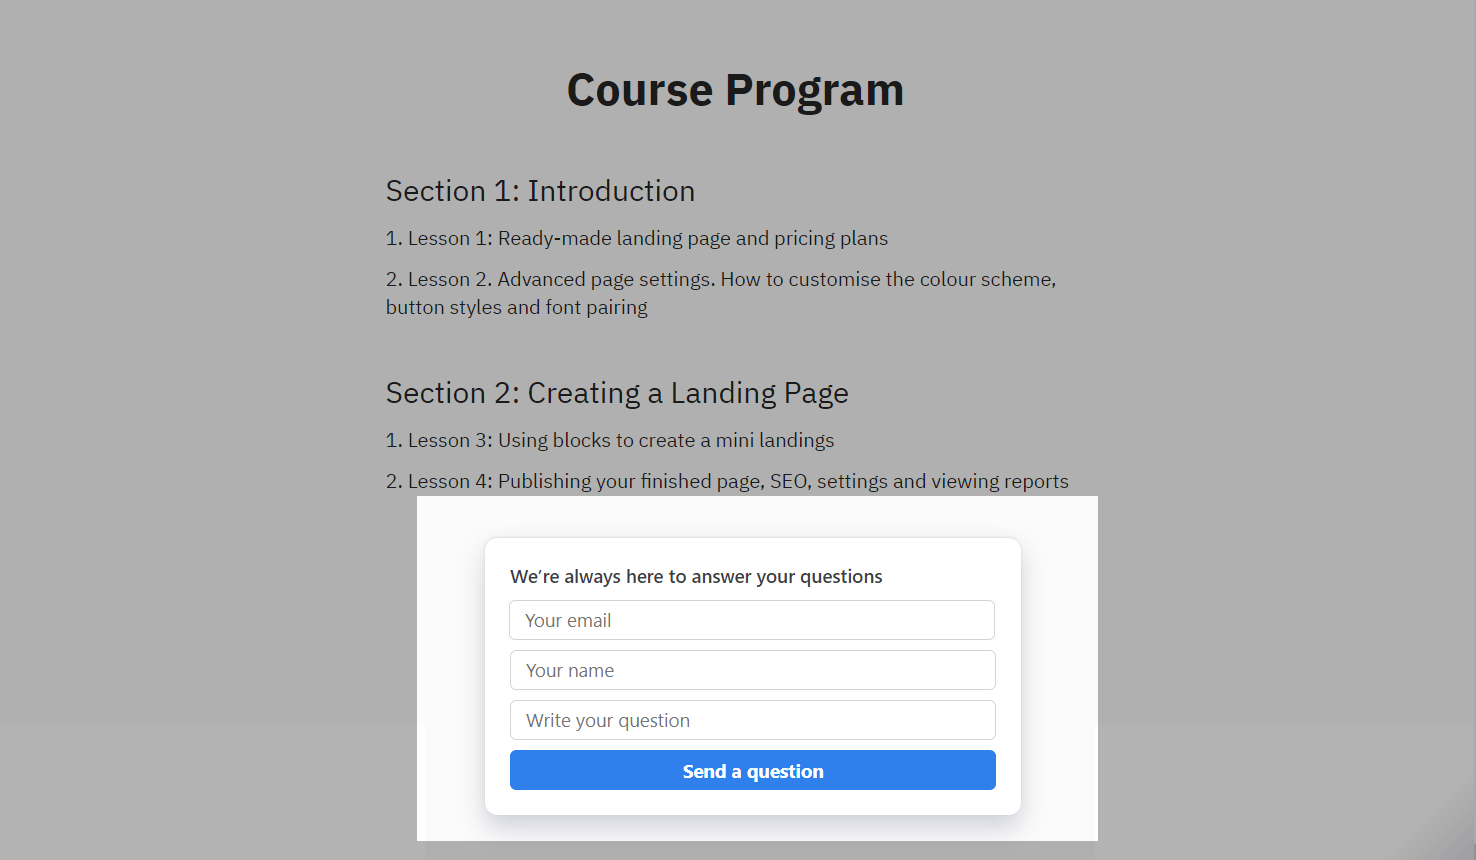
View your inline pop-up
Once you publish your inline pop-up, it will be added to its target website element.
In the Pop-up tab, you can track your viewership statistics.
Read also: How to view pop-up statistics.
Last Updated: 06.05.2025
or