How to integrate SendPulse with Facebook Lead Ads
Facebook Leads Ads is a tool that helps businesses generate leads on Facebook and Instagram. It enables businesses to create ads that collect people's contact information, including their names, email addresses, and phone numbers.
In this article, we will talk about how to export leads from your Facebook Page forms directly to SendPulse.
Set up your Facebook Lead Ads campaign
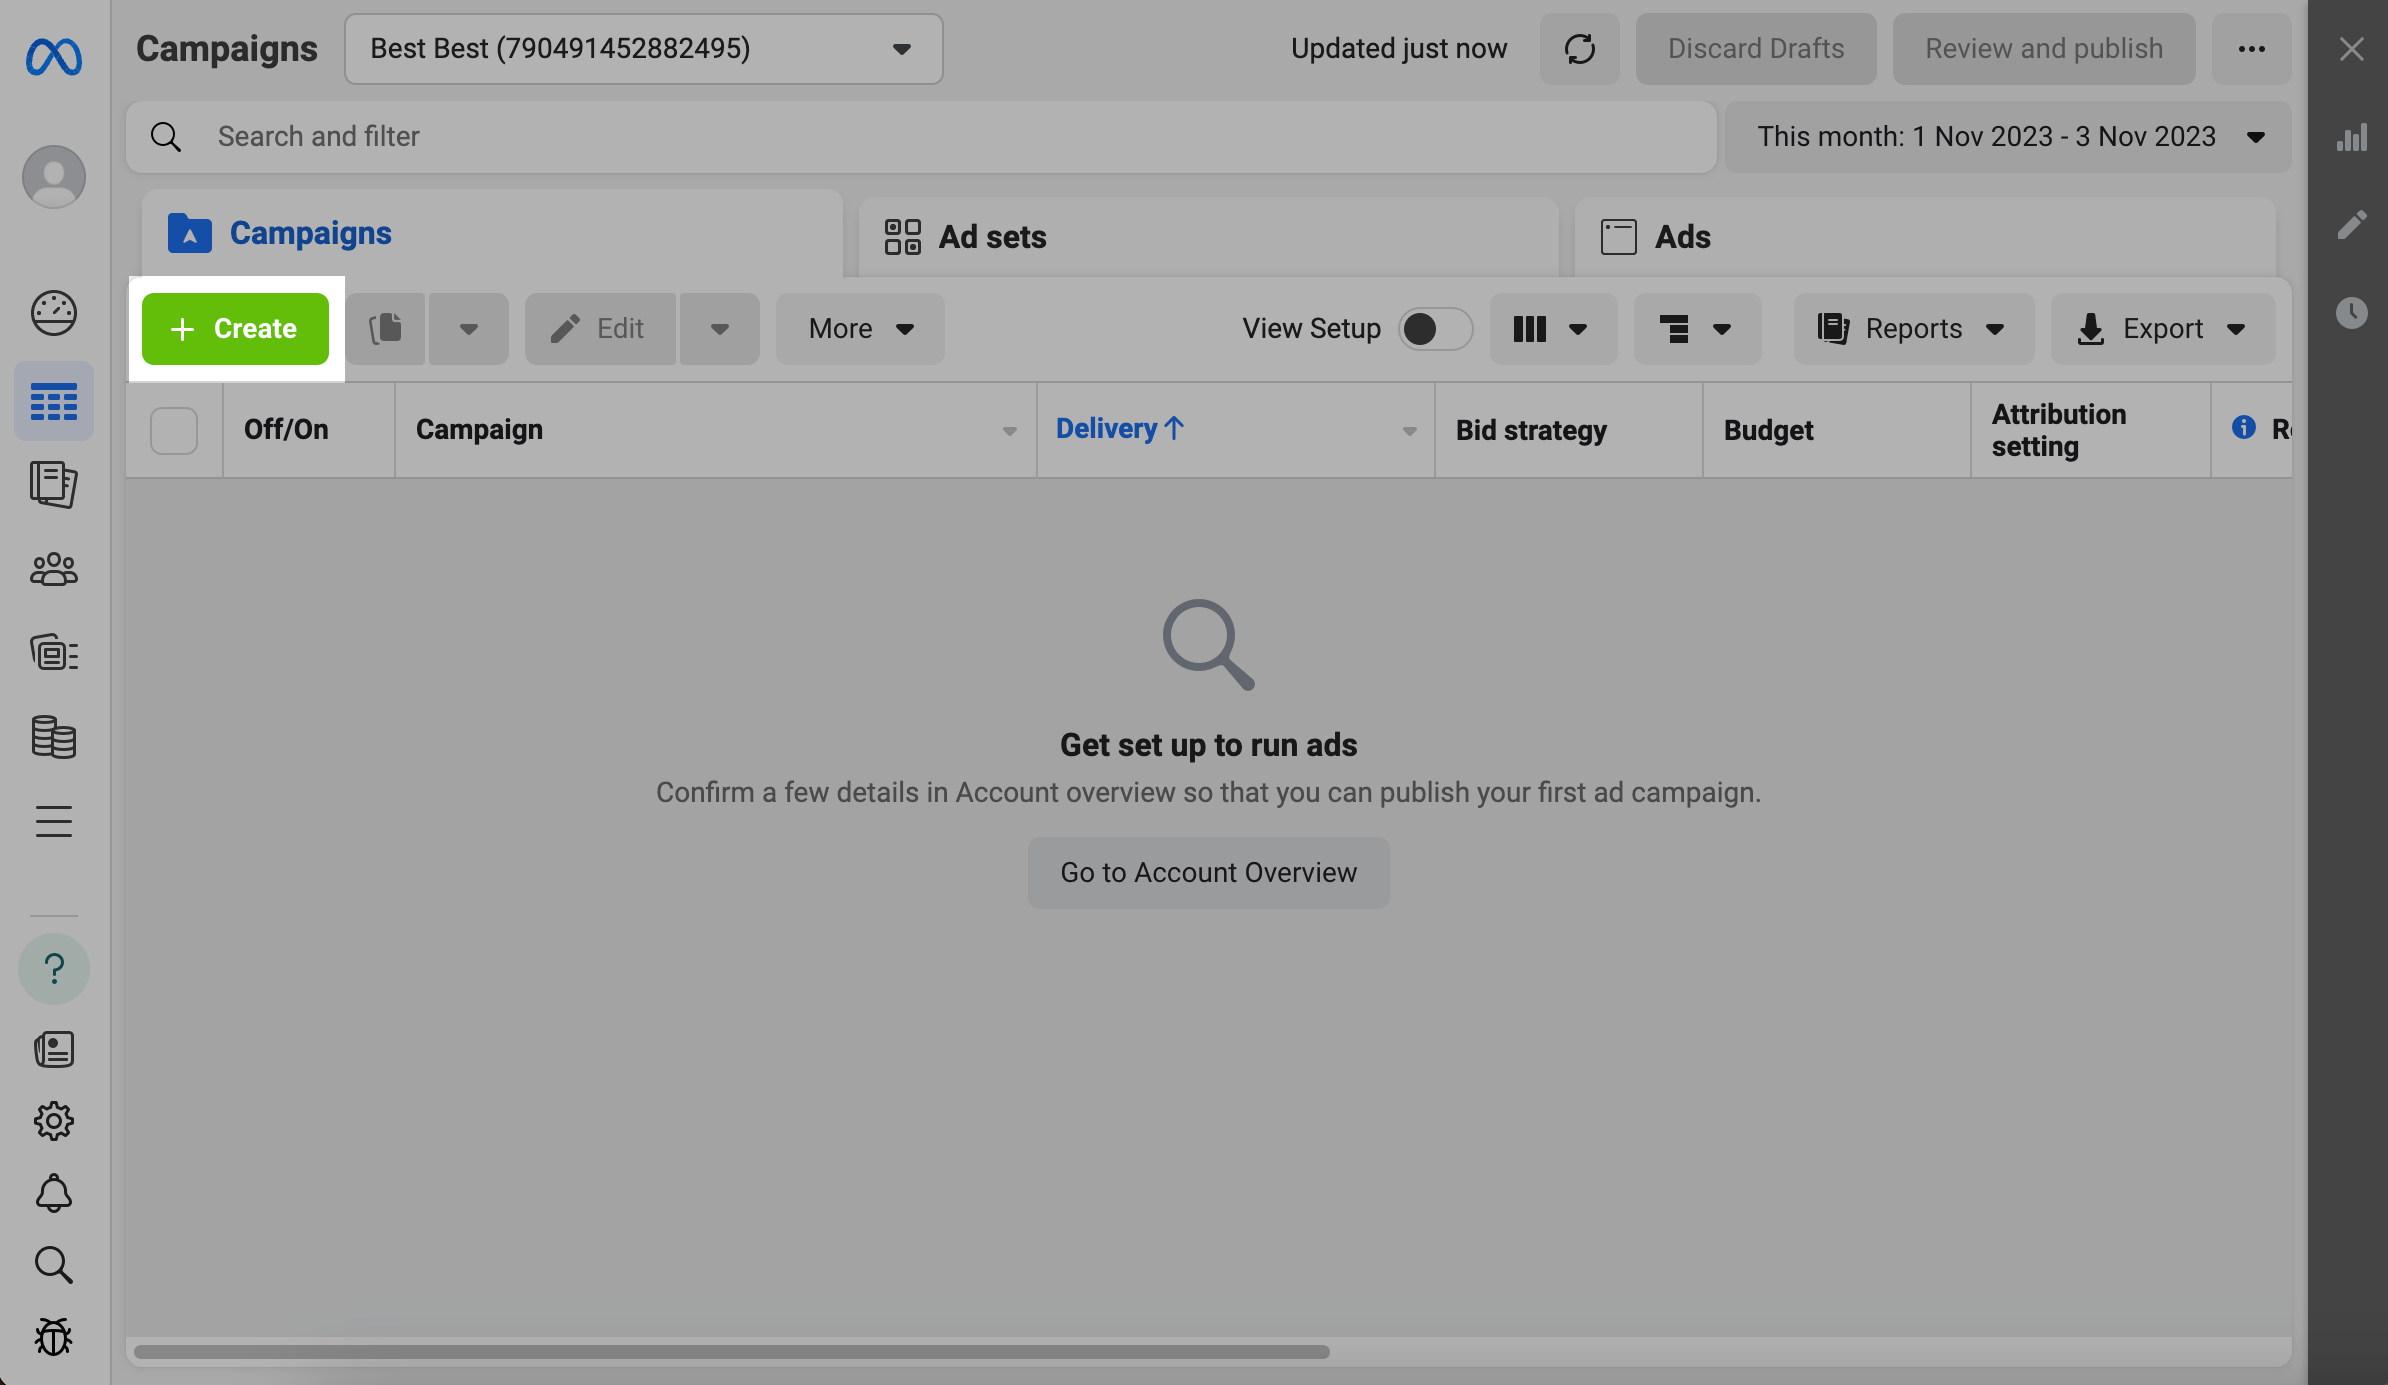
Log in to Ads Manager. In the Campaigns tab, click Create.
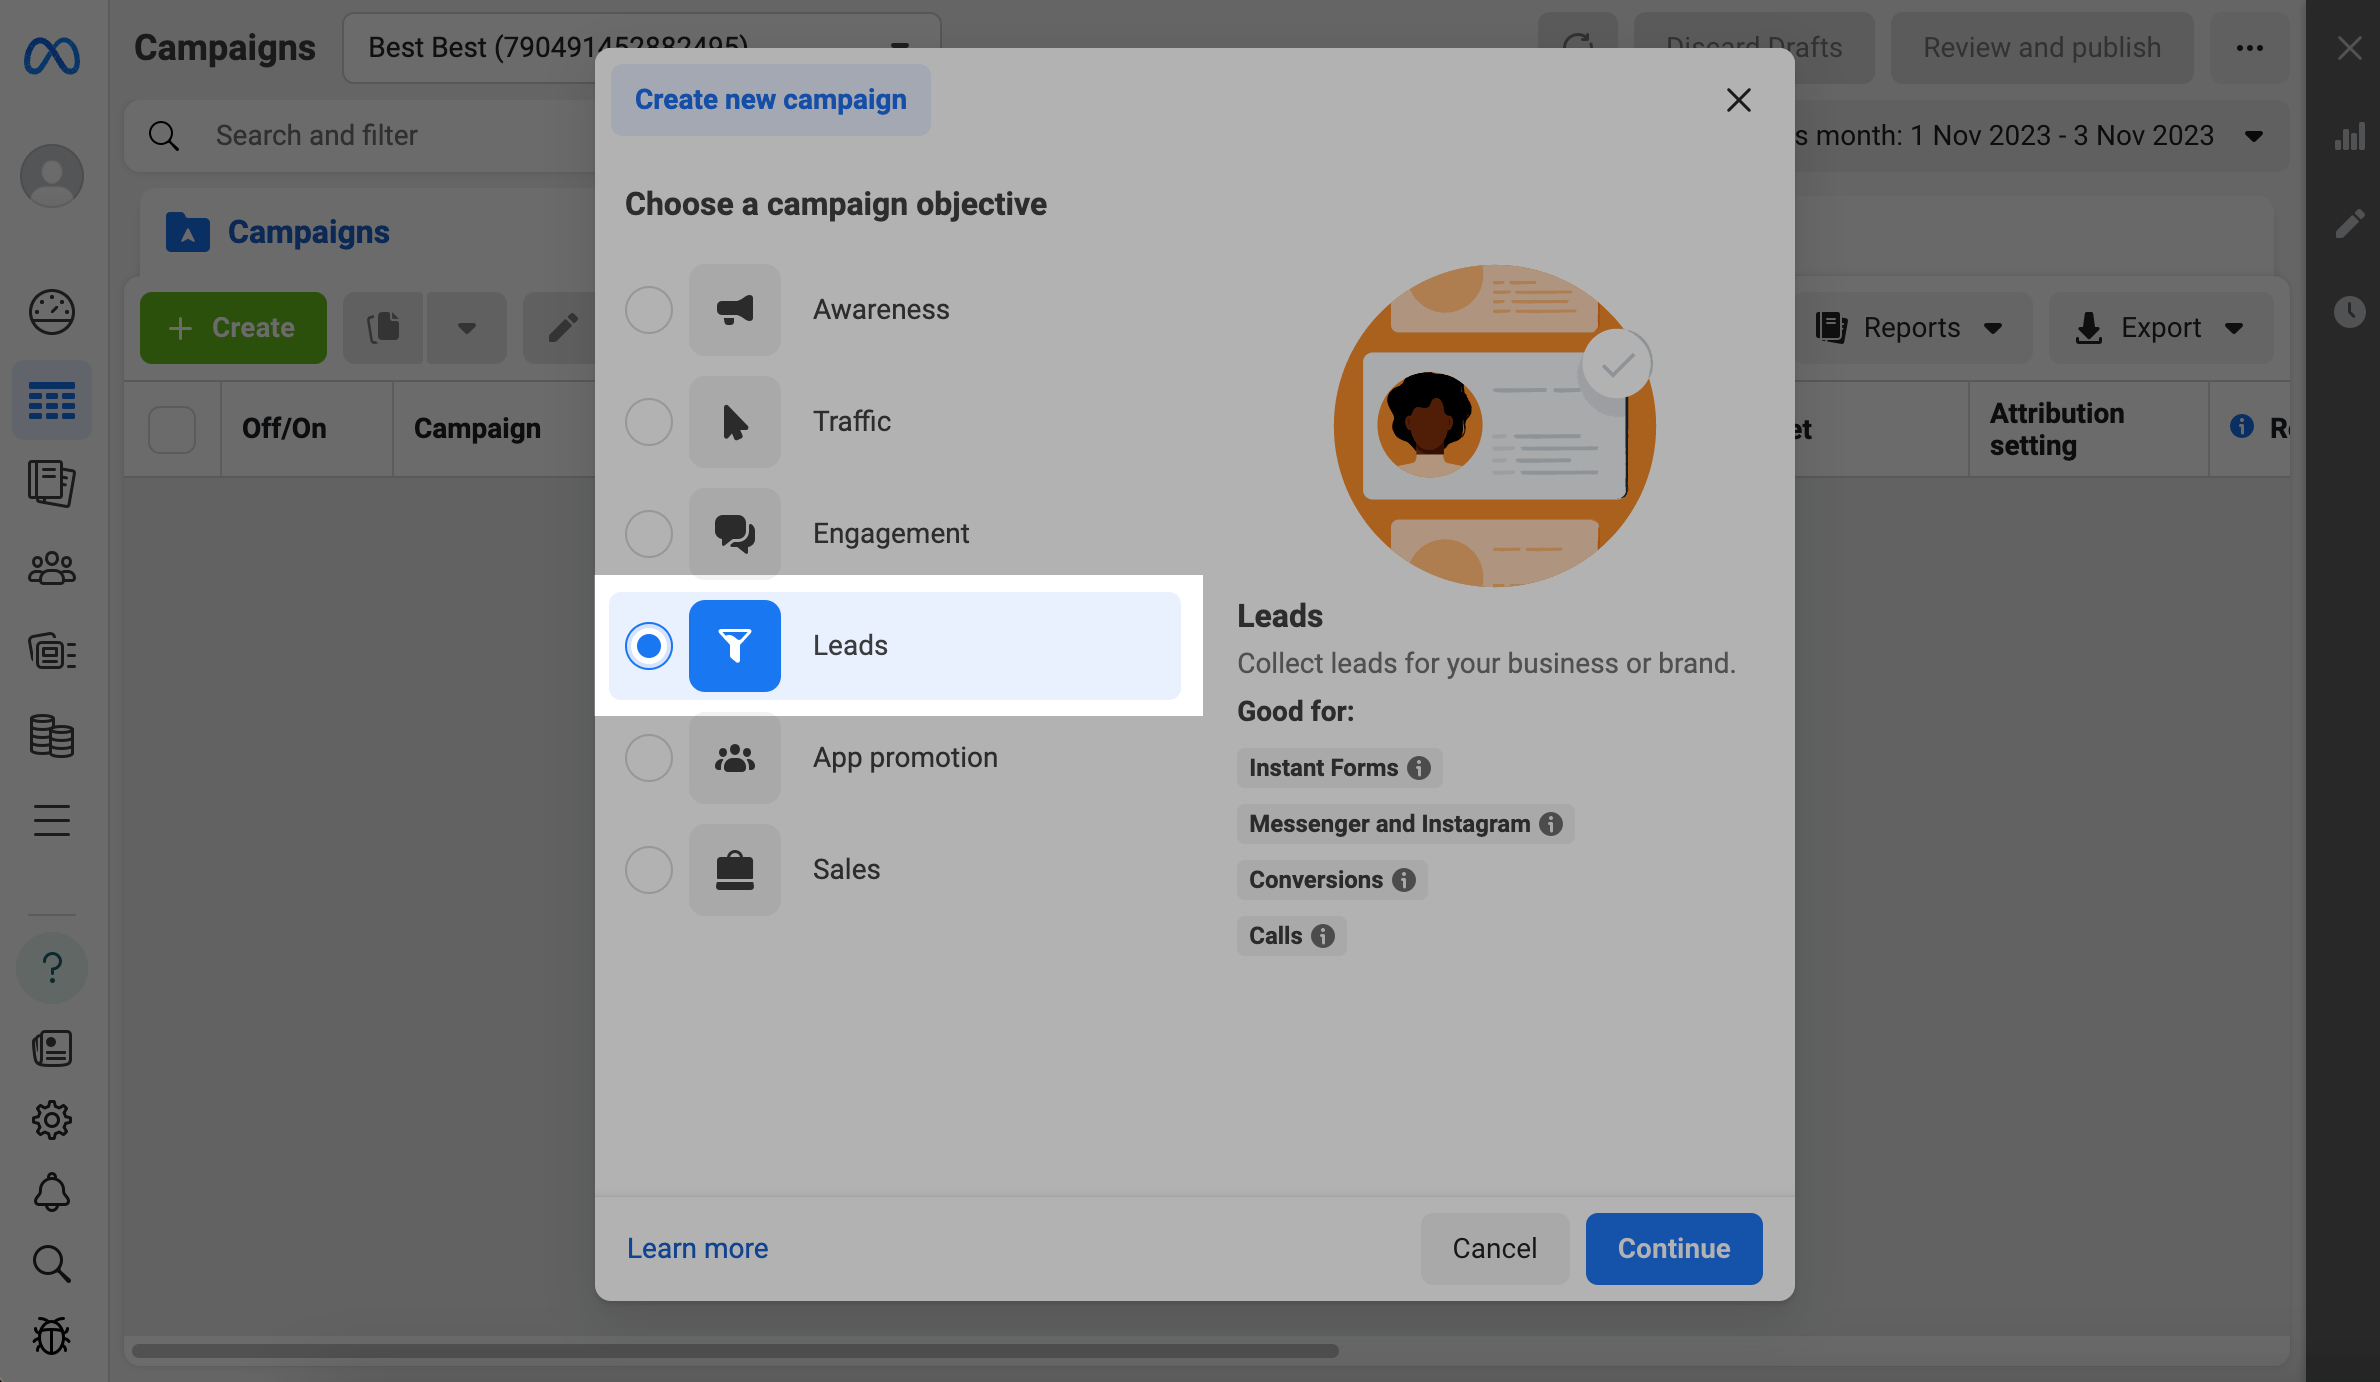
Set your campaign objective to Leads.
Enter a campaign name.
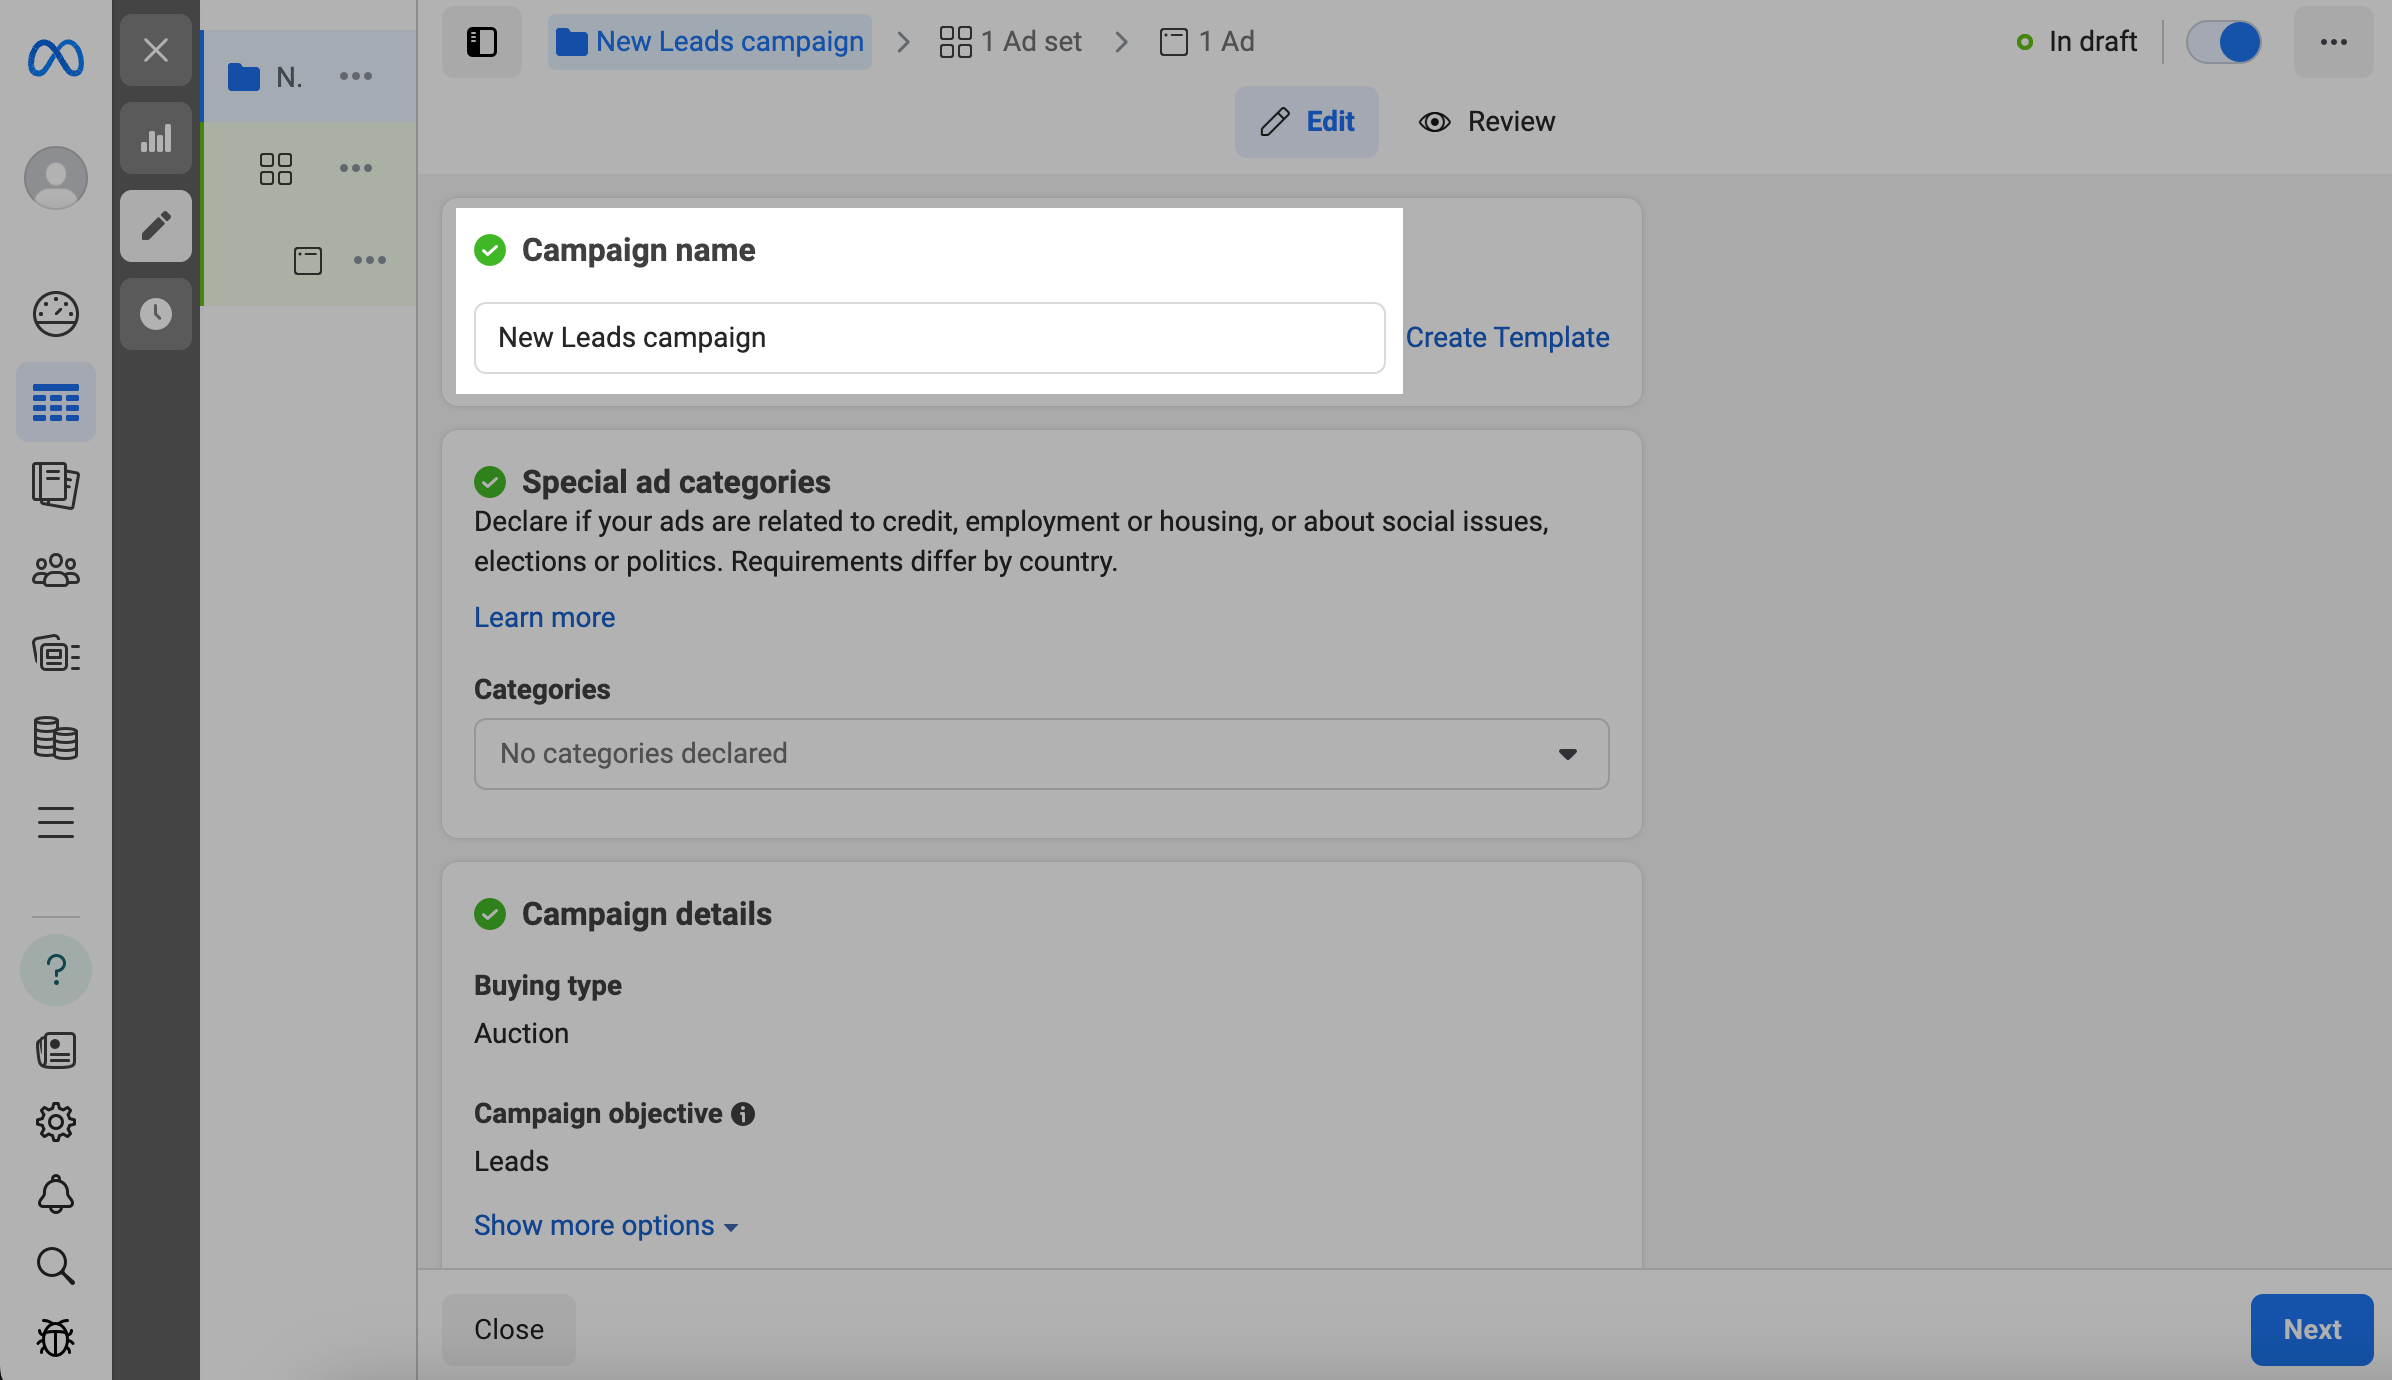
If your ad is related to credit, employment, housing, social issues, elections, and politics, select Special ad categories. In certain countries, Special Ad Categories may have specific requirements, such as authorization disclaimers or limited audience selection tools. Learn more: Choosing a Special Ad Category.
Do not change your "Campaign details" settings. The Buying type option will be set to Auction, and the Campaign objective option will be set to Leads.

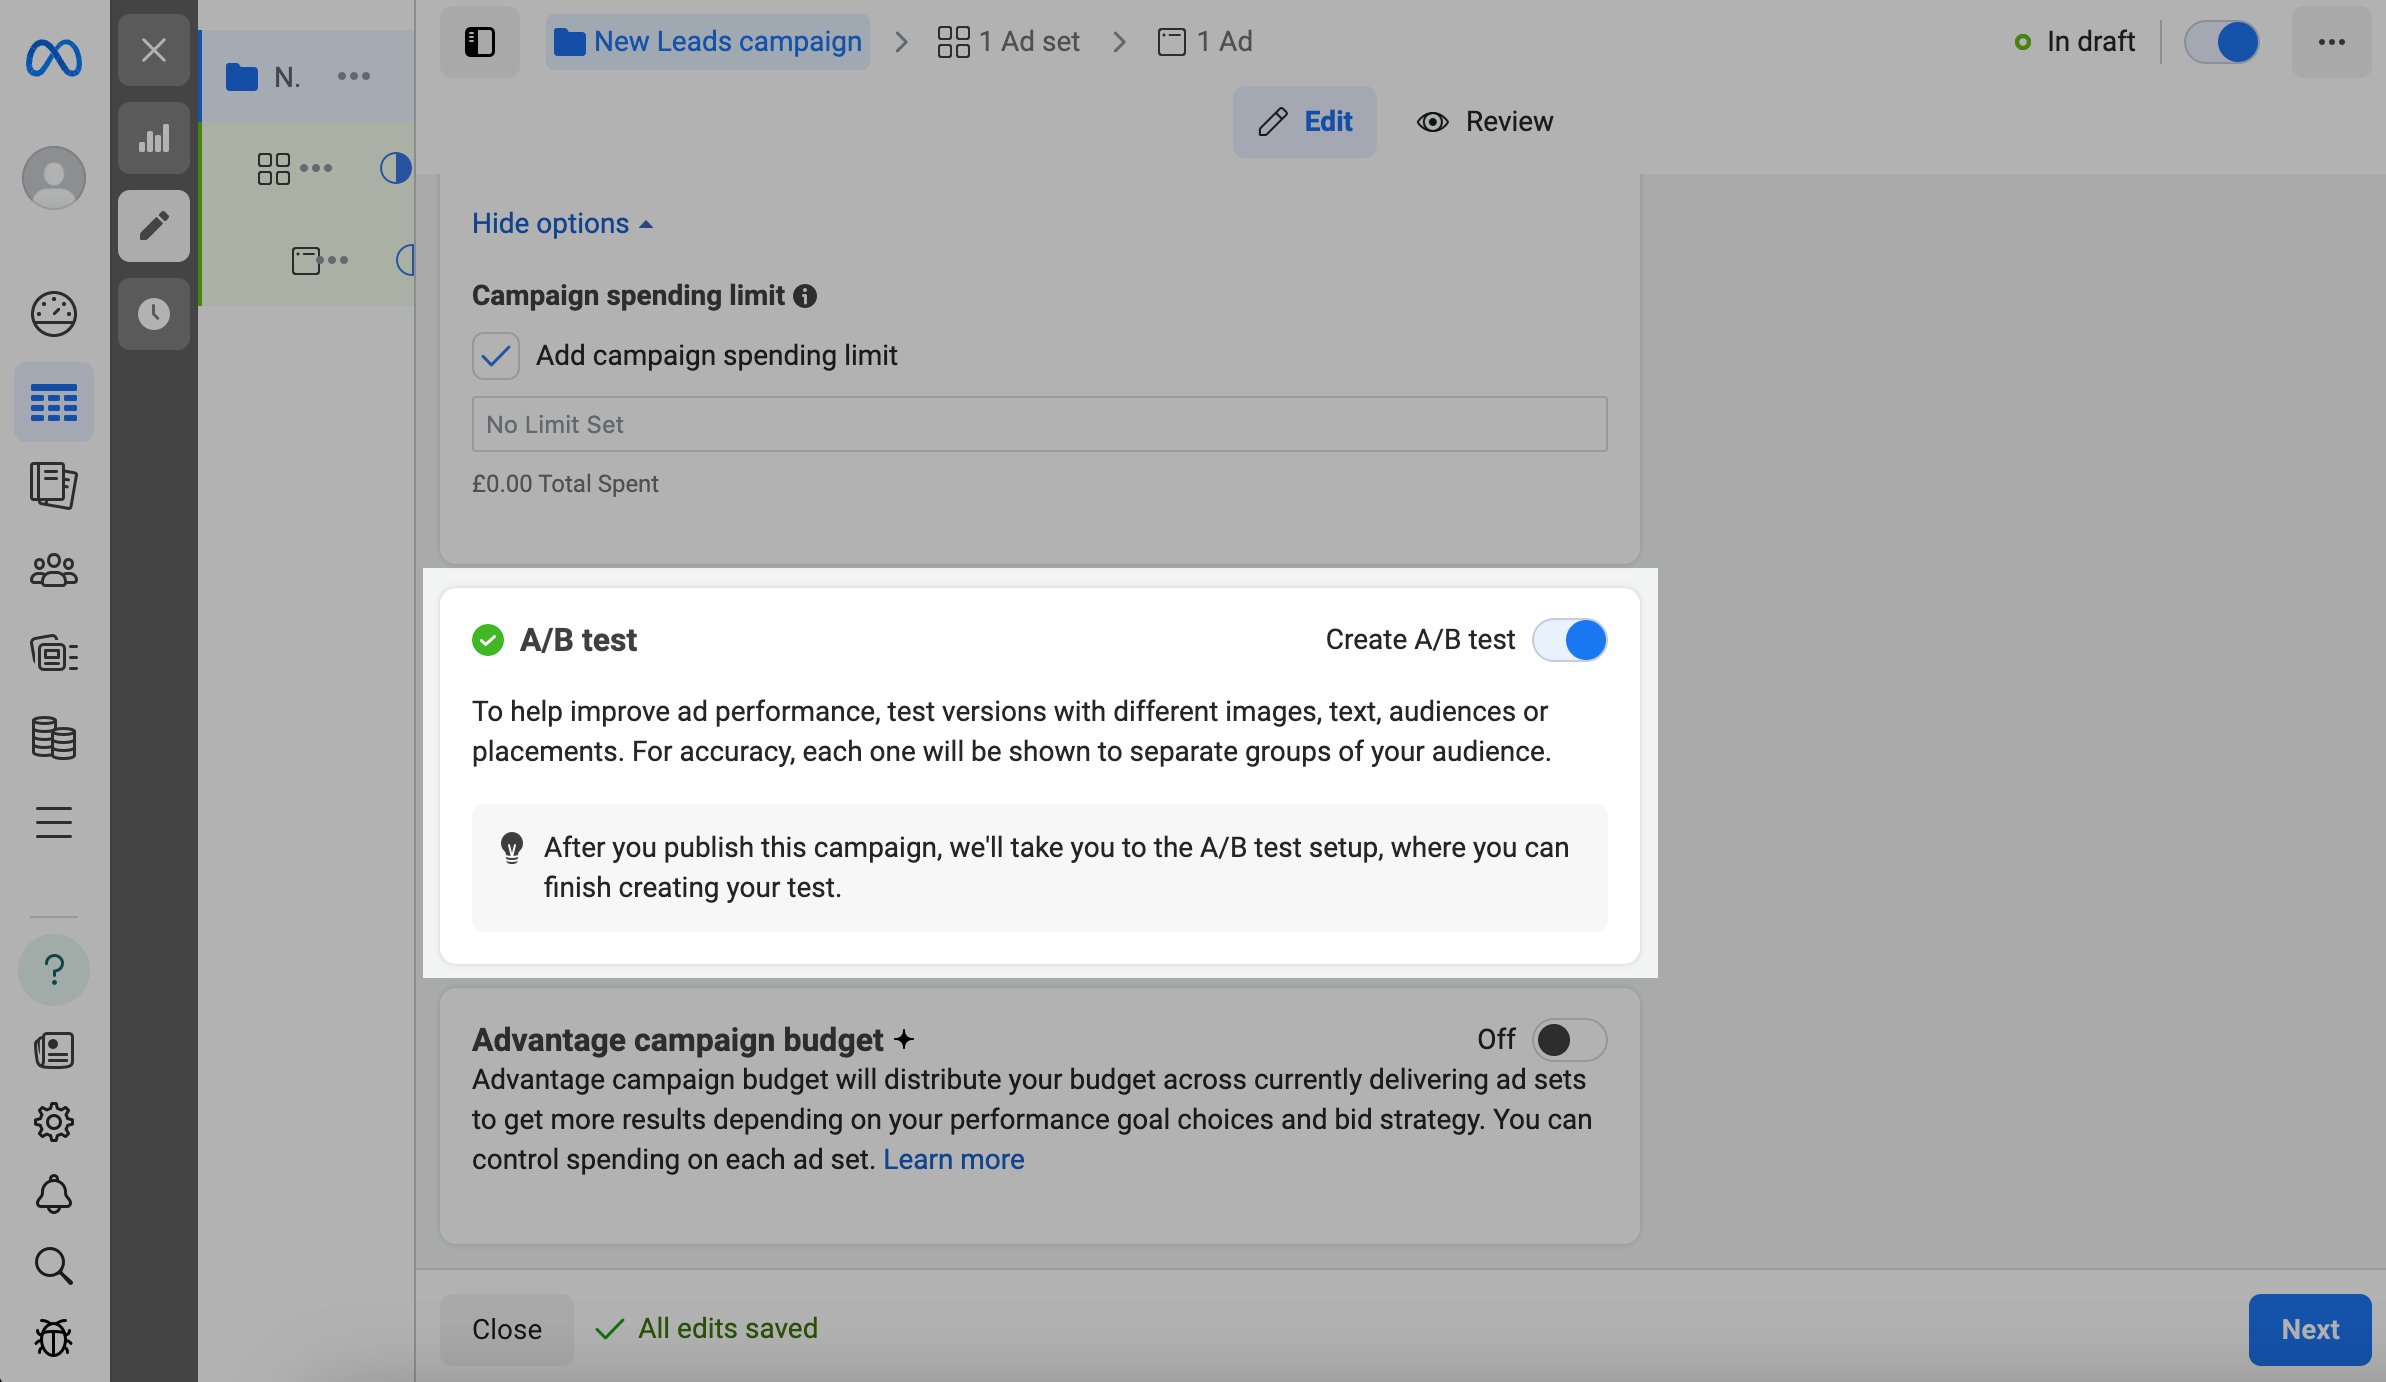
To set your campaign spending limit, click Show more options > Edit. Enter a spending amount in the Add campaign spending limit section.
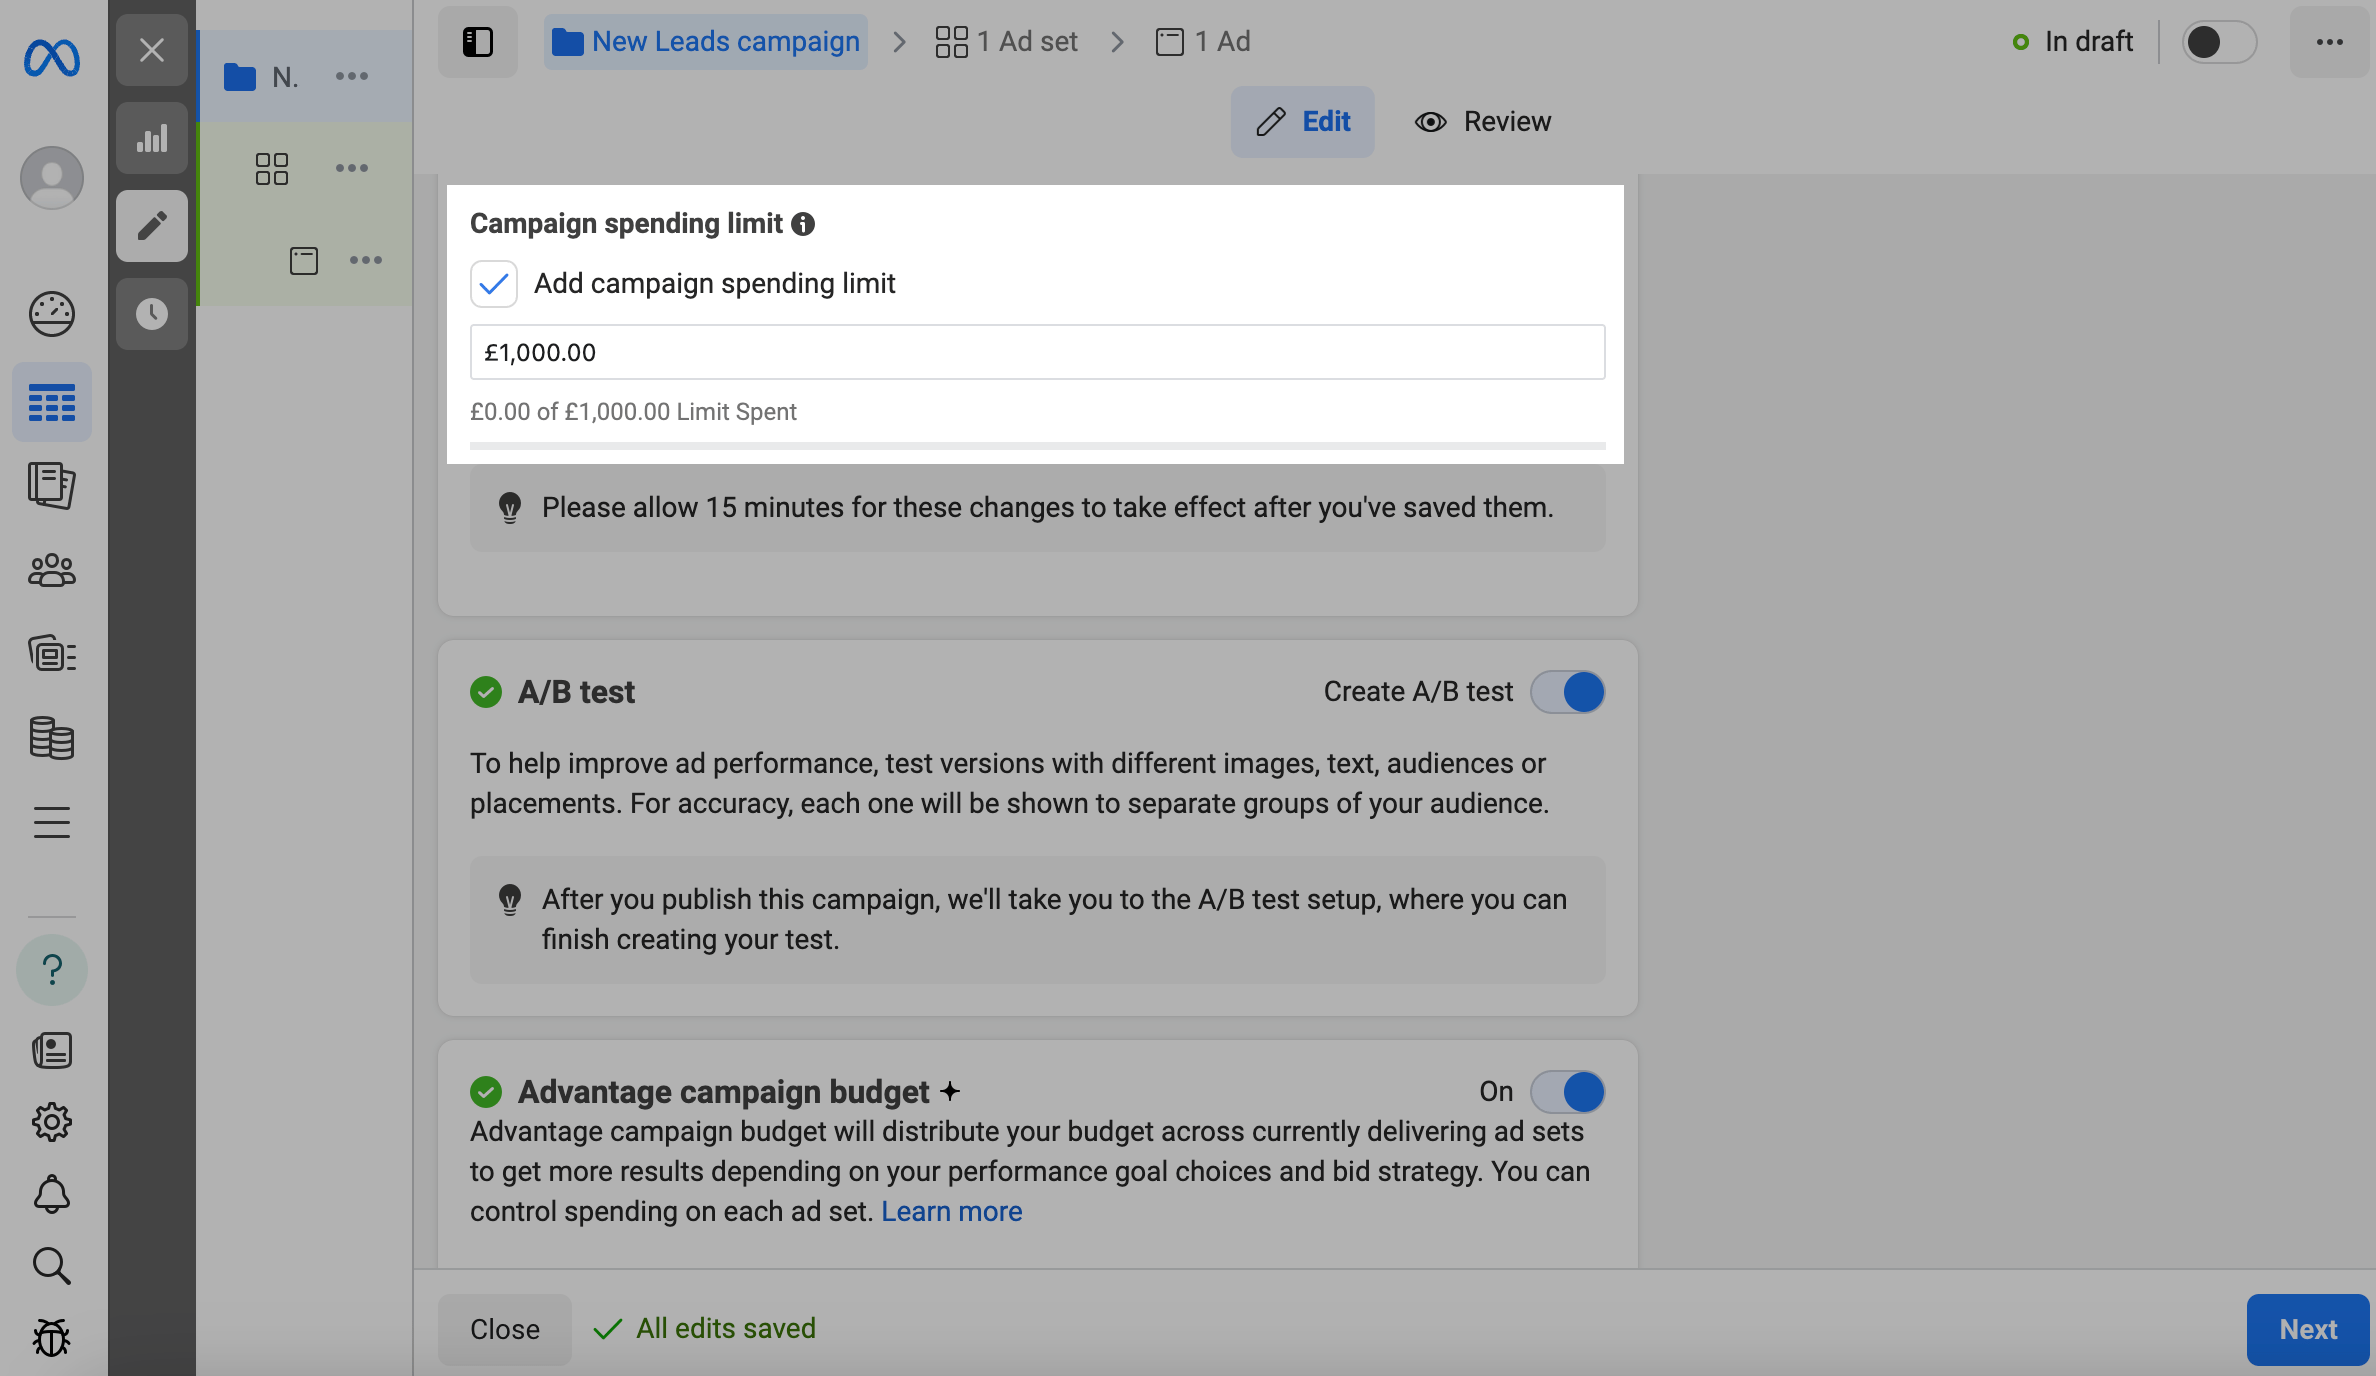
To create an A/B test, turn on the Create A/B test toggle.
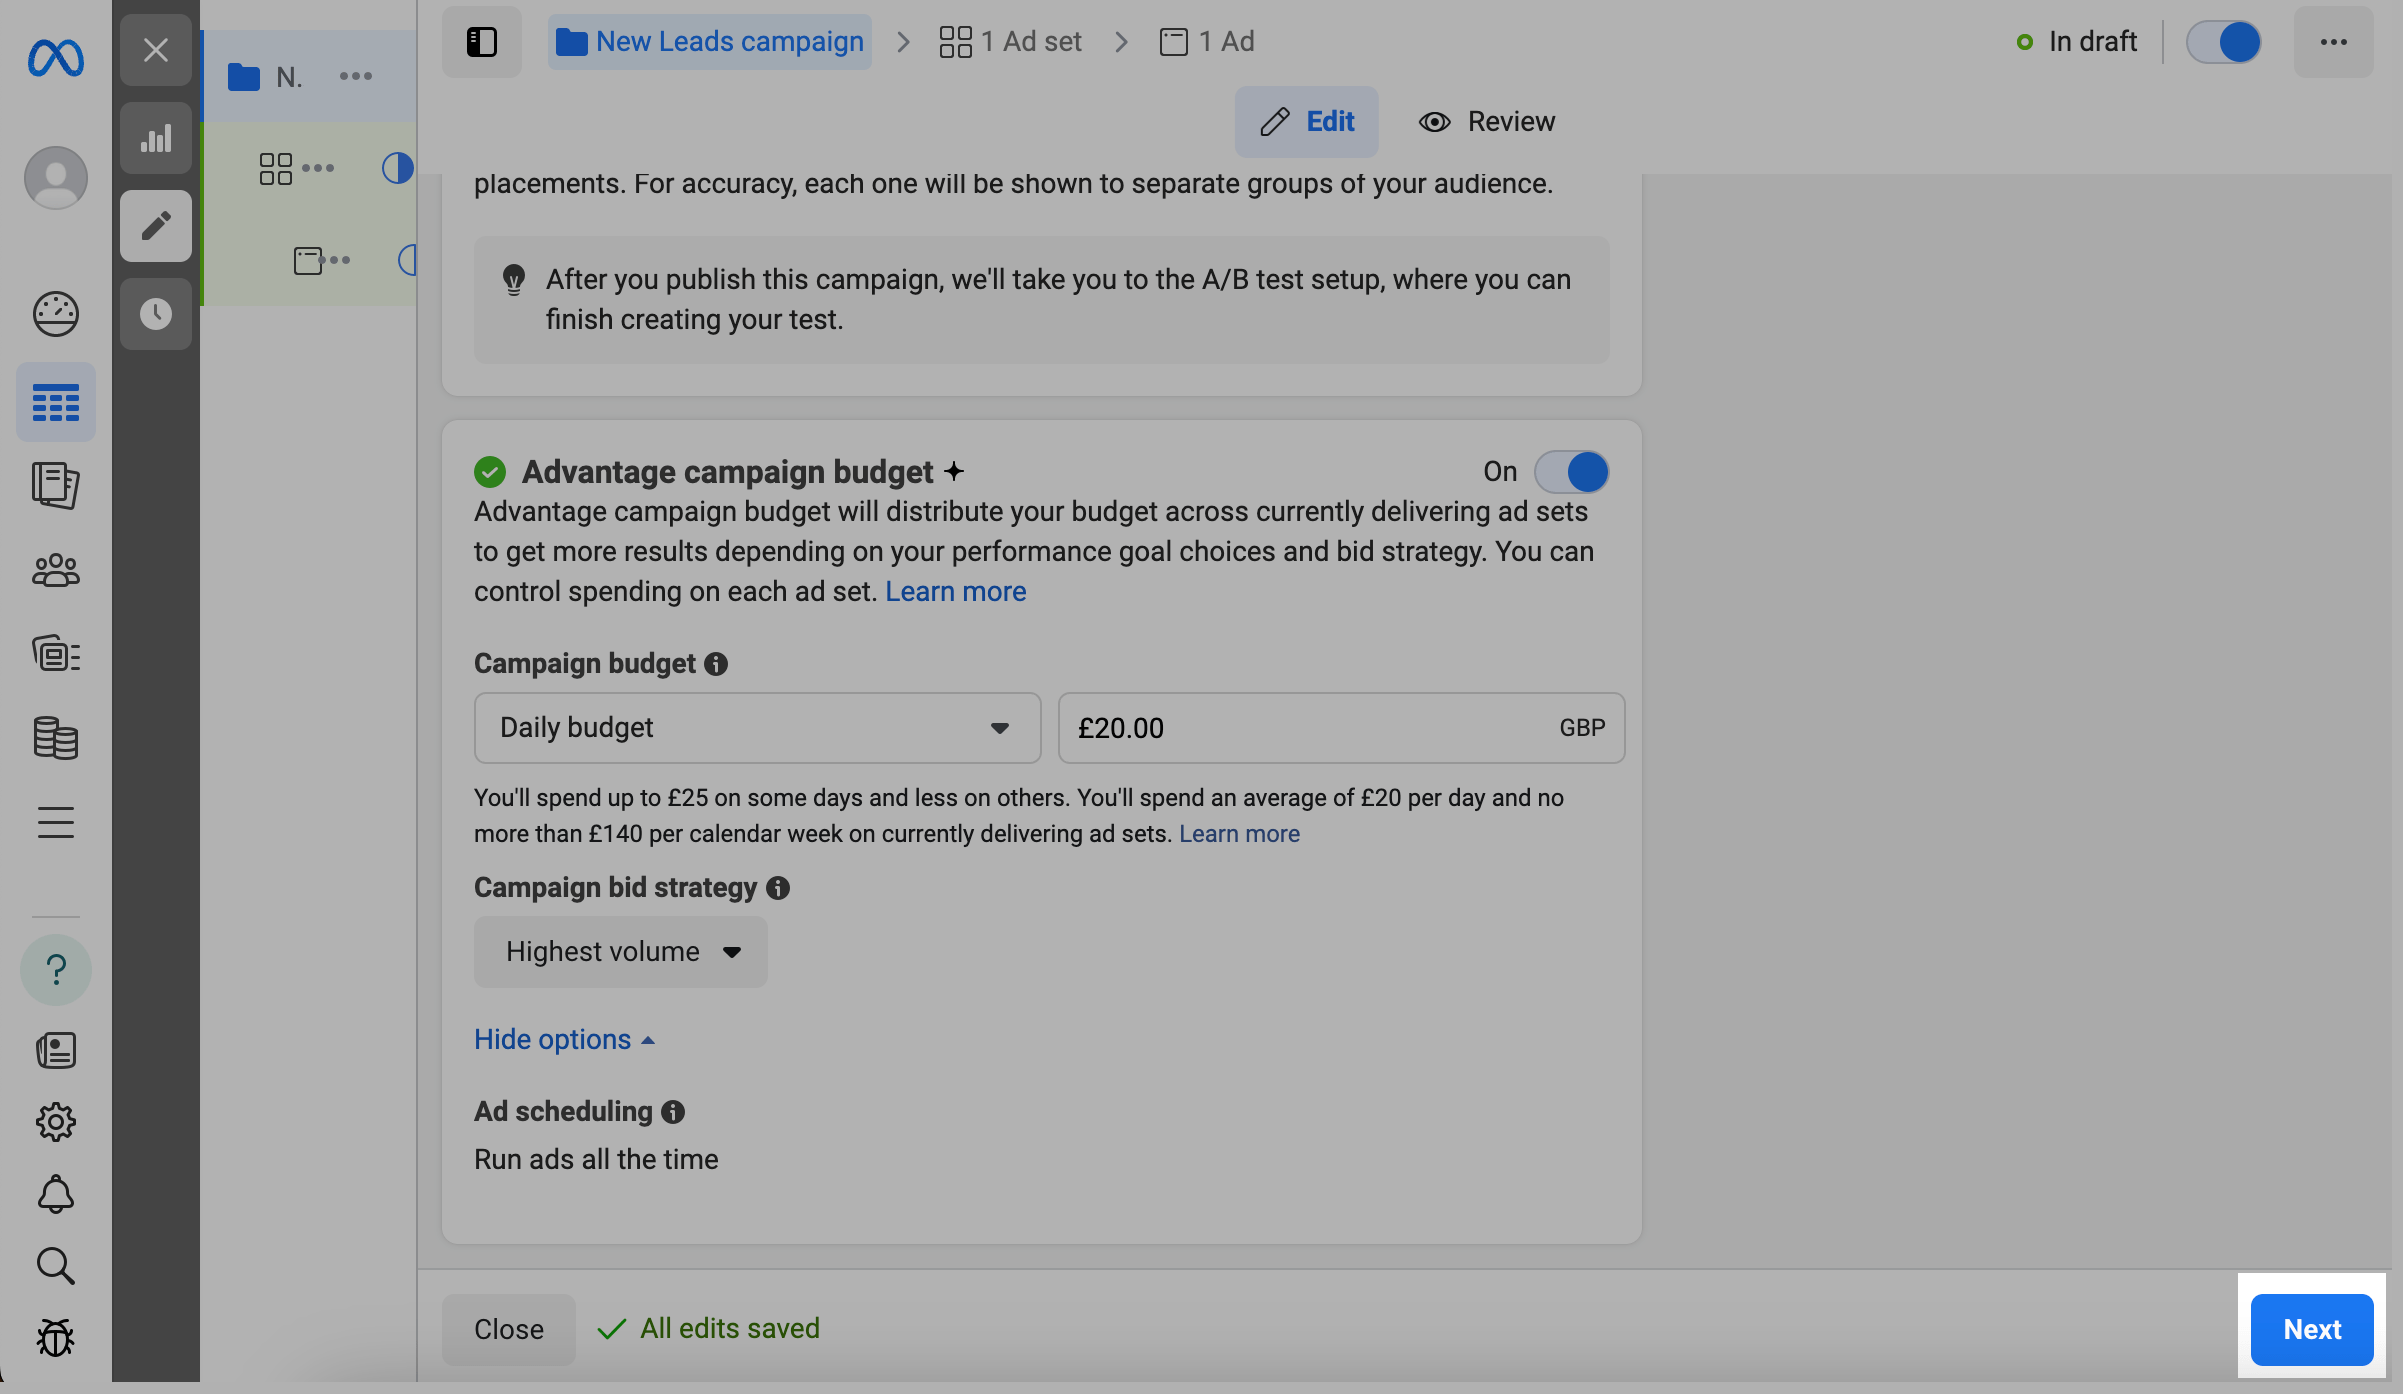
You can also set an advantage campaign budget instead of individual ad budgets. Turn on the Advantage campaign budget toggle. You can select a daily budget or a lifetime budget in the Campaign budget field and enter your amount.
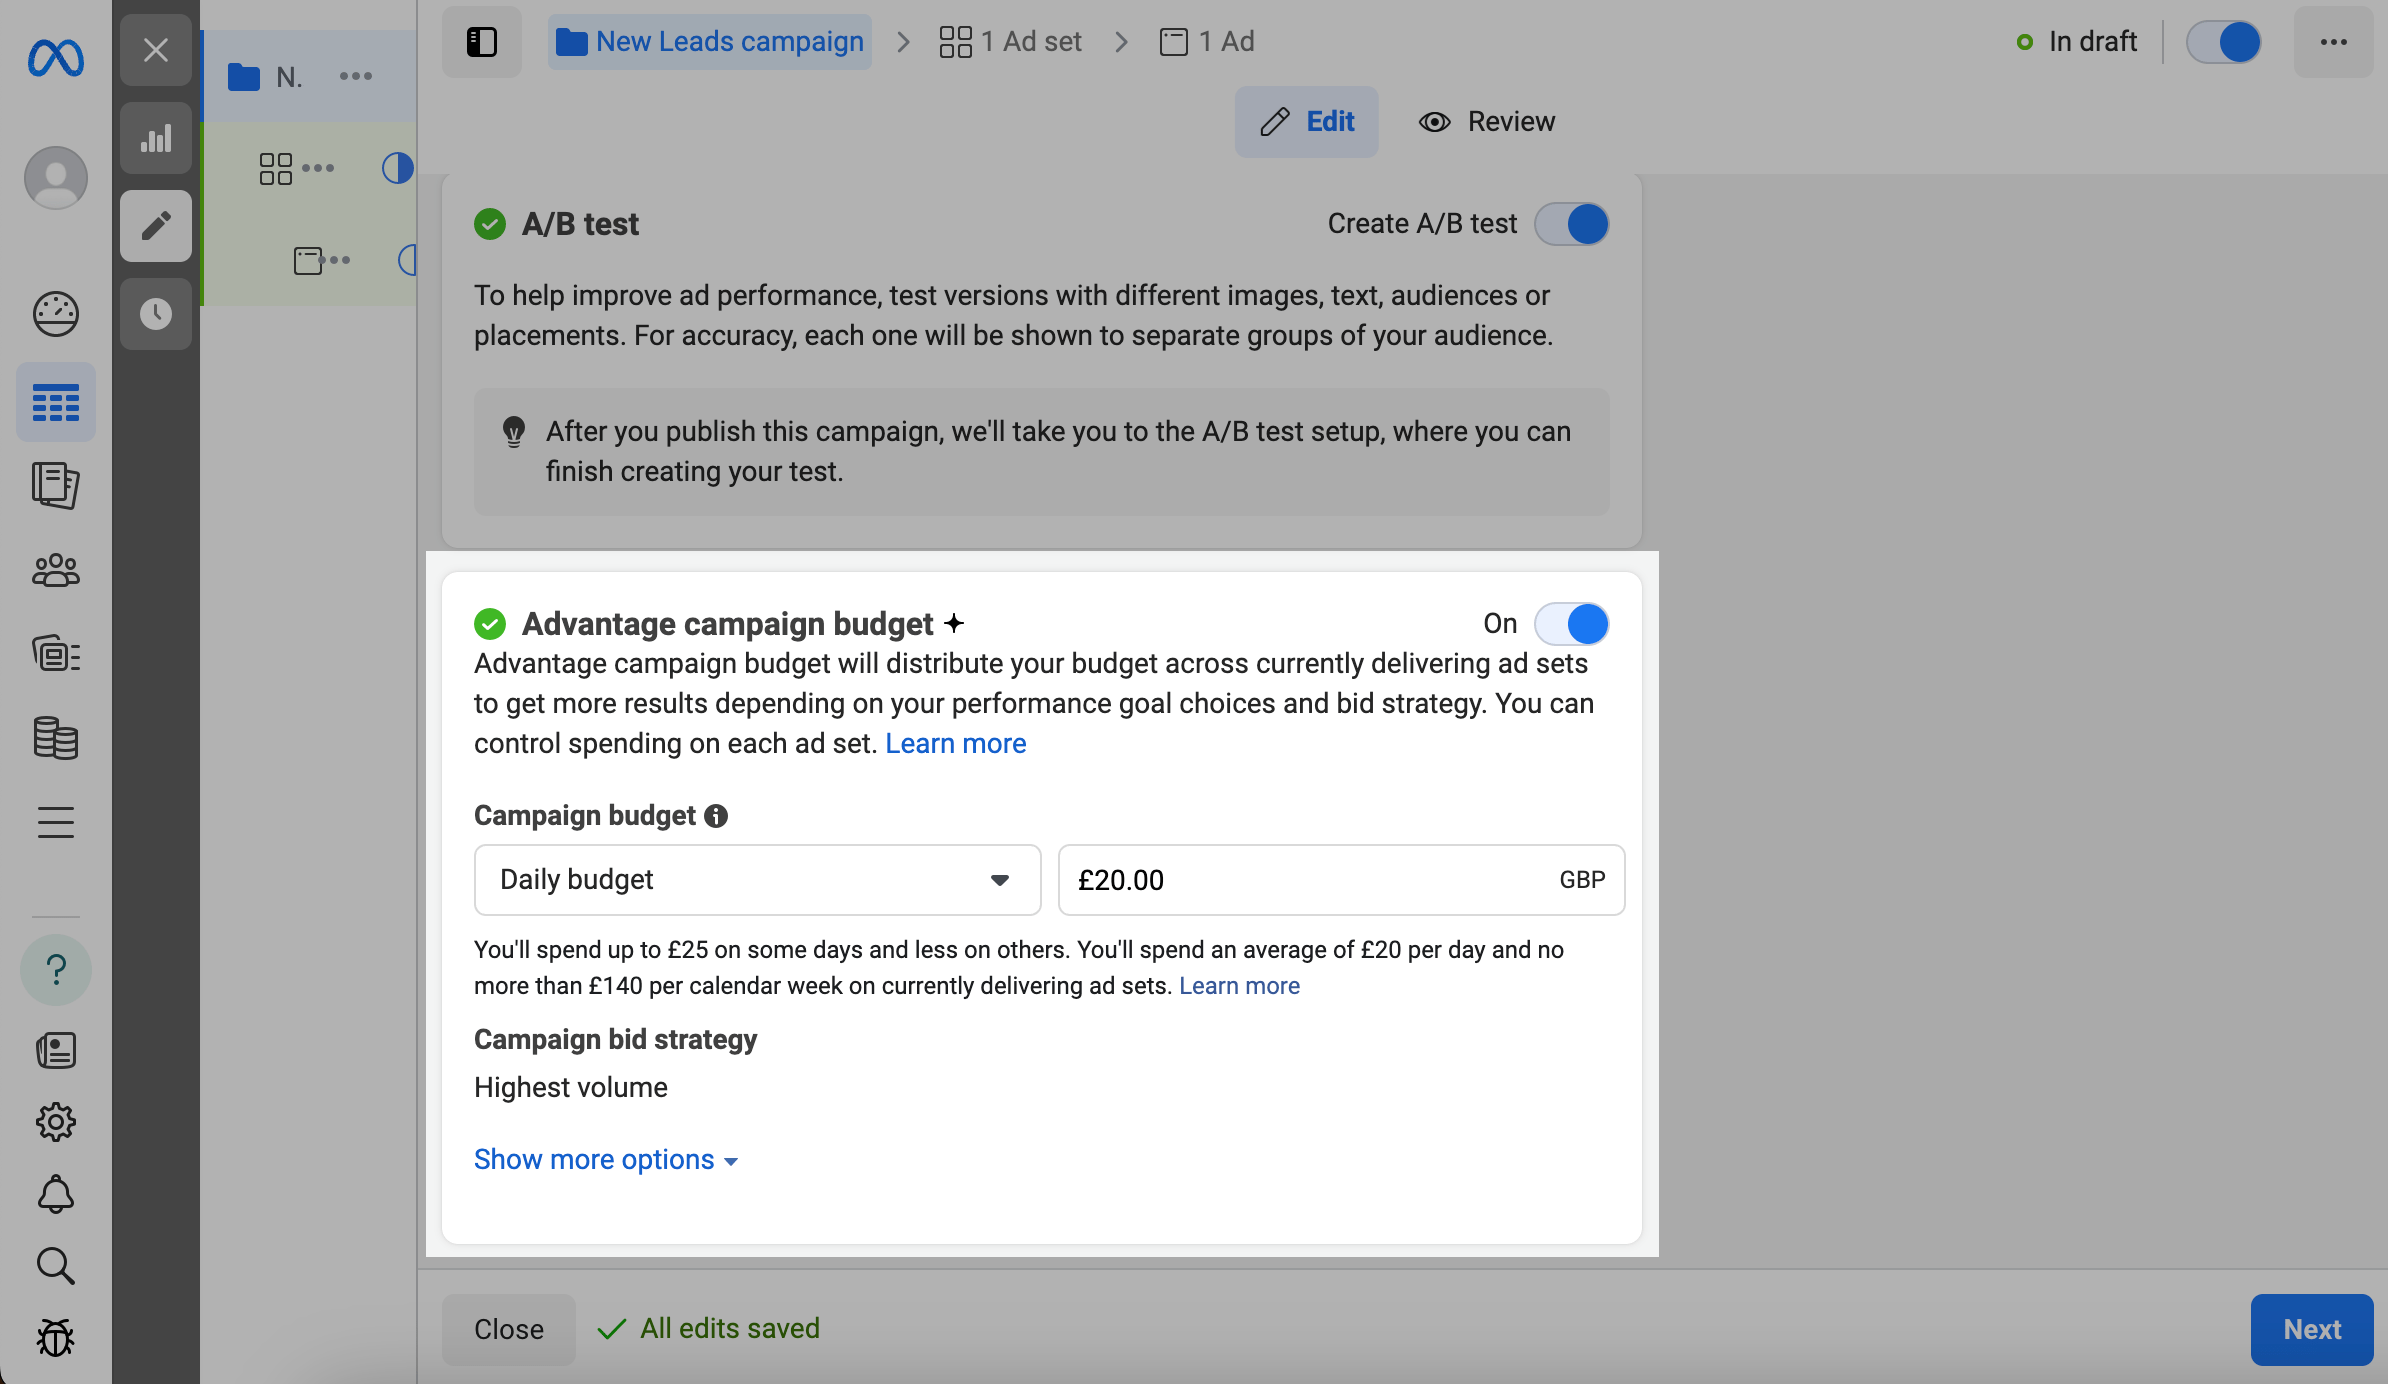
To edit your campaign bid strategy, hover over the field, and click Edit. You can select the following options:
| Highest volume | Gets the best results for your budget. |
| Cost per result goal | Aims for a certain cost per result goal while maximizing your result volume. |
| Other options (Bid cap) | Sets a maximum bid across auctions. |
To schedule ads, in the Ad scheduling field, click Show more options > Edit.
Click Next in the lower right corner.
In the Conversion location field, select where you want to generate leads.
| Website | Generates leads on your website. |
| Instant Forms | Generates leads by asking people to fill in a form. |
| Messenger | Generates leads by starting conversations on Messenger. |
| Instant Forms and Messenger | Generates leads by asking people to fill in a form or by starting conversations on Messenger. |
| Generates leads by starting conversations on Instagram. | |
| Calls | Generates leads by asking people to call you. |
| App | Generates leads on your app. |
For this integration to work, select Instant Forms.
Click Next.
Configure the Leads form. Name your form and add your questions. Additionally, you can add images, video, and call to action buttons.
Review your entered data, and click Publish.
Enter your payment details, and complete your payment.
Set up the SendPulse integration
Go to fb-leads.sendpulse.com. Log in with your SendPulse email address and password.
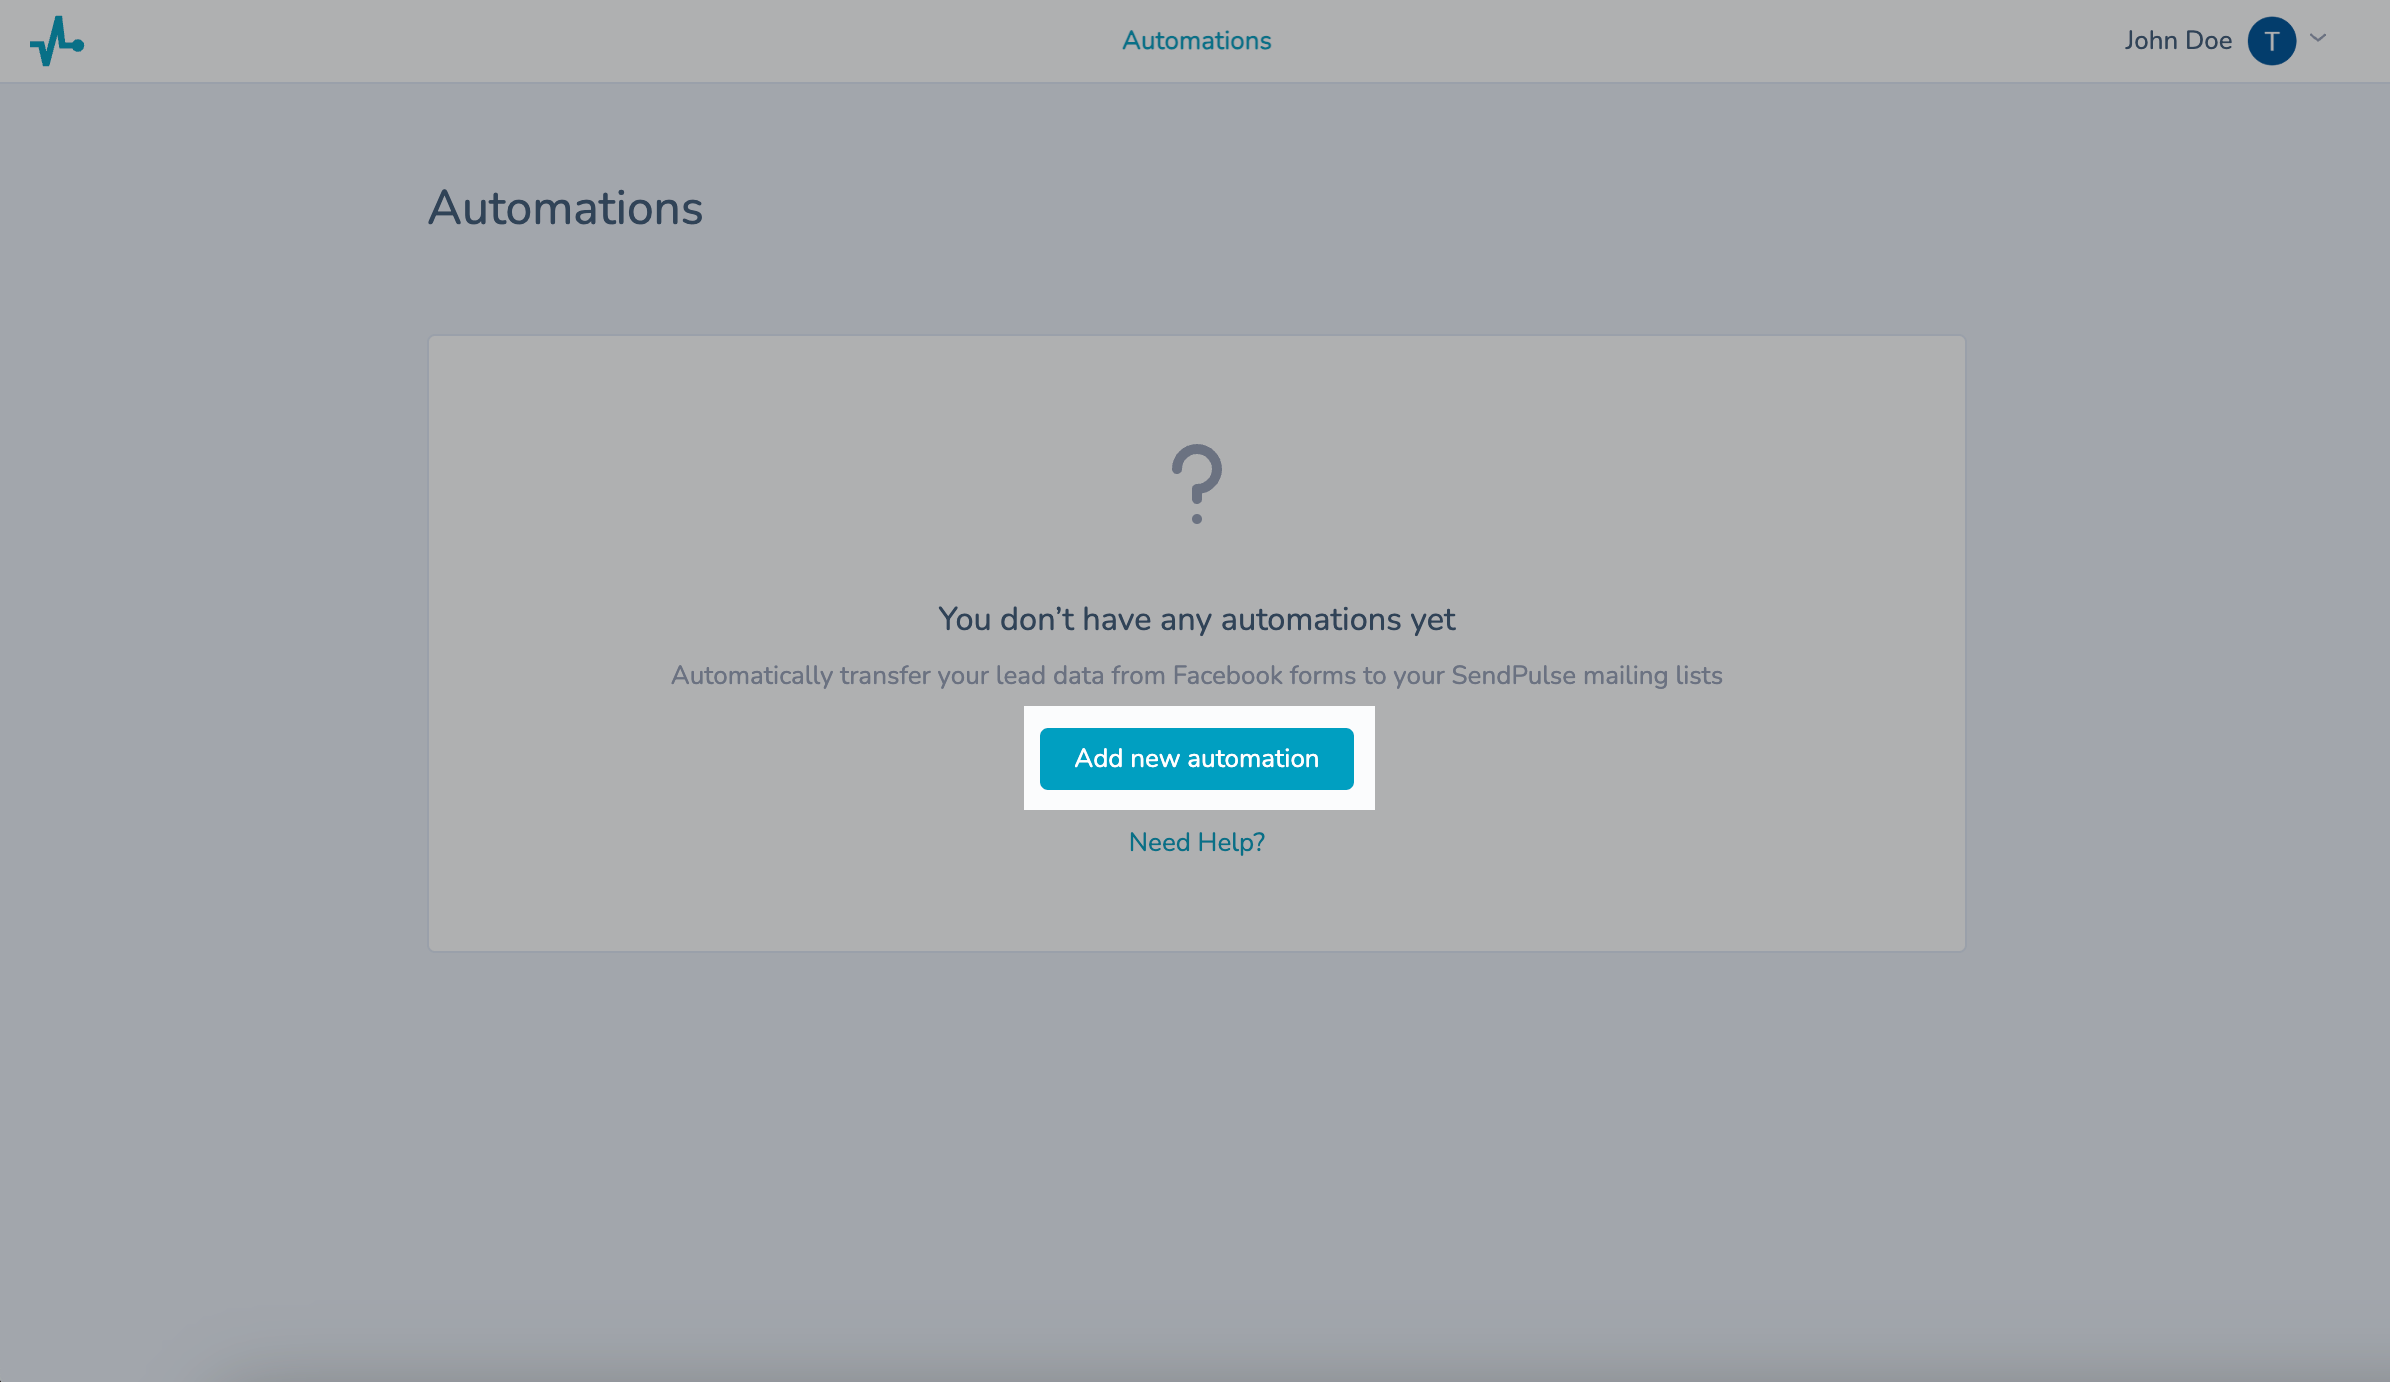
Click Add new automation.
To use this integration, you need to grant the requested permissions to all your Facebook Pages.
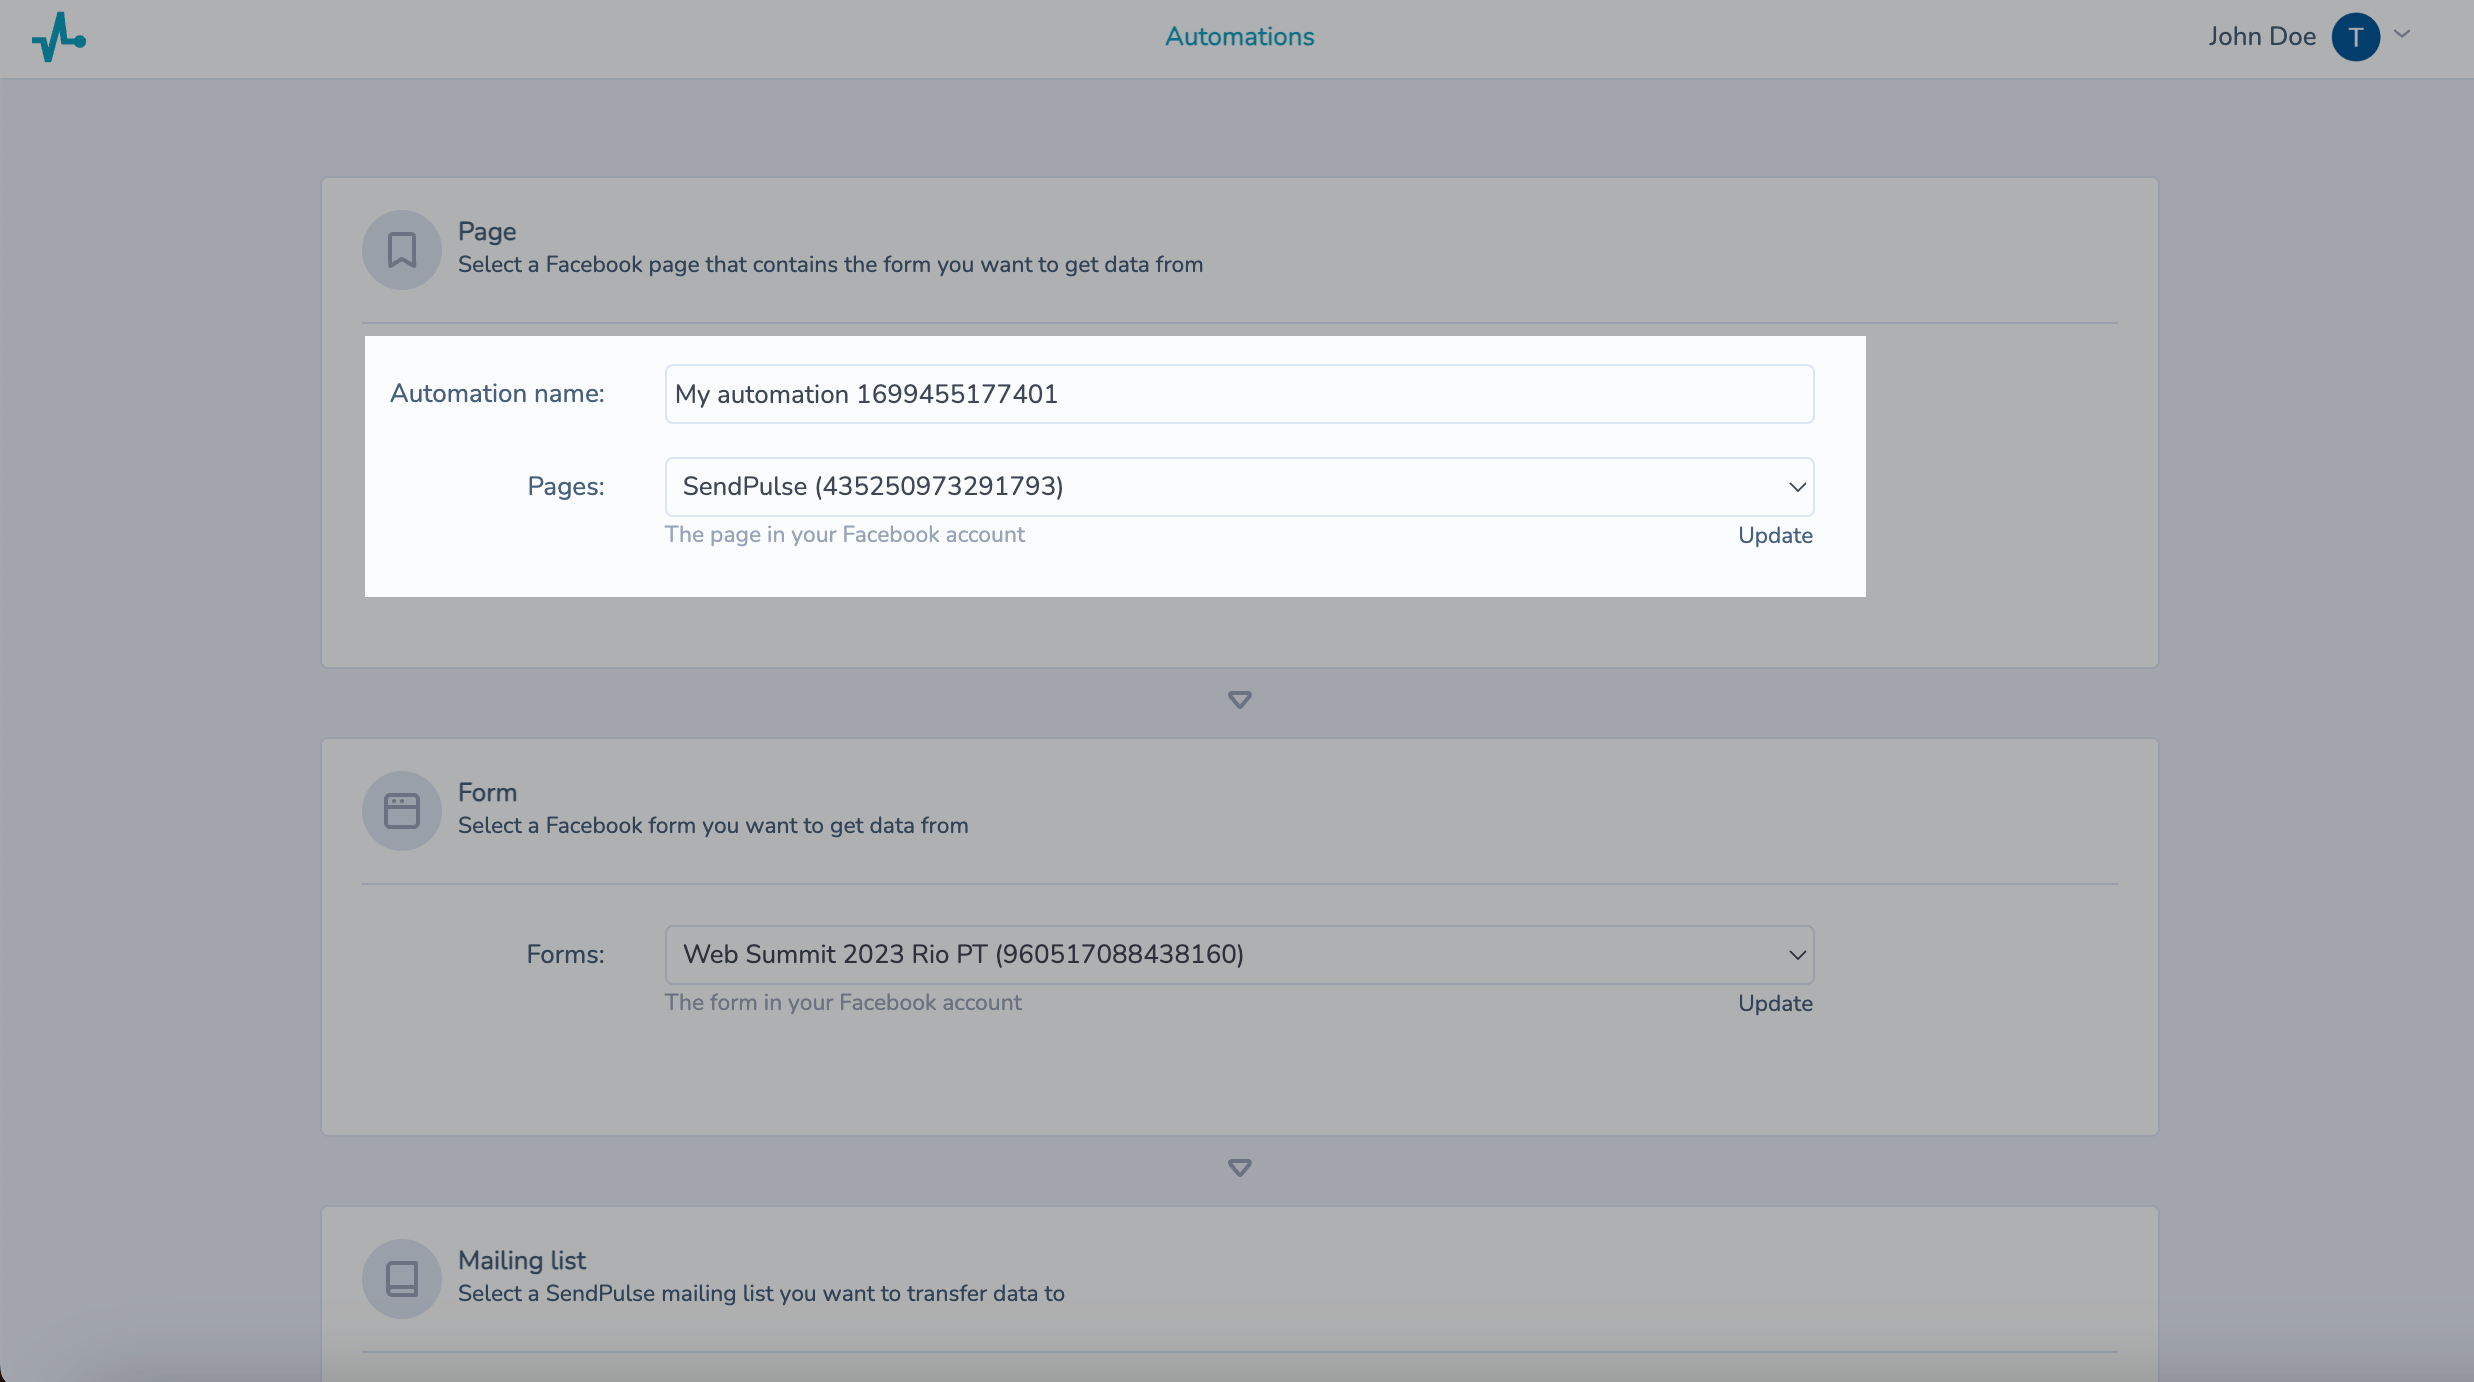
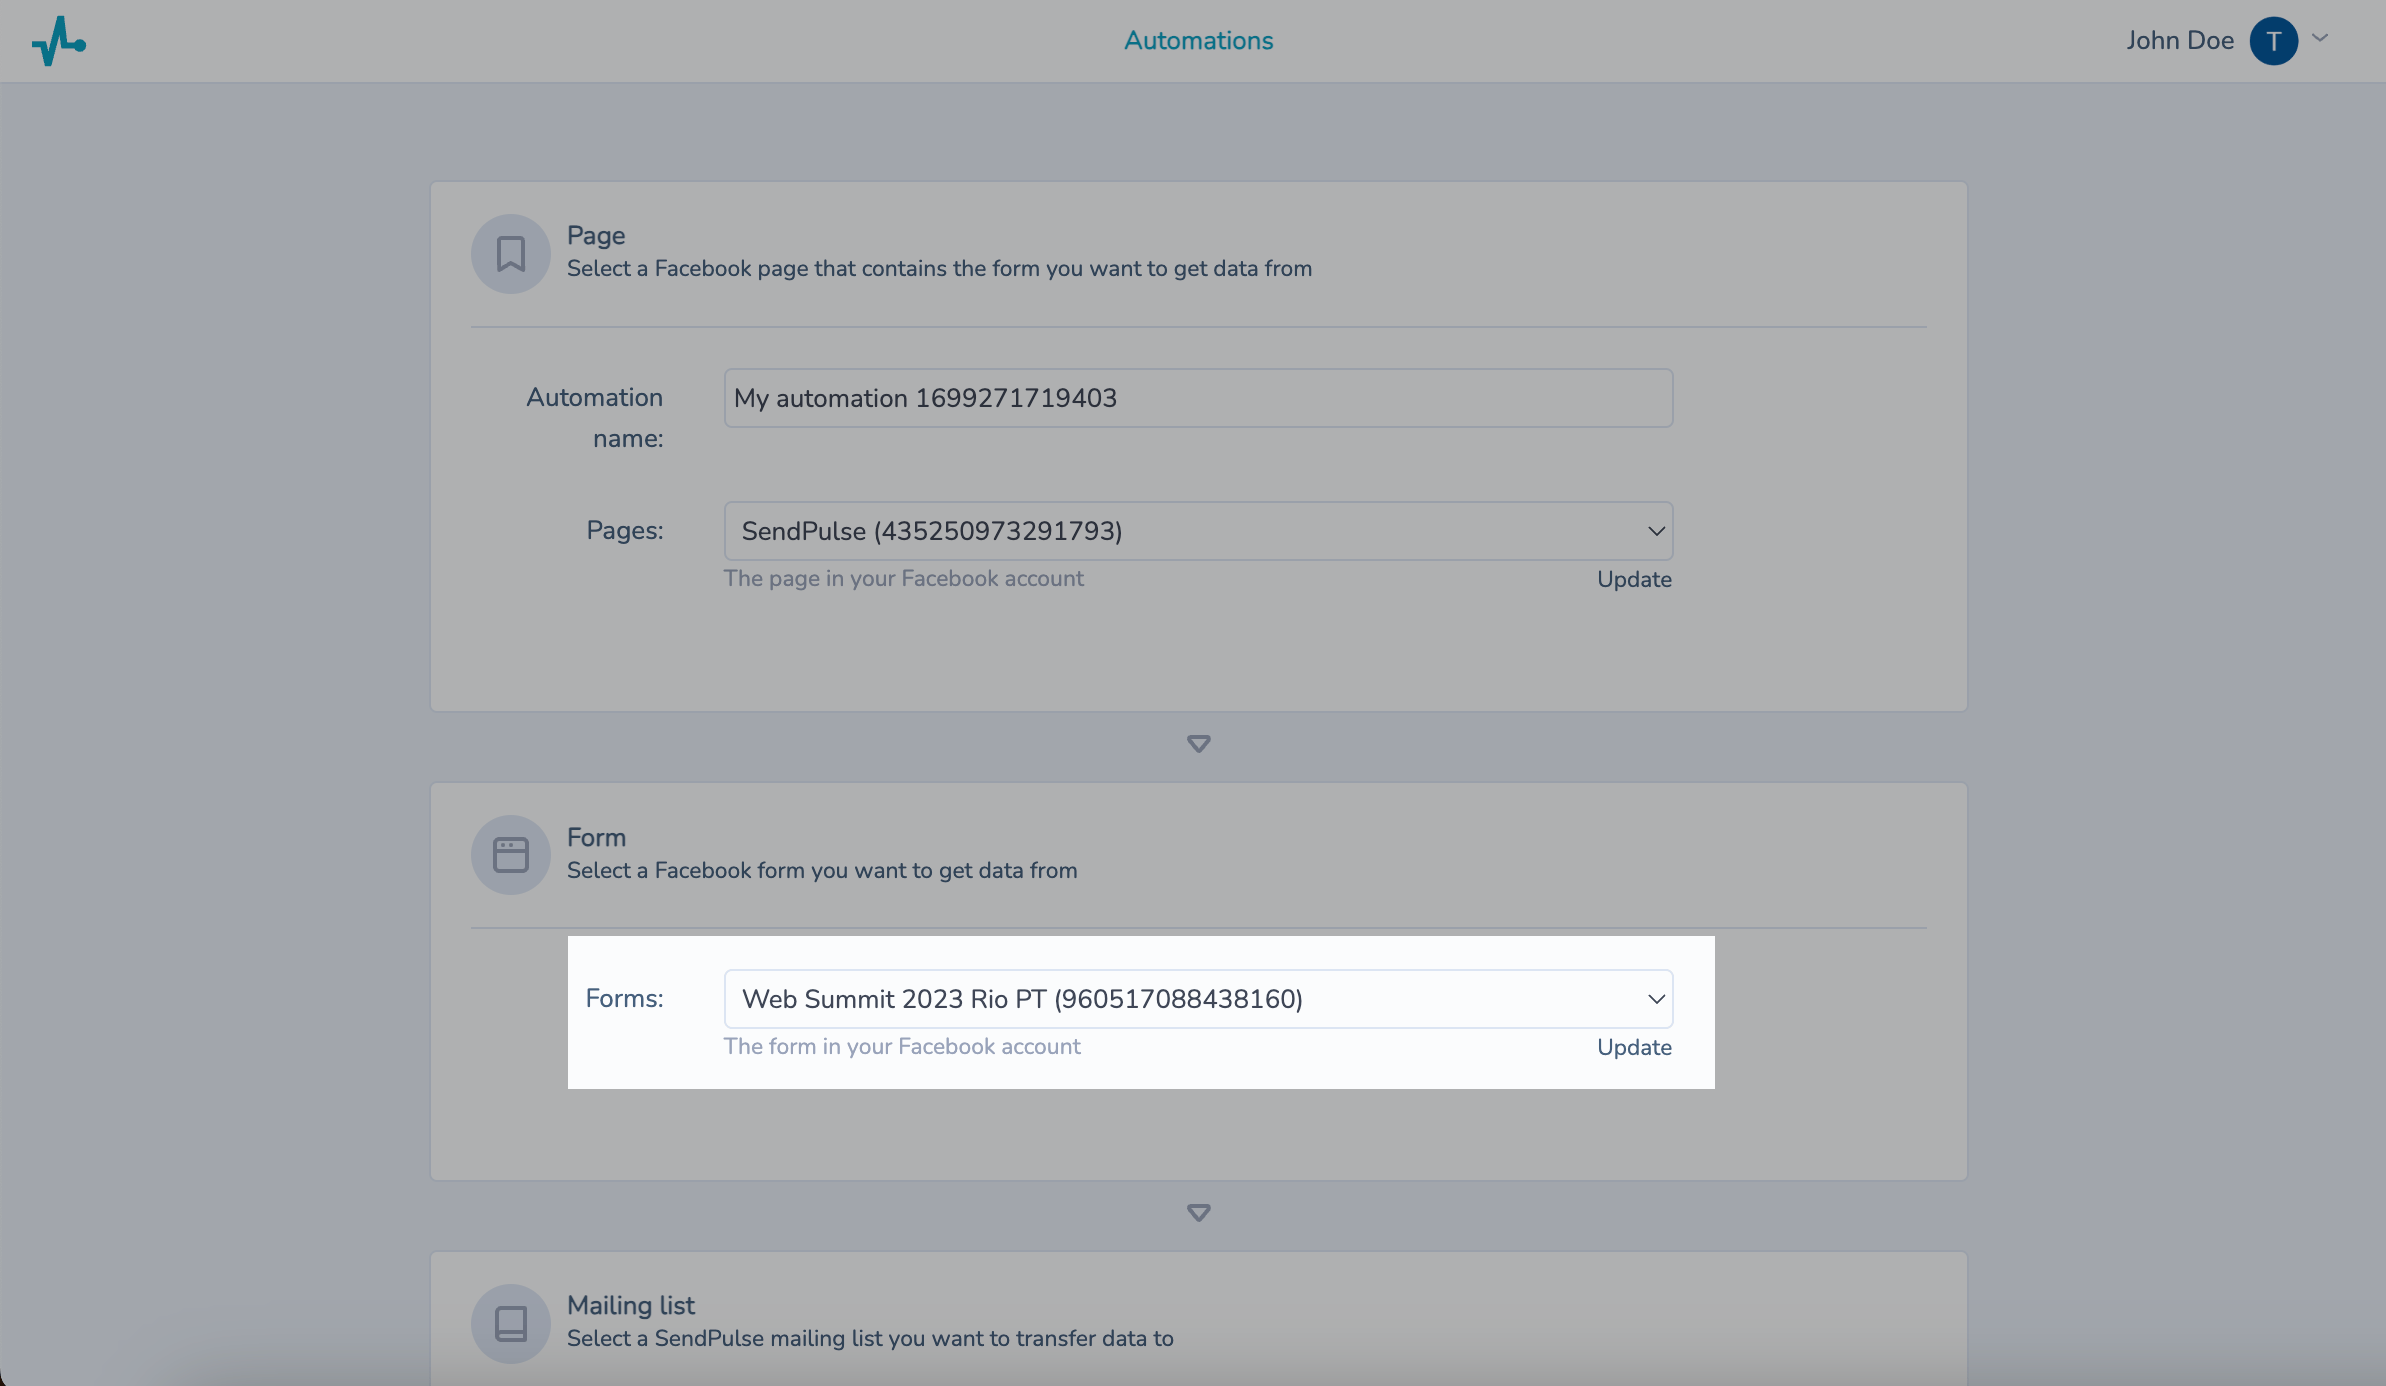
Select a Facebook form you want to get data from.
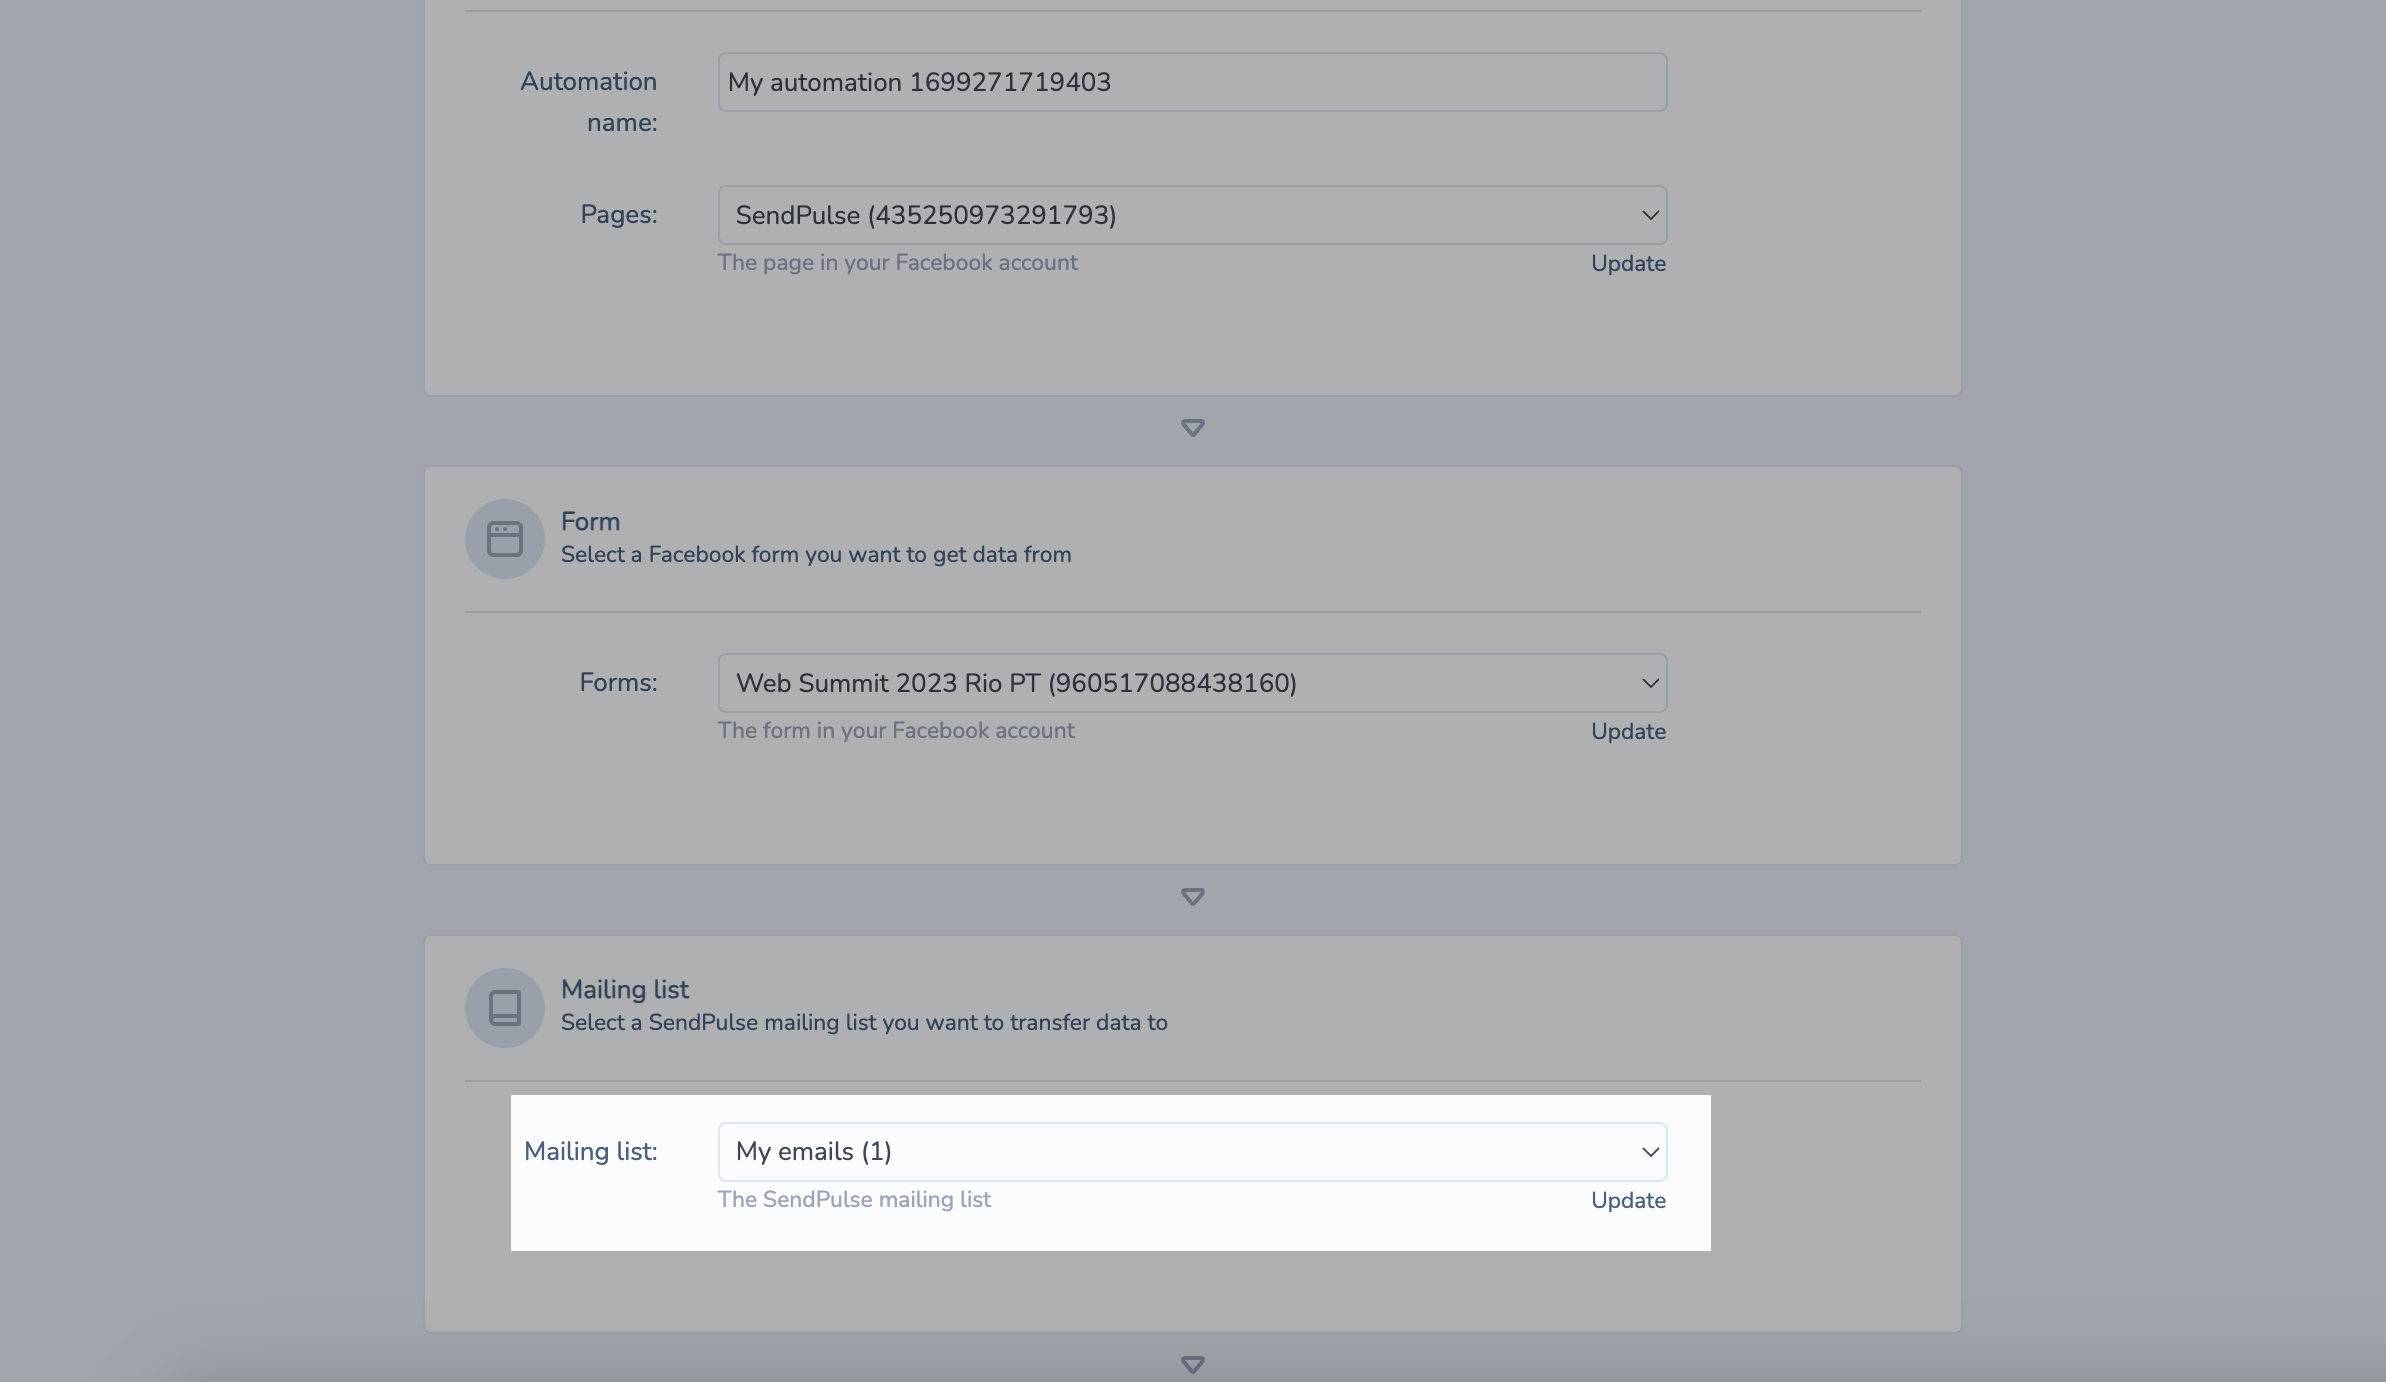
Select a SendPulse mailing list you want to transfer data to.
Map your Facebook form data to SendPulse mailing list variables.
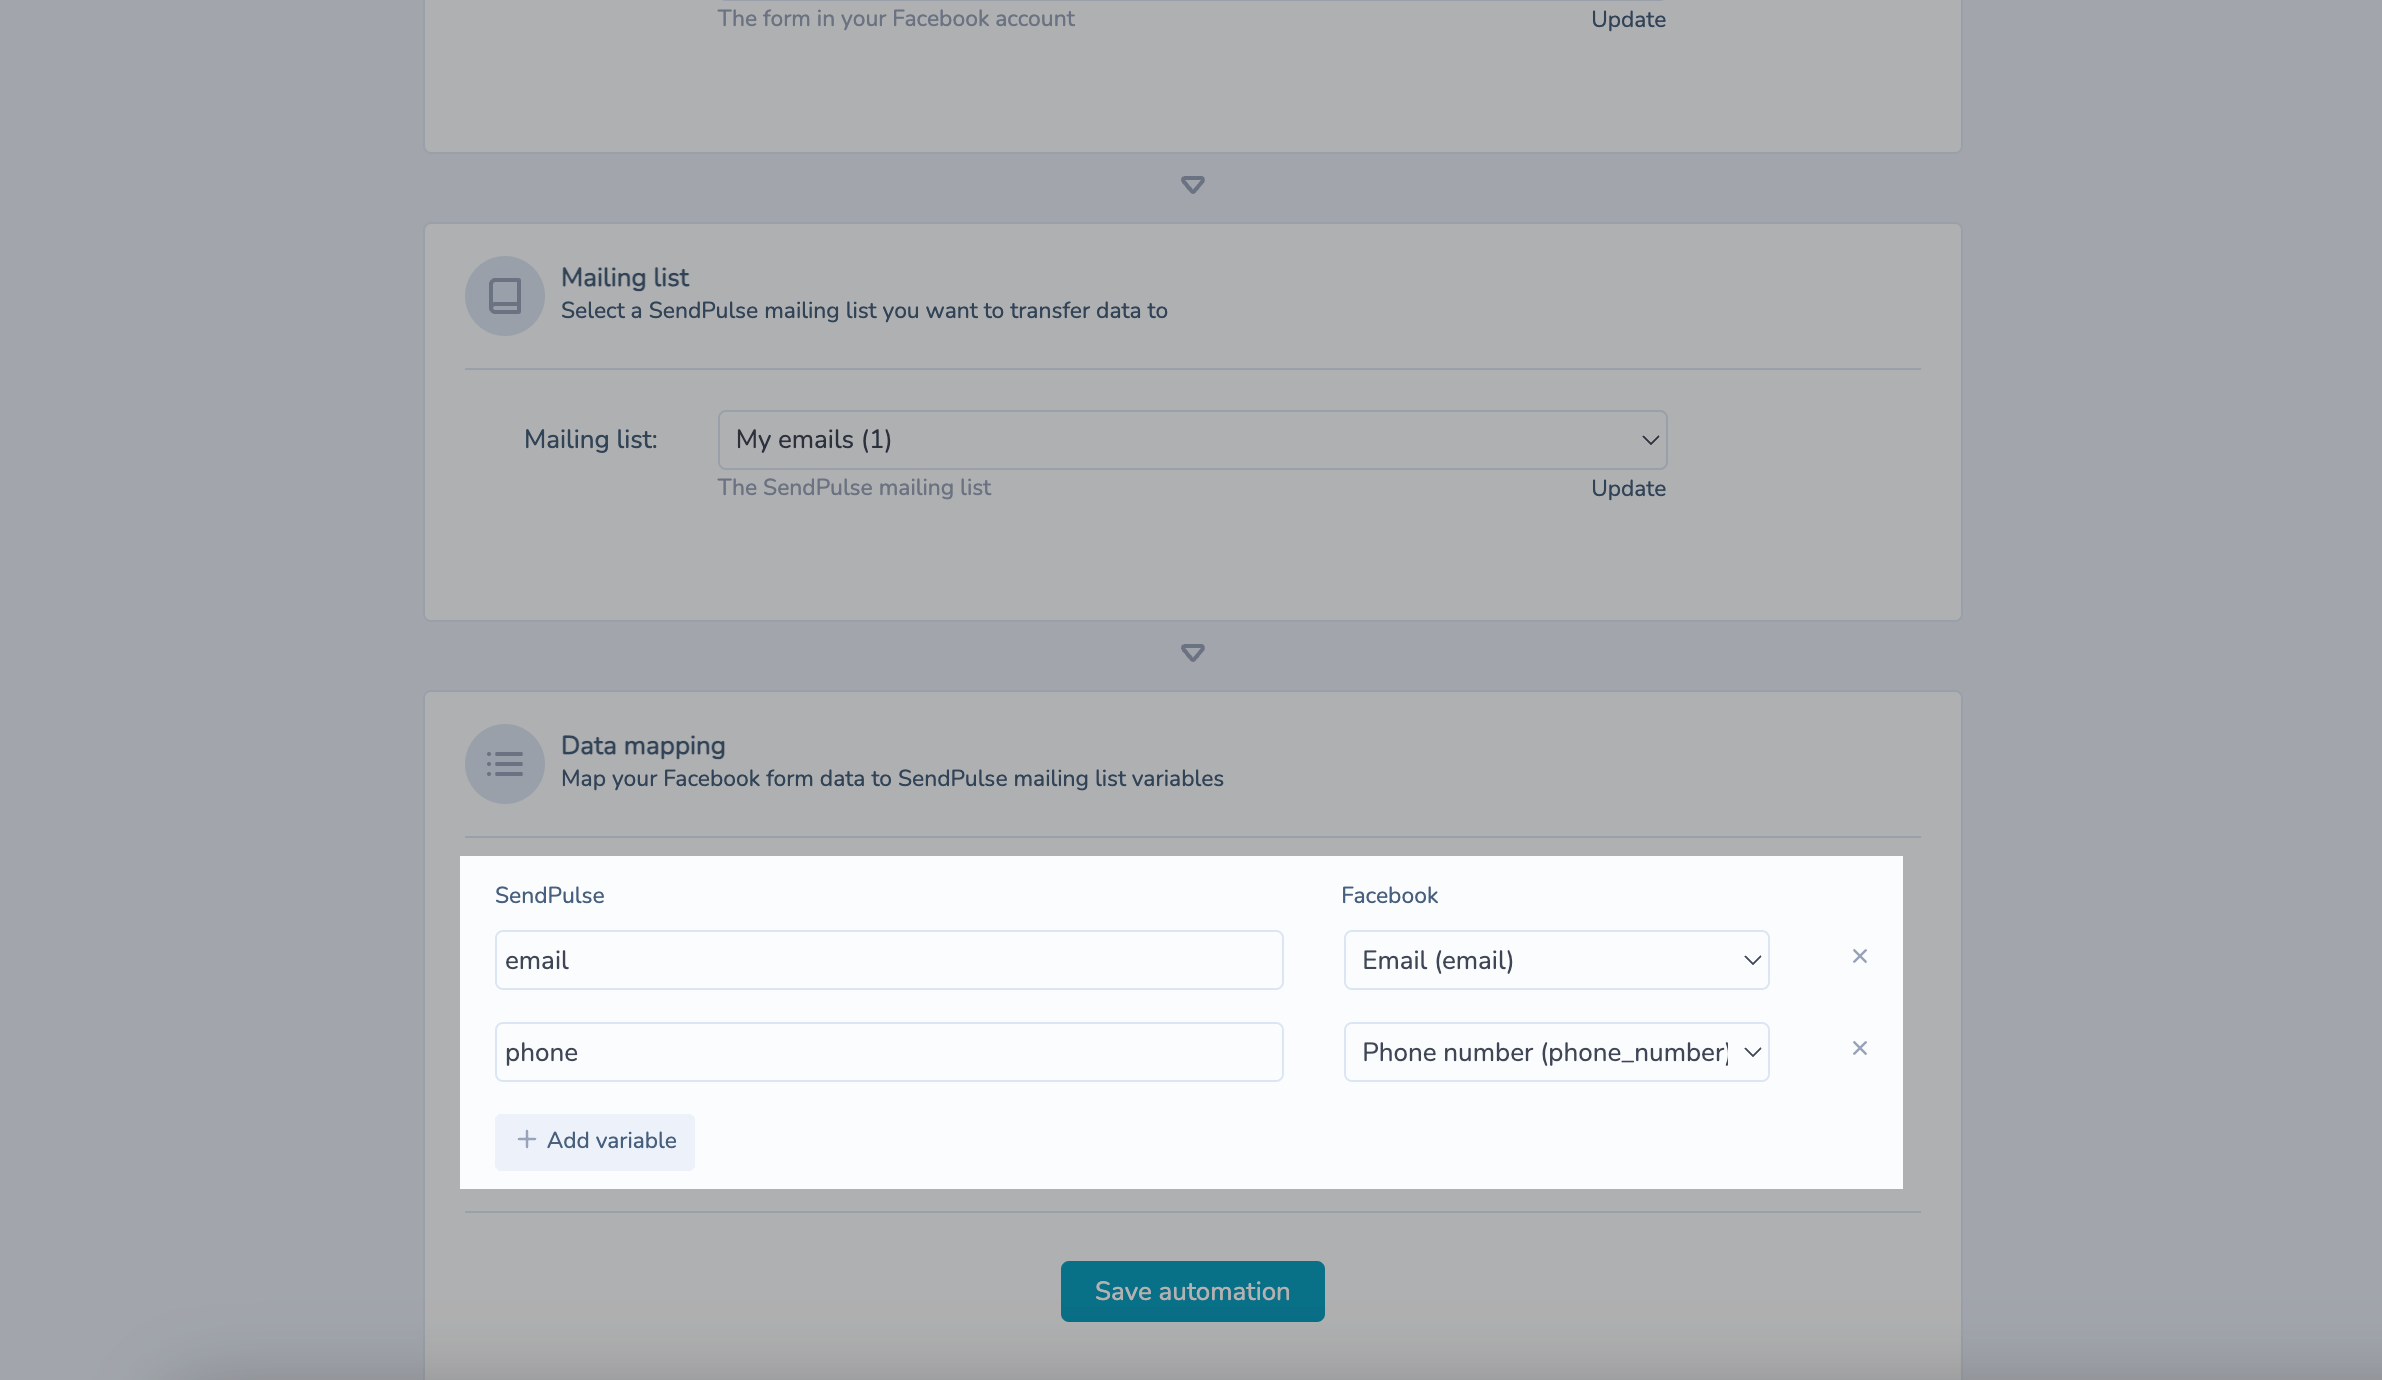
Click Save automation.
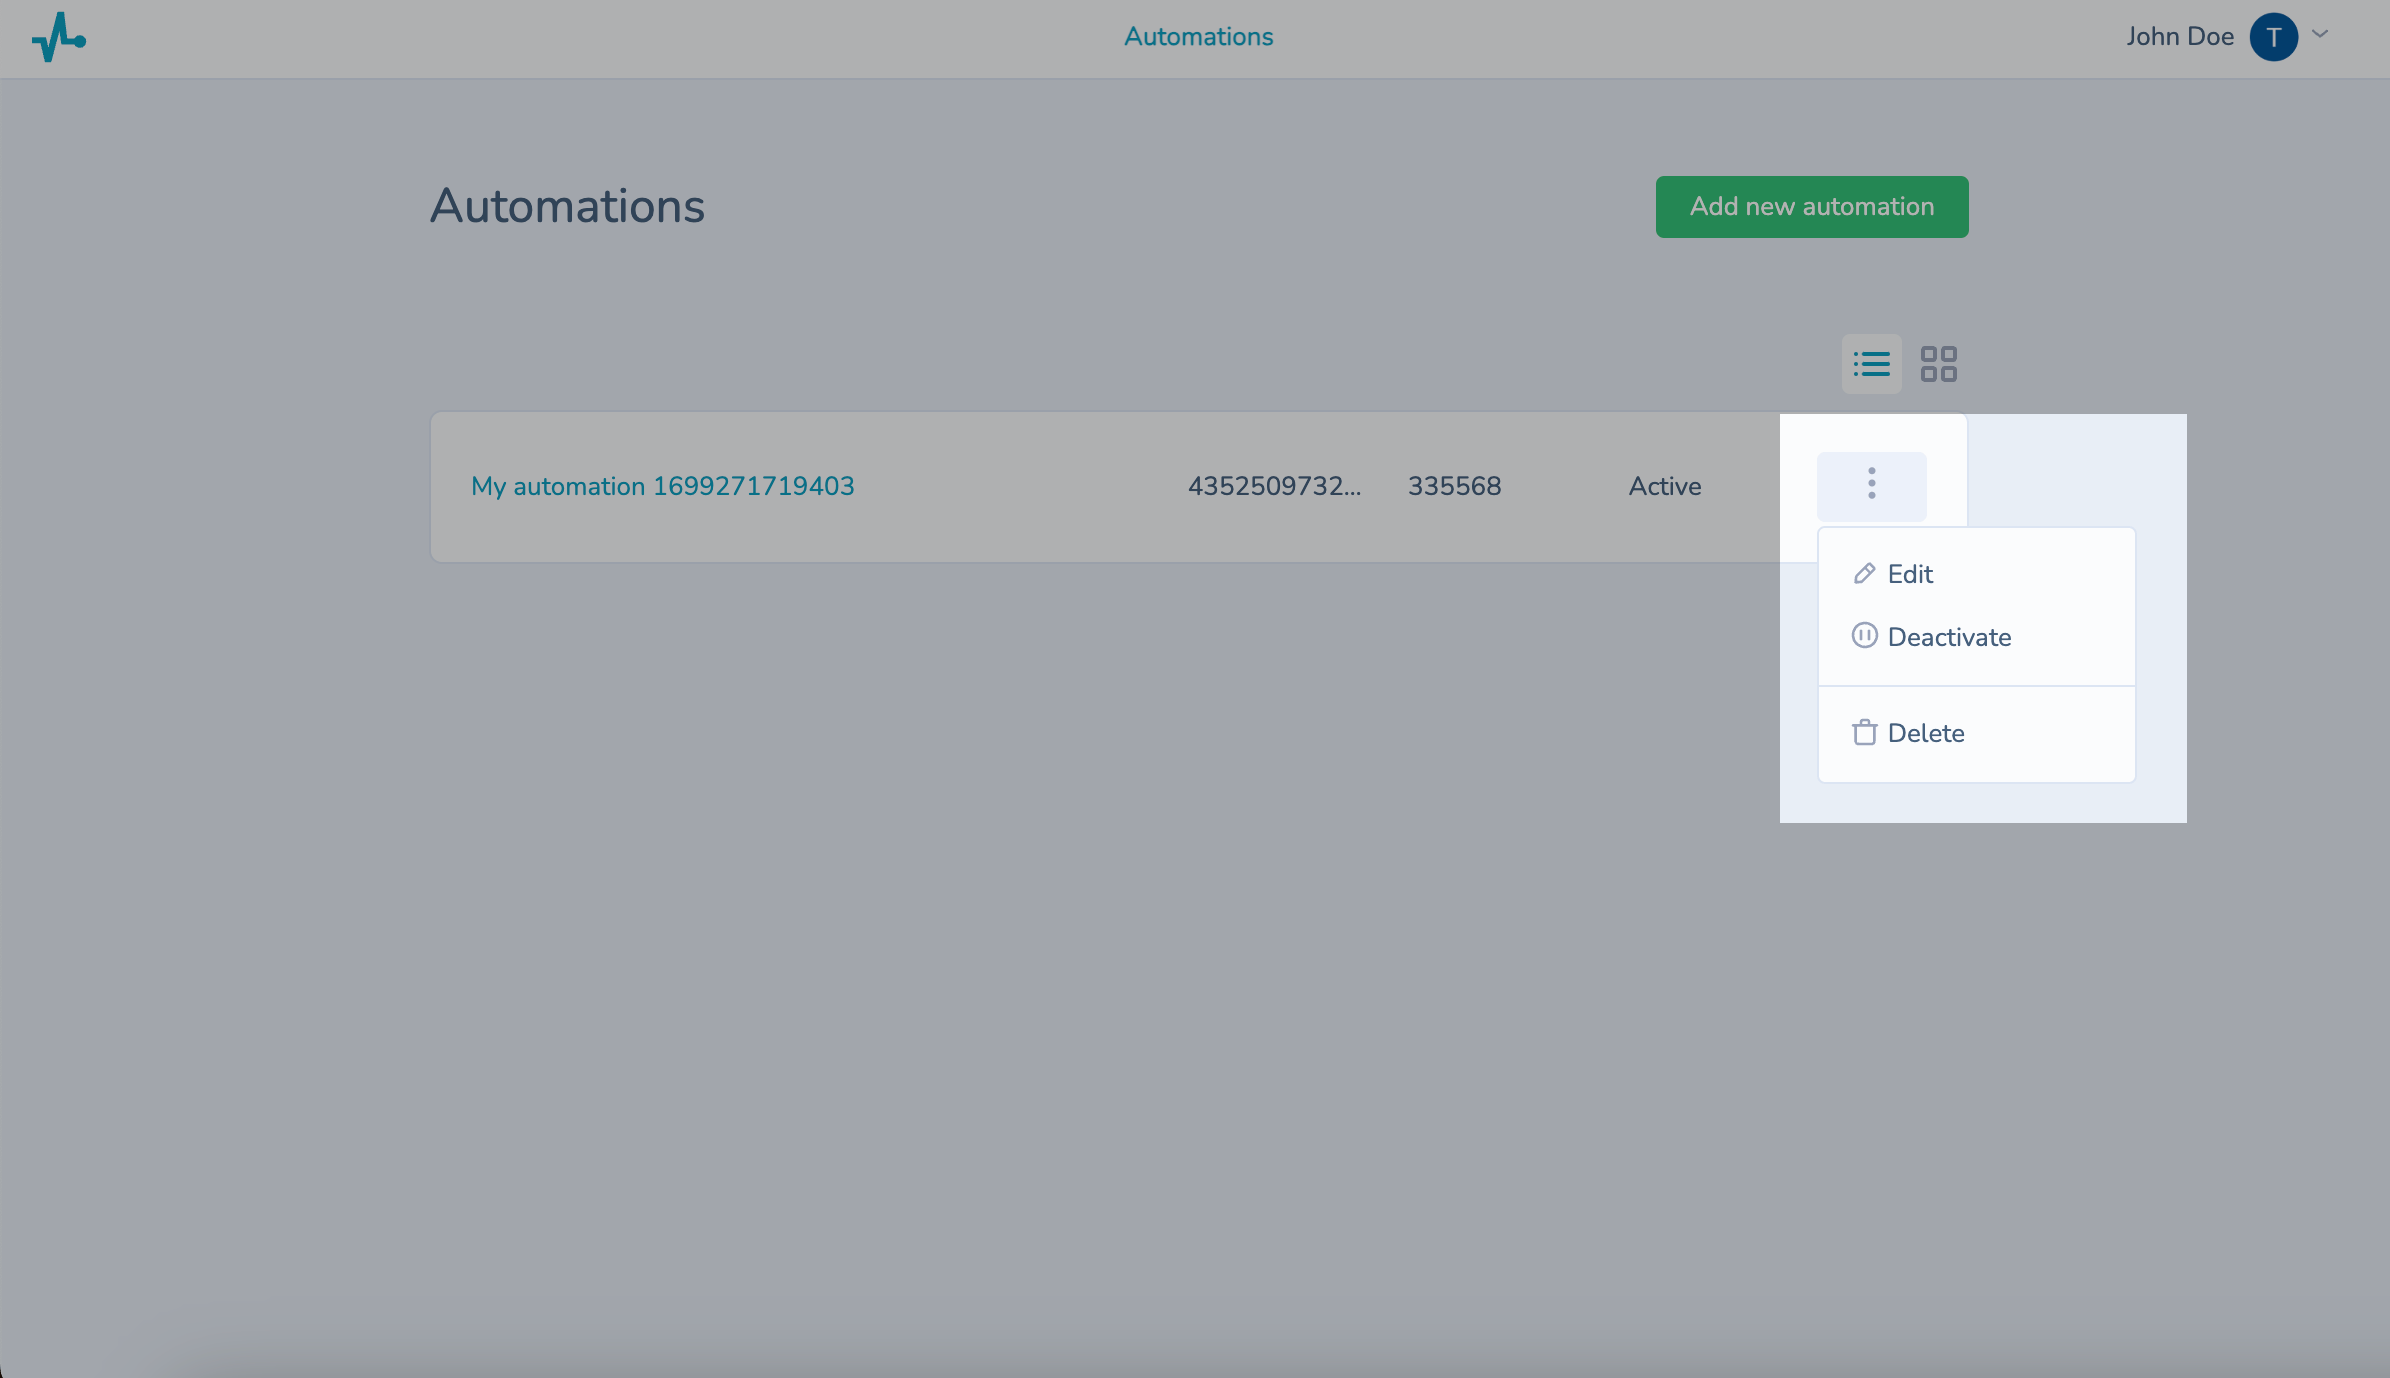
Manage automations
You can change your automation status on the list of automations.
Click the three dots next to your automation, and edit, deactivate, or delete it.
Last Updated: 05.01.2024
or