How to create a Facebook page
To grow your business online and attract new customers, create a Facebook Page. Enter a Page name, select a category, specify the Page settings, and add all the necessary information about your company and its products. In this article, we will analyze each of these steps in detail.
Create a page
Log in to your Facebook account. Click on the menu icon at the top.
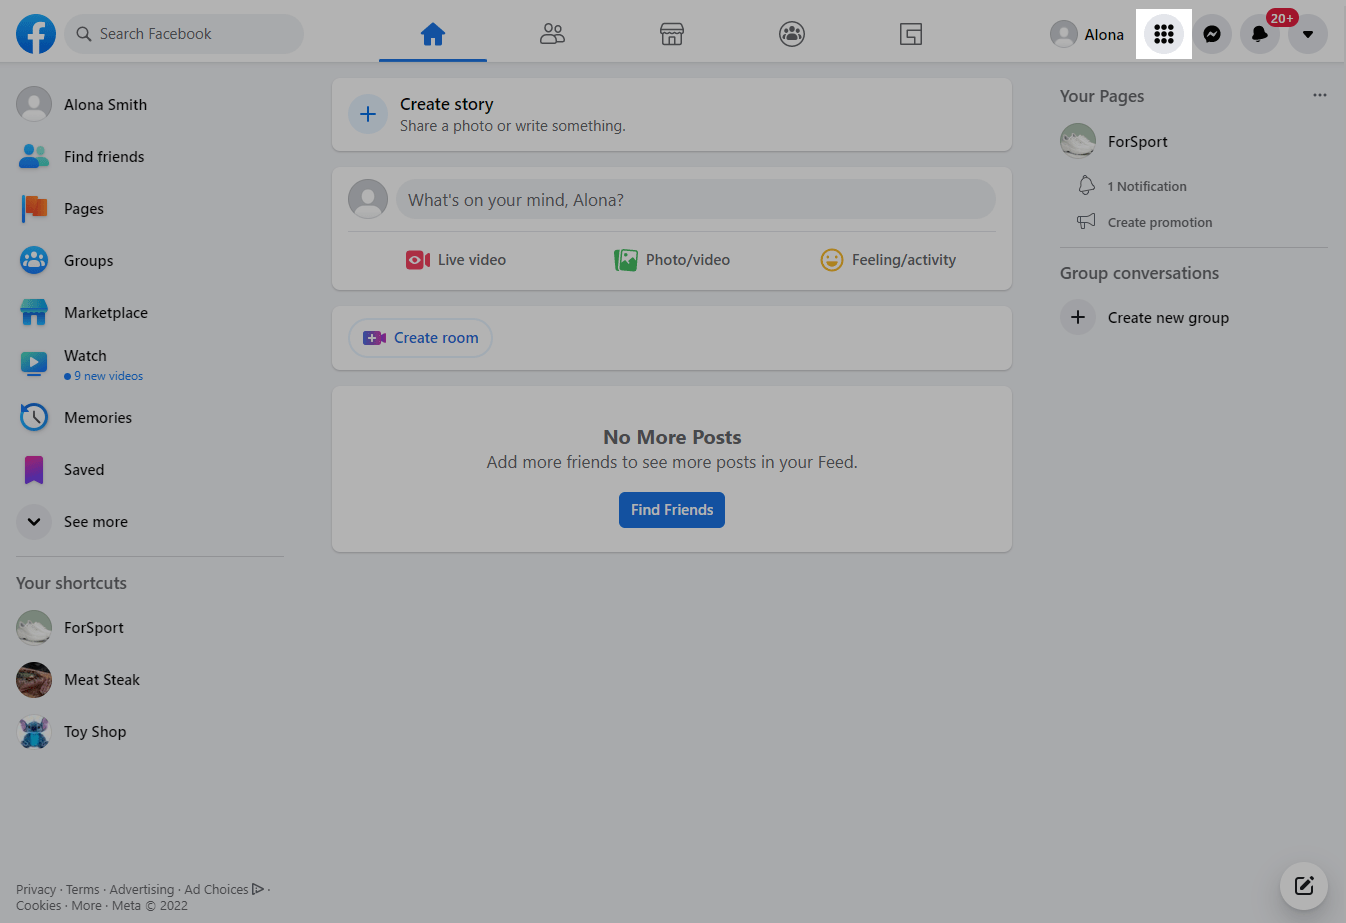
In the Create column on the right, select Page.

Enter a page name
Enter the same name you use in other channels so that your audience can easily find you on Facebook and subscribe.
Learn more: What Page names are allowed on Facebook?

Select a category
Choose a category that describes the type or scope of your company. Based on the categories you set, Facebook will help you gather an audience interested in your Page.
You can select up to three categories per Page.
Enter a page description
Add a Page description so that users can learn more about your company, its products, and services.
The maximum description length is 255 characters.

Click Create Page.
Customize the page
Next, upload a profile picture and cover photo, add a button so that users can contact you via other channels, create a username, and add additional information about your company — contacts, location, business hours, and more.
Upload a profile picture and cover photo
For a profile picture, choose your company logo to help build brand awareness and allow customers to identify your feed posts.
Drag and drop your images to the workspace, or select them from your computer. Change their location if necessary.
It’s best to use a profile picture that’s 170×170px wide and a cover photo that’s 1640x856px wide.
Add a CTA Button
Your company's customers can contact you using the CTA button. Under the Page cover, click Add Button, and select a button type, for example, Start Order, Book now, Call us, Send message, and so on.
For example, the Send message button will redirect users to Facebook Messenger where they can subscribe to your chatbot, contact customer support, consult with the manager, sign up for an event, and place an order. Using the Send Email button, users will be able to send an email to the email address you specified.
After creating a CTA button, you can edit, delete, or test it. To do this, click on Edit ..., and select the desired action.

Create a username
To make it easy for customers to link to your Page, add a unique username that will be displayed in the link to your page.
Under your Page name, click Create @username.

Enter your username.
You can use characters, numbers, and periods in your username. The username must be between 5 and 50 characters long. Learn more: What are the guidelines around creating a custom username or screen name on Facebook?

Add more company information
To increase the level of trust among potential customers, add more information about your company. To do this, write a description of your Page (tell about the services you provide and how you can be useful), provide contacts, add an address, business hours, and other information.
To fill in the required data, go to the Edit Page Info tab in the menu on the left.

General
The General section contains the information you filled in earlier — the Page name, description, and the username. Edit this info if necessary.

Categories
Next, scroll down. Review the selected categories, and make sure you have listed them correctly. Add new ones if necessary.

Contacts
Add your company’s contact information: phone number, WhatsApp phone number, email address, and website link. This will help potential customers find a convenient way to contact you.
If your Page doesn't have contact information, select My Page doesn't have....

Location
If you plan to use Facebook to promote a local business and attract locals, specify the location — address, city, or postcode, or add your address on the map.
Select My Page doesn't have a location if you don't have an address.

You can also provide additional location or service area details.

Business hours
To let customers know what time it’s best to contact you, add your business hours for each day of the week.

If there are changes to your customer service due to the pandemic, please list them in the Coronavirus (COVID-19) update section. If related to other circumstances — select your customer service changes in the Temporary Service Changes section.

More
In the More section, you can add a link to your privacy policy and terms of service.

You can also copy the QR code that leads to your Page and add it, for example, to your site.

To inform the client about your company's prices, specify the price range.

You can also add your accounts on other social networks, such as Instagram, Twitter, YouTube, Pinterest, etc.
Develop your page
Use Facebook's free tips and tutorials to develop your Page. To do this, go to the Resources & Tools tab in the menu on the left. Check out suggested tips, guides, tools, and other helpful resources.

Develop your Page promotion strategy, and use Facebook Ads tools to get new followers, nurture leads, and increase sales. The platform allows you to target your audience accurately: you can select users’ gender, age, and interests when launching your target ads. Check out our guide to setting up Facebook ads to create effective ad campaigns.
To improve the quality of communication with Page subscribers and automate your business routine, create a free Facebook Messenger chatbot using SendPulse, and interact with customers 24/7. Depending on the tasks set, the chatbot will instantly answer user clients’ questions, take orders, segment the audience, or move leads further down the sales funnel.
Last Updated: 10.02.2024
or