SendPulse is glad to announce the release of an important chatbot feature — the buy button. Now, your customers can purchase products, subscription plans, or tickets for events right in your chatbot. And you, in turn, can create further touchpoints based on whether a user paid or not — for example, thank those who purchased from you or warm up those who didn’t through other communication channels. The buy button is available on both Facebook Messenger and Telegram.
Content:
Who can benefit from chatbot payments?
Any business that uses chatbots to sell products or services can profit from accepting chatbot payments. A buy button makes it possible for companies to implement a full-funnel marketing strategy right in messengers: prospects will be able to choose a product, pay for it, and get notifications about their order status.
Online retailers will get the opportunity to sell their goods without redirecting customers to their websites to finalize a purchase. Services with paid subscriptions will be able to remind their customers to renew their membership with the service and accept payments right away. And businesses built around producing content can leverage messengers and chatbot payments to sell their courses, consultations, or other quality content.
All in all, accepting payments inside a chatbot means less friction and a more streamlined checkout process for customers that will result in higher conversion rates.
How does the buy button work?
Add a buy button to an element in your chatbot flow. Then, set up your buy button: adjust its title, specify the product price and payment system. Here’s how a user sees the payment button:
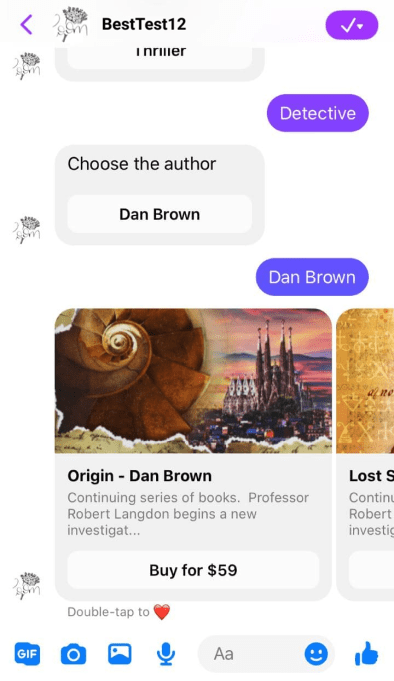
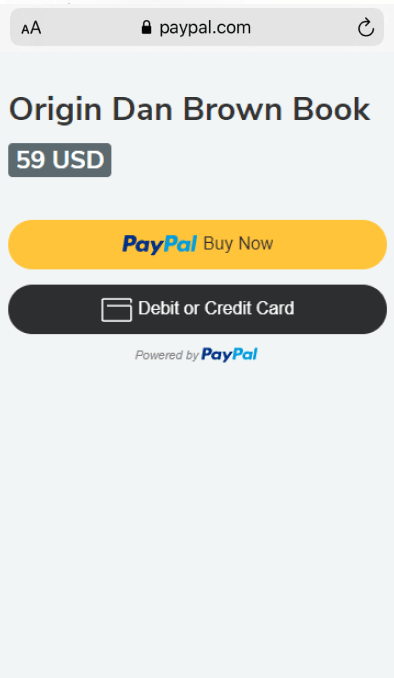
When a prospect clicks on it, they will be redirected to the payment page that contains the product’s name and price. All that’s left for a user is to choose a card to pay with.
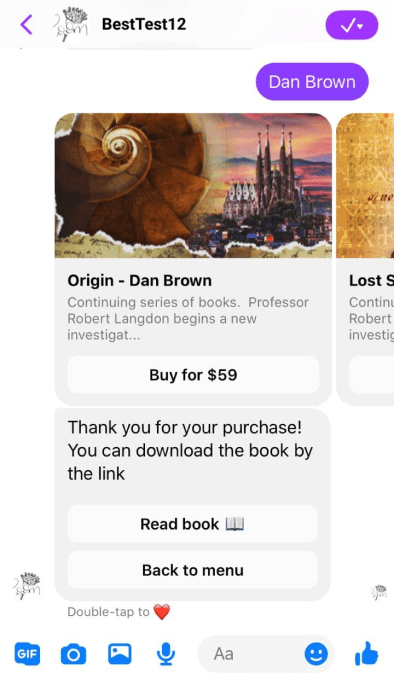
A successful payment will launch further messages in the chatbot flow.
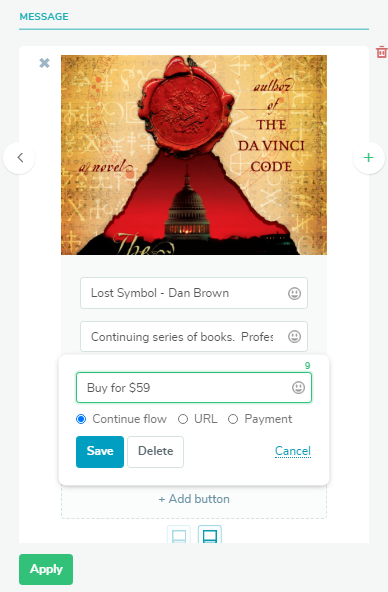
How to create a buy button inside your chatbot
SendPulse enables you to add a buy button to a Message element. To create a nice display for your products, you can add a product photo and information about it. You can also add other buttons, including one more buy button or an interactive product gallery, each with its own buy button.
The cool thing is that you can save data about successful payments by using variables or tags. You can then use this information to create personalized campaigns, for example, offering related products with a discount for several days.
In addition to saving data to a variable or assigning a tag, you can:
- send or request data from your CRM system through a webhook;
- filter the values to be able to target different groups of users with different messages.
Please note that a buy button is available only to users on paid plans.
What do you need to accept chatbot payments?
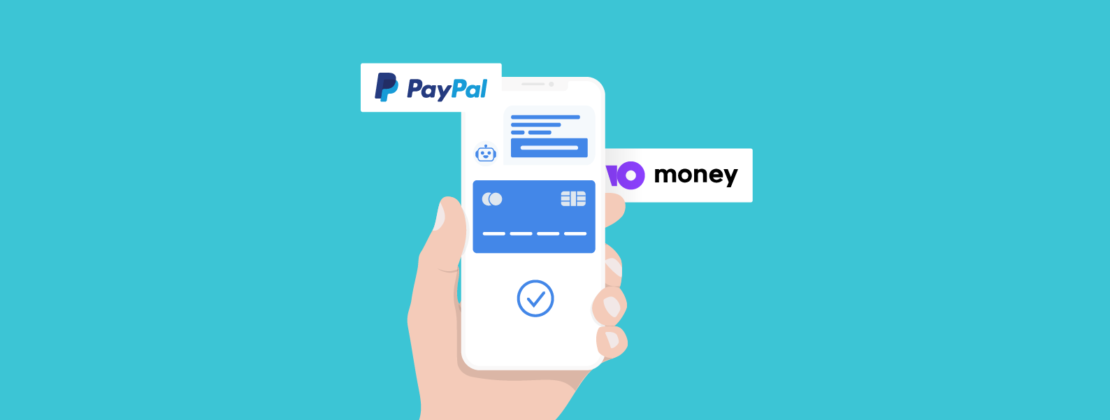
You can set up two payment systems to accept payments in your SendPulse chatbots: YooMoney and PayPal. To collect payments, create an account in the chosen payment system and authorize it with SendPulse.
Before you start collecting payments, you can test your buy button — we’ve created a special test mode for chatbot owners.
Here are detailed guides to setting up chatbot payments:
- How to Accept Chatbot Payments
- How to Сonnect a PayPal Account
- How to Сonnect a Whitepay Account
- How to Сonnect a Mercado Pago Account
- How to Сonnect a Flutterwave Account
- How to Сonnect a Stripe Account
- How to Сonnect a Wayforpay Account
- How to Connect a Cryptomus Account
Now your chatbots created with SendPulse will be one step closer to a full-scale sales pipeline. Test our new feature and stay tuned for new releases in 2021!
